


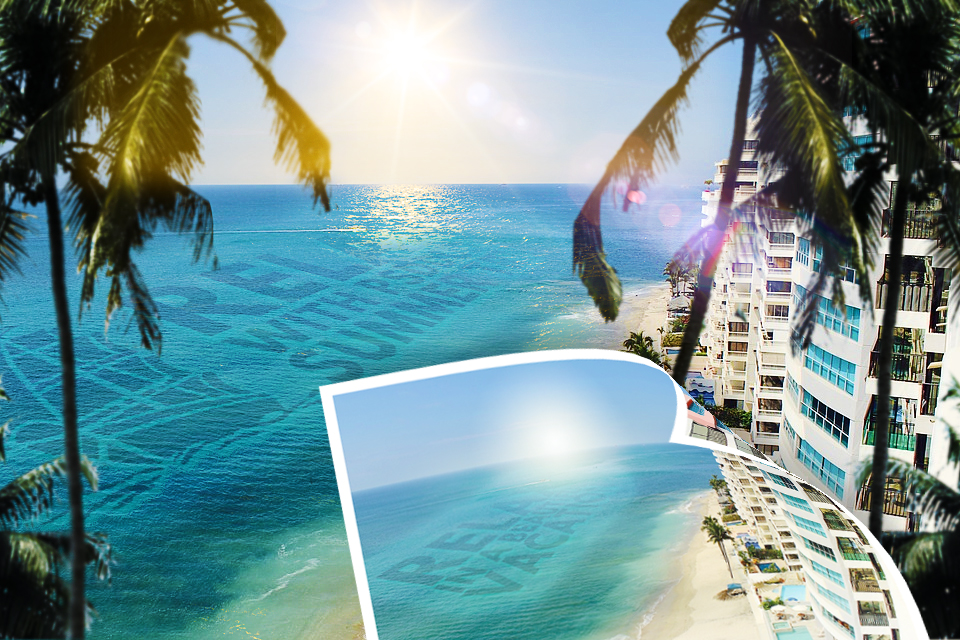
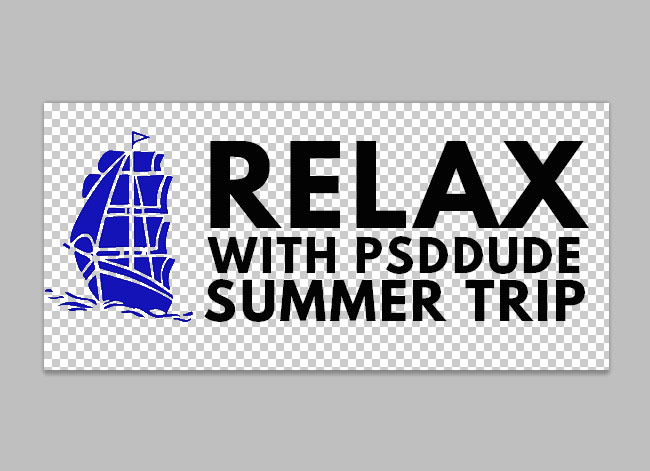
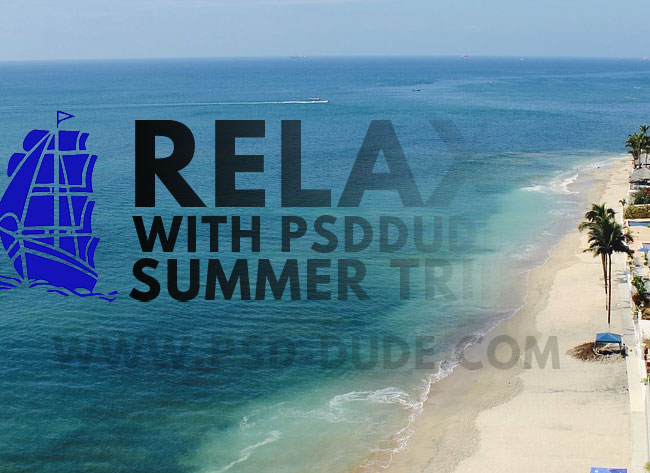
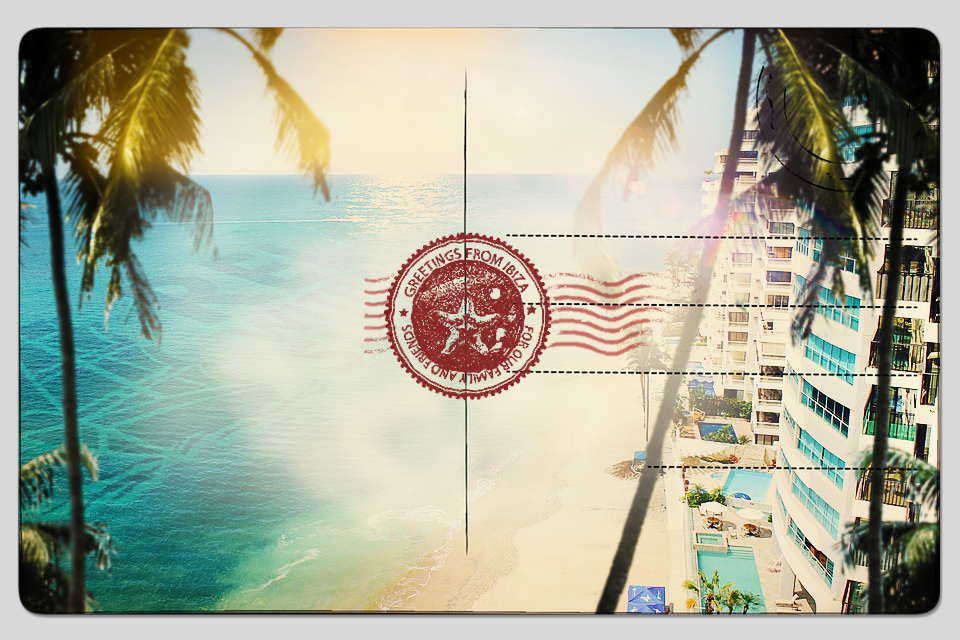
In this new tutorial you will learn how to create a water text in Photoshop with reflection effect. This text effect is great for creating summer postcards for example, using your own text. You can use this water effect with any type of layer like text layers, custom shapes, etc. Let's take a quick look at the final result before we begin.
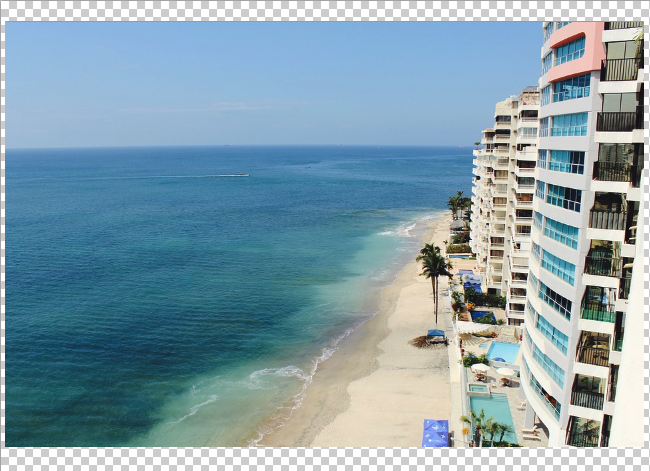
To create the water text we need a photo with a sea, lake or any other kind of water surface. I will use this sea beach stock image, but you can use another image that you like maybe one from your vacation. Name this layer Sea Beach.
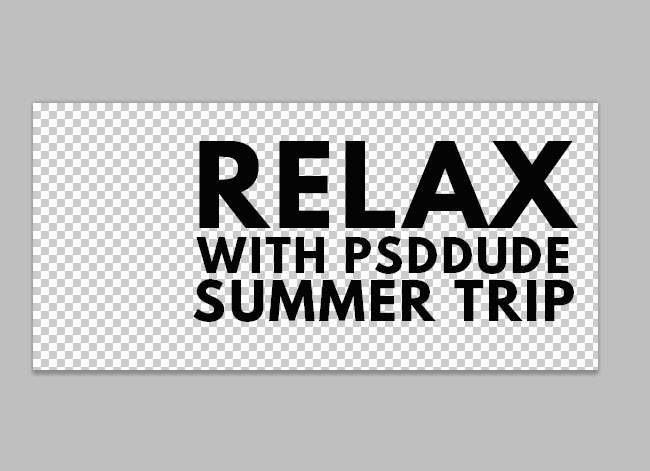
Create a new text layer above the Sea Beach layer and type something. You can use any font type you want and any size. I used a font type called League Spartan. Here is a how to install font in Photoshop tutorial.
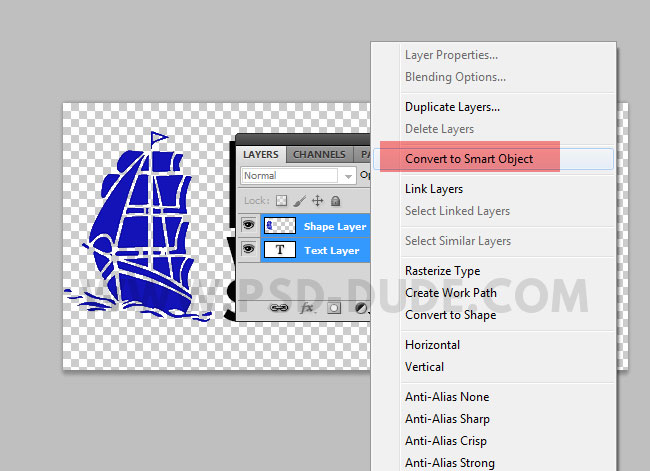
Beside the text layer you can add a silhouette for example. You can create a vector shape from graphic images using this Vector Shape Silhouette Photoshop action ; take a boat graphic for example and use the Photoshop action to turn it into a custom shape.
Select the two layers, the Text Layer and the Shape layer and convert them to a smart object. Right click and choose Convert to Smart Object. Call this new layer Water Text.
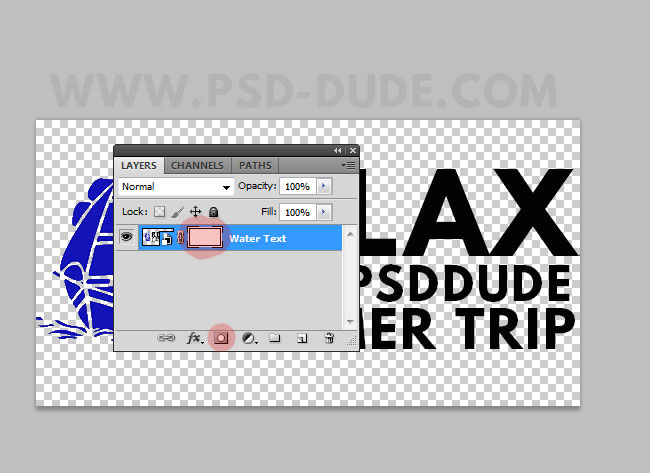
Add a layer mask to the Water Text smart object like shown in the preview.
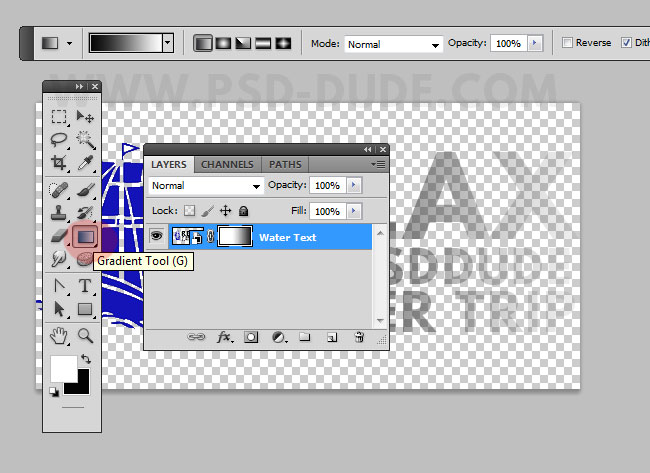
Pick the Gradient Tool and set the gradient black and white. Keep the SHIFT key pressed and drag from the left side of the canvas to the right using the Gradient Tool. Make sure you have the layer mask thumbnail selected and not the smart object thumbnail. Otherwise you will receive the message "Could not use the gradient tool because the smart object is not directly editable".
Right click on the smart object and choose again Convert to smart object. Your photo manipulation image should now look like this.
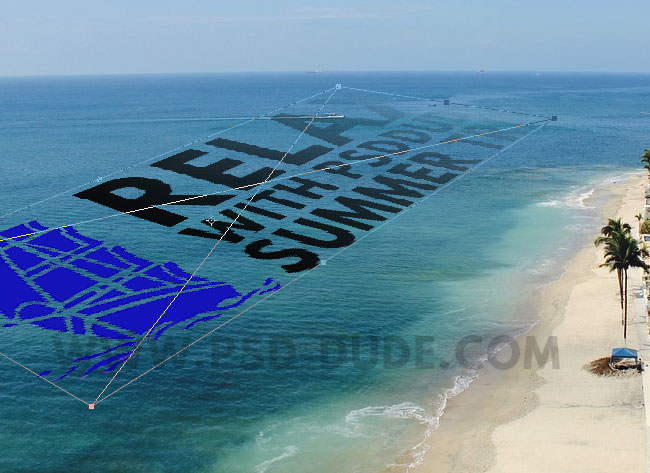
Go to Edit > Transform > Distort and change the text layer perspective to match with the water perspective, like shown in the preview.
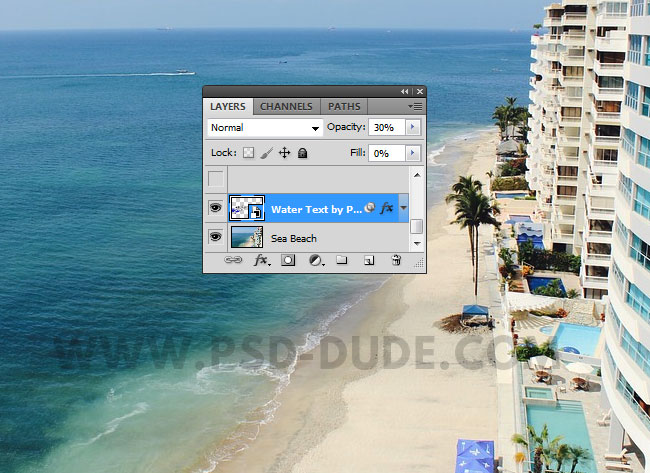
Now let's add some layer styles to this layer. First reduce the Fill to 0% and the Opacity to 30% ; don't worry if you don't see the text anymore.
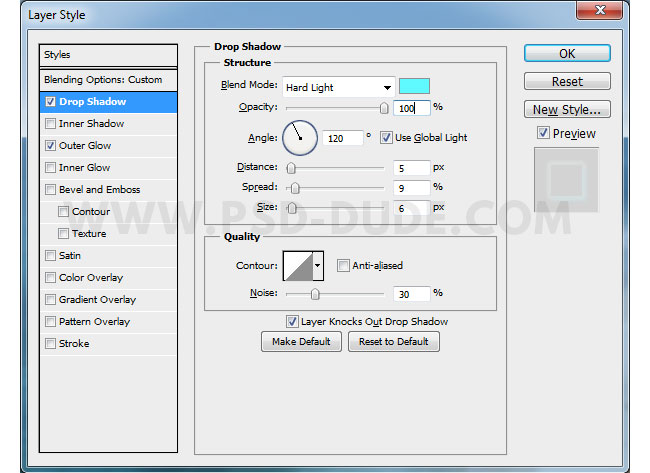
Open the layer style window and add a Drop Shadow (Hard Light, color #5ff9ff) and an Outer Glow (Overlay, color #d6fdff) layer styles.

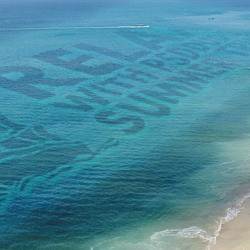
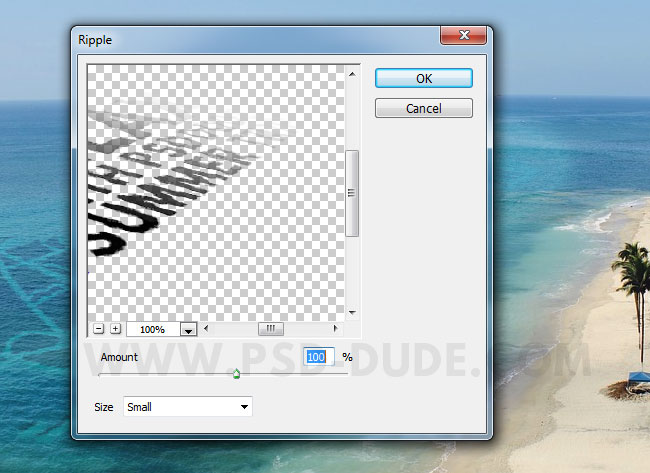
To make the water text reflection more realistic most of the people use the Displace Photoshop Filter as you can see in these tutorials. But because it is more complicated we will use the Ripple Filter instead. So go to Filter > Distort > Ripple and make these settings:
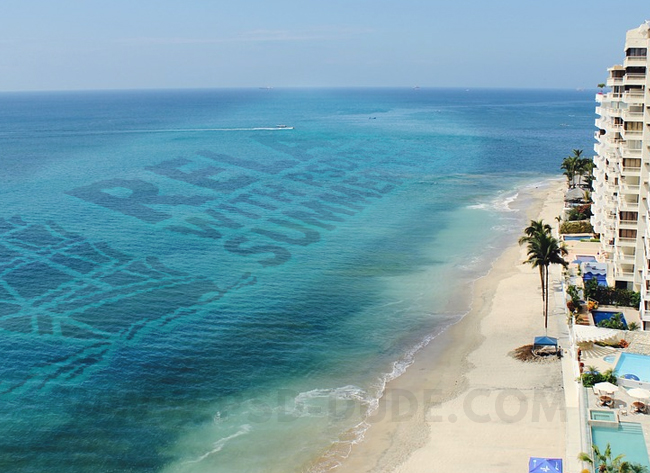
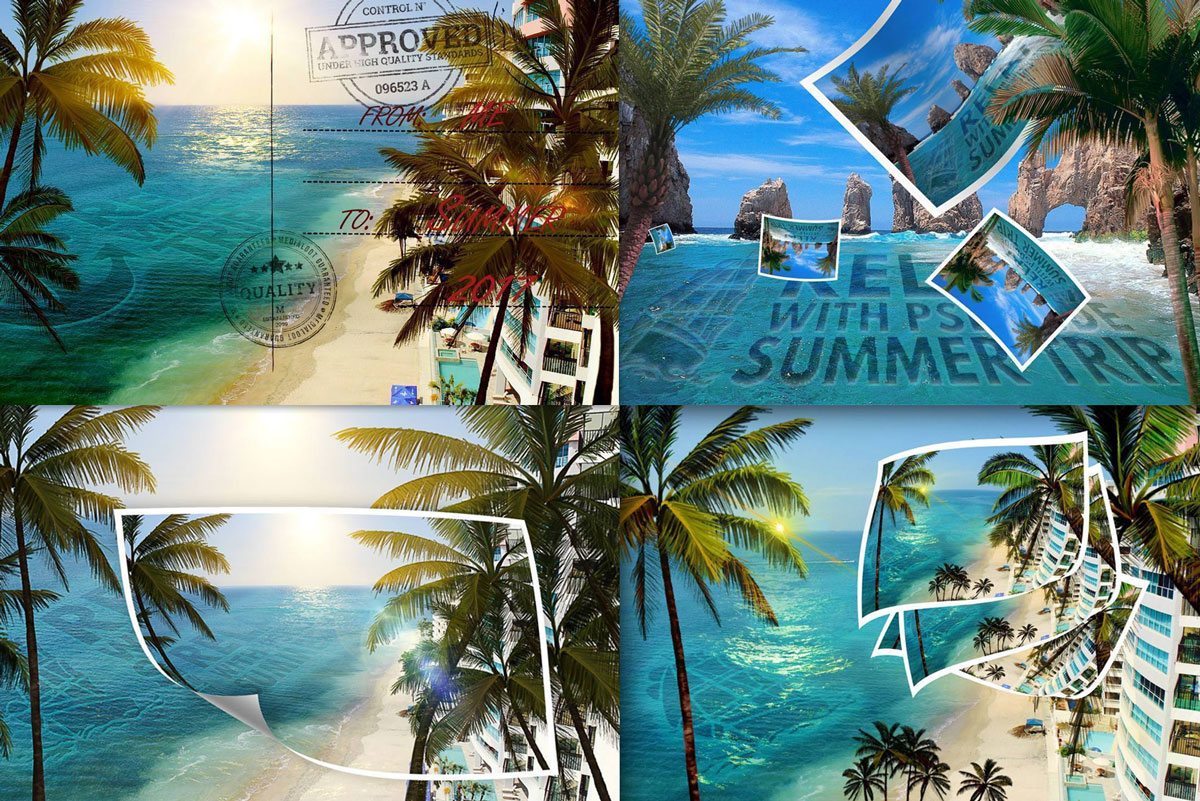
The water surface text effect will now look like this. Being an editable smart object you can always edit and change the text, shape, font.
If you want to make the image more interesting you can add some palm trees to create a nice frame. Use one of the Photoshop Selection Tools that you like best and simply remove the background. To adjust the color tones use the Color Balance adjustment and the Hue/Saturation to reduce the lightness.

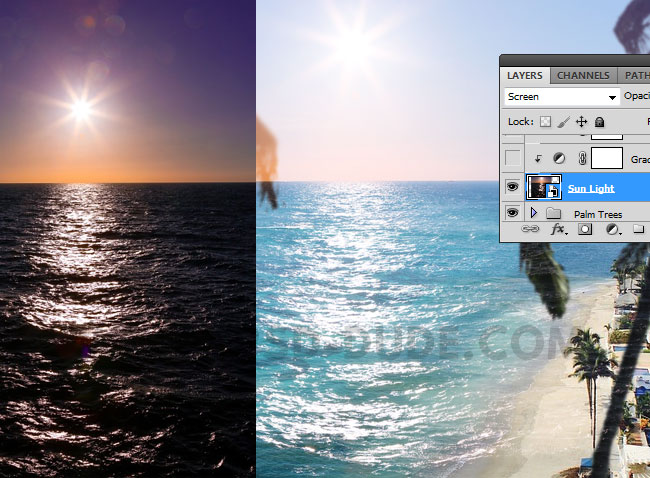
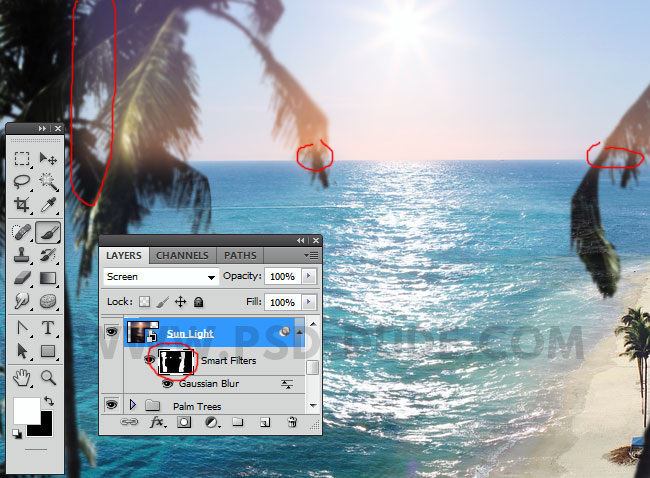
If you want you can add a sun light effect using this sunshine water reflection stock image. Convert the image to a smart object and set the blend mode to Screen.
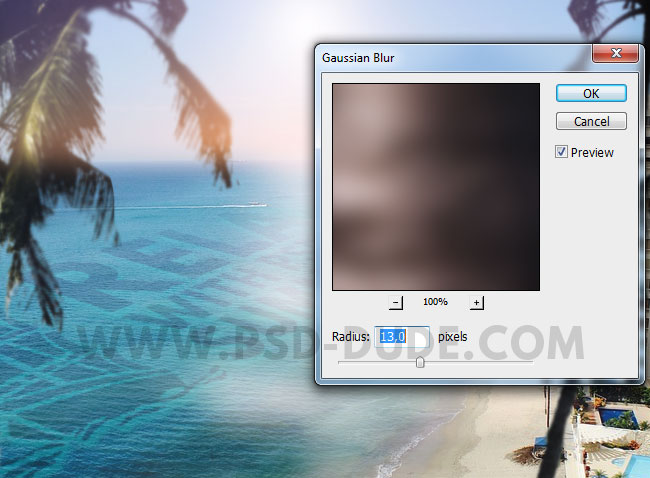
Add a Filter > Blur > Gaussian Blur effect to the Sunlight layer.
Click on the Filter Mask Thumbnail and press CTRL+I to invert the colors from white to black. Pick the Brush Tool color white with a soft round brush and simply paint over the area where the horizon line intersect with the palm trees. Also paint over the edges to create a smooth transition.
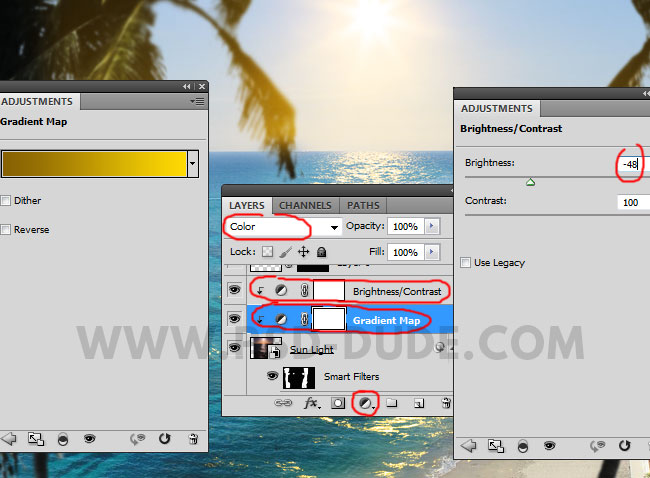
To change the color tones and the brightness of the image you can add a Gradient Map (colors: #886203 and #fed903, blend mode Color) and a Brightness/Contrast adjustment layers. Make sure you add the adjustmnts as clipping mask(righ click and choose Create Clipping Mask).
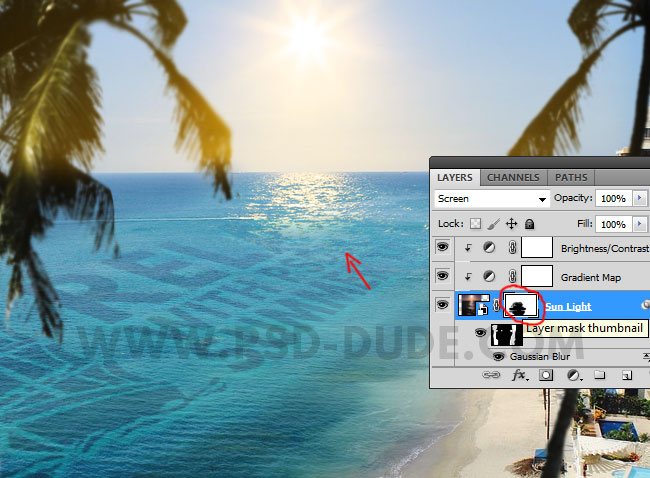
Add a layer mask to the Sunlight layer and use the Brush Tool and color black to hide some of the sunshine water reflection like shown in the preview.
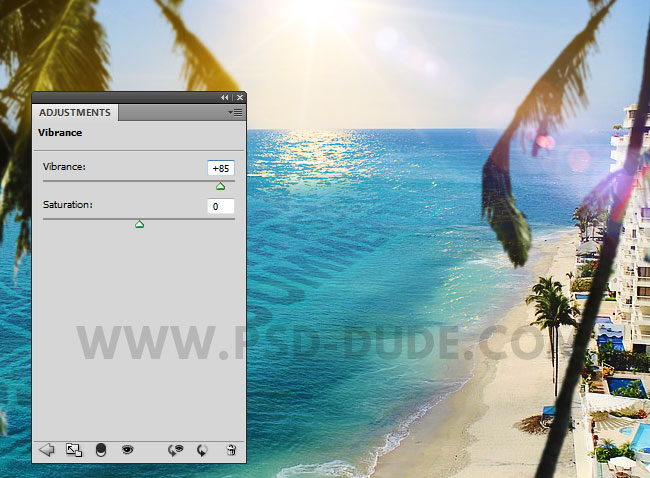
For the final touches you can add more lens flare effects. Also you can use the sharpen photo technique with the High Pass Filter.
If you want to create an interesting frame you can add page curl effect like in this tutorial.
Or you can use a classic postcard image. Combine the postcard stock image with personalized stams and rubber stamps using these cool Photoshop action tools:
- Stamp Photoshop Creator
- Vector Postage and Rubber Stamps PSD Templates
- Rubber Stamp Generator Photoshop Action
Beautiful Fan-Art Images Collage
Draw in Sand Photoshop Action
Draw in Sand Photoshop Action turns your images into sand drawing in just a few seconds. Fully customizable draw in sand effect with layer styles intact. It woorks for any type of image.
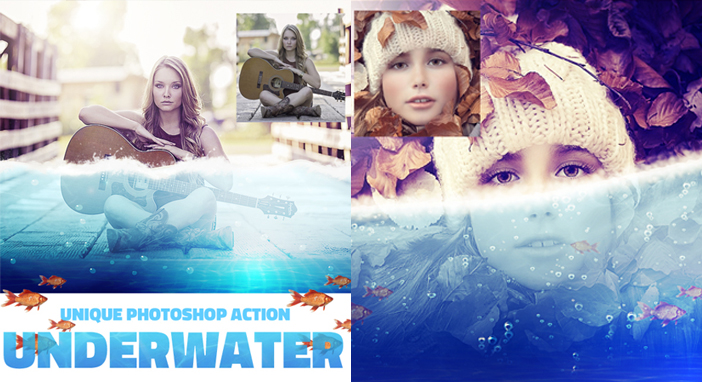
With Underwater Photoshop action you can create a subaquatic, underwater effect using your own photos. This action with styles intact, will allow you to create realistic underwater effects. In the preview you can see the before and after effects. The underwater result contains easy to edit layers with layers styles intact so that you can customize the look.
Underwater Photoshop Action
If you are looking for great quality water texture and backgrounds for your projects you can find lots of free images at Textures4Photoshop.
Sand Writing Photoshop Style Action

You can also check out this awesome water text PSD mockup that you can download for free.
2 comment(s) for "Create Water Text Effect for Summer Postcard in Photoshop"