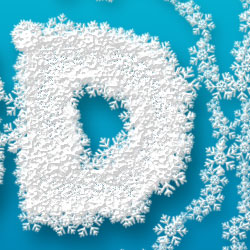
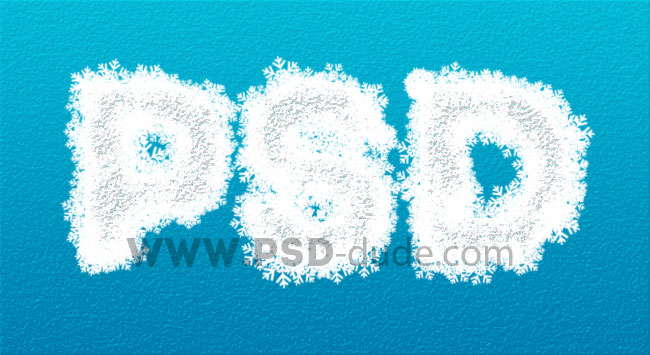
In this quick tutorial I will show you how to create a ice snowflakes text effect in Photoshop in just a few easy steps. You can create so many creative winter borders and frames using this technique. So first let's take a look at the effect that we are about to create.

How To Create The Frozen Background Effect In Photoshop
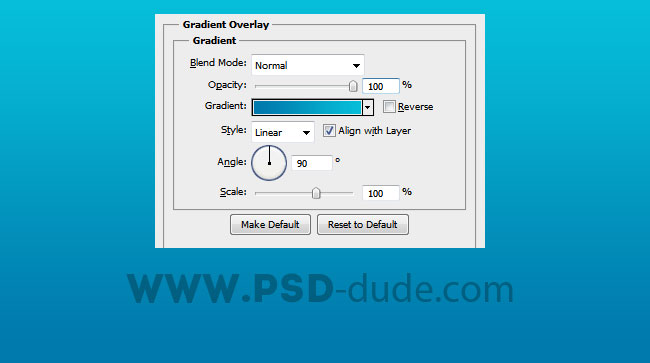
Start with a simple background and add a Gradient Overlay layer style with colors #0078aa and #06bed9. Call this first layer Background 1
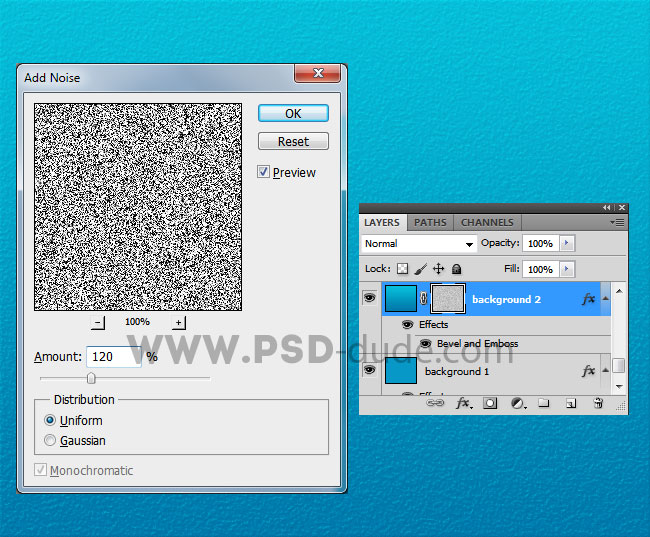
Duplicate this layer and rasterize the layer styles. The option Rasterize is only available for Text and Vector Shape layers, so if you right click on this layer, the Rasterize Layer option will not be available. When I say to rasterize the layer styles or flatten layer effects I mean that you have to create a new blank layer and merge it with the layer that you want to rasterize.
Call this layer Background 2; add a layer mask. Select the layer mask(click on it; you should see a black frame if the mask is selected). Go to Filter>Noise menu and choose Add noise
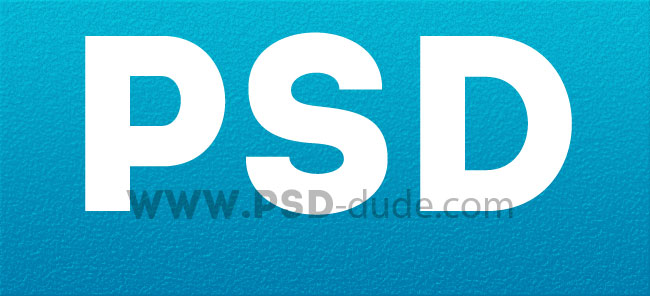
Add a text layer and type something. Call this layer Text 1
How To Create The Frozen Text Effect In Photoshop
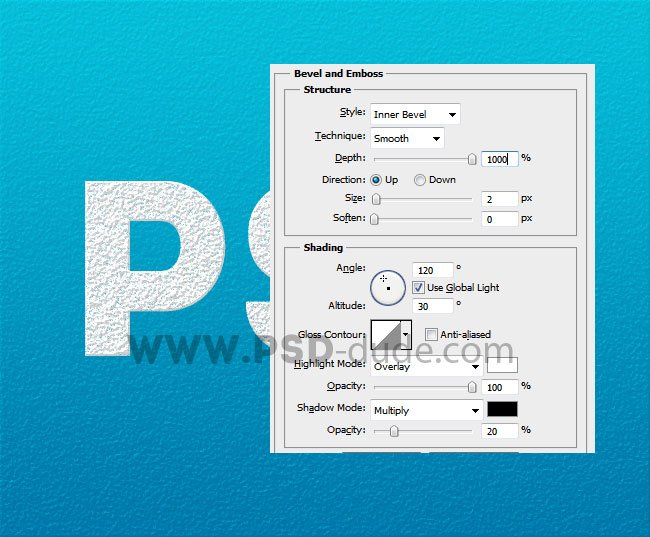
Duplicate the Text 1 and call it Text 2. Add a layer mask to the text layers. Add Noise Filter as you did for the background. For the first text layer the noise effect is 120% and for the second text layer the noise effect added is 60%. Add a Bevel and Emboss layer style to both layers with the following settings:
Create two new layers above all the other layers and call them Snowflake Border 1 and Snowflake Border 2. Create work path using one of the Text layers.
How To Create A Snoflake Photoshop Brush From A Photoshop Vector Shape
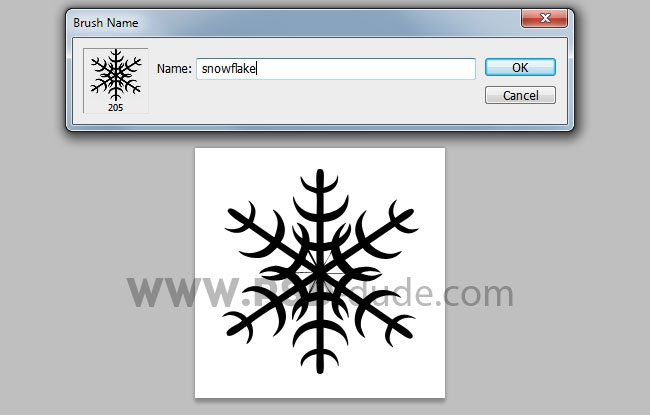
Now I am going to create a snowflake brush. Pick one of these Christmas shapes collections that have snowflakes. Create a new PSD file and add the snowflake shape. Use white for the background and black for the shape. Go to Edit>Define Brush Preset and type a name for your brush.
Using the brush make in the previous step we will now create a customized brush using dynamics. Here are some complex tutorials on how to create brushes in Photoshop if you want to learn more interesting things.
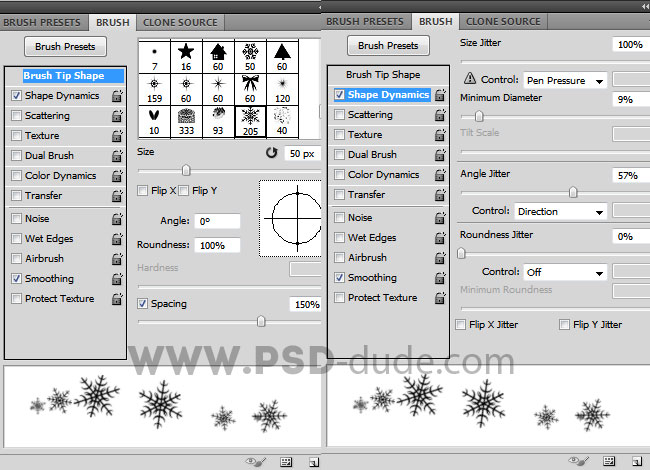
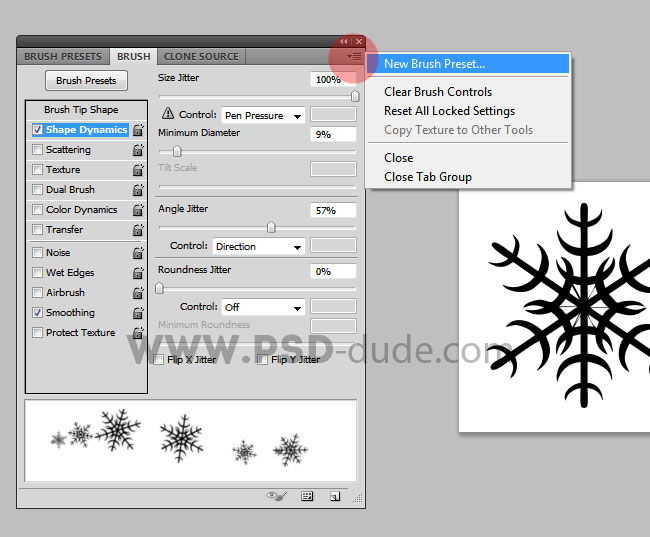
So pick the Brush Tool, choose the snow brush made earlier and toggle the Brush panel to reveal more options. Set the Brush Spacing and Shape Dynamics like shown in the image and create a new brush preset called snaowflake 1. Reapeat the process but this time set the spacing to 60% and save the new brush as snaowflake 2
How To Create A Snow Text Effect Using Photoshop Snowflake Brushes
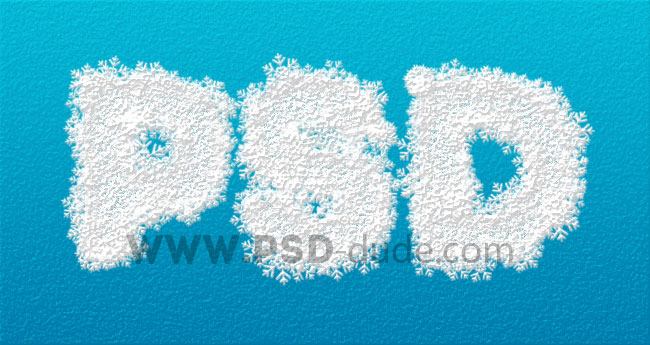
Stroke path using the two snowflake brushes in Snowflake Border 1 and Snowflake Border 2 layers using color white. Your result should look like this.
Add the Bevel and Emboss layer style that we used for the background layer and the icey text effect should look like this.
How To Add A Lens Flare To The Frozen Ice And Snow Text Effect
Duplicate all the layers except the background layers and merge them. Add a Drop Shadow effect to the resulted layer. Also you can use the snowflake brush in a new layer and create decorative Christmas borders. You can also use sparkle brushes and maybe some lens flare effects. So here is the final result for the ice snowflake text effects, I hope you all enjoyed this tutorial.
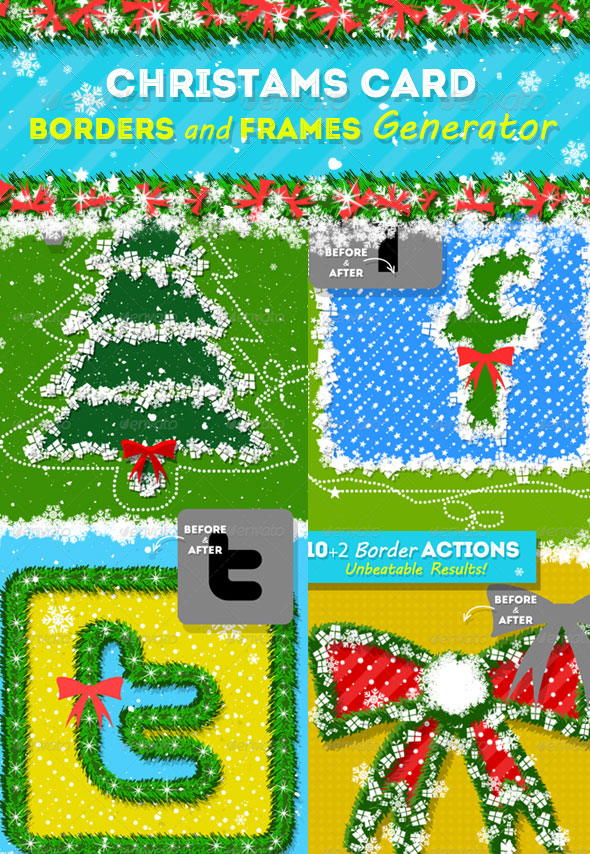
If you want to create similar winter border and frame effects with just 1 click you can try our Christmas Card Borders and Frames Generator. This pack contains 10 Photoshop actions that will allow you to create realistic Christmas Cards out of any text, shape, raster with decorative borders and frames. The Christmas borders and frames can easily be modified and customized after the action is ended.
Online Christmas Card Maker
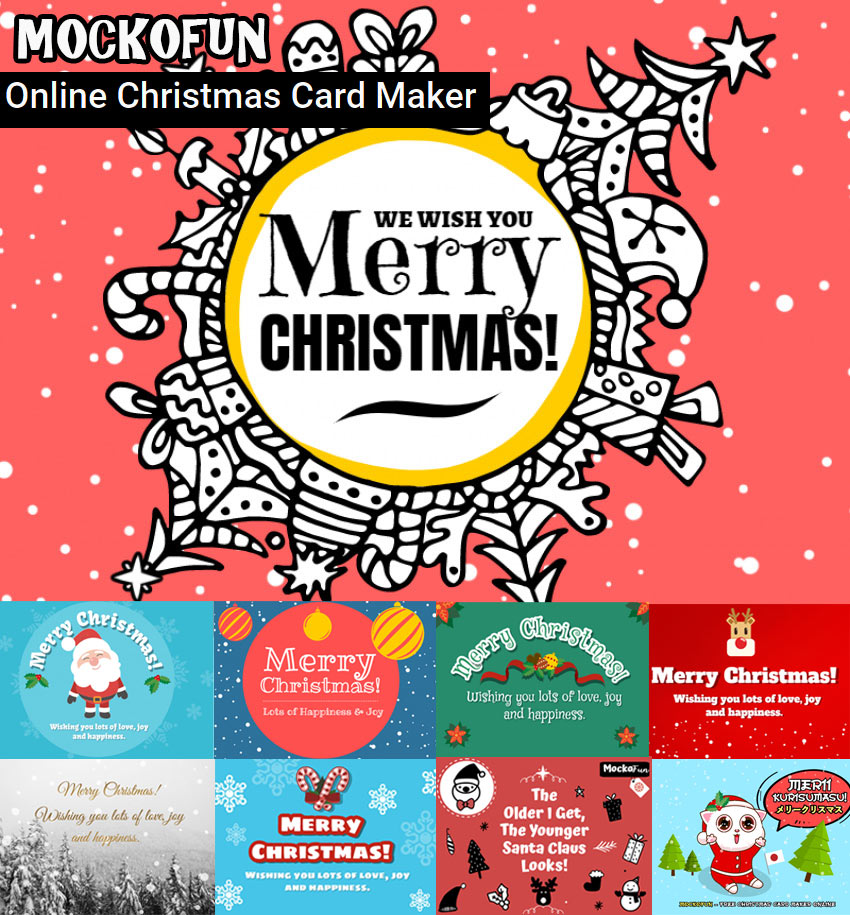
Did you know you can use online tools like MockoFun to make Christmas cards? Combine Christmas vector shapes with text and create some amazing Christmas cards. MockoFun provides pre-made templates for making Christmas cards online in just a few minutes.
Check out this awesome list of over 50 Christmas fonts that you can use online or download for free to use in Photoshop. Combine Christmas fonts with text symbols like a star symbol for example.
Check out this tutorial on how to use the online Christmas Card Maker and all the awesome features that MockoFun has to offer.
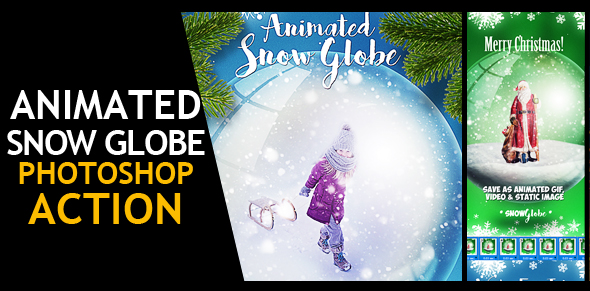
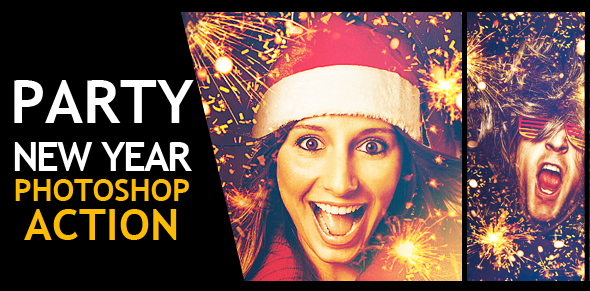
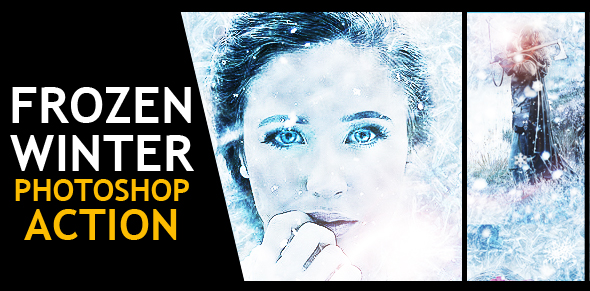
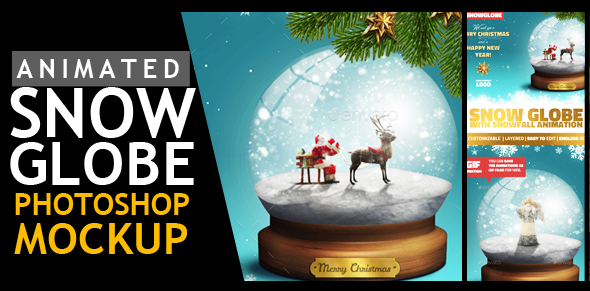
If you want to create beautiful Merry Christmas and Happy New Year cards in just a few steps, you can try these great Premium Photoshop actions.
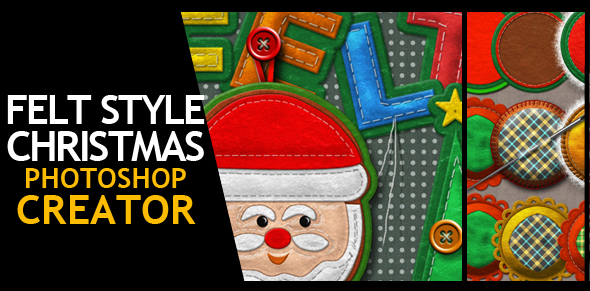
IMPORTANT: If you are planning to buy more Christmas Photoshop actions from the actions listed below, take a look at the Christmas Photoshop Actions Bundle by PSDDude which will save you 15% of the price of individual actions.

12 comment(s) for "Ice Snowflakes Text Effect in Photoshop"
This is a very nice work. I would like to create it but (immediately in the first step) I can't resterize layer styles.
Whether why? The "Rasterize" option in the pop up menu is gray. Please, help me. reply
When I say to rasterize the layer styles or flatten layer effects I mean that you have to create a new blank layer and merge it with the layer that you want to rasterize. reply
I can't do this step, can you help! reply