
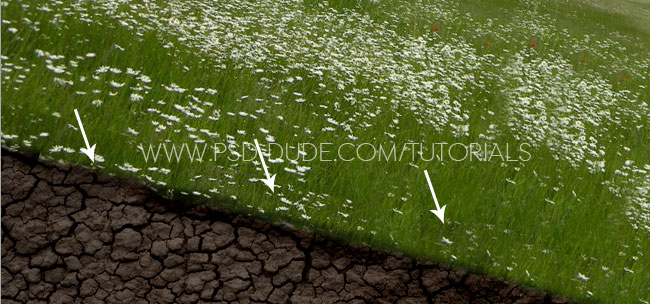
Let's start by adding this daisy field landscape in a new layer. Rotate the image like shown in the preview and use the Clone Tool to cover the empty spaces. Focus mainly on the grass area, because we are going to replace the sky later on. Call this layer Grass Field.

In a new layer add this sky clouds stock image. Rotate the image with the same angle and also use the Clone Stamp Tool to fix the gaps. Name this layer Sky Clouds.

Add a layer mask to the Sky Clouds Layer and inside the mask use the Brush Tool with a soft round brush, color black, opacity 40-100% to create a smooth transition between the two layers.

Add a Color Balance adjustment layer just for the Sky Clouds Layer just to make the image look more like a cartoon.

In a new layer below the Grass Field layer add this cracked dirt texture without any changes like the rotate part that we did for the previous stock images.

Add two adjustment layers just for the Cracked Texture layer like shown in the image to correct the brightness, contrast, saturation.

Use the Burn Tool to create a shadow effect between the grass texture and the cracked dirt texture
Use this mountain landscape stock image and cut only the road area. Rotate the cut area and place it like shown in the preview:
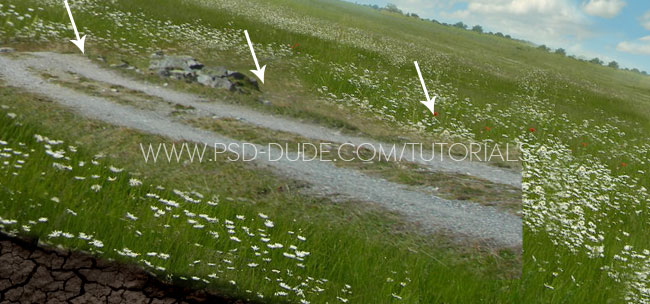
Select the Clone Stamp Tool and use it to make the road path longer so that it covers the canvas width. With the Eraser Tool and a soft round brush with lower opacity make the transition between the grass field and the road path as smooth and realistic as possible.
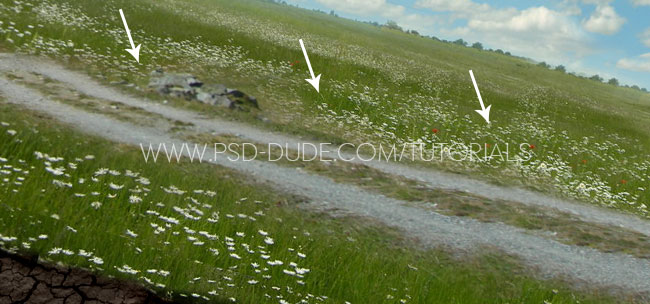
Before going to the next step, add a Hue/Saturation adjustment layer and increase the saturation to around 35 to create a cartoon like effect. We'll now add this Easter rabbit PNG stock image.
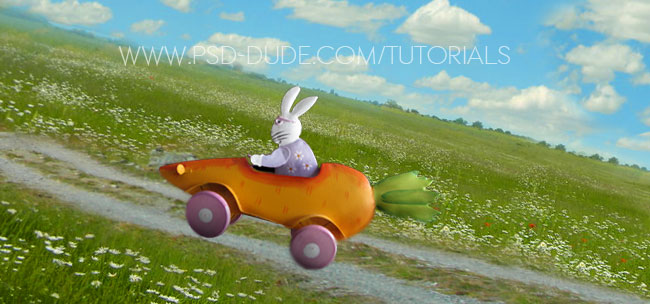
Let's add an Inner Shadow and a Gradient Overlay layer styles to the Easter Bunny layer.

Use the Brush Tool, soft round brush, color black, different opacity levels to paint a cast shadow effect. Use the Blur Tool and/or the Gaussian Blur Filter. Use the Eraser Tool to adjust the shadow. Make it as realistic as possible.
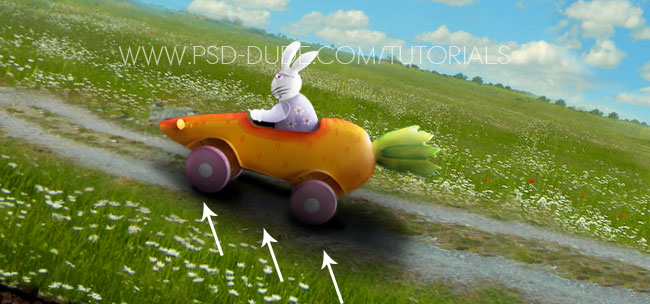
Duplicate the Easter Bunny layer and convert the original layer into a smart object. Add a Filter>Blur>Motion Blur smart filter to motion effect. Another great tool for creating motion/action effect in Photoshop is the Zoom Radial Blur Photoshop filter.

In this step we will add a couple of trees to te landscape using this tree PNG stock image.

Rotate the image so that it follows the road line. Use the Burn Tool to add some depth tp the tree and to create shading and lighting like shown in the image. You can also increase the Saturation of the tree layer a little bit.

In a new layer use the Brush Tool to paint a soft cast shadow effect like shown in the preview.

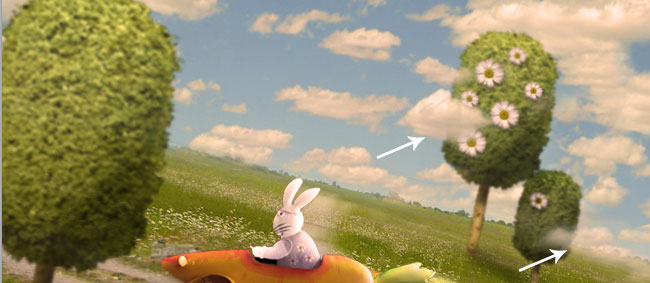
Make the same process twice for adding two more trees, a small and a big size one. Use the Gaussian Blur filter for all the trees to give create an unfocused effect.

If you want you can add some daisy flowers on the trees like I did. Simply remove the flower image background, add a Drop Shadow effect and also use the Burn Tool to darken certain areas.

You can add some extra clouds to partially mask the trees to obtain a more interesting effect. You can use clouds from the sky stock image or you can use one of these clouds brushes .
If you want you can add some sun flare light effects. Use this tutorial to learn how to add a non-destructive optical flare in Photoshop using the Lens Flare Filter.

I added a clouds text using my clouds creator ; simply add your text, use a Warp Flag transform and play the action. You can also create any kind of cloud shape and silhouette using this Photoshop tool.

For the final touches I have added 3 adjustment layers: Photo Filter(color#ff921e), Gradient Fill(color #7288db, #e78200, Overlay blend mode, opacity 25%) and Brightness/Contrast.

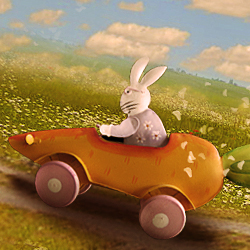
So here is the final result for the Easter Bunny photo manipulation, hope you all enjoyed reading our new tutorial for the upcoming Easter holiday.
4 comment(s) for "The Easter Bunny Photoshop Manipulation Tutorial"