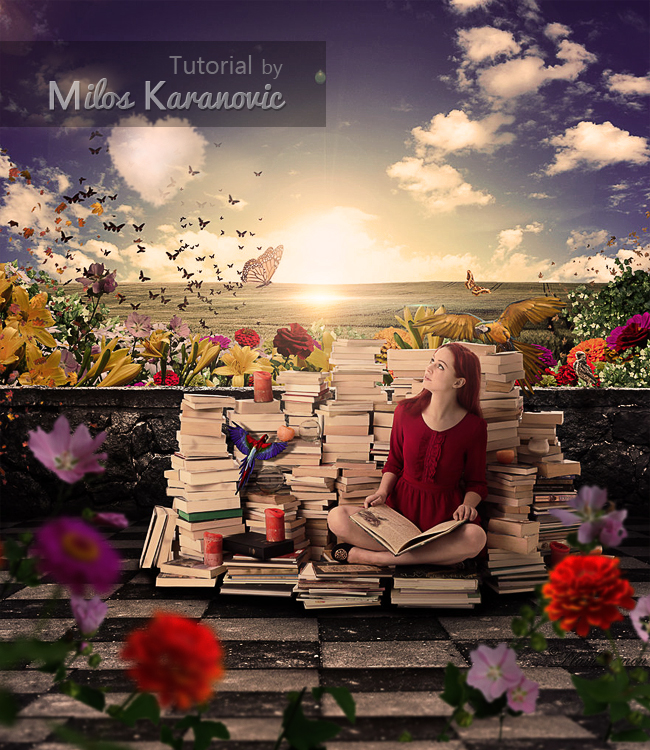
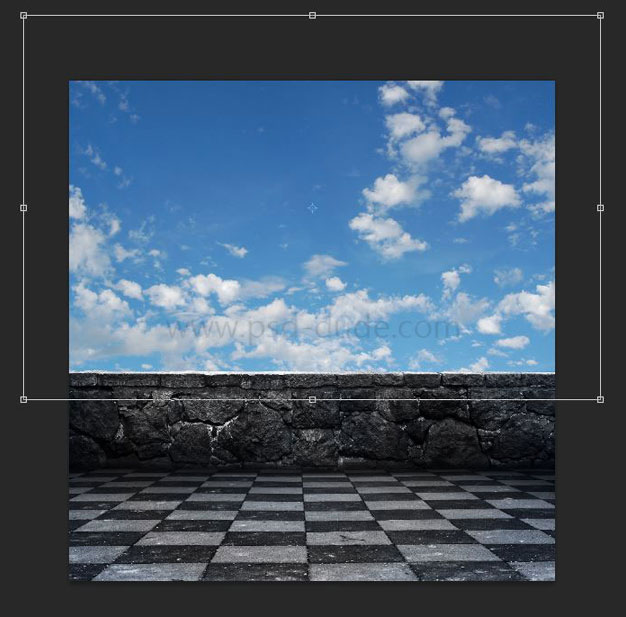
Open this beautiful premade background
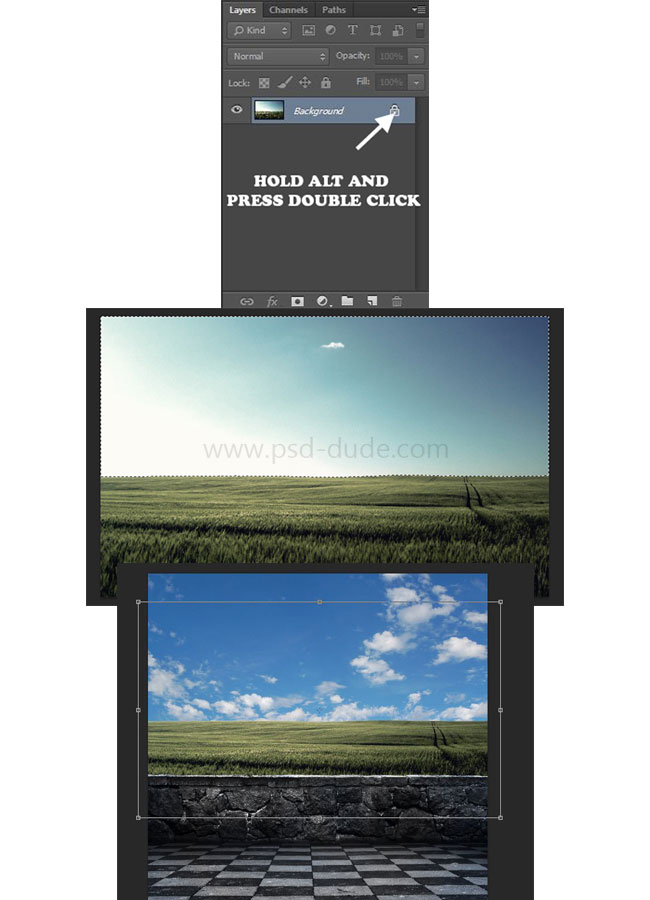
Now delete the sky and use a Quick selection tool and select the sky and press delete to remove it.

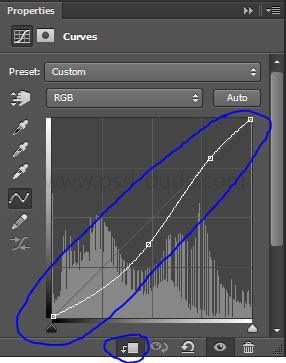
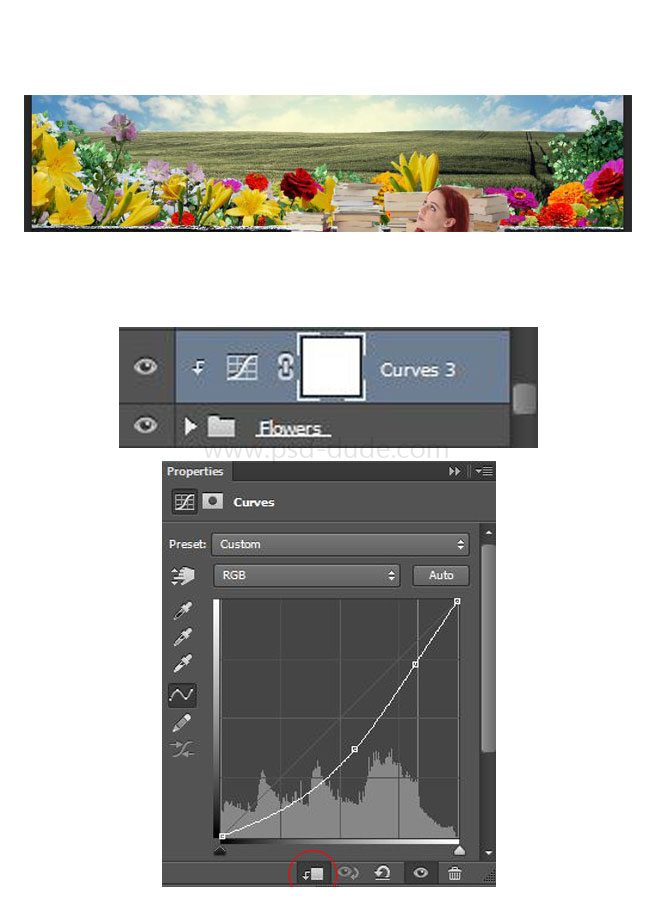
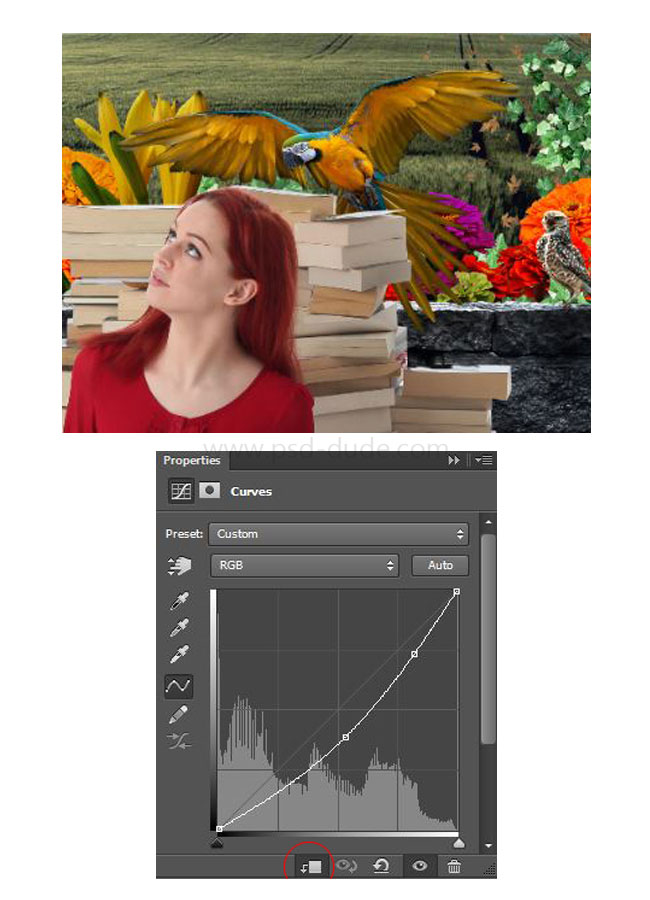
Go to Adjustment layer > Curves and apply it as shown.
Now open a Sky and type CTRL+T to resize it and place it behind the background layer.
Open field image and use a Quick selection tool to select the sky from this image and delete it. Place the image like shown in the preview.
Now add the Light behind field layer. Use a brush tool and set a size to 3036px and type a four time as is shown in the picture. For color use this code "#fcfbbe".
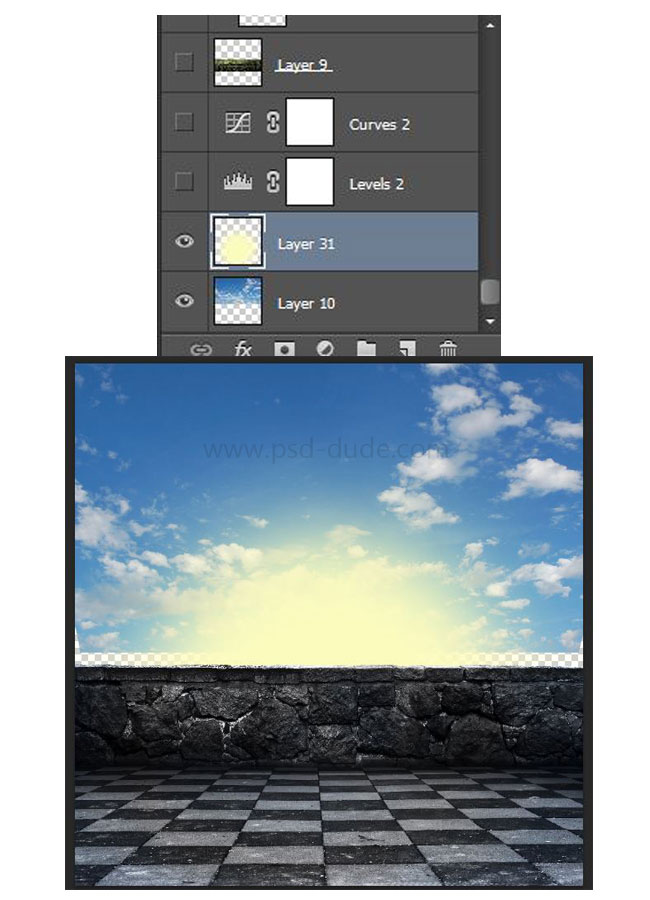
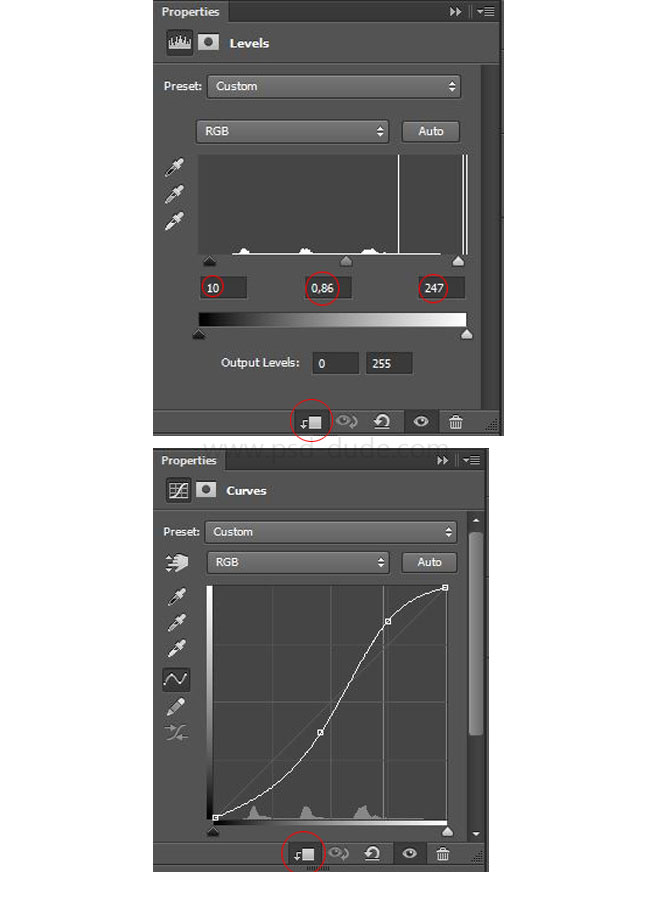
Go to Adjustment Layes>Curves and Adjustment Layes>Levels and use settings like shown in the preview.
Open girl image and place it in the center of the image. The best way to precisely cut image in Photoshop is by using selection tools ; by far the best method is to trace the shape using the Pen Tool.

Use a brush tool to add a cast shadow effect in Photoshop. Use a black color and just paint shadow.
You can try this Drop Shadow Photoshop action to create shadow effect.

Now add these ivy plants in a new layer. Open the ivy picture and simply multiple layers of plants.
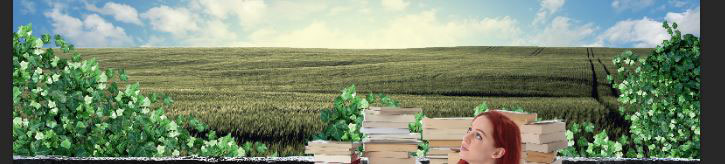
Repeat the same procedure with the flowers: malvas, daisies, zinnias, yellow lilies, rose and go to adjustment layer>curves to darken the flowers.
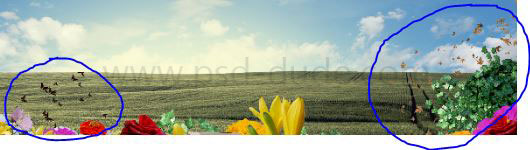
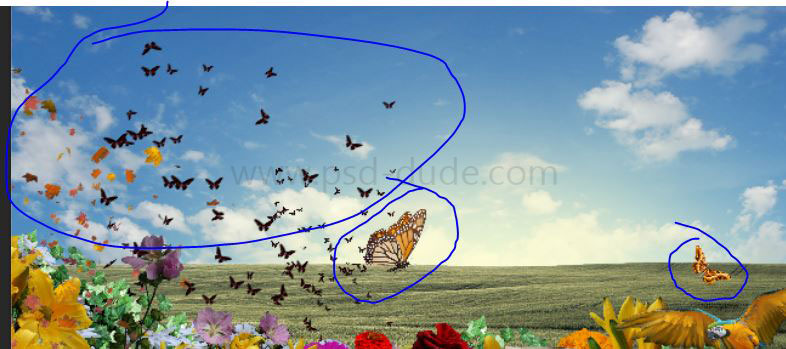
Add this butterfly stock image and this butterfly storm stock image. Add the butterflies over flower and ivy, as randomly as possible, like shown in the preview. Resize the butterflies, roate and distort to simulate the flying effect.
In a new layer add these leaf scatter and place them over the flowers and foliage layers.
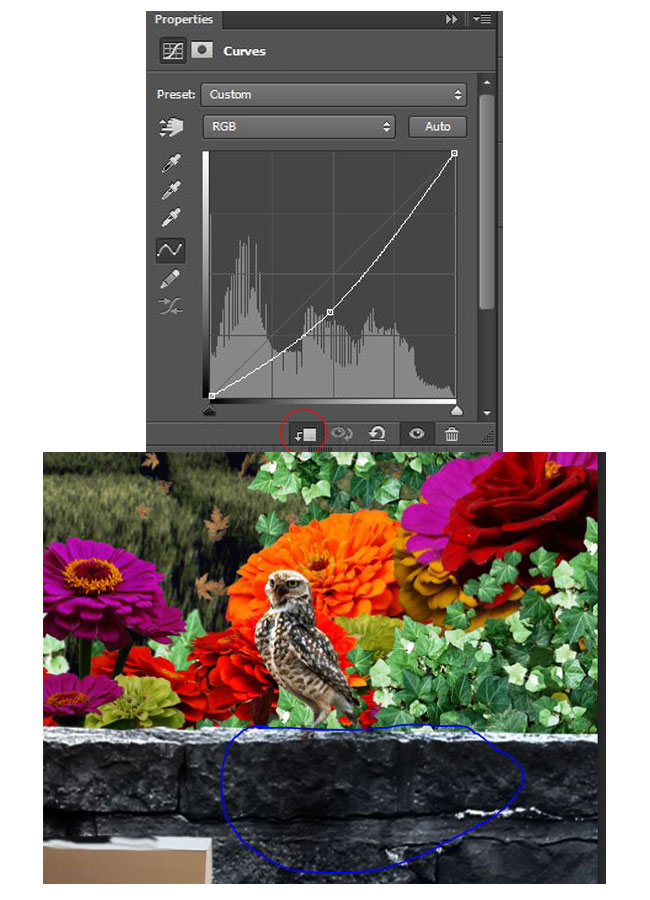
Open bird PNG and place it on the wall. Use a brush tool a paint a little shadow, also make the bird image more darken by using curves.
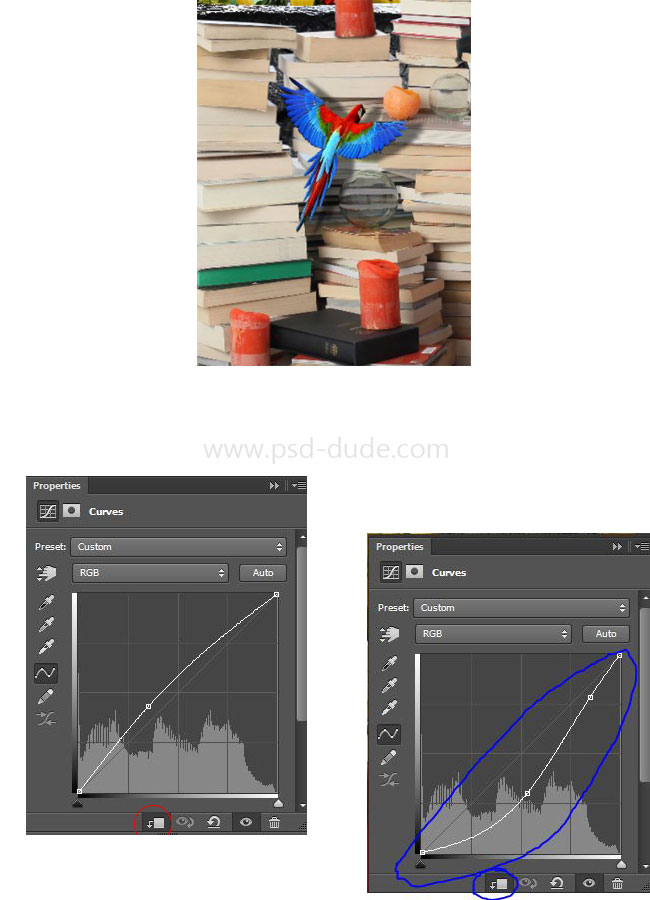
Open this parrot bird PNG stock image and place it like shown in the picture. Repeat the procedure similar to the one from the previous step. Add a shadow and darken the bird.
Add another colorful parror bird and repeat the same procedure on this step.
Add more leaves like in the preview. Don't forget to add a cast shadow effect for each layer you add. The shadow must be added only on solid objects, so where is shadow on the air surface please delete it. To add shadow you have to duplicate the original layer, move the original layer downwards, color it black, reduce the opacity to 50% .
Now open more butterflies using the 2 PNG images. Repeat the same procedure on this step, add bigger size butterflies and small size butterflies to add depth to the image.
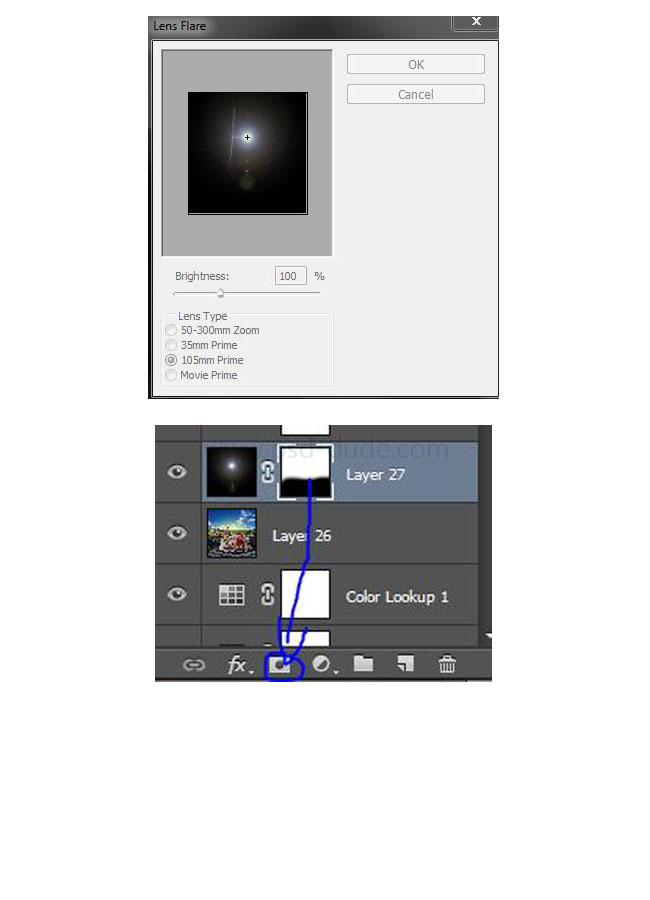
Create a new layer, and set the foreground color to black and press ALT+Delete to Fill with color. Now go to Filter > Render > Lens Flare. Use a 105mm Prime and set the brightness to 100%. Also set the light to center. Set blend mode to Screen. Create a mask and use the brush tool to delete the bottom light like in the preview.
Learn more about how to use the Lens Flare filter in Photoshop from this tutorial for beginners.
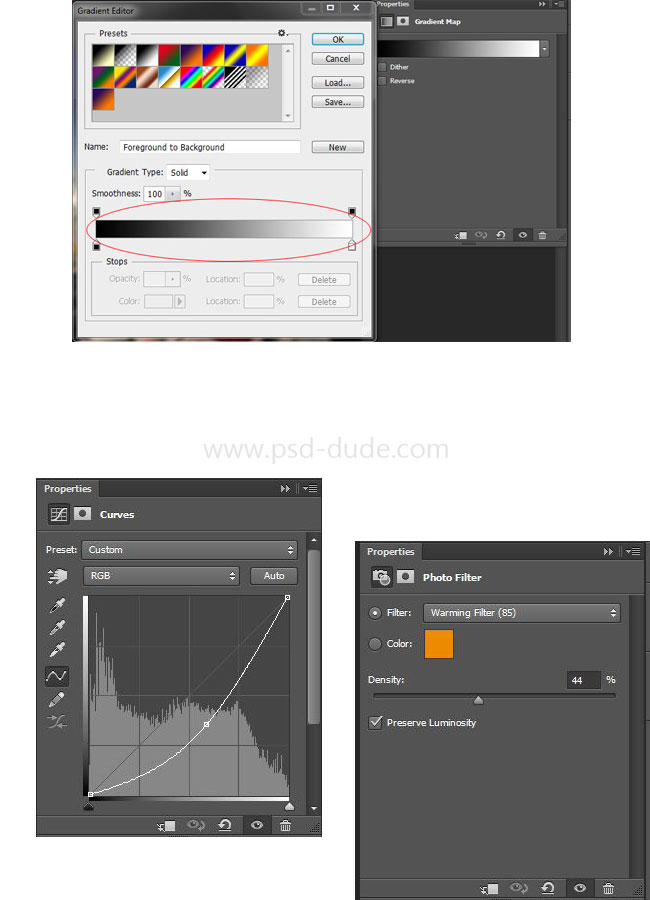
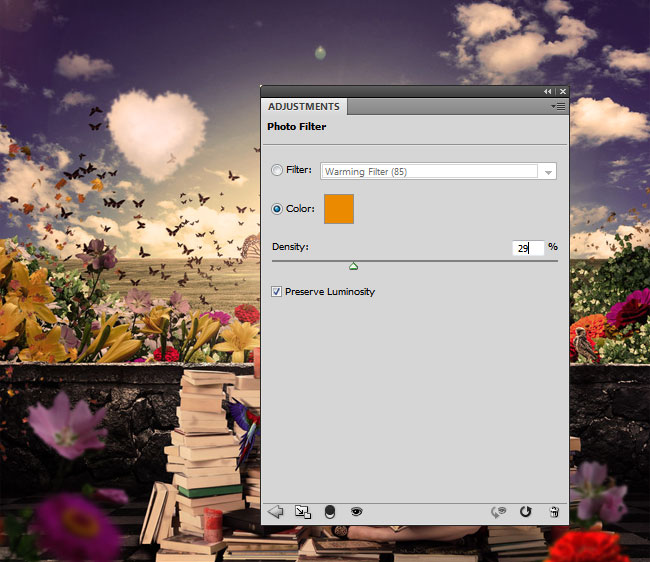
Go to Adjustment layer>Gradient Map and use a black and white colors. Set the blend mode to Soft Light and opaciy to 45%. Go to Adjustment layer>Curves and set blend mode to Soft Light and opacity to 10%. Go to Adjustment layer>Photo Filter, use Warming Filter (85) with Density 44%.
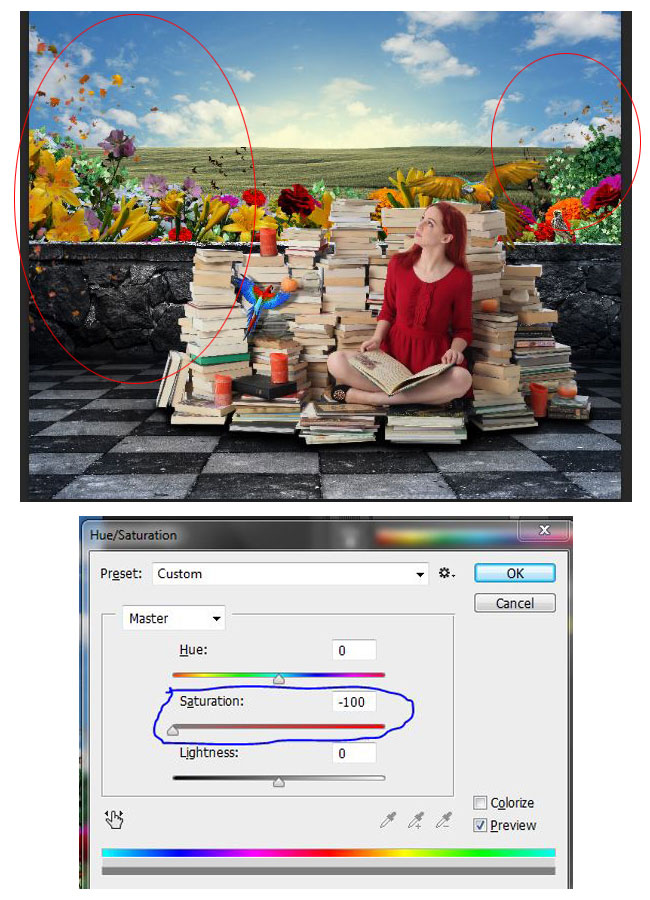
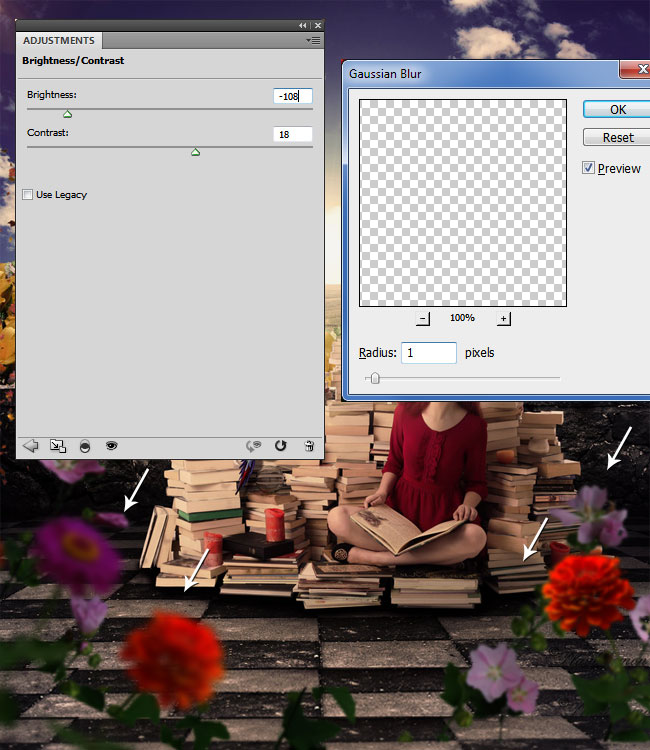
At the last minute we decided to add some more elements to this beautiful photo manipulation. First I added some flowers in the foreground. Use a Brightness/Contrast adjustment layer to darken the flower images and also use the Gaussian Blur filter to make them look out of focus.
Optional you can add some more light effects by using these optical flare textures. Simply set the blend mode to Screen.

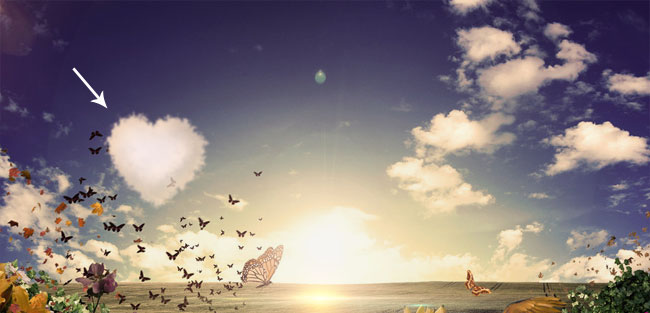
If you want to make the sky more interesting looking you can use this clouds generator and create your own customized clouds. I have used a simple heart shape and played the BONUS: create clouds brush 1(for text/shape) action. Instead of this shape you can use any image, text layer and so on.
For the final touch I have added a Photo Filter with these settings to make all the elements blend with one another. If you want to sharpen the image you can use the High Pass filter.
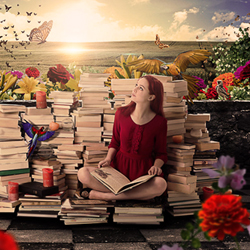
So here is the final result for the Wonderful World Romantic Photo Manipulation; hope you all enjoyed this new Photoshop lesson, see you next time.
17 comment(s) for "Wonderful World Romantic Photoshop Manipulation Tutorial"
but i think u missed sth before the step 21.
i dont know where i need to apply step 21 to..
do i need to make a new layer?
or i can just apply step 21 to step 20 layer?
Thank youu!!!! reply
thanks for that !
http://blog.123rf.com/learn-to-create-the-most-angelic-cat-you-have-ever-seen/