Tutorial Assets
For this tutorial you will need these stock images, textures and other resources.
- Checkered Pattern Room Background
- Alice Room Background
- Alice in Wonderland texture
- Grunge Texture
- Broken Wall PNG image
- Opera Hat PNG
- Playing Cards Falling
- Pocket Watch PNG image
- Light Beam
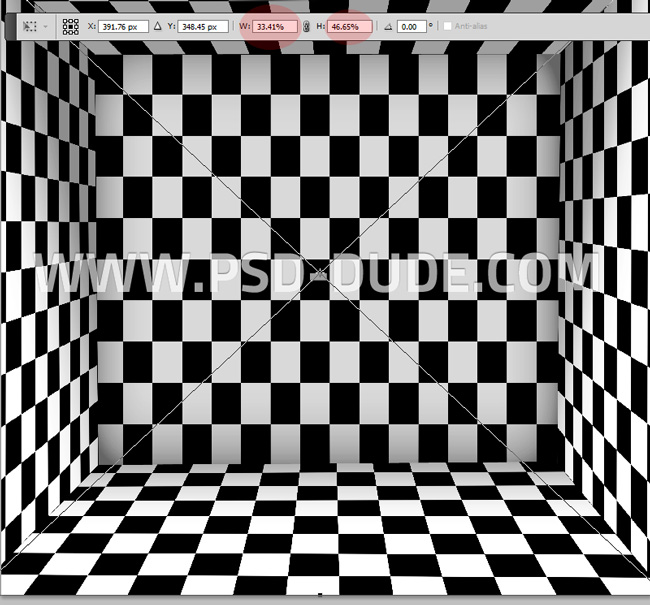
Checkered Room Background
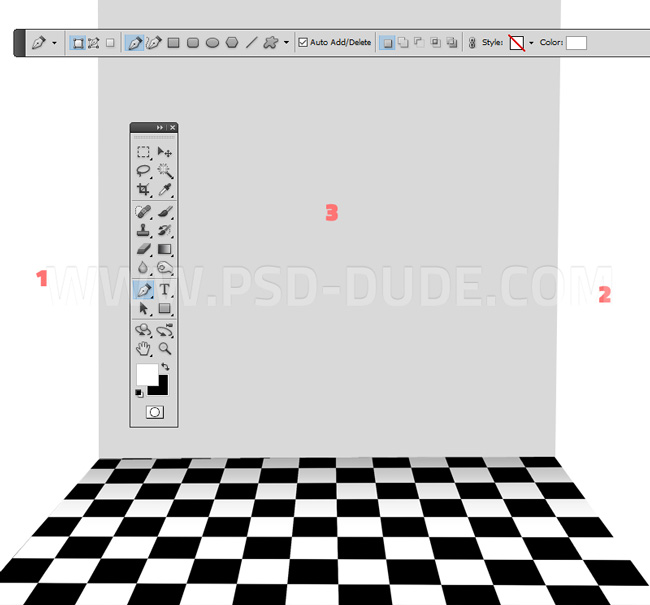
Create a new PSD file, size 800x745px. You can make the image bigger but you have to keep the proportions.
Download and copy this Checkered Pattern Room Background in your PSD file. Press Control-T and rezise the image to look like this.
Use the Pen Tool and create three wall shapes in three different layers called: Wall 1, Wall 2 and Wall 3.
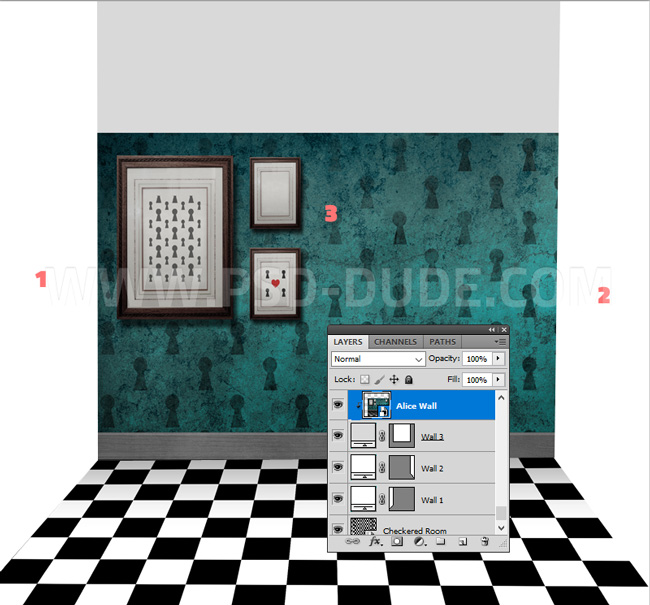
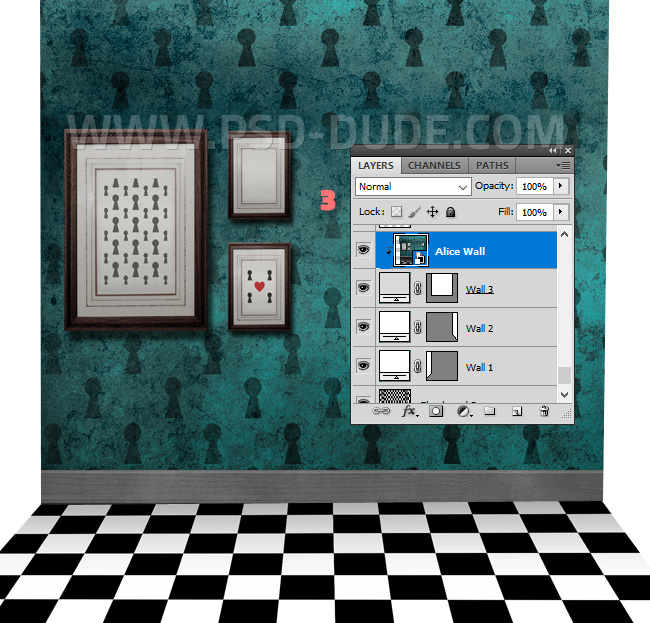
Add this Alice Room Background in a new layer above the Wall 1 layer. Right click on the layer and choose Create Clipping Mask. Call this layer Alce Wall.
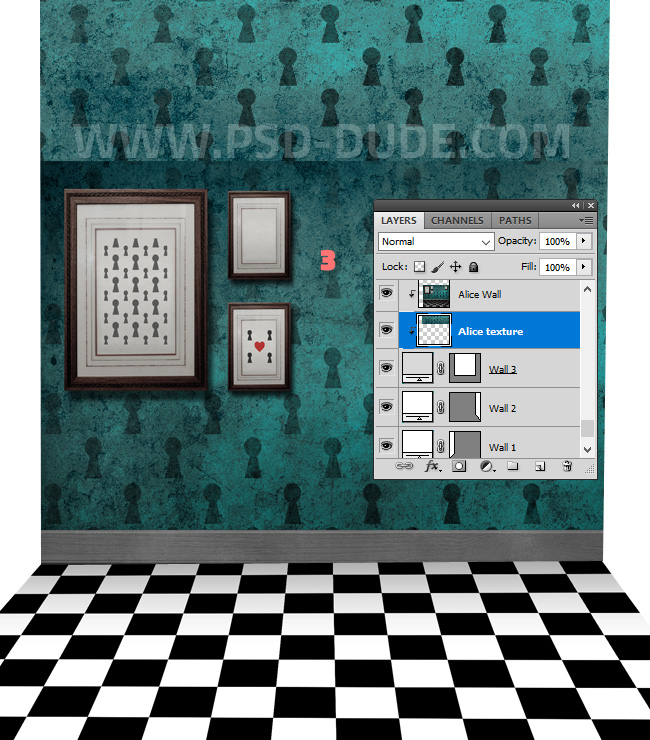
To make the wall taller use this Alice in Wonderland texture that matches with the previous image that we used. Add the texture in a new layer above the Wall 1 layer and below the Alce Wall.
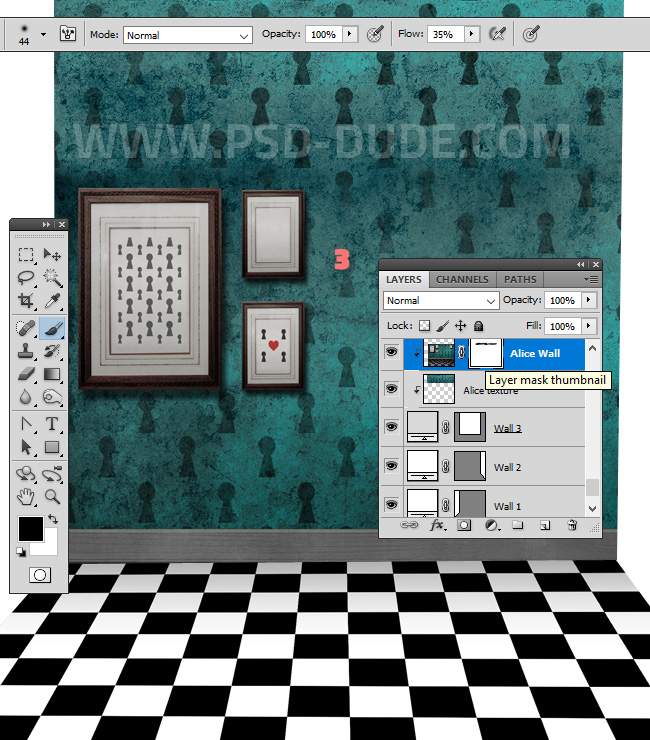
Add a Layer Mask to the Alice Wall layer and use the Brush Tool, a soft round brush and color black to gently paint over the top edge to create a soft transition.
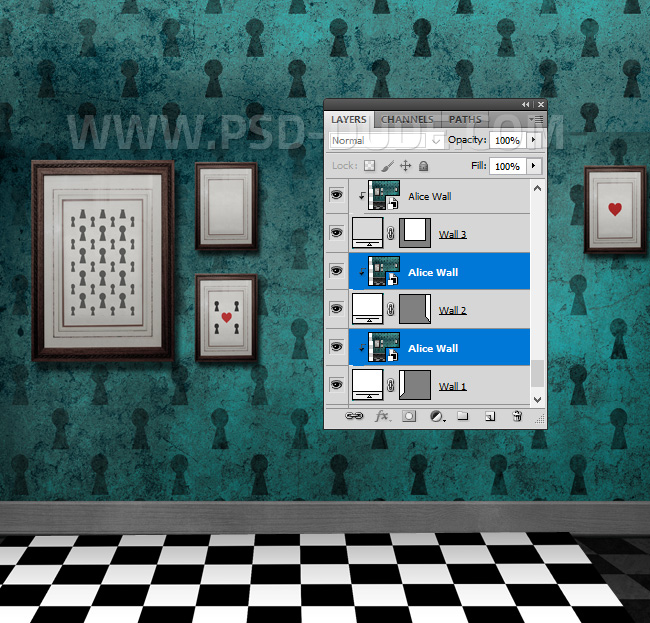
Select the Alce Wall and the Alice Texture layers. Right click and choose Convert to Smart Object.
Duplicate the Alce Wall layer two times and move the duplicates like shown in the preview. Turn each layer into a clipping mask for the layer below.
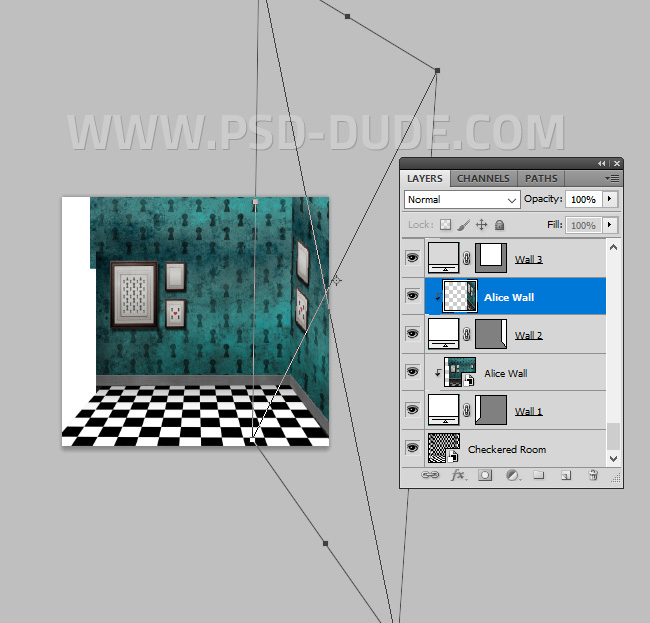
Go to Edit > Transform > Distort and try to create the right perspective for each of the two Alce Wall layers.
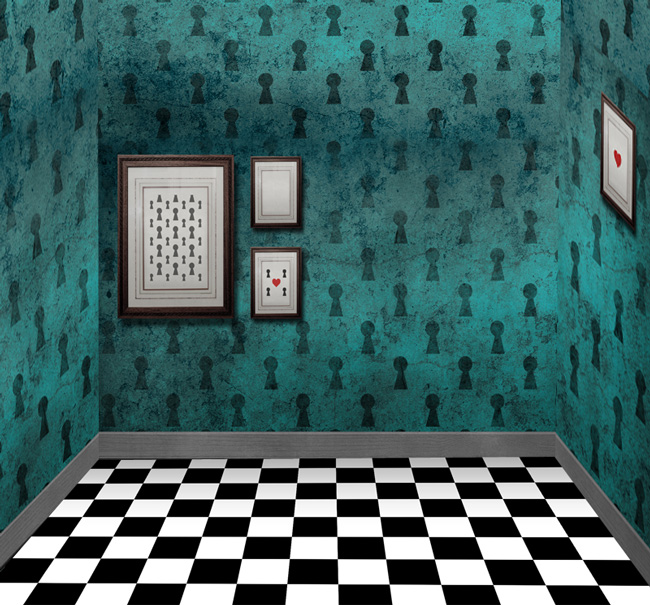
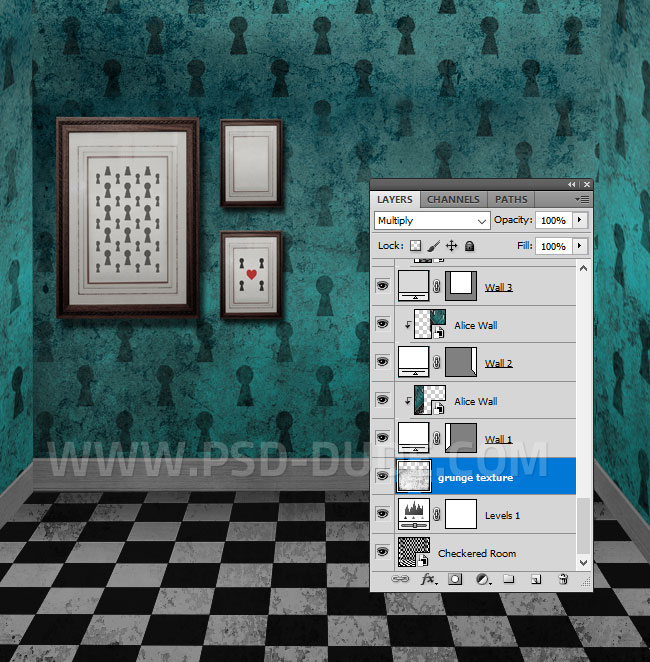
Add a Levels adjustment for the Checkered Room layer to darken the floor.

Create a new layer above the Levels adjustment of the Checkered Room layer. Add this Grunge Texture and set the blend mode to Multiply.
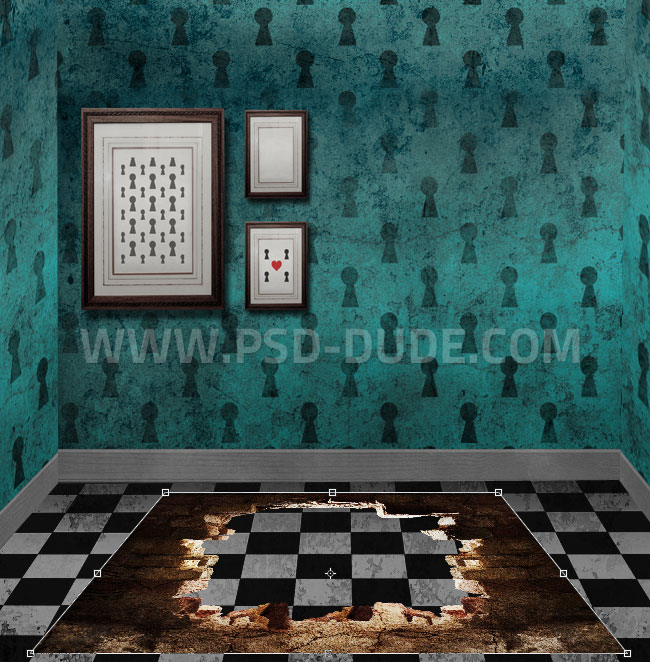
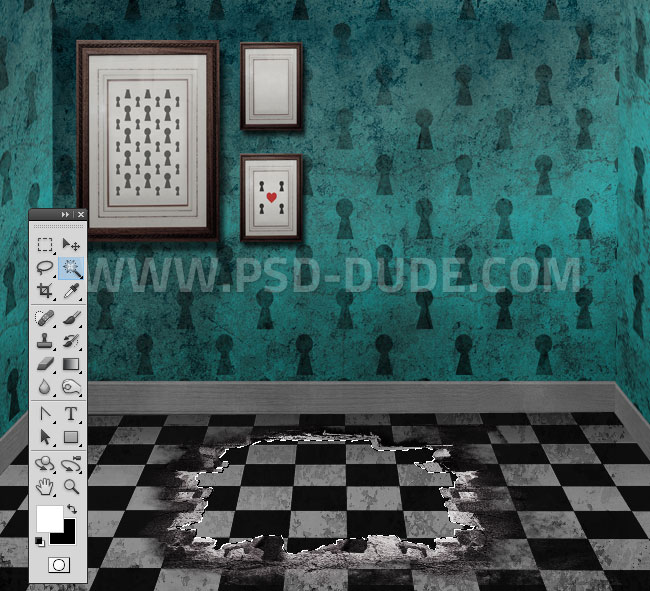
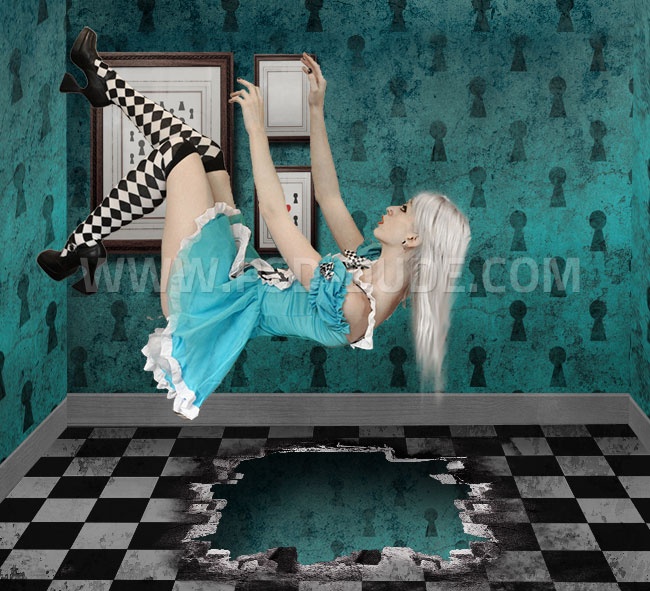
To create a hole in the floor add this Broken Wall PNG image. Use the Edit > Transform > Distort Tool to change the perspective.
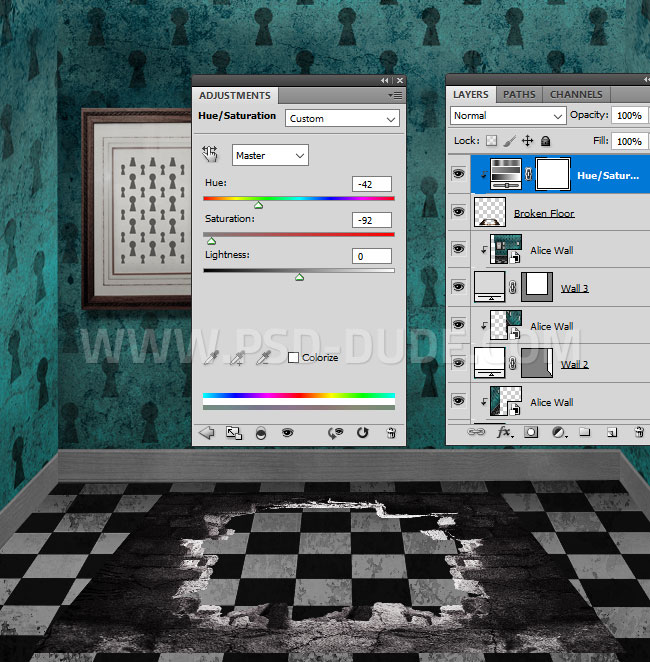
Add a Hue/Saturation adjustment just for the Broken Floor layer using a Clipping Mask.
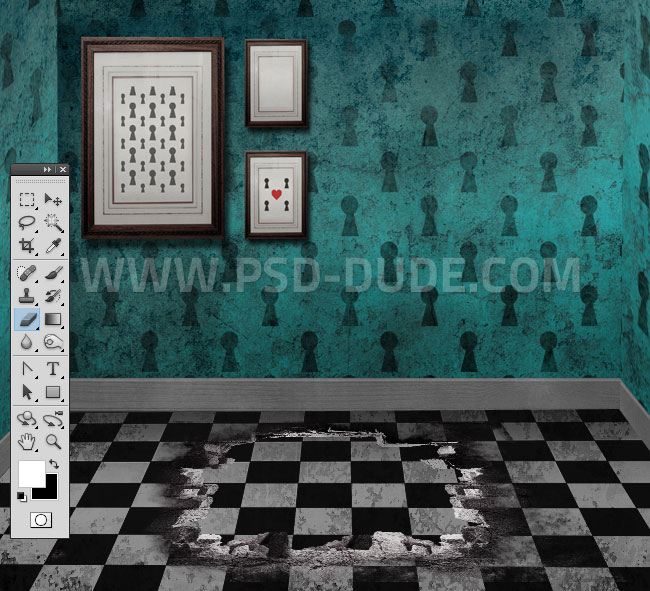
Pick the Eraser Tool and try to blend the floor with the hole image.
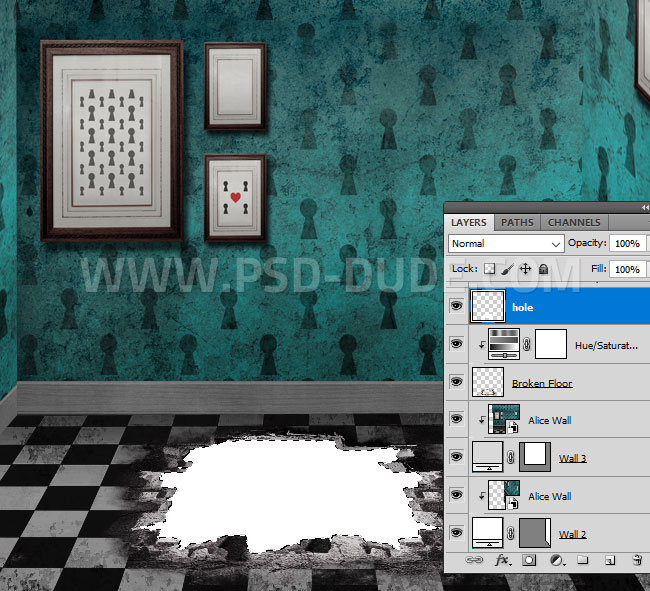
Use the Magic Wand Tool to make a selection of the inside hole shape.
Create a new layer called Hole and fill the selection with color white.
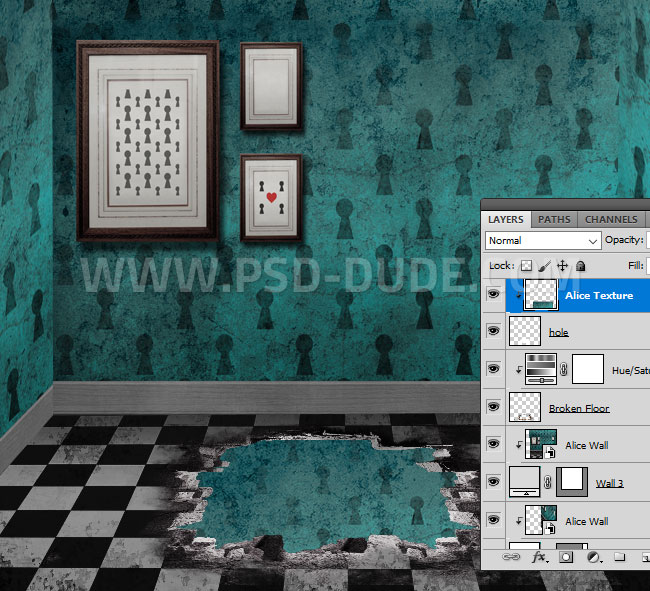
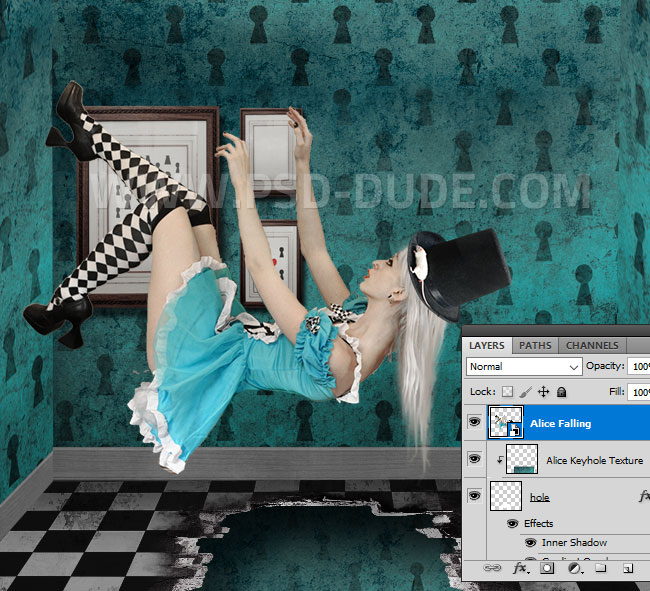
Above the Hole layer add the Alice Keyhole Texture using a Clipping Mask.
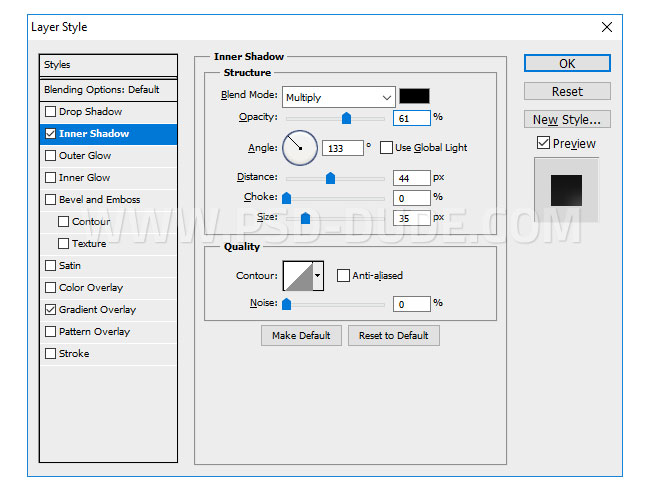
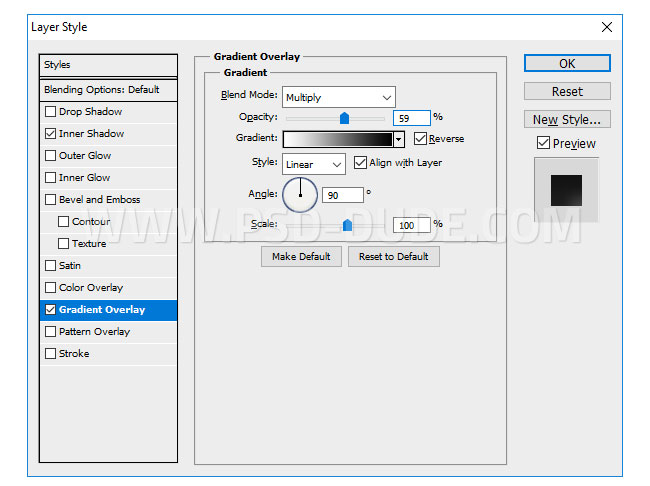
Add an Inner Shadow and Gradient Overlay to the Hole layer, to make the hole in the floor more realistic.
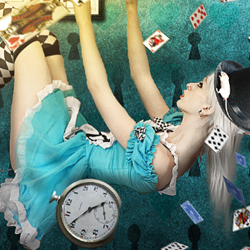
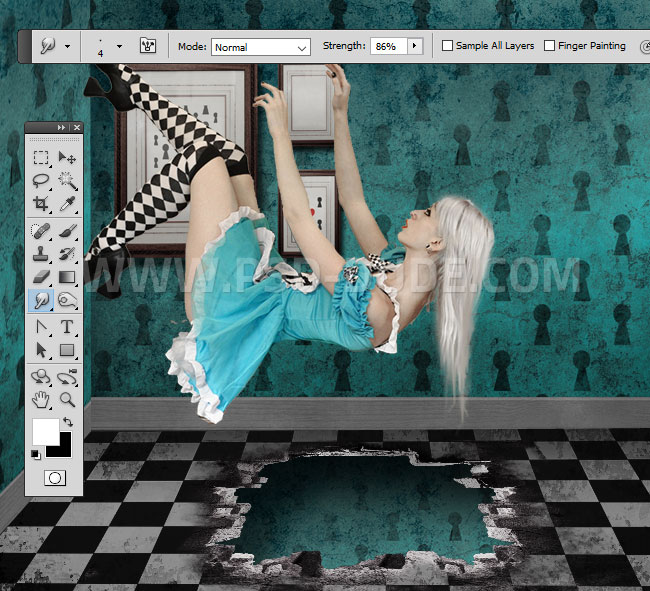
In a new layer add this Alice Stock image. Use one of the Photoshop Selection Tools techniques to remove the background.
Cut the hair roughly and use the Smudge Tool to paint realistic hair. You can also use Hair Strands PNG images.
Add this Opera Hat PNG image like shown in the screenshot.
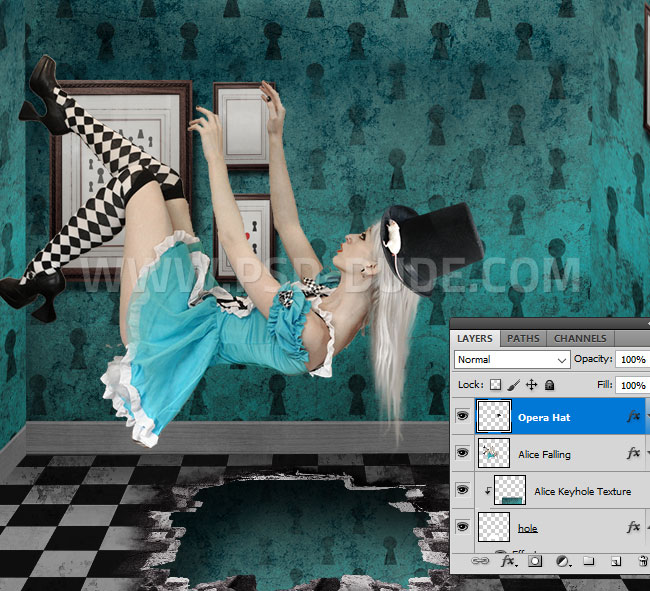
Select the Alice Falling and the Opera Hat and convert them into a smart object.
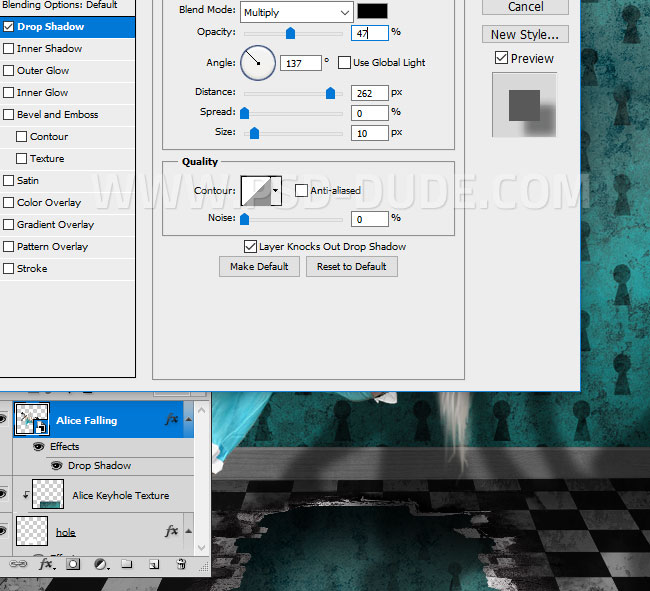
Because the light source comes from the top, add a Drop Shadow Photoshop layer style with these settings. That way you create a cast shadow effect.
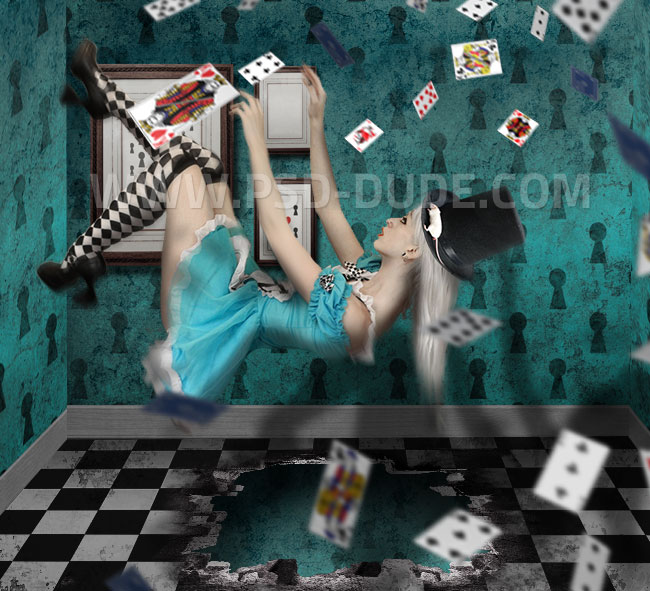
Create a new clipping mask layer called Shadows and set the blend mode to Multiply, opacity 55%. Use the Brush Tool and different shades of dark color to paint some shadows.

Use this PNG image of Playing Cards Falling and create two-three layers. Use the Blur Tool for some of the cards. Also you can resize the cards that are in the foreground and make them bigger.
Also add a Drop Shadow effect similar with the one used for the Alice Falling layer.
In a similar way add this Pocket Watch PNG image. Add two-tree copies and use the Transform tools to rotate and distort them. Don't forget to create a cast shadow effect.
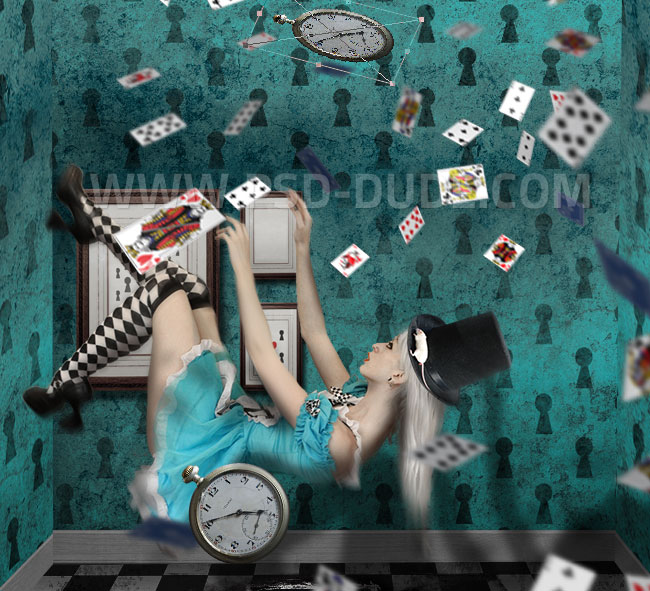
Add this Light Beam and set the blend mode to Screen. You can use the Gaussian Blur or the Motion Blur to make the light more soft.
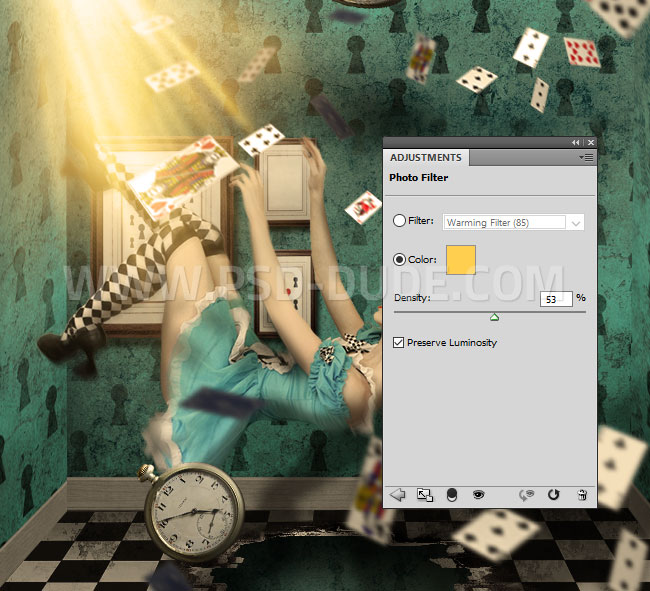
Add a Photo Filter adjustment layer using a warm color #ffcf4f.
Sharpen Images With High Pass Filter
Press Shift-Control-Alt-E to make a copy of all the visible layers merged. Go to Filter > Other > High Pass.
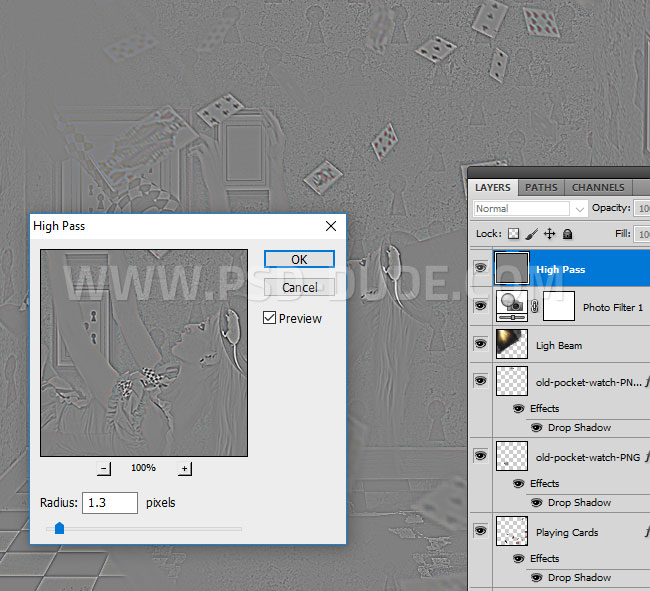
Set the blend mode of the High Pass layer to Soft Light. Use the Burn Tool/Dodge Tool in the High Pass layer to create lighting and shading.
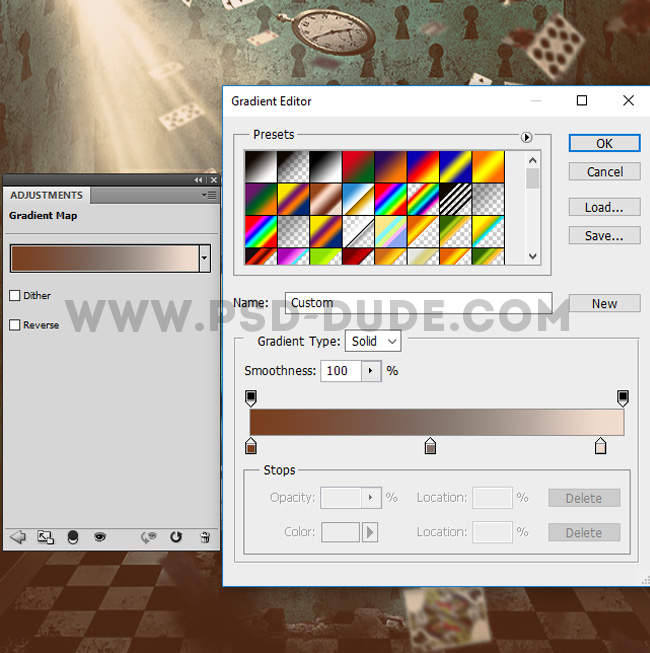
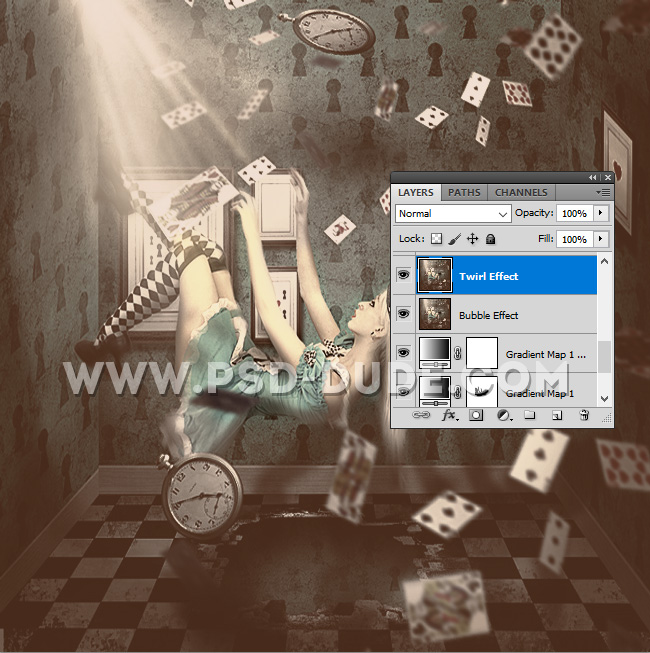
Add a Gradient Map with Normal blend mode and 62% opacity level. For the gradient use these colors: #793e1e(location 0%), #837269(location 48%) and #efdbcd (location 94%). You can use the Brush Tool and black color(opacity 50%) to paint in the center of the layer mask to reveal some of the original colors.
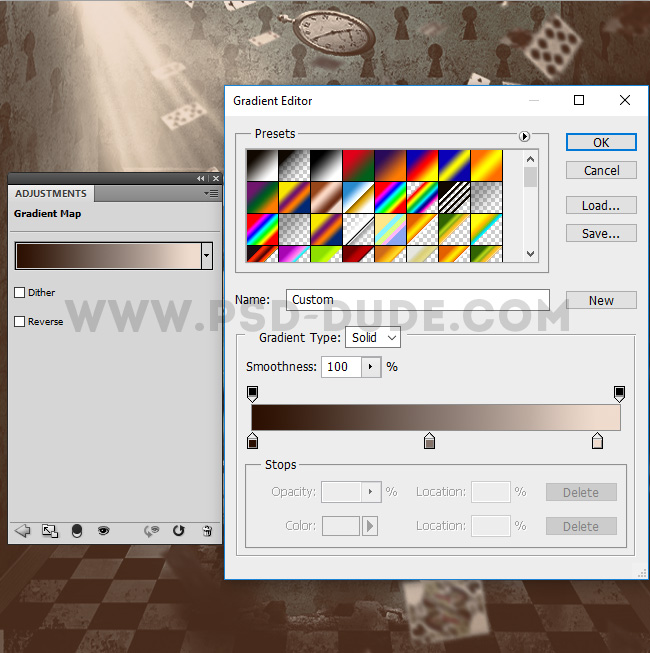
Add another Gradient Map with Normal blend mode and 62% opacity level. For the gradient use these colors: #2b0f00(location 0%), #837269(location 48%) and #efdbcd (location 94%).
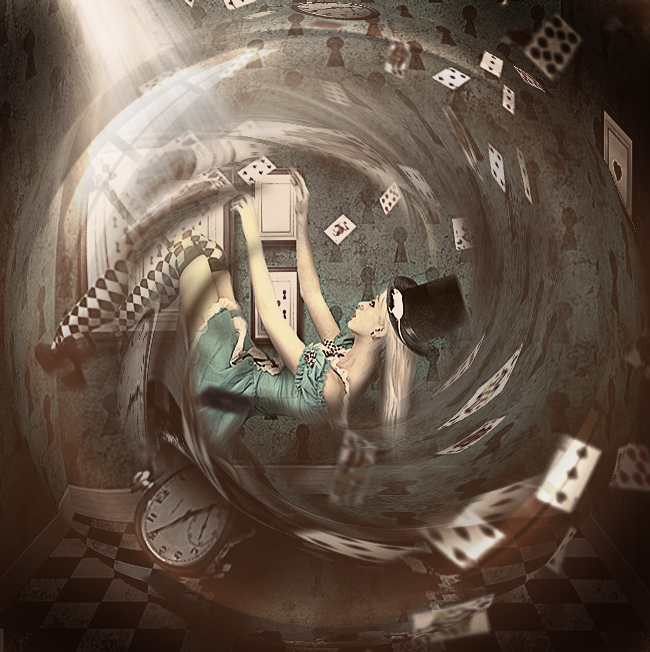
Press Shift-Control-Alt-E to make a copy of all the visible layers merged. Call this layer Twirl Effect. Press Shift-Control-Alt-E again to make a second copy of all the visible layers merged. Call this layer Bubble Effect.
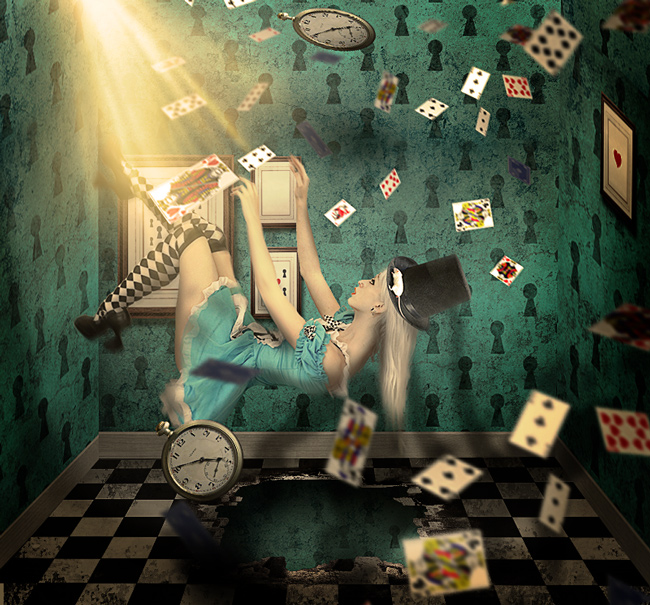
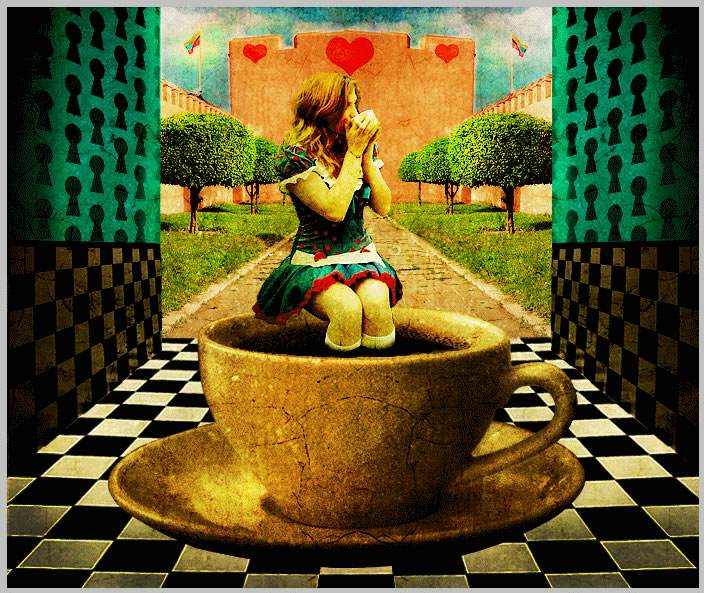
Congratulations, You Made It!
So here is the final result for the Alice In Wonderland Falling Down Photoshop tutorial. I hope you like it.
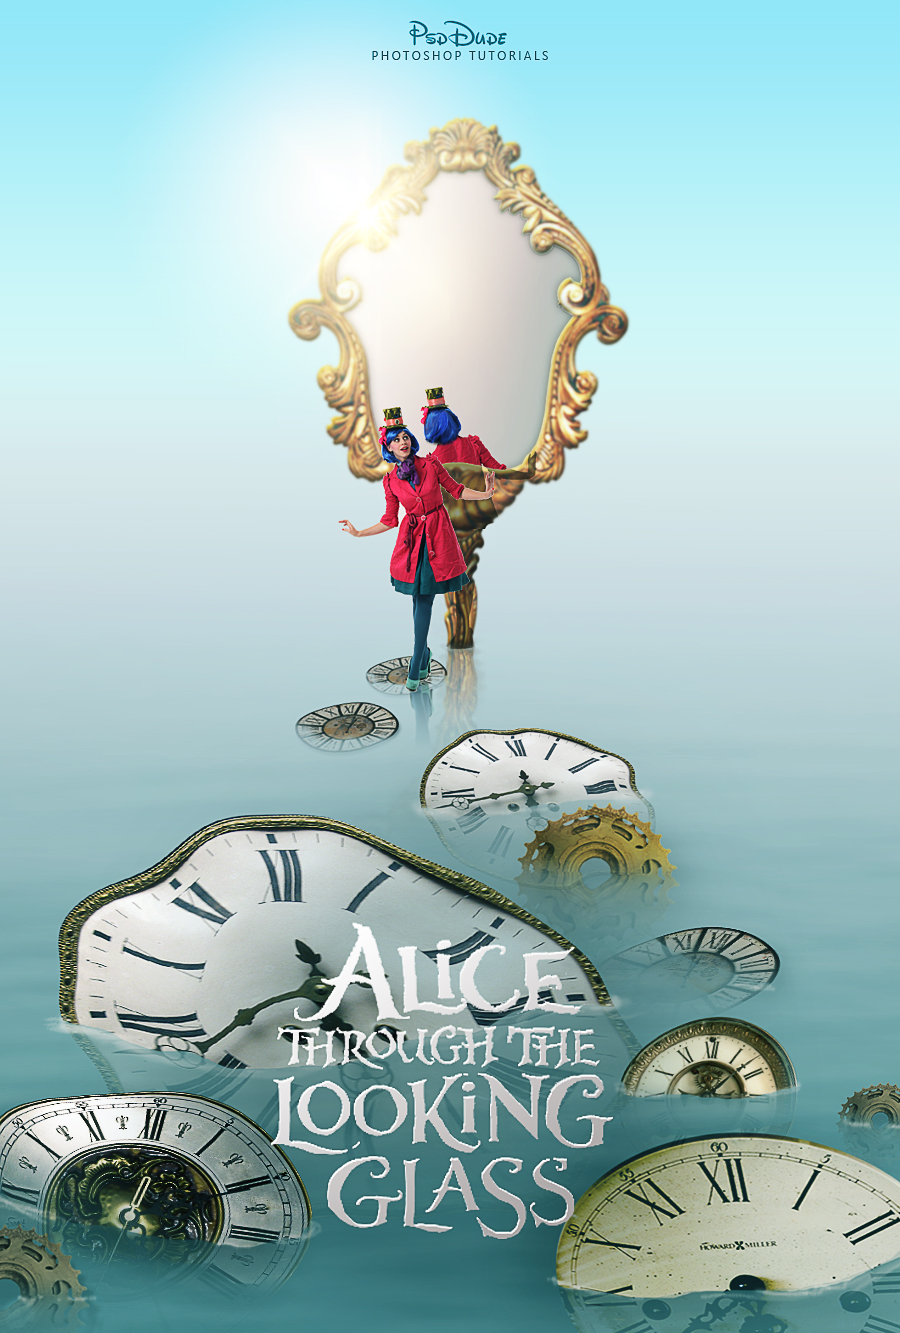
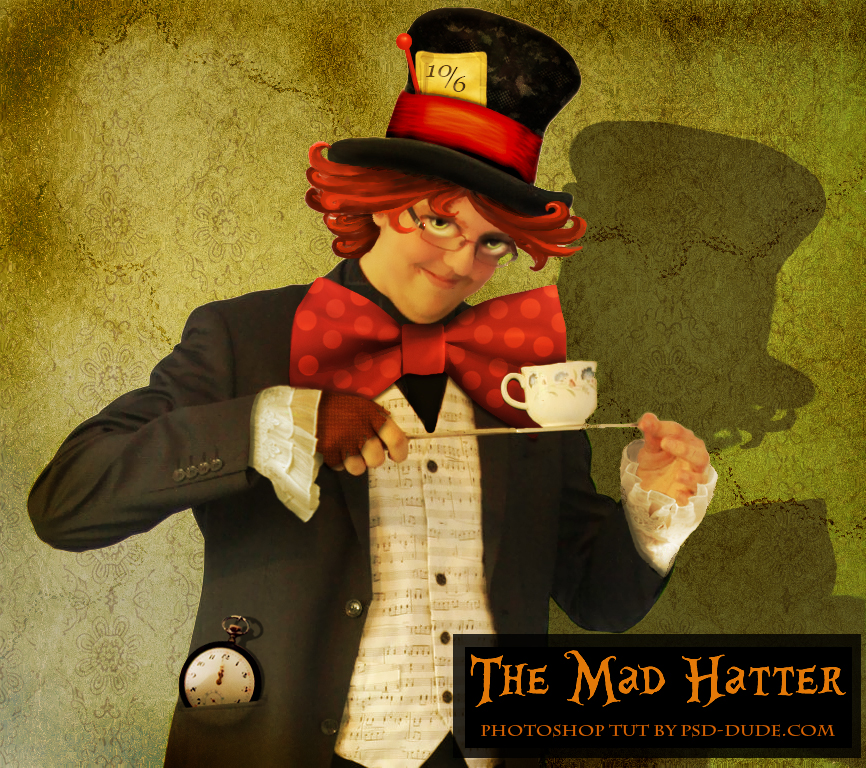
Other Alice in Wonderland Photoshop Tutorials

2 comment(s) for "Alice in Wonderland Falling Down Photoshop Tutorial"
Thank you so much for sharing it with us ! reply
I am so very happy to hear that you like our blog and that our Photoshop tutorials improved your skills :)
We really appreciate your kind words and support!
reply