

Tutorial Assets
For this tutorial you will need these stock images, textures and other resources.
- seamless wood texture
- Christmas tree branches PNG
- Christmas Ball PNG
- red glitter star PNG (see below)
- Seamless Golden Garland PNG image
- golden bell PNG
- Seamless Icicle PNG
- Snowing Overlay Texture
The "red glitter start PNG" image is no longer available, but I have a cool solution for when something like this happens. With the new AI image generators, replacing missing stock images in Photoshop tutorials is very easy. Go to MockoFun and use the AI image generator for free to create the red glitter star as a PNG with transparent background. Simply use this AI prompt to get the image:

4024646373 christmas golden glitter star, closeup, focus on subject, flatlay light gray background cinematic photo --transparent <<juggernautxl_1024px>>
4024646373 is a seed number that uniquely defines the start for an image, so using this exact prompt with that seed will always generate the same result. --transparent makes sure to give you a PNG with transparent background.
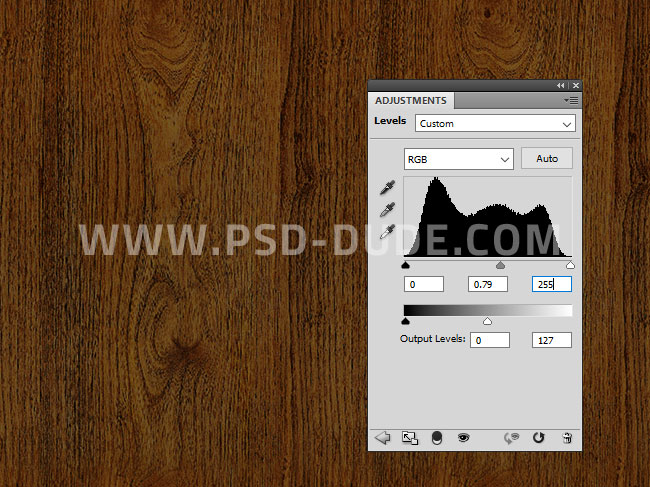
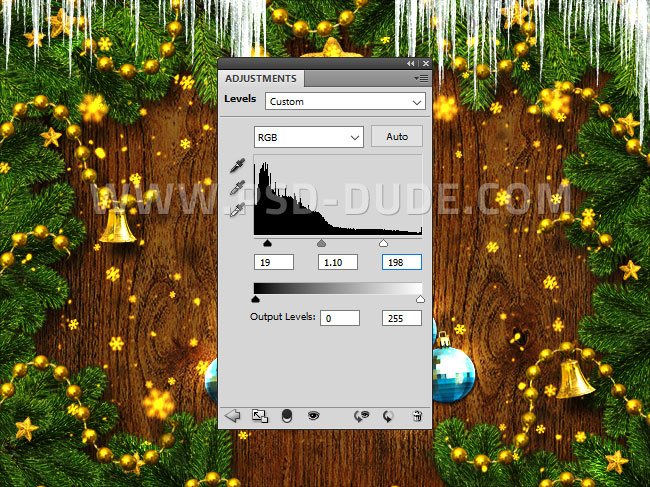
Add this seamless wood texture in a new layer. Instead of this wood background, you can use a brick wall and it will look great.

To darken the wood texture add a Levels adjustment and set the Input levels andthe Output levels like shown in the screenshot.
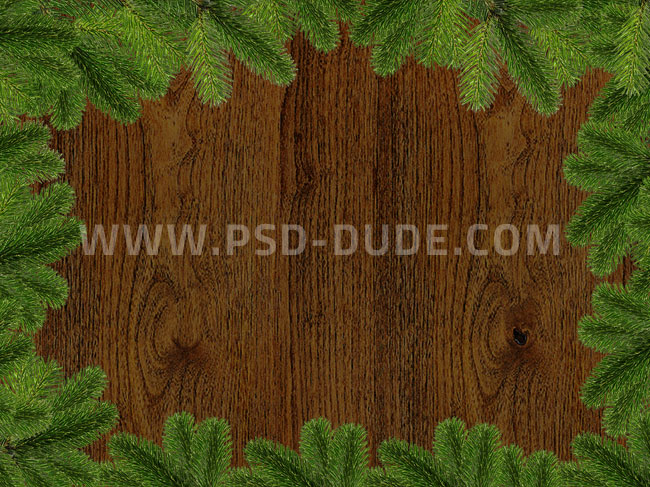
Open this Christmas tree branches PNG to create a nice frame.
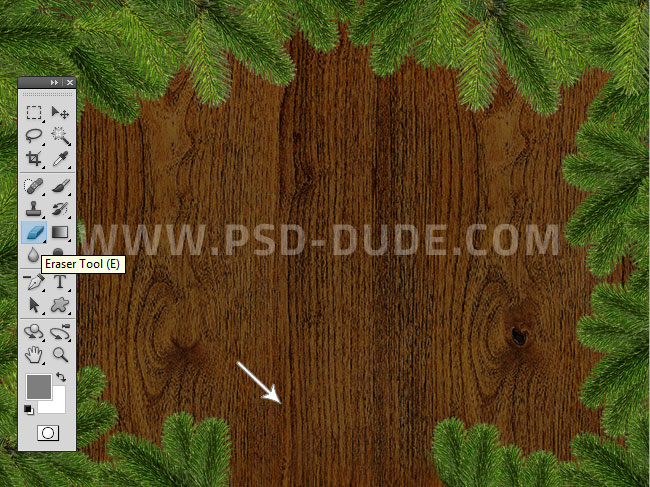
Use the Eraser Tool to delete the bottom part of the frame; in that place we will add the winter holidays message. Use a brush that has noisy edges like a spatter brush.
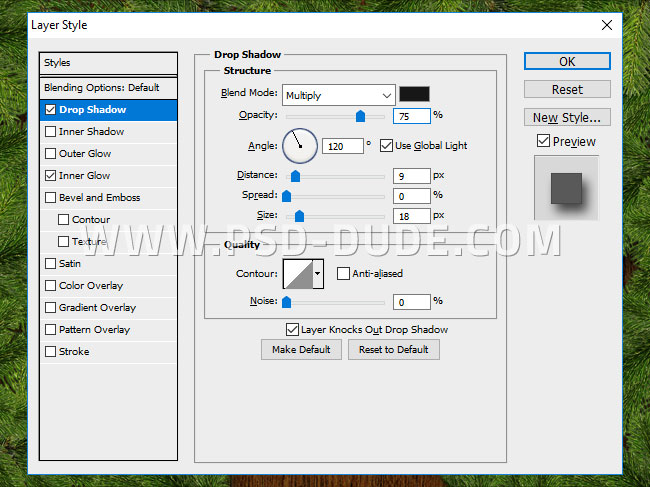
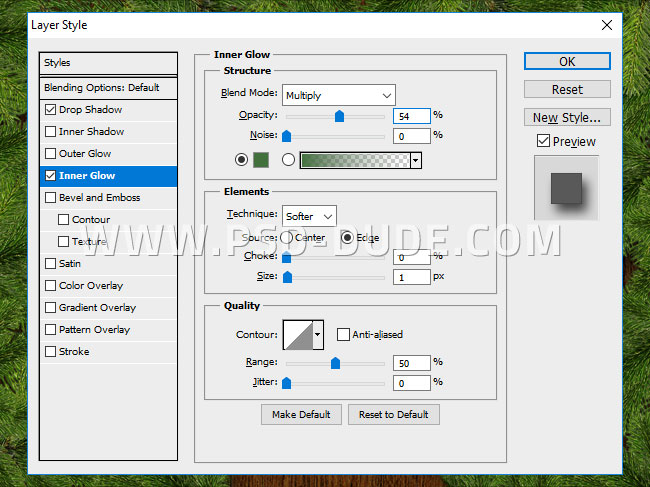
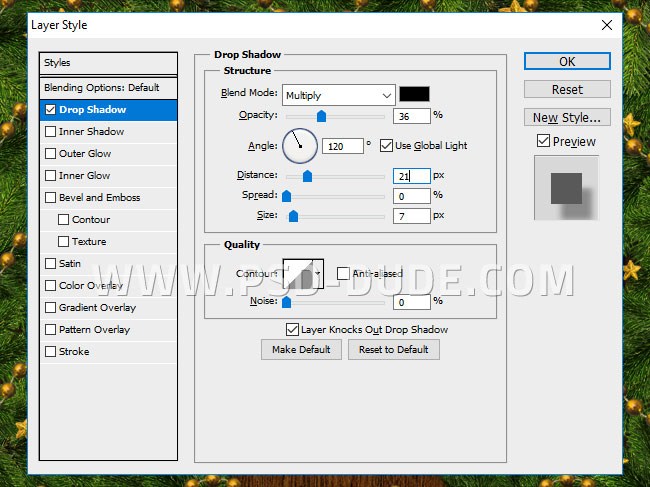
Add a Drop Shadow and an Inner Glow (color #41703c) layer style to the Christmas Branches Frame layer.
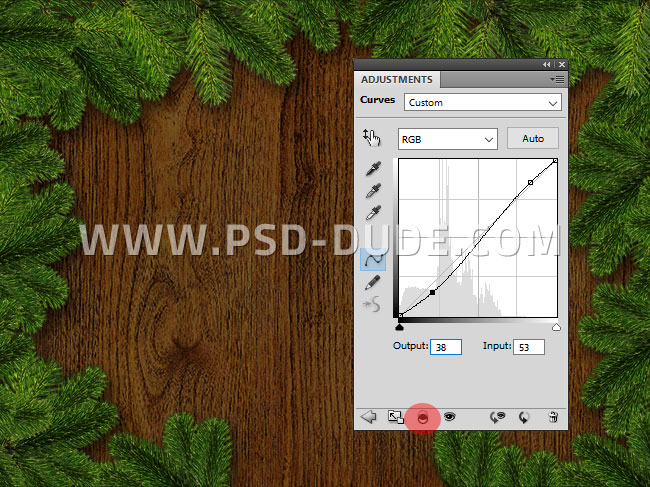
Add a Curves adjustment only for the Christmas Branches Frame layer. Press the Clip to layer button to add the adjustment as Clipping Mask.
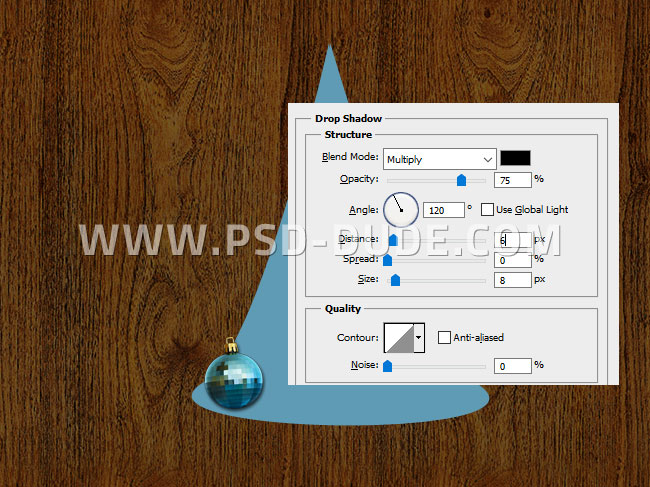
Use the Pen Tool and draw a simple tree shape. We will use this shape to helps us create the Christmas tree made from ornaments. You can use other simple shapes like a star, a wreath, etc.

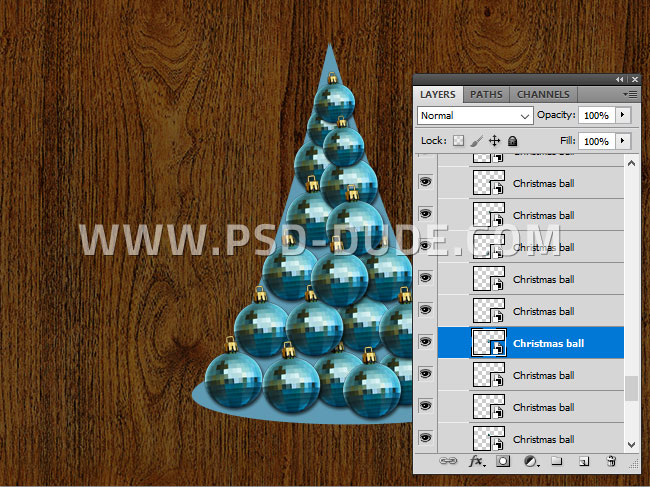
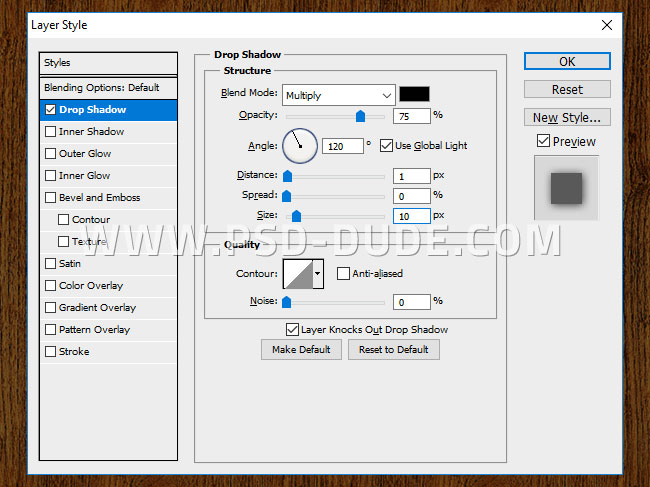
Place this Christmas Ball PNG in a new layer and add a Drop Shadow effect.
Right click on the Christmas Ball layer and choose Conver to Smart Object. This is the most important part.
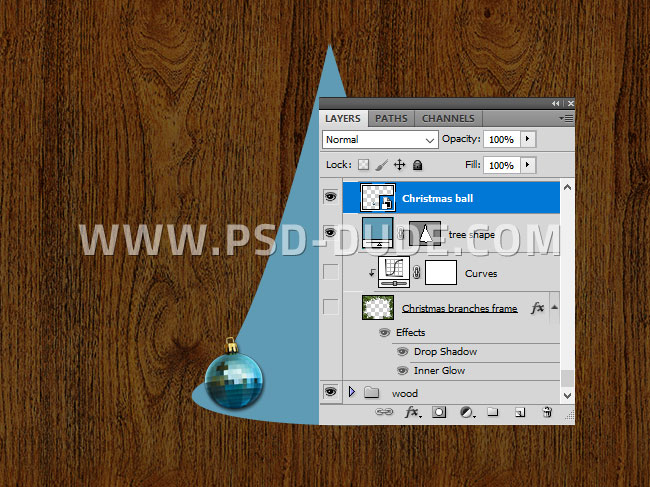
Press Control-J to make multiple copies of the Christmas Ball layer. Move the ornaments and place them to fill the tree shape. Now you can remove/hide the Tree Shape layer.
Add the cute red glitter star PNG image in a new layer. Add a Hue/Saturation adjustment just for this layer to change the red color to a golden tone.

Add a Drop Shadow effect to the Glitter Star layer.
Select the Glitter Star layer and its adjustment. Right click and choose Conver to Smart Object.
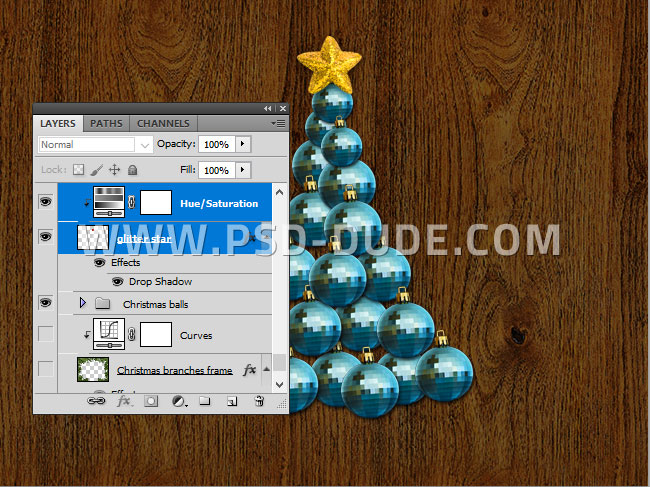
Rename the smart object Glitter Star and press Control-J to make multiple copies. Resize and place the glitter stars on the Christmas tree and on the Christmas tree branches.

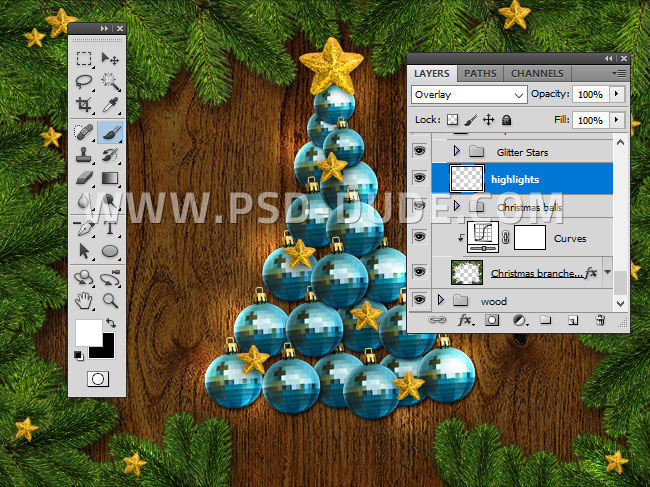
To create a nice glow effect, create a new layer above the Christmas ball layers and below the Glitter Star layers. Set the blend mode to Overlay and pick the Brush Tool. Use a soft round brush and color white to add some glow effects.
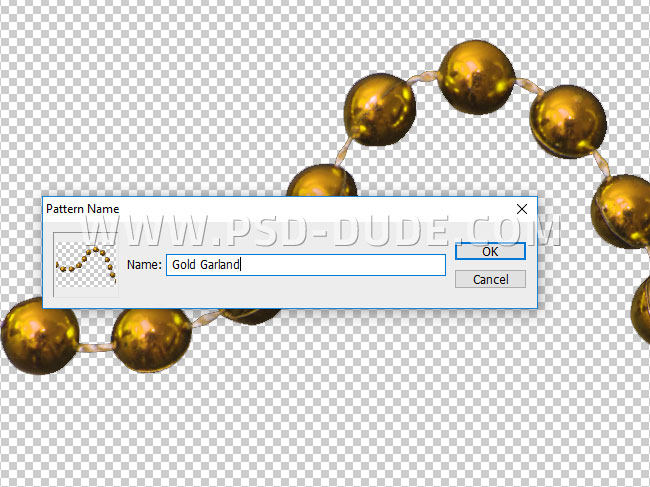
Open this Seamless Golden Garland in a new PSD file. Make sure you download the high size image. Go to Edit > Define Pattern. Make sure you have transparent background.
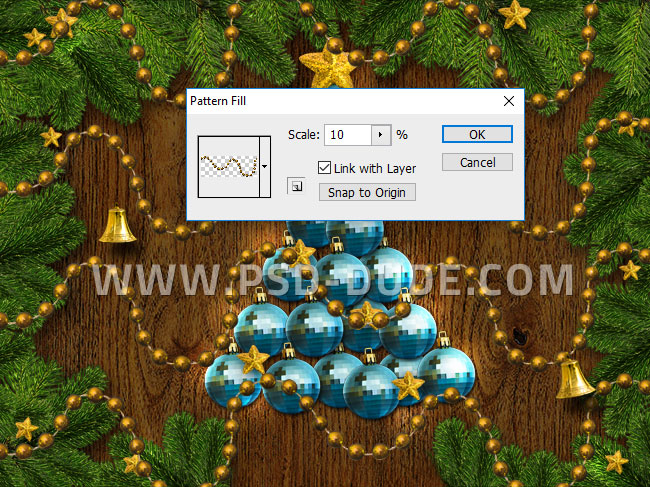
Return to the original PSD file and add a new Pattern Fill adjustment layer.
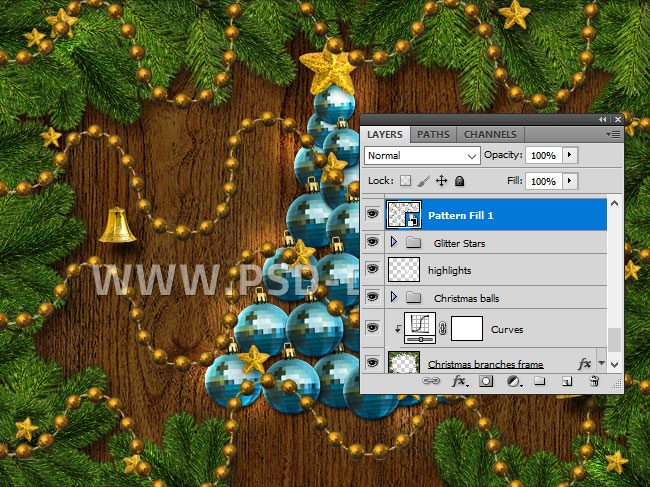
Right Click and convert the Pattern Fill into a smart object.
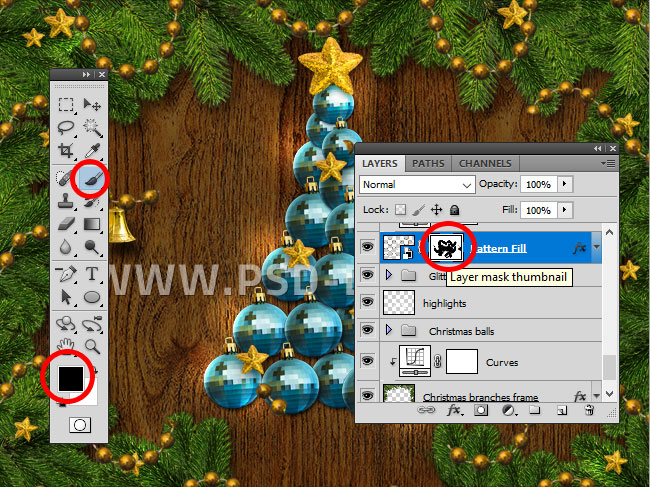
Add a Layer Mask to the Pattern Fill layer and use the Brush Tool (color black), to hide some pearls. Rename the layer Beads Garland.
Add a Drop Shadow to the Beads Garland layer.
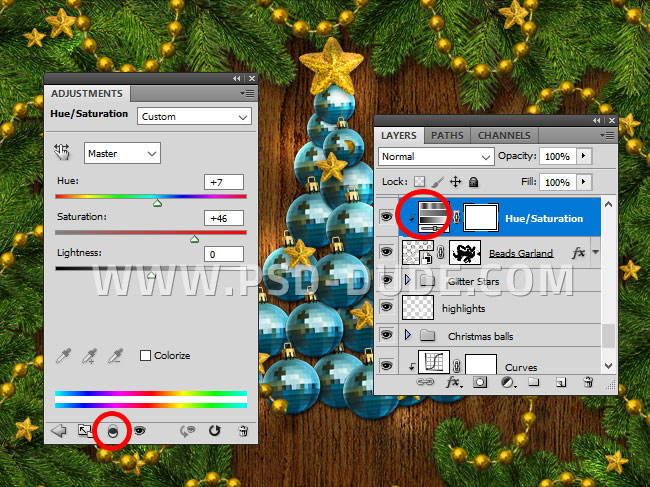
To make the gold color tone more vibrant I added a Hue/Saturation adjustment only for this layer. If you modify the Hue you can obtain other colors for the beads garland.
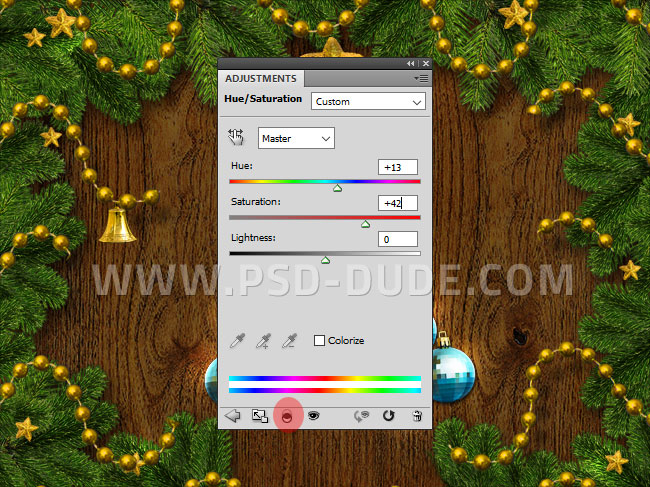
Add this cute golden bell PNG in a new layer. To make the gold color more vibrant, use a Hue/Saturation adjustment just for this layer.
Don't forget to add a Drop Shadow effect like we did for the other ornaments. Add as many bells as you like, on the garland, on the Christmas tree branches, etc.

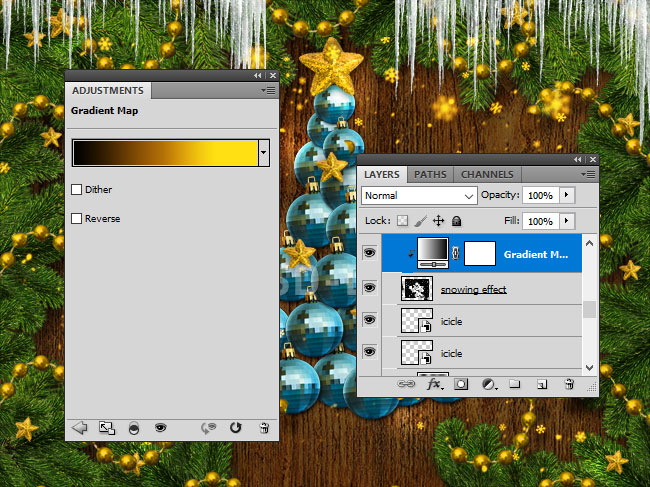
To add some freezing winter effects, let's add this Seamless Icicle PNG border.

Place this Snowing Overlay Texture over the other layers. Set the blend mode to Screen. You can also use the Eraser Tool to hide some of the snowflakes.

Add a Gradient Map to the Snowing Effect layer. Use these colors for the gradient: #000000 (location 0%), #b37006 (location 48%) and #ffe012 (location 77%).
For the final touches, to add some contrast and make the colors pop, add a Levels adjustment layer.
Congratulations, You Made It!
So here is the final result for this beautiful winter holidays greeting card made in Photoshop using different texture, PNG cutout objects, and overlays.
And now comes the fun part
Now you have a Christmas card template that you can use to create personalized greeting cards for your friends, family, business partners, etc.


Online Christmas Card Maker
Did you know you can use online tools like MockoFun to make Christmas cards? Combine Christmas vector shapes with text and create some amazing Christmas cards. MockoFun provides pre-made templates for making Christmas cards online in just a few minutes.
Check out this awesome list of over 50 Christmas fonts that you can use online or download for free to use in Photoshop. Combine Christmas fonts with text symbols like a star symbol for example.
Check out this tutorial on how to use the online Christmas Card Maker and all the awesome features that MockoFun has to offer.

No comment(s) for "How to Make a Winter Holiday Card in Photoshop"