First step is to choose a font type that looks similar to a toothpaste trail. I decided to use this free rounded font but you can of course use any text font type you want. Learn how to install new font in Photoshop from this quick tutorial for beginners.
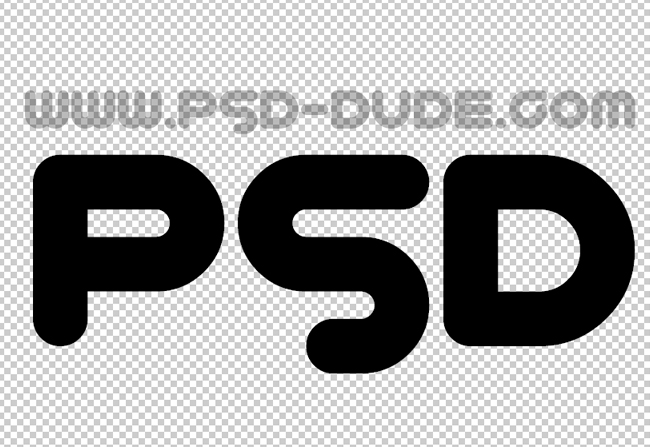
This effect works best on rounded corner font types and/or images. So if you want to use another font or a shape here is how you can create rounded corners in Photoshop in just a few simple steps.
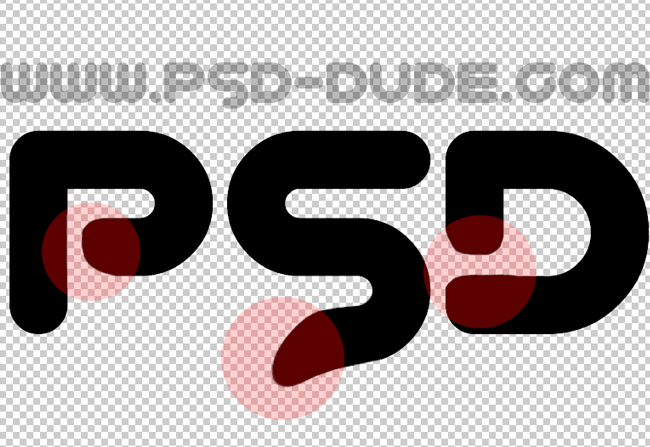
Let's return to our text. The text looks ok as it is but you make small adjustments to make it look more realistic. For that you have to rasterize the text layer. Right click and choose Rasterize Type. Use the Brush Tool and the Eraser Tool to add areas to the text and/or delete areas from the text.
Right click on the Text Layer and choose convert to smart object to turn the text layer into a smart object. Call this layer Tootpaste 1. Duplicate this layer 2 times and call the duplicated layers Tootpaste 2 and Tootpaste 3.
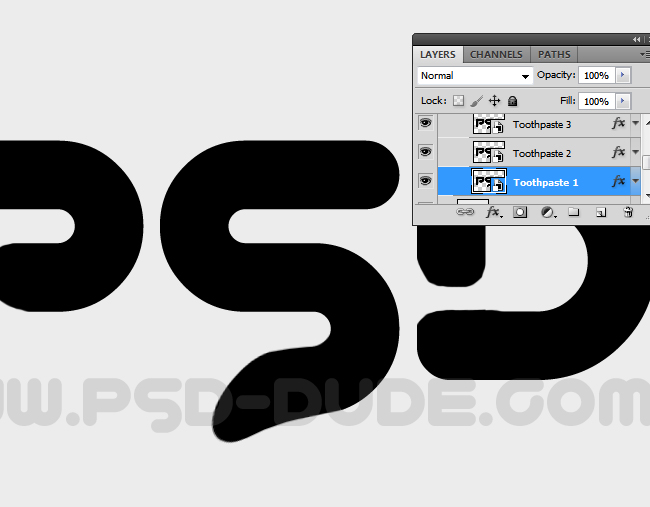
For each smart object we'll add a different layer style. Let's start with the Tootpaste 1 layer. Hide the other two layers to see the result.
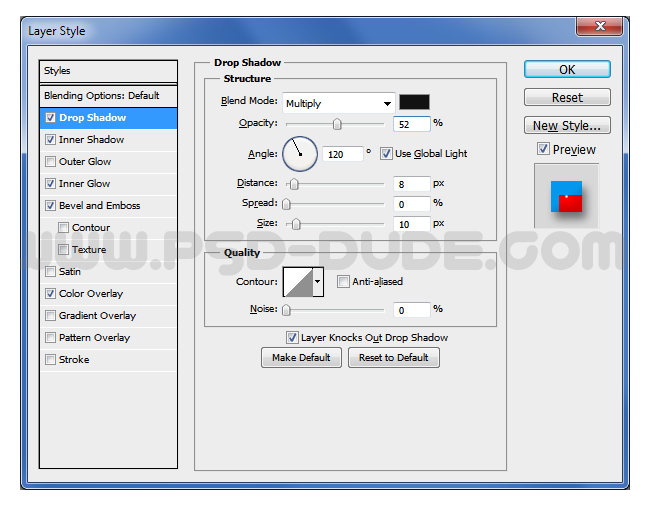
Drop Shadow effect
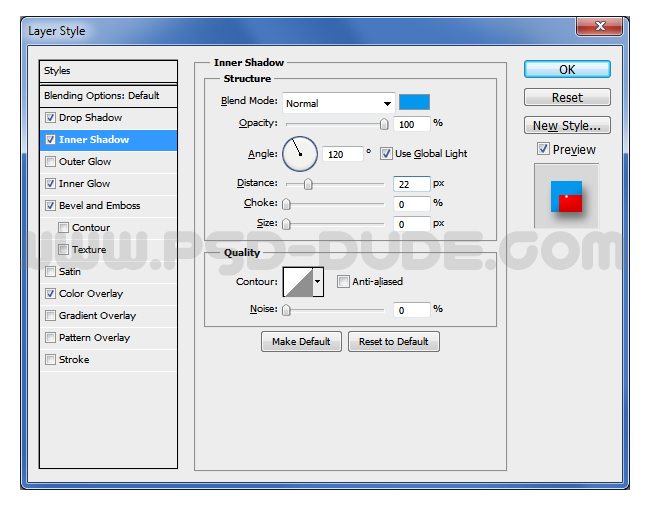
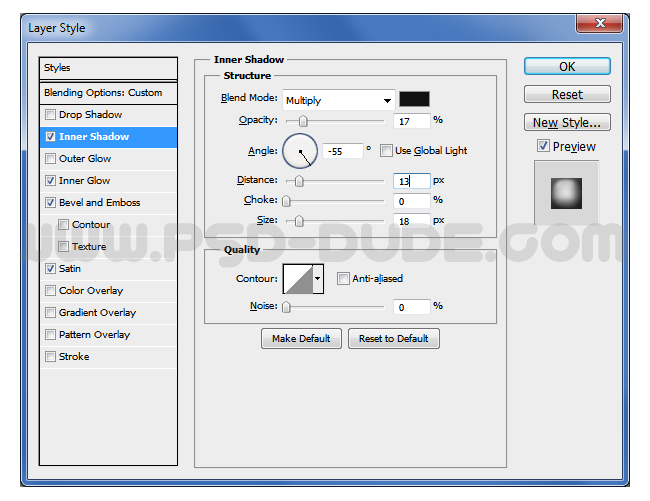
Inner Shadow effect with color #0398ed
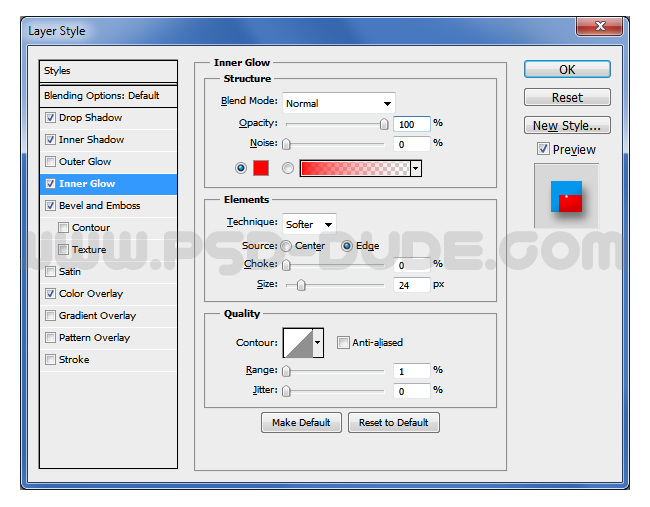
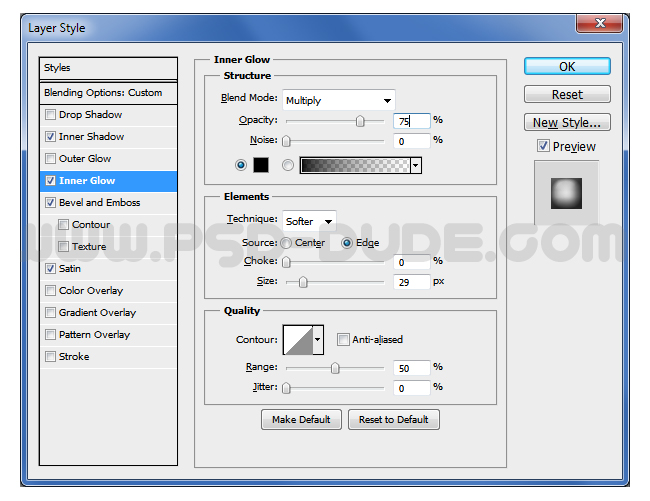
Inner Glow effect with color #fd0000
Bevel and Emboss style

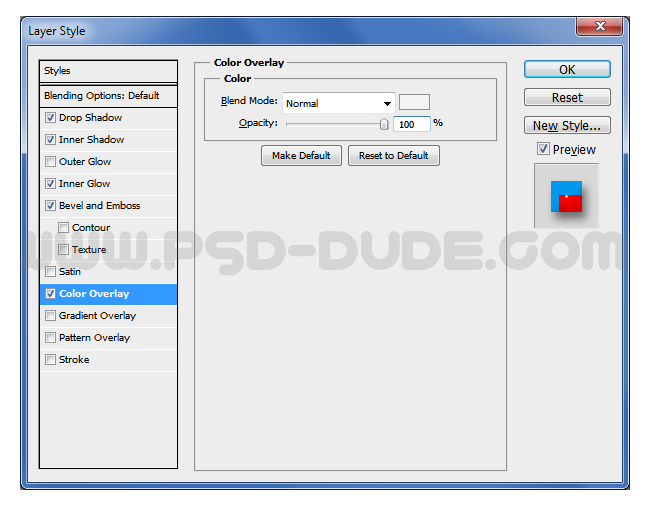
Color layer style with color #f3f3f3
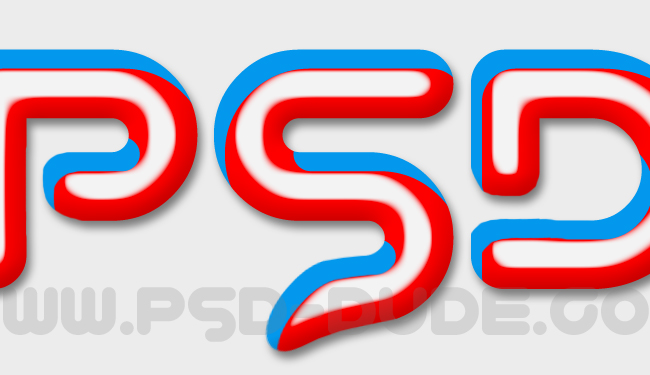
The text effect should now look something like this. It all depends on your text font type and size. For example my text is 350px. If you want to use a smaller/bigger size text you have to scale the layer styles. Go to Layer>Layer Style and choose Scale Effects.
Let's jump to the Tootpaste 2 layer and add some layer styles for this layer also.

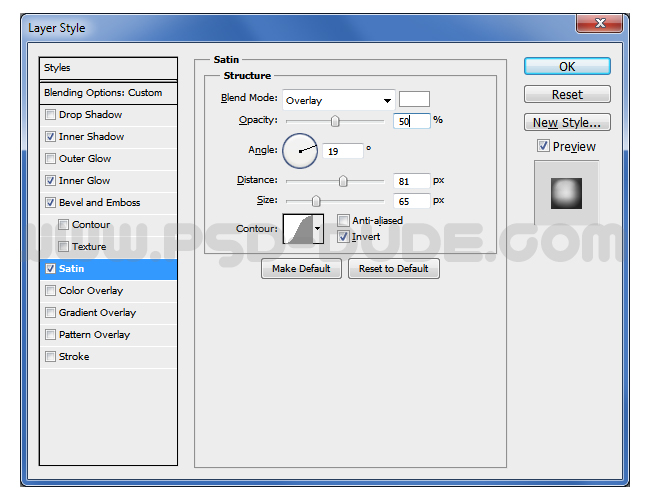
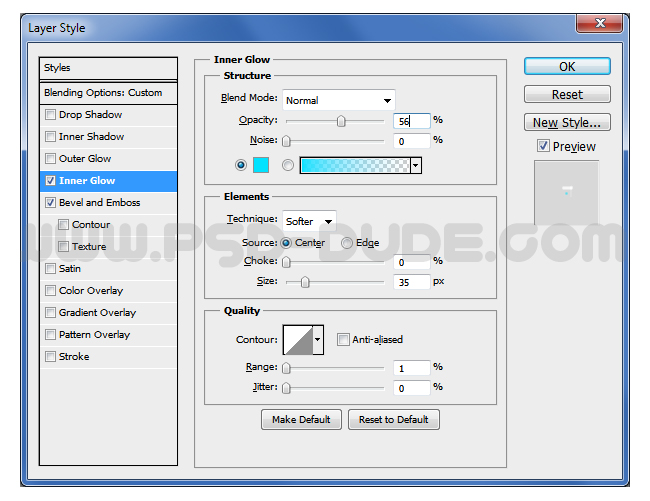
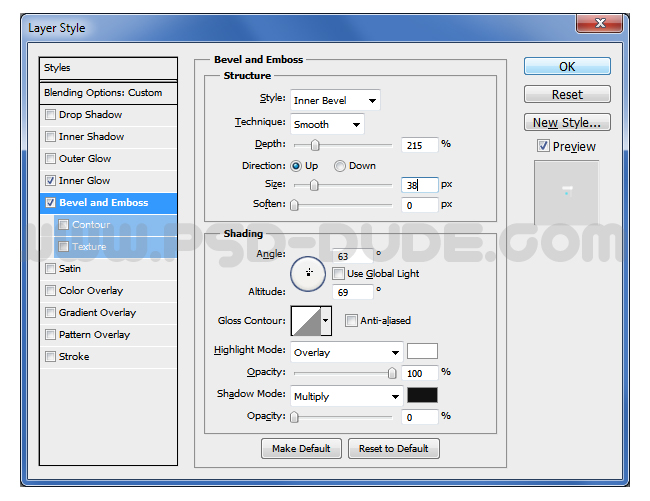
The last layer is Tootpaste 3. Add an Inner Glow effect using color #00e2ff and also a Bevel and Emboss style like shown in the previews.
The toothpaste aqua text effect should now look like this. If it doesn't look similar it means you have to scale the layer styles.

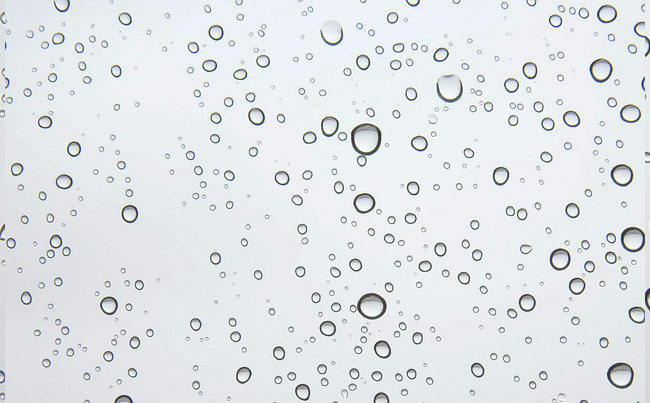
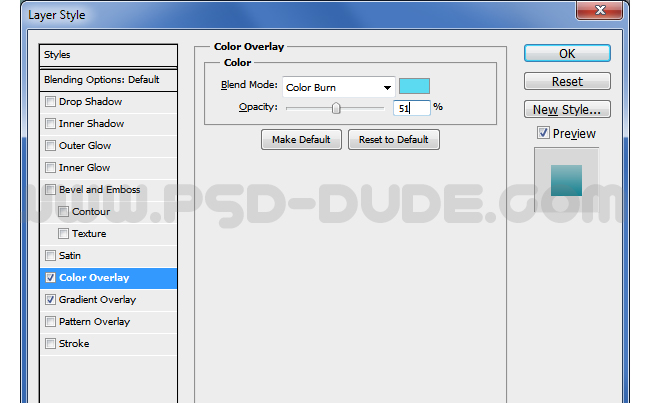
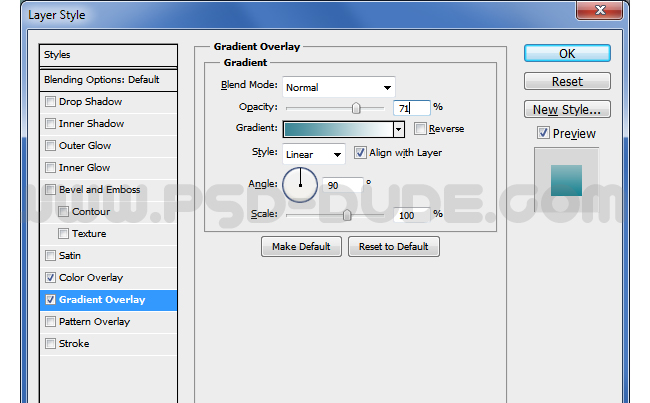
For the final touches I will change the background using a raindrops texture. Add the water drops texture on the background and add a Color Overlay(color #5bdaf1) and a Gradient Overlay(colors: #3a8595 and #ffffff).
In a new layer above all the other layers you can use the Brish Tool and color white to add some highlights. Use a soft round brush and set the blend mode of this layer to Overlay. To sharpen the image and look more like an advertisement poster you can use the High Pass Filter; learn how to do it from these tutorials for beginners.
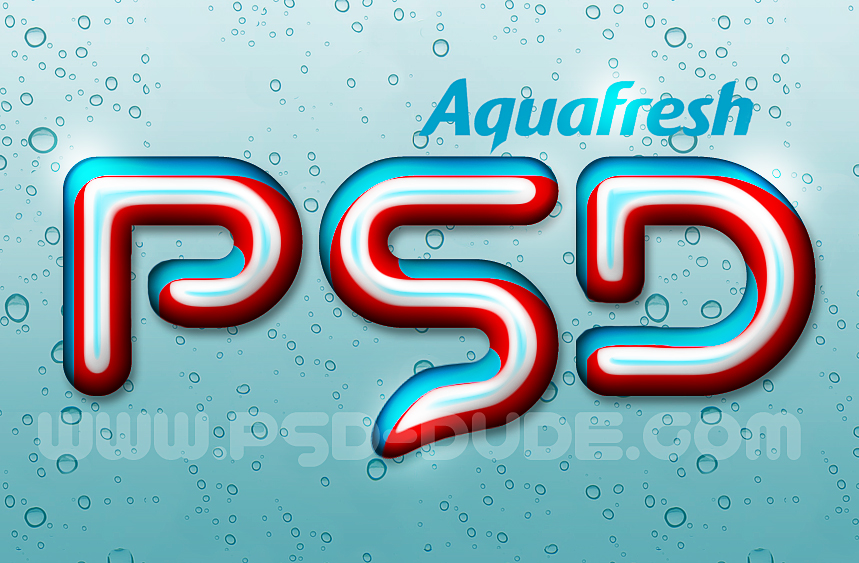
So here is the final result for the toothpaste aqua inspired text effect. You can use it to create dental or stomatological advertisement posters and flyers for example. The resulted text is print ready 300dpi.
No comment(s) for "Create a Toothpaste Text Effect in Adobe Photoshop"