
In recet years, video has become the most popular type of social media graphics in the world.
DaVinci Resolve is a comprehensive post-production software suite that incorporates editing, color correction, motion graphics, visual effects, and audio tools in a single app, meaning that you don't need to switch between screens to get the job done. It's perfect for editing and upgrading all manner of video projects, or video content to be uploaded to Insta, YouTube, or Facebook Reels. The software runs on Windows, Linux, and MacOS.
Is DaVinci Resolve Good for Beginners?
DaVinci Resolve is a VERY GOOD CHOICE for beginners who want to become social media content creators (YouTube), aspiring filmmakers or editors, or colorists.
DaVinci Resolve System Requirements
In terms of the system requirements you'll need to make the most of DaVinci Resolve, an Intel Core i7 or AMD Ryzen 7 is the minimum CPU, along with 16GB of RAM, 4GB VRAM of GPU, and your media storage will need to be SSD or RAID.
Is DaVinci Resolve Free?
It's free no watermark, no trial period. It also has another version called DaVinci Resolve Studio that has a number of enhanced features that you need to pay $295 for.
DaVinci Resolve Latest Version
DaVinci Resolve 18 is the DaVinci resolve latest version. The Davinci Resolve 18 release date was officially announced on April 18, 2022 for the Beta version. Version 18.0 final was officially released on July 21, 2022.
DaVinci Resolve Download
Head to the Black Magic Design website to download the free version of DaVinci Resolve now. As I've said there's a Studio version available, too, which can be purchased for $295. Looking for an alternative suite? Try HitFilm Express or ShotCut - both offer free versions, too.
DaVinci Resolve free version is not only a good video editor but also a full post-production suite. It includes video editing, visual effects (Fusion), audio post-production (Fairlight, a DAW) and professional color grading.
Use the tips and tricks below to help you get up and running with DaVinci Resolve, and prepare to create some spectacular videos!
To become an expert on this video editing tool, I suggest you watch a complete DaVinci Resolve tutorial that is available on YouTube.
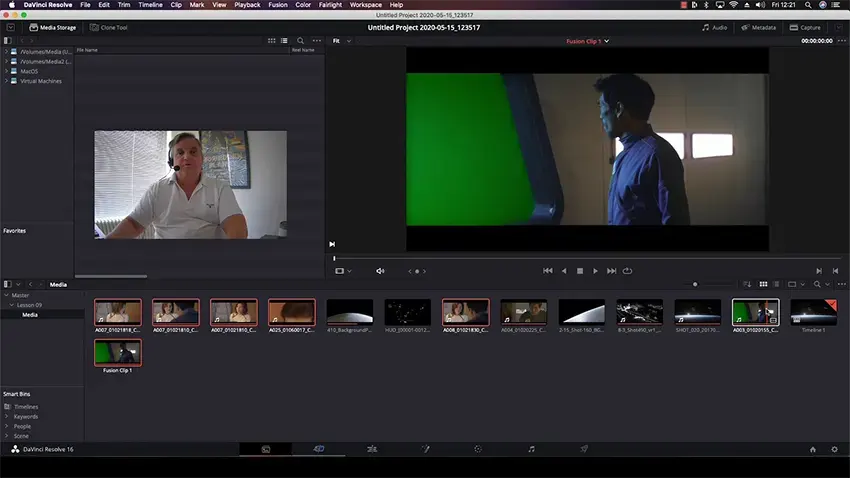
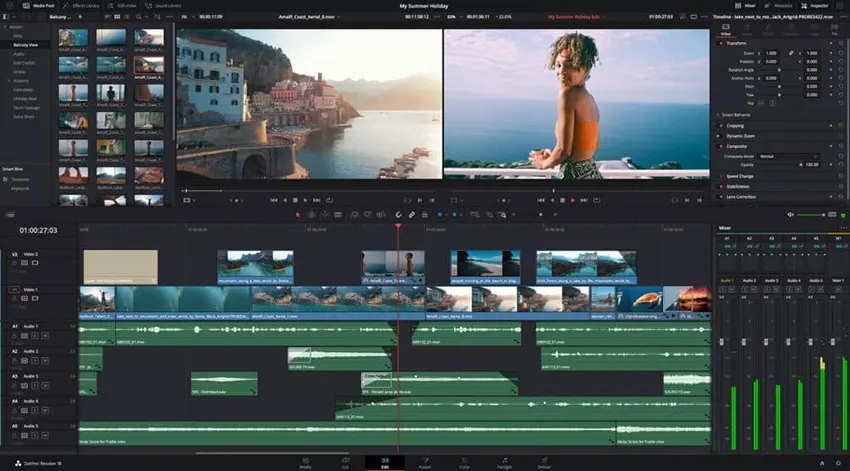
How to Import Media Into DaVinci Resolve
It's easy to import the media and files you need to DaVinci Resolve. Once you've opened a new project, simply open the Cut tab - from this menu, hit Import, and then Import Media. This will open a window to allow you to navigate through your files to find the media you want. Once you've selected it, it'll be uploaded and ready to use.
Here's a useful hack for importing files, though: head to the Media page, where you will also find an option to import. Adding your files via this page is useful as this way enables you to watch the videos you've selected before importing them. If you'll be sifting through a lot of clips, the Media page can help you select the ones you want, rather than importing the lot and discarding clips later, thereby saving you time and energy.
Make the Most of Templates
There is a vast array of templates available to use with DaVinci Resolve, which makes for an easy way to upgrade your video. Choose a template for your intro, credits, transitions, logo reveals, and more. Some DaVinci Resolve templates are included as part of the software suite, and many more are available to purchase.
To incorporate the template you've chosen, all you need to do is add it via the Project Manager page. Next, drag and drop the media you want to use into the Media Pool, where you can then edit the placeholders as necessary.

To edit text in JPG file or in any other image file is quite easy.
If you want to know how to edit text in DaVinci Resolve, here are the steps to make.
To edit the text from a template, simply go to the Title folder within the Edit section and click on the text you wish to change, and make the required alterations. You can also change any logos present in the template by clicking on Logos within the Edit folder.
DaVinci Resolve Folder Structure
Keeping your files and media organized within DaVinci Resolve is important - it will allow you to find the folders you want quickly if you decide you wish to make changes to a project and help you work more efficiently on projects.
The best way to get started is to create a database, which can be done via the Projects page. You could make a database for each of the projects you work on as a central repository to contain all the media and files you used as part of the process.
As you're working, stay organized within the Media Pool by creating Smart Bins to automatically sort and display footage for easier viewing and editing as you work.
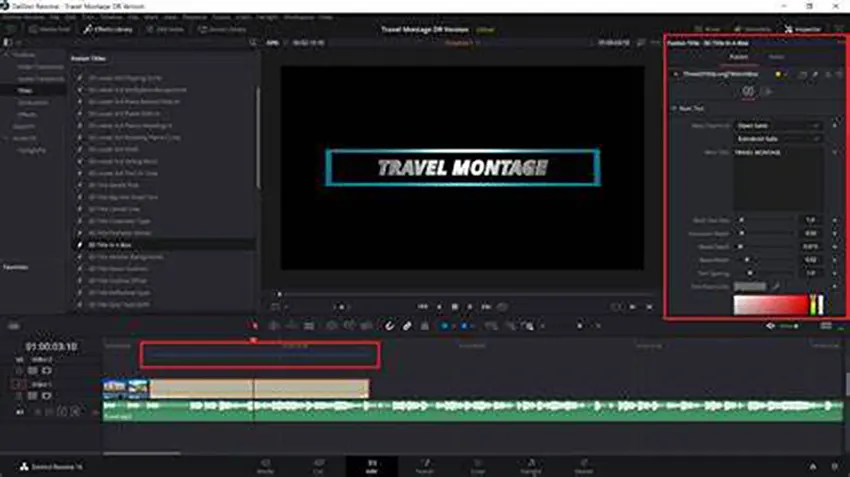
How to Add Text in DaVinci Resolve
Head to the Edit page, and click on the Effects tab, which you'll find in the upper left corner of the screen. Under Toolbox, click on Titles and, within this section, simply drag and drop the Text generator tool on top of the relevant clip in the timeline. That's it!
You can make further edits via the Inspector tab.
How to Add Fonts to DaVinci Resolve
As above, head to the Edit page, and over on the right side of the screen you'll find a Font Family option to click on which will bring up a range of different fonts for you to select from. If, however, the font you want isn't listed, then you'll need to download it to your device from the relevant platform or store and install the font.
Next, bring up the Download tab in the Edit page of DaVinci Resolve and select the font from the folder in which you've saved it - it will then be added to the Font Family menu, ready to select.
DaVinci Resolve Effects Library
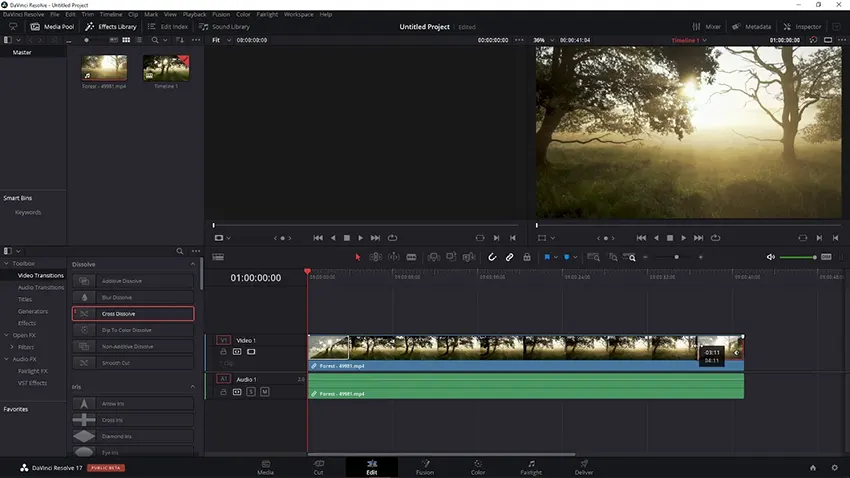
Have fun experimenting with the range of visual effects that DaVinci Resolve offers! Head to the Effects Library, click on OpenFX, then choose Vignette.
Choose the effect you want, and use the drag and drop tool to add it to your video. You can modify the effect parameters via the Inspector tab - there is a little trash bin icon on this screen, too, that you can use to remove the effect if you wish.
Some of the effects on offer include fusion compositions, binoculars, colored borders and also glitch effects and overlays. As you become more experienced with DaVinci Resolve, you may decide to upgrade the software by choosing the Studio package. This option gives users access to advanced features and a larger library of templates and effects.
How to Add Audio in DaVinci Resolve
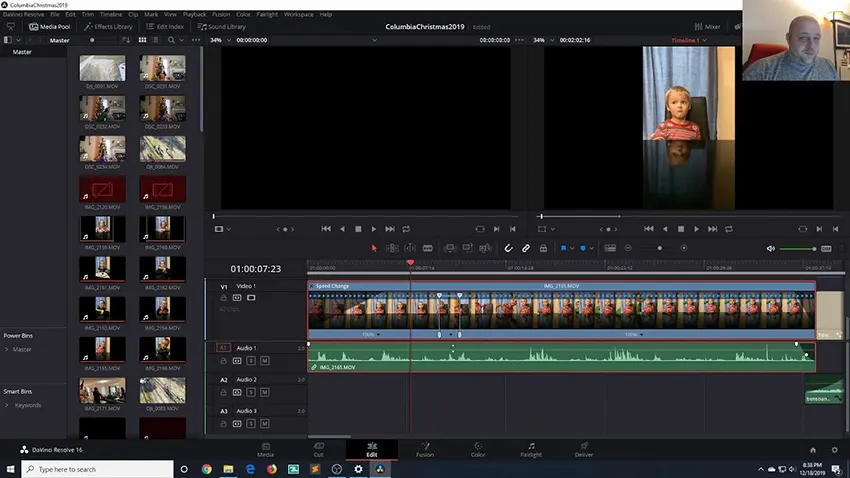
Adding audio and music to your video is easy with DaVinci Resolve, even for complete beginners to video editing. Head to the Cut or Media page, and import your audio files as you did for your other media at the start of your project.
Once it's imported, use drag and drop to move your audio from the relevant bin into the timeline. Click on the audio file to open the Tools Belt; from here, you can make changes, such as altering the volume.
PRO TIP: if you're working on audio files via the Fairlight page, it's best to unlink audio and video files before making any changes so that the video isn't affected by the alterations you make to the sound.
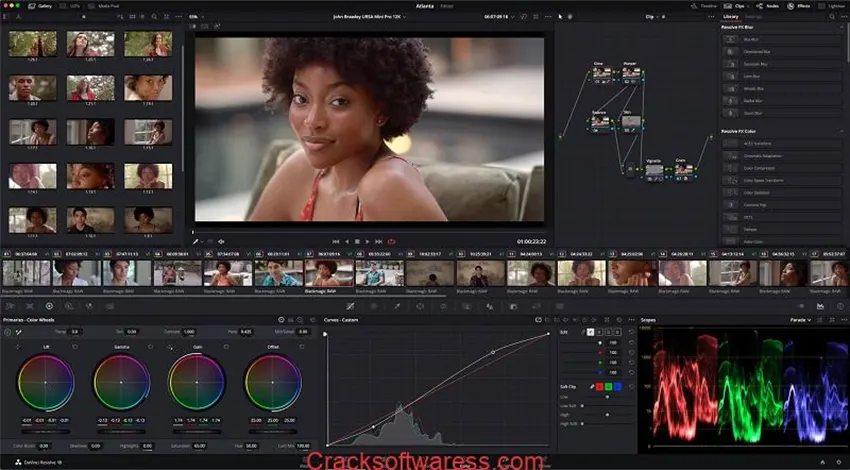
Davinci Resolve Color Correction
DaVinci Resolve is renowned for its color grading and correction tools, which are widely used by professionals and hobbyists alike. To get started, head to the Color tab. The primary color corrector, located at the bottom left of the screen, is where most of the tools you'll need are located.
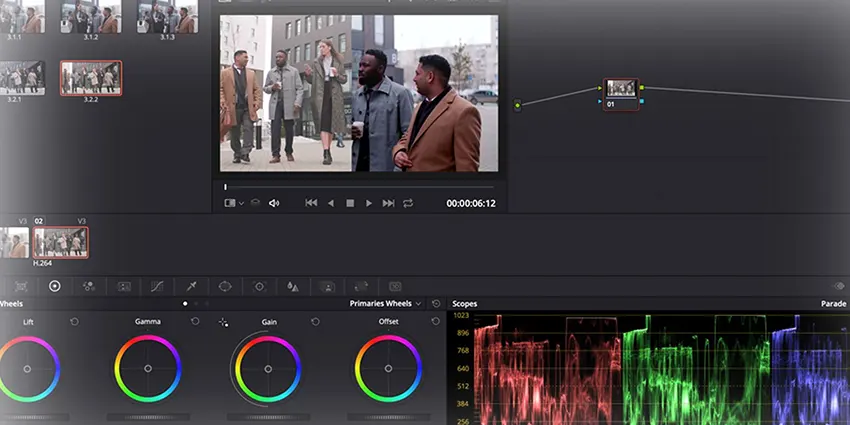
Every shot in your timeline that has been edited will appear as a thumbnail on the middle toolbelt. Simply click on the first shot you want to work on. Use the Black Balance Tool and select an area of the shot that ought to be black: this will set the correct color level. Use the White Balance tool in the same way, selecting an area of the shot that ought to be white - such as a sheet of paper.
Have a look at the Sat value, which tells you the level of color saturation in your image - the default is set at 50. Click and drag to change the Sat value to change the saturation of the image as a whole.
DaVinci Resolve How to Crop Video
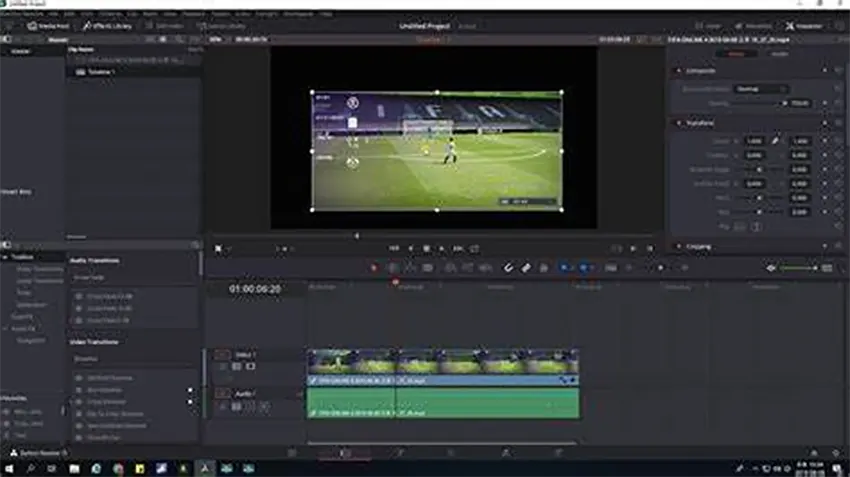
This task can be done in a matter of minutes! Go to the Inspector tab, where you'll be able to use the on-screen controls; click on Cropping to bring up additional actions. All you need to do is drag the circular tool in the direction required to make the crops you want - easy!
DaVinci Resolve Fade to Black
Open your project, and drag the clip you want to fade to black onto the timeline. Click on the Edit tab, and hover the mouse over the clip until a white or red handle appears - the red will be at the beginning of the clip and the white at the end: they'll work together to fade in and fade out as necessary.
To create a fadeout effect, grab the white handle and drag it to the left according to how long you want the fadeout to last. To fade in, grab the red handle and pull it to the right.
DaVinci Resolve Export MP4
And finally - once you've finished editing your video, you're ready to share it with the world!
Luckily, the process regarding this is just as user-friendly as everything else with DaVinci Resolve. Go to the Cut page and click the Quick Export tab - it's in the top right corner of the dashboard. Under the Video tab, select the MP4 extension from the Format dropdown. Select H.264 and then Export. You'll be prompted to save the file to a location on your device.
You'll be able to view the progress of the export via a status window, and once it's all finished, your video is ready to be unveiled!
In Conclusion
If you are a video content creator and are looking for a PRO level budget video editing software, DaVinci Resolve is one of your best options. Use the tips and tricks described in this article and your videos will stand out from most of the viedo content published online these days.
Don't forget, if you've enhoyed this post, feel free to share it on you social media networks and drop me a comment below if you have any questions.
No comment(s) for "DaVinci Resolve for Beginners"