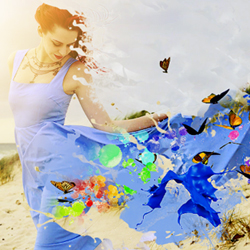
In this Photoshop tutorial you will learn how to create a beautiful spring photo manipulation using the dispersion effect. For the dispersion we'll use splashes of color and butterflies. So, let's start.
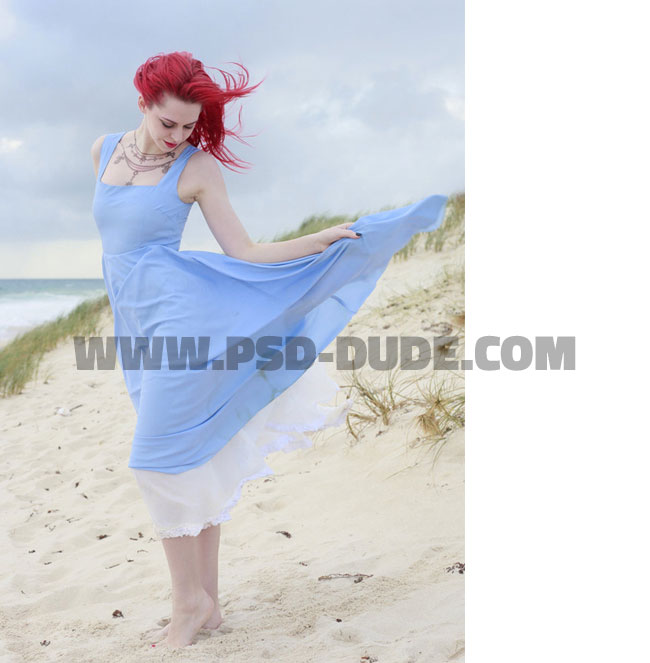
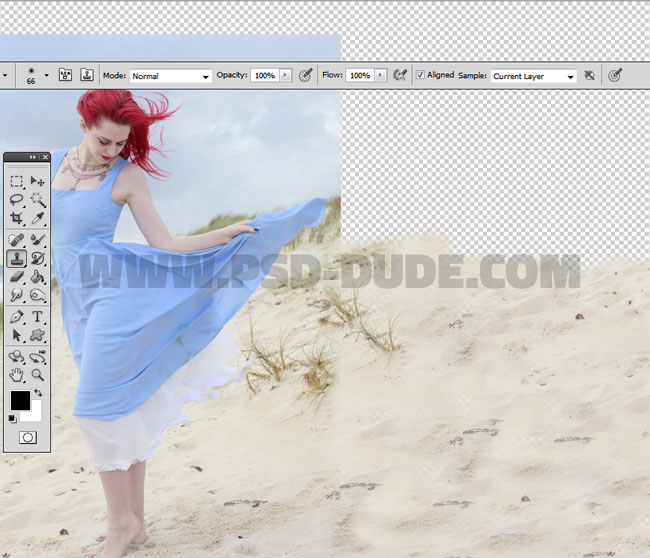
Open the girl on the beach stock image in a new PSD file.
Use the Crop Tool to make the canvas bigger in size.
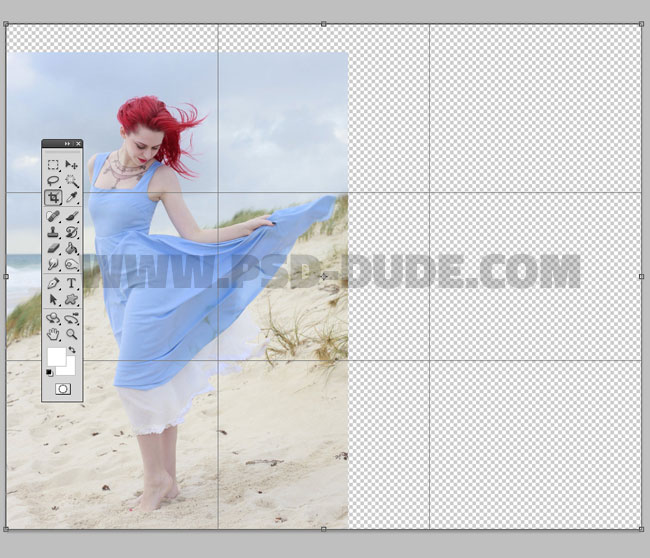
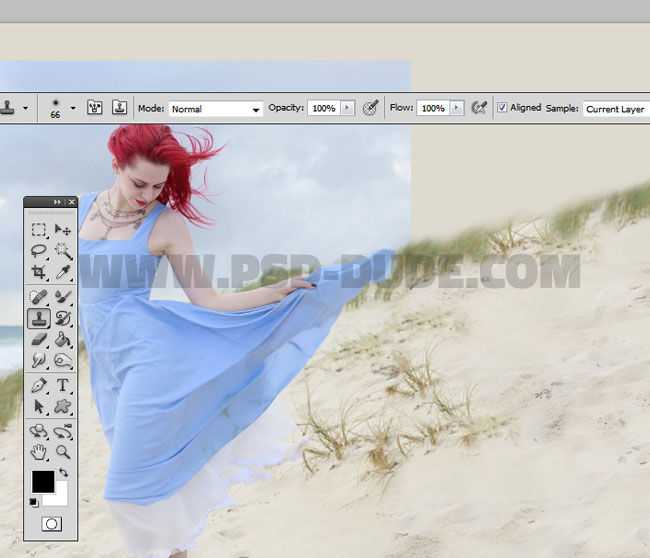
Select the Clone Stamp Tool and use it to fill the empty gap with sand and grass to match with the other part of the image. Use a soft round brush for the Clone Tool. Keep the ALT key pressed and click on the sand area to set the sample point. Simply use the tool to paint over the empty gaps.
- Photoshop Clone Tool
- The Clone Tool paints one part of an image over another part of the same image or over another part of any open document that has the same color mode. To use the Clone Stamp tool, you set a sampling point on the area you want to copy (clone) the pixels from and paint over another area. Read more...
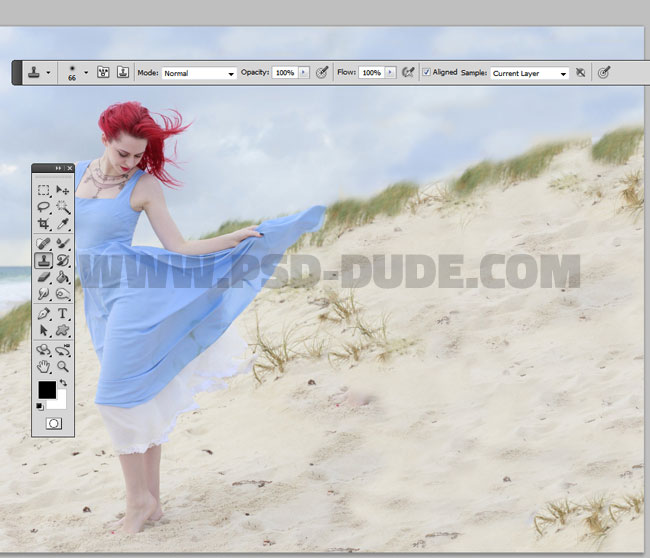
Repeat the process, over and over with other sample points. Try to create a seamless image.
Do the same for the sky area. Press ALT to pick the sample point and paint to cover the empty space.
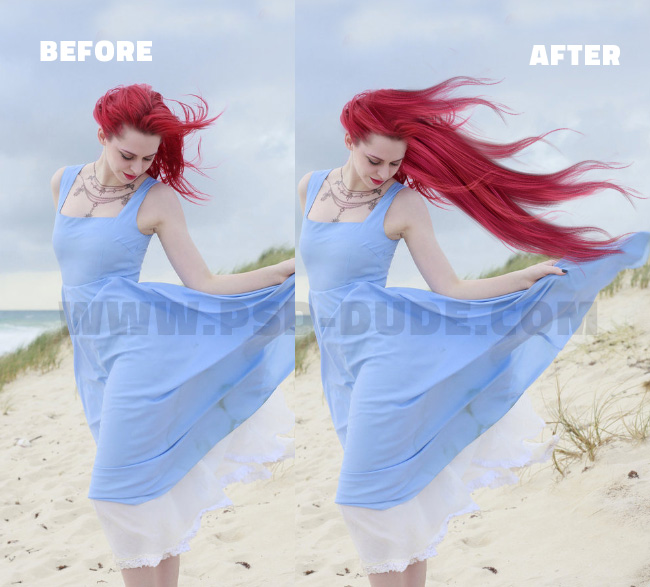
Create a new layer and call it Hair. Copy this hair extensions stock image in the new created layer. Use the Transform Tool to rotate the hair strands like shown in the image. You have to of course resize the hair to match your image.
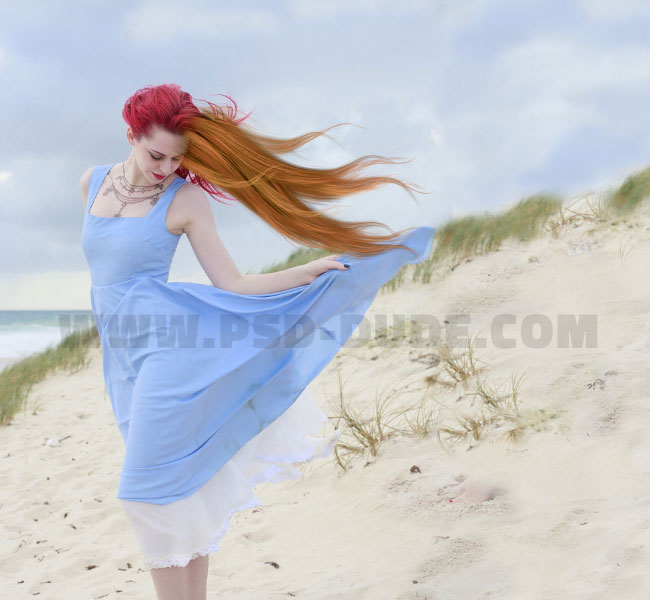
Add a Hue/Saturation adjustment as clipping mask for the Hair Layer like shown in the preview.
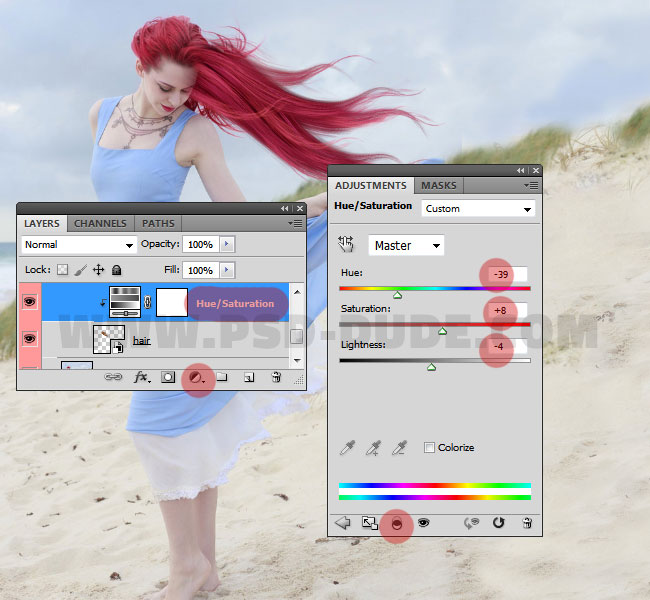
Use the Brush Tool and a soft round brush to gently erase some areas to create a natural look. You can add as many hair strands as you want. Here is the result for adding realistic hair in Photoshop.
Because the sky looks a little bit to plain due to the fact that we used the Clone Stamp Tool, it is necessary to add some clouds. So use one of these clouds brushes to create a beautiful cloudy sky. Use different tones of white, different opacity levels, different sizes for the clouds brush.

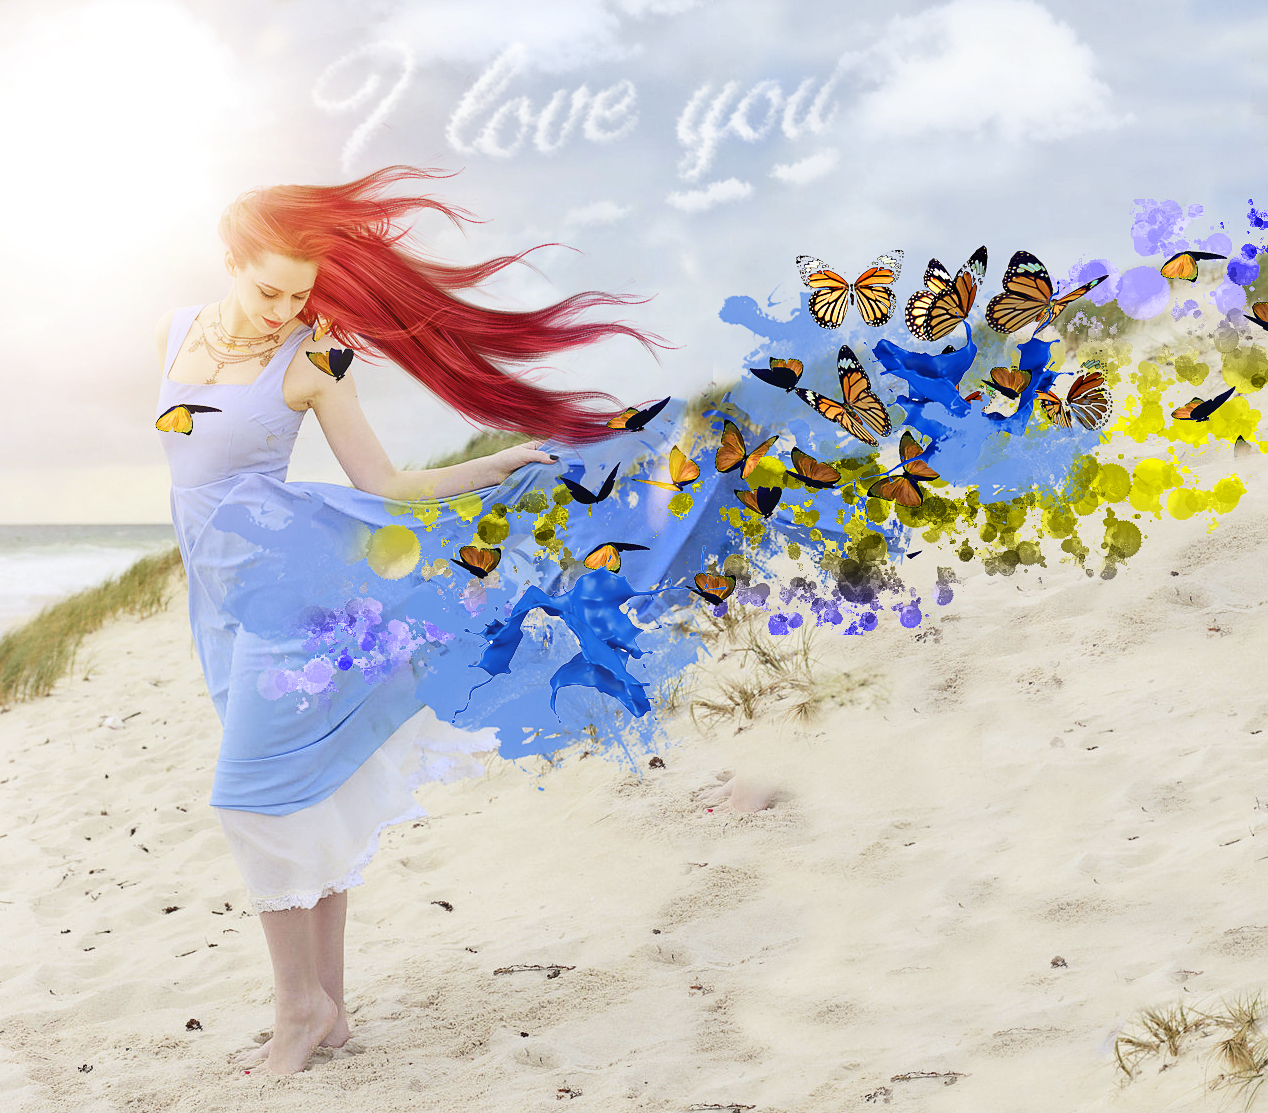
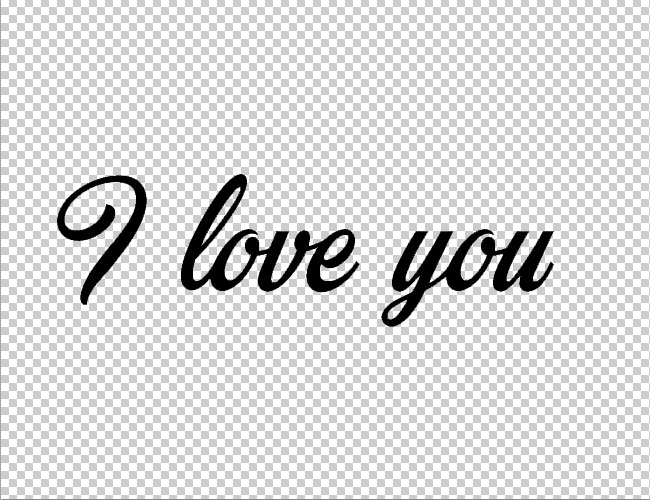
To personalize the image you can add a cloudy text. I will use the Mochary font but you can use any font type you like. First install font in Photoshop and than in a new PSD file add your text.
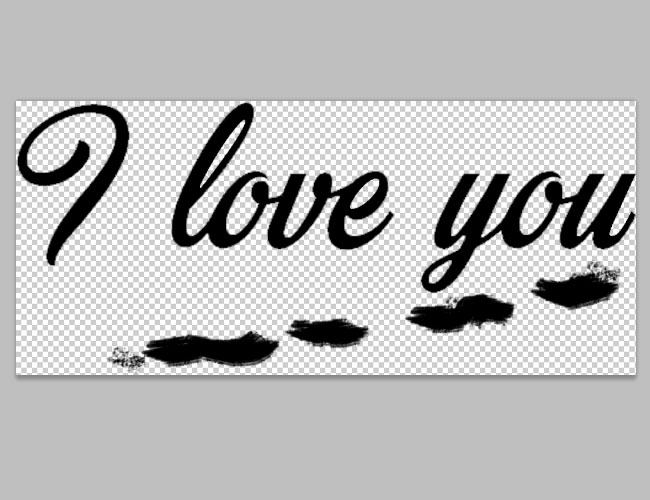
Create a new layer and use the Brush Tool to add some random shapes. Merge the text layer and the brush shapes layer.
To create the cloudy text effect I will use this Create Clouds Photoshop Action that you can download and use in different other projects. Install all the files needed for this action to work. Play the "BONUS: create clouds brush 1 " action from the pack.
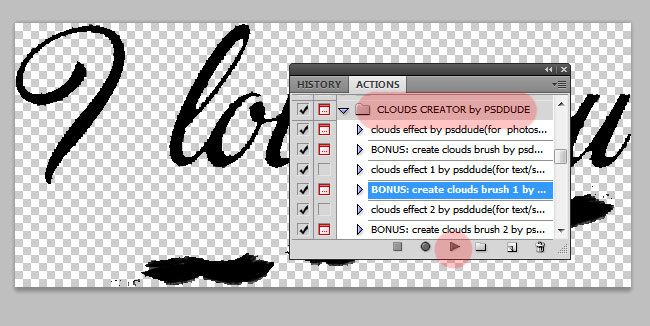
The action stops for you to make some customizations. When you are done with customizations of the cloudy text, you can resume play to create the clouds brush.

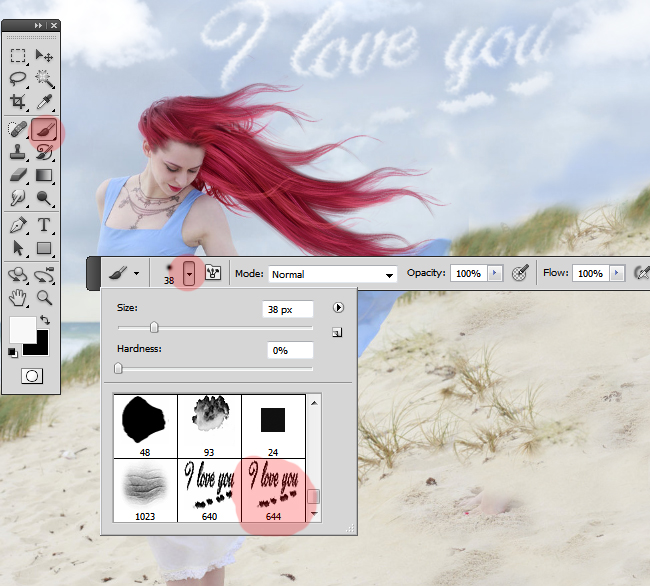
Your brush is ready to be used. Go to the initial PSD file and create a new layer called Clouds Text. Pick the Brush Tool and choose the last brush from the list of brushes(it is the brush created by the cloudify action). Use a tone of white and add the text.
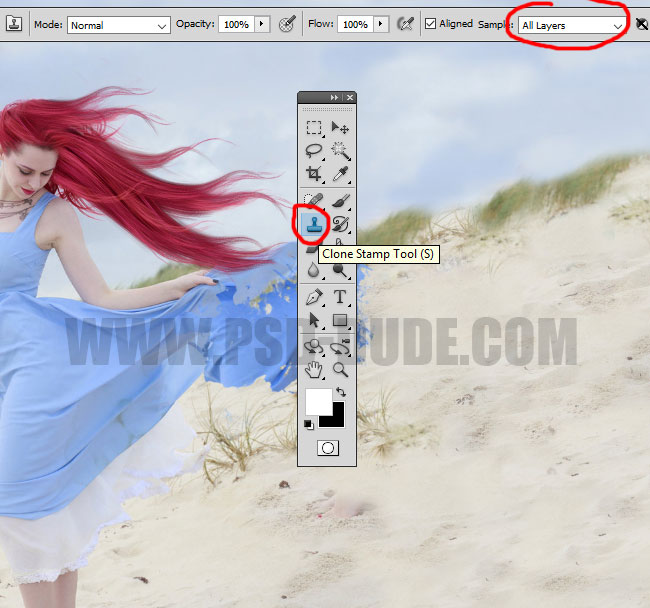
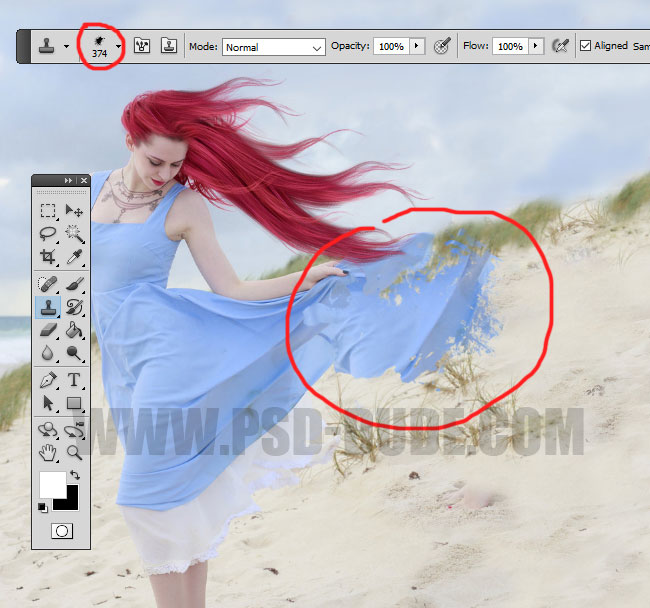
Pick a splatter paint brush that you like, download it and load the ABR file in Photoshop. Create a new layer and call it Splatter Paint. Pick the Clone Stamp Tool and make sure the clone sample mode is set to Sample All Layers like shown in the image.
You have to choose one of the splatter brushes for the clone stamp brush. Press ALT to choose the clone point and simply click on the image to add a paint splatter.
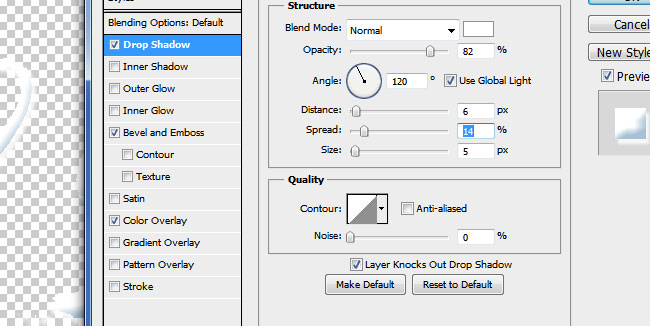
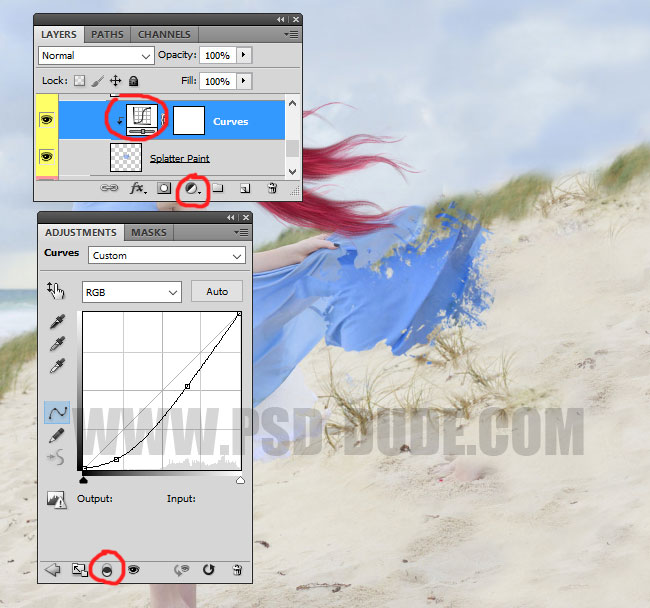
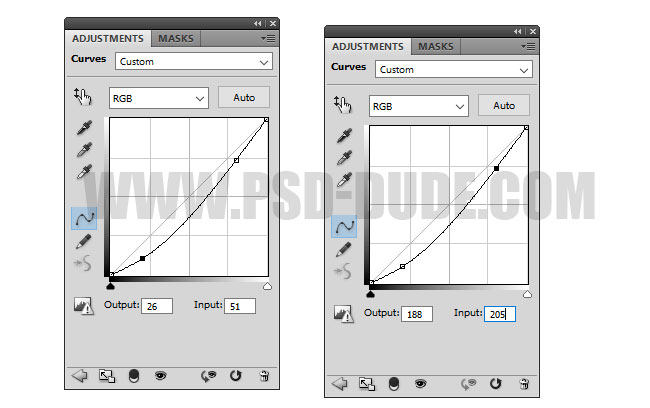
I added a Curves adjustment just for the Splatter Paint layer to make the colors more vibrant.
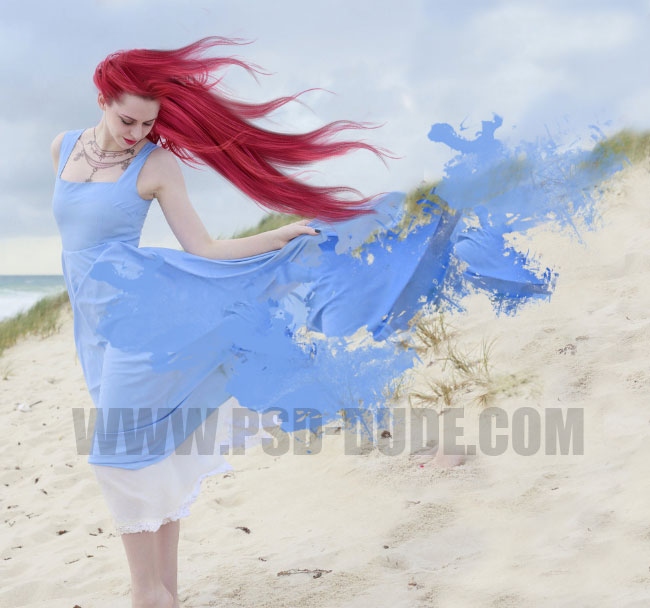
Repeat the process using other brushes with different sizes. Or you can use the same brush with different rotation angles.
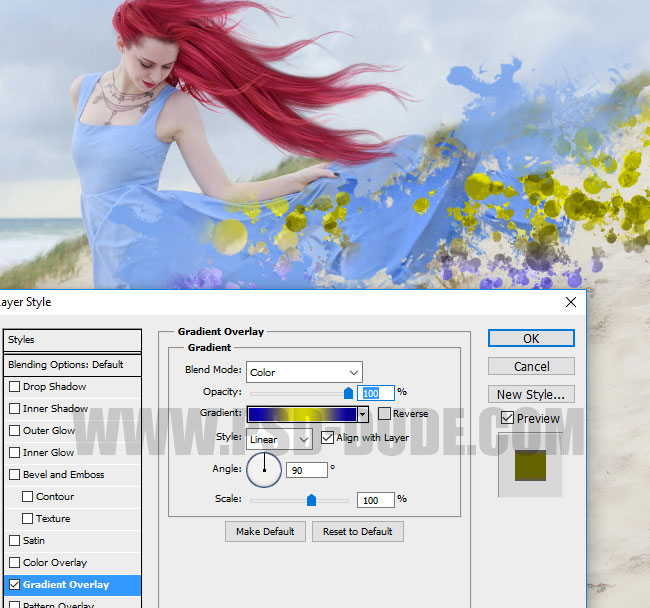
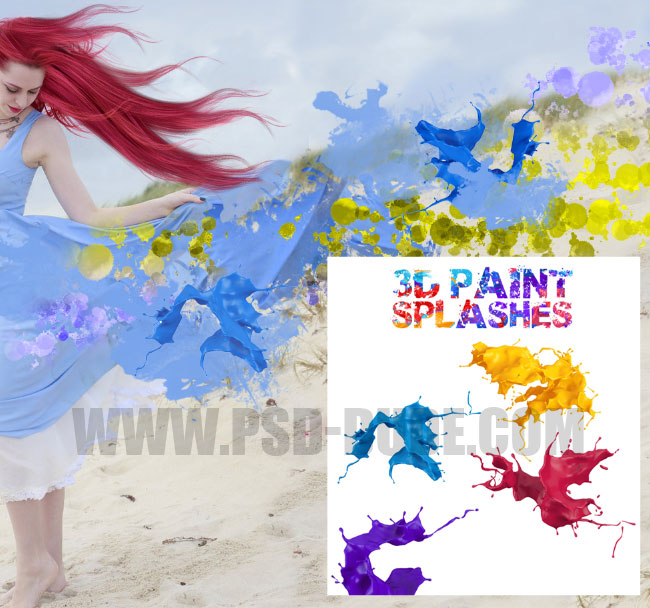
In a new layer add this color splash texture. Use the Magic Wand Tool to select the white background and to remove it. Add a Gradient Overlay layer style to this layer. You can use any gradient you like. I used #0b01b8, #fdfa03 and #0b01b8 with Color blend mode.
If you want you can add some of these 3D paint splash images to add depth. You have to remove the white background to use the splashes. Also you can resize, rotate, change color, etc.
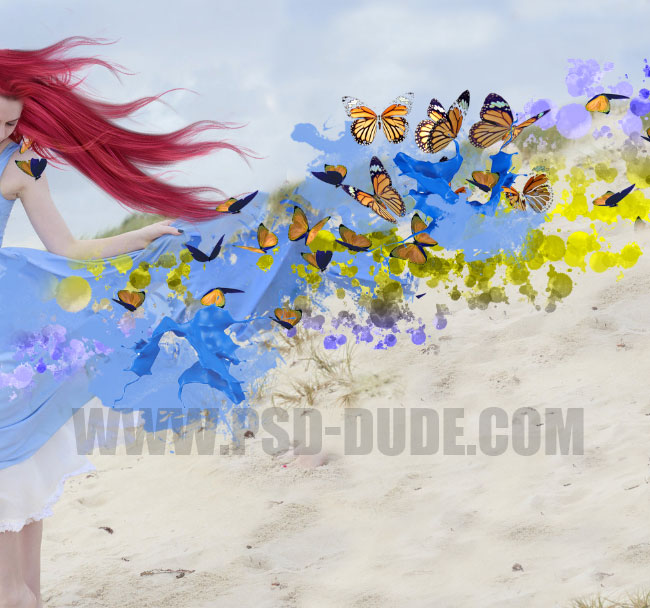
Use these butterfly 1 and butterfly 2 stock images to add them like shown in the image. We want to create a photo dispersion using color splashes and butterflies. You have to add butterflies in separate layers, rotate them, resize, etc.
Add this sunburst texture in a new layer and set the blend mode to Screen. You can also use this sun flare texture or pick one of these optical flares that you like.

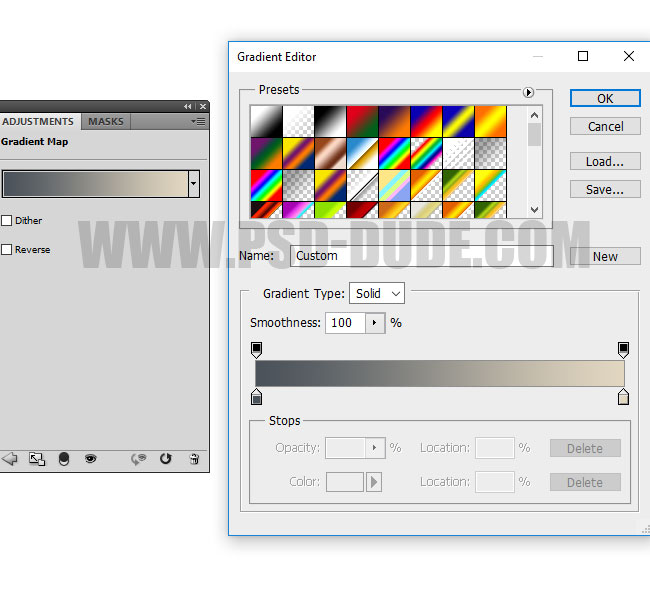
For the final touches we will add some adjustments. First add a Gradient Map adjustment using these colors :#4a525a and #e2d7c0 . Set the blend mode of this adjustment to Soft Light.
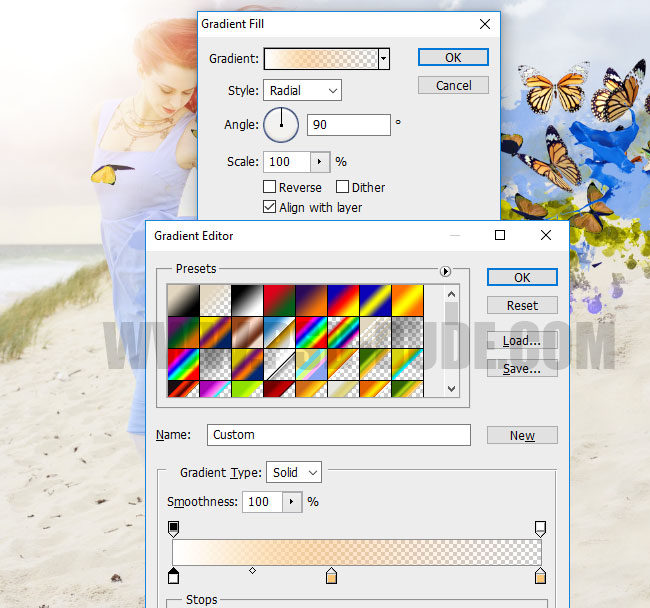
Next add a Gradient adjustment using these colors :#ffffff(location 0%, opacity 100%) , #ffc675(location 43%) and #ffc675(location 100%, opacity 0%) . Set the blend mode of this adjustment to Overlay. Drag and drop the gradient in the top left corner.
Add Curves adjustment. Similar to Photoshop levels, with curves tool you adjust points throughout an image's tonal range. Initially, the image's tonality is represented as a straight diagonal line on a graph. When adjusting an RGB image, the upper-right area of the graph represents the highlights and the lower-left area represents the shadows.
Use the High Pass Filter to sharpen the image. So here is the final result for the butterfly spring fantasy photoshop manipulation. I hope you like it!
3 comment(s) for "Color Splash Spring Fantasy Photoshop Manipulation Tutorial"