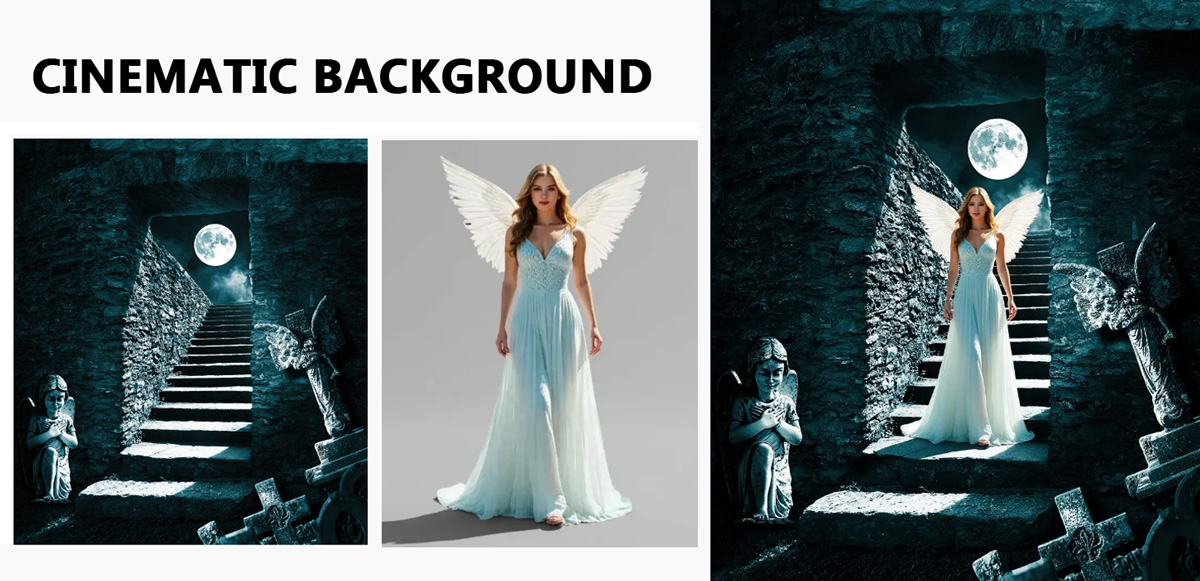
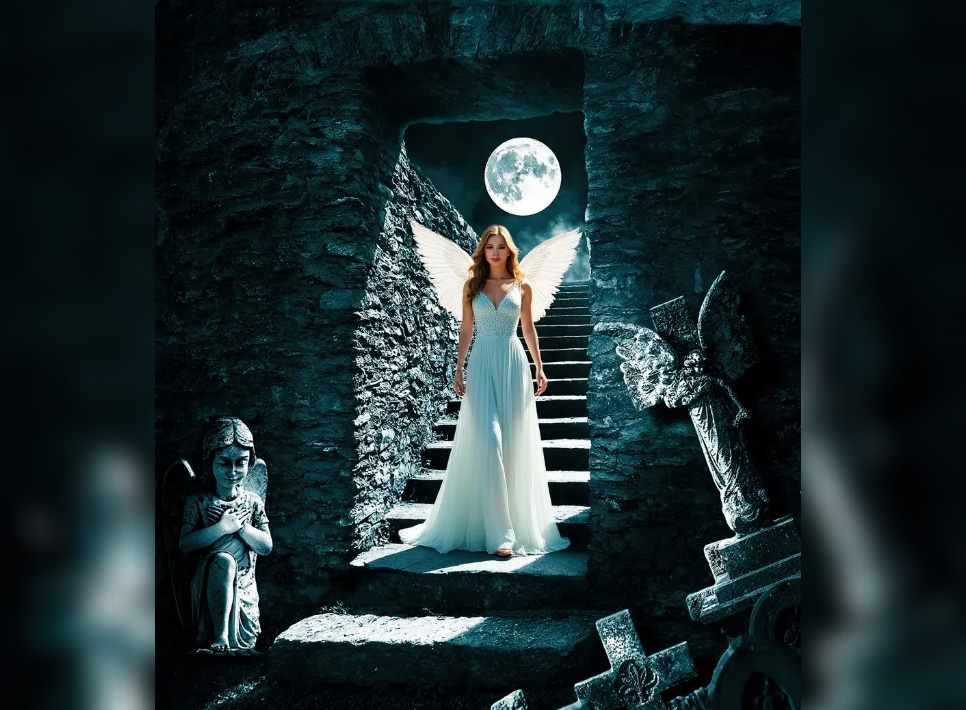
Cinematic Background
Create a stunning cinematic background with our Photoshop tutorial. Learn to blend characters, add dramatic lighting, and use color grading for a polished result.
How to Create a Cinematic Background in Photoshop
Cinematic scenes are a great way to add storytelling and mood to a Photoshop composition or photo manipulation.
A cinematic background photo often features dramatic lighting, strong focal points, and a clear subject. Whether you're aiming for a film poster style or a digital artwork, working with character-based layouts is a creative way to develop your photo manipulation skills.
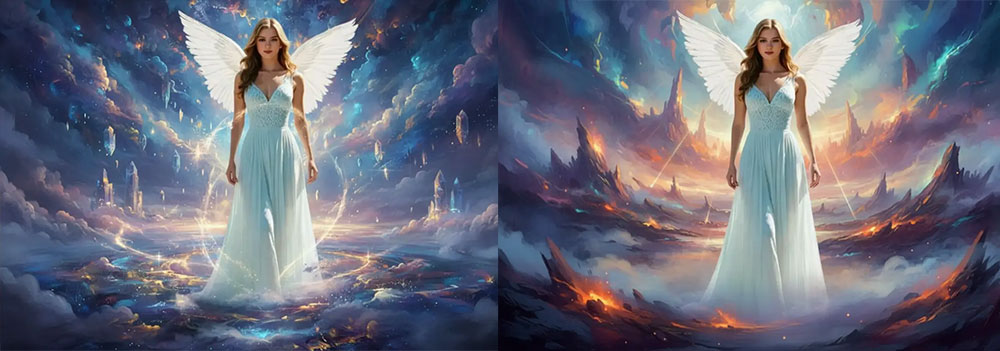
In this tutorial, you’ll build a high-impact design with a dark cinematic background using Photoshop’s core tools. The character will be blended into a custom environment, then enhanced with lighting, color work, and depth for a polished cinematic result.
At the end of this article I also added list with cinematic background images that you can use.
Import and Position Your Character Image
Start by selecting the subject for your cinematic background scene. This will be the central figure, so choose an image with a strong pose and facial expression that fits the desired mood.A forward-facing or slightly angled portrait usually works best.
If you don’t have a model photo available, you can use realistic AI avatars as an alternative. They’re consistent in quality and lighting, which makes them easy to integrate into design compositions like this.
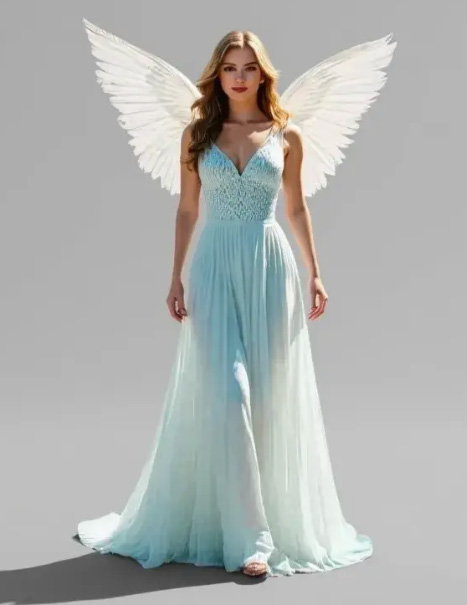
Place and scale the image, keeping the character slightly off-center. Use Quick Selection or Select Subject to isolate it, then apply a layer mask and refine edges in Select and Mask with feather and contrast. The character should now blend naturally into the scene.
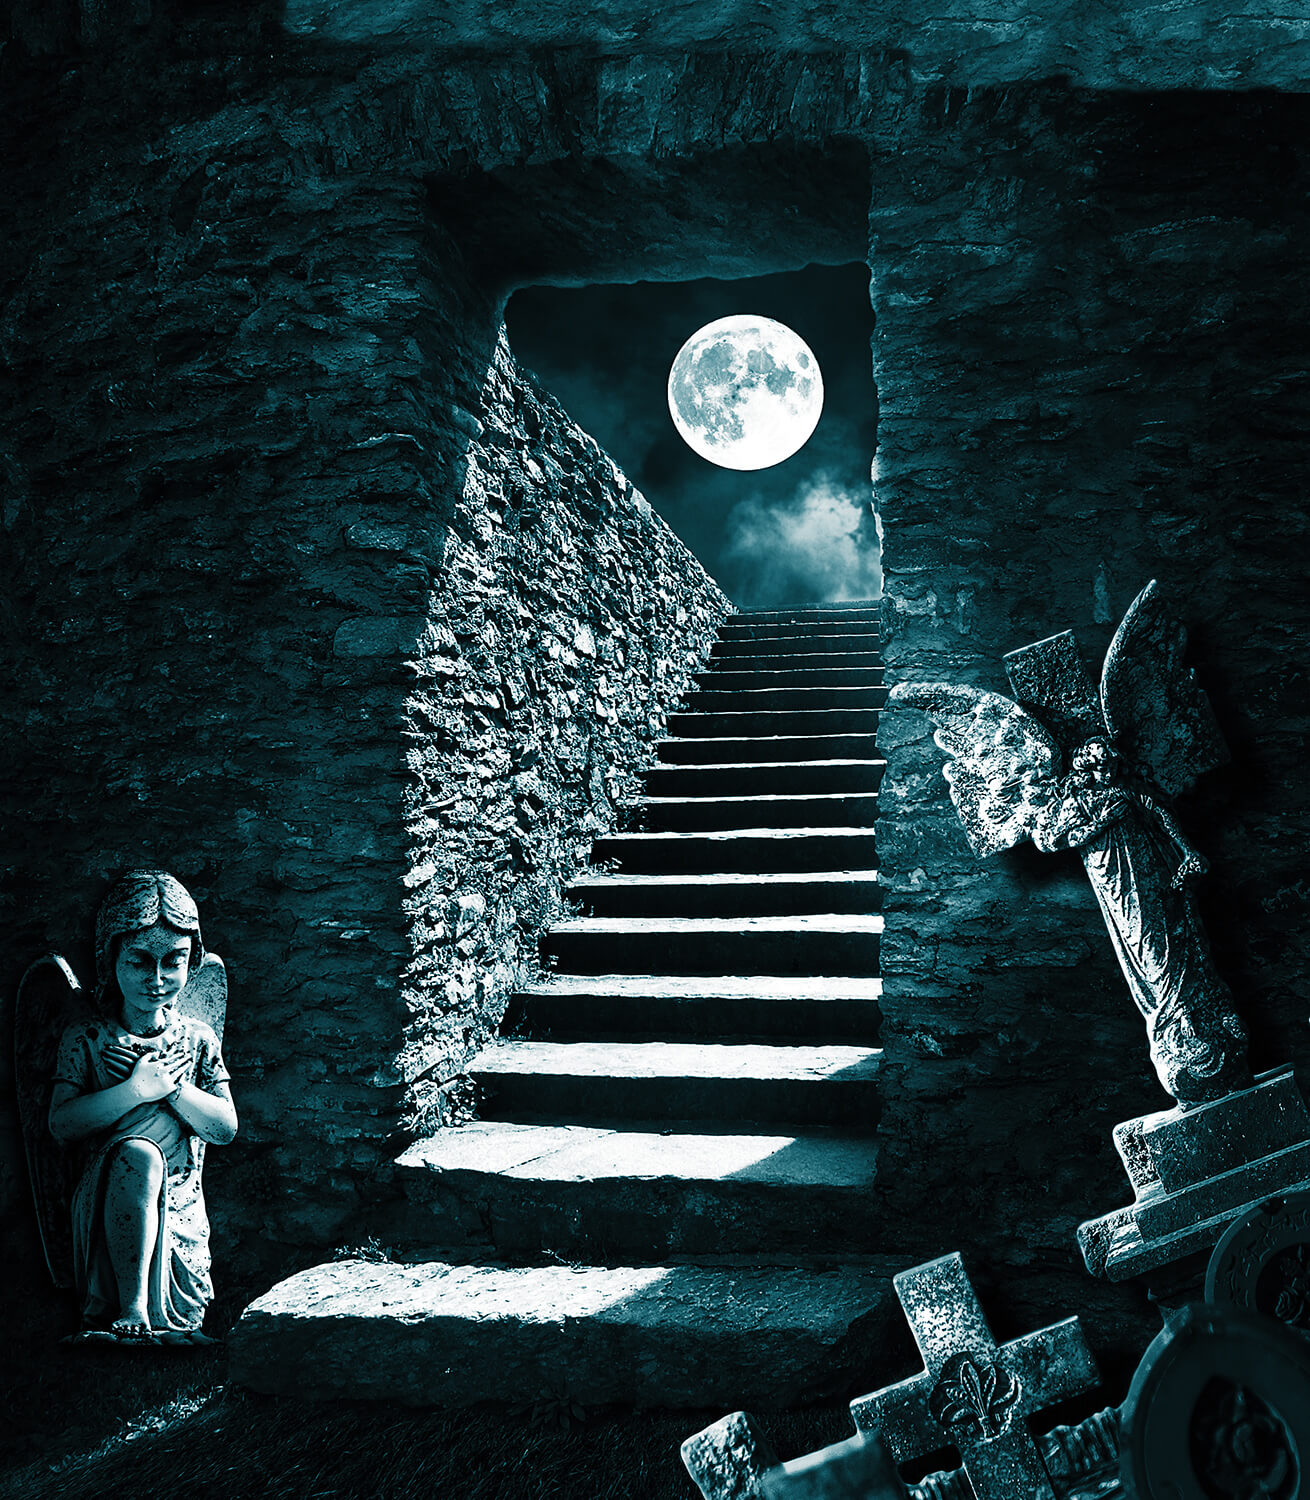
Dramatic Background
How to Make a Cinematic Background
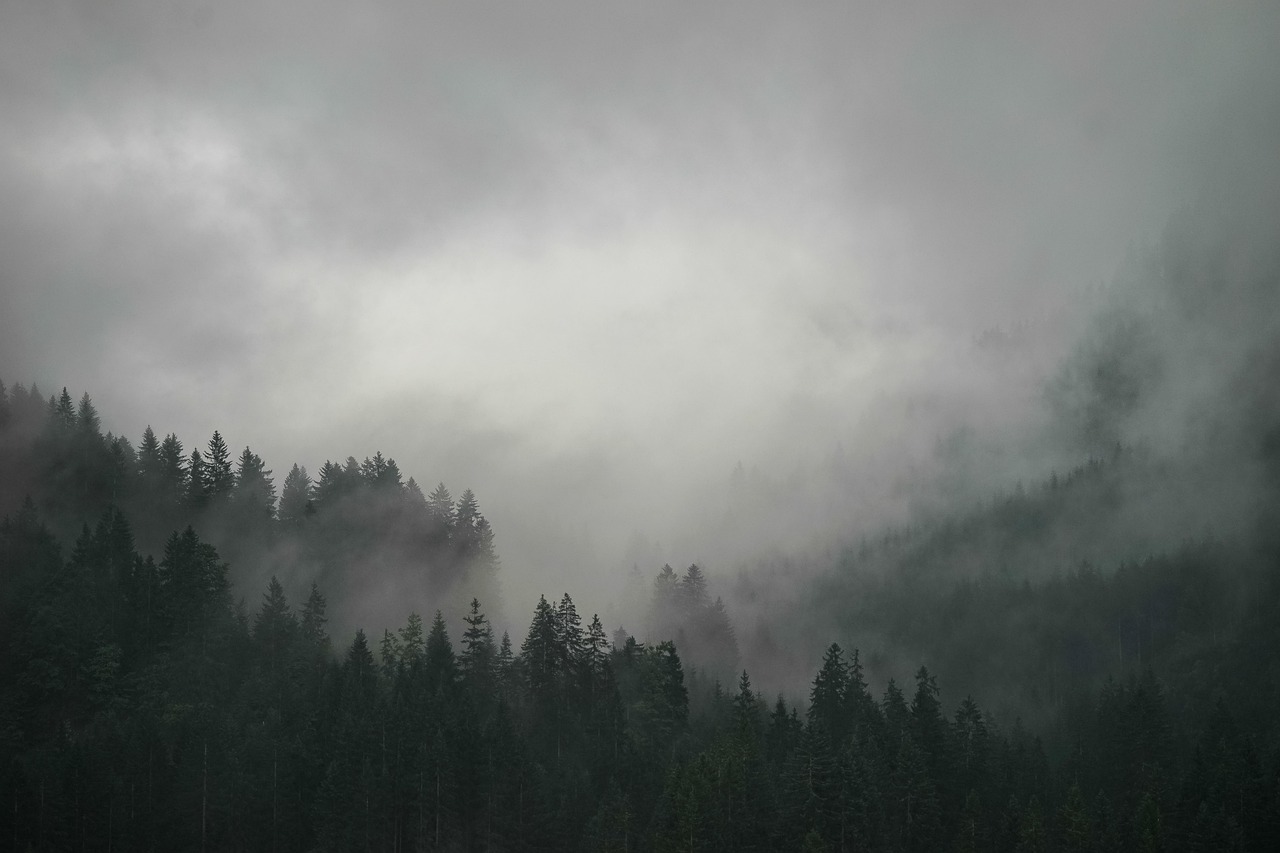
With your subject set, build a background that matches the tone. Use a dark base or gradient for contrast, then add a layer beneath the character with skies, clouds, fog, or buildings using photos or brushes. Blend smoothly with layer masks and a soft, low-opacity brush. Use this Fog Brush Photoshop pack to add fog and mist to your dark cinematic background.
Use this Cloud Brush Photoshop pack to add clouds quickly. Use different opacity levels, different blending modes and color gradients.
Experiment with blend modes like Soft Light or Overlay to help different layers interact. Tweak the saturation and brightness of each background asset so nothing pulls focus from the subject. If needed, use Hue/Saturation or Color Balance layers to adjust color tones and keep everything visually unified. Once the background feels cohesive, group your layers for easier editing before moving on.
Cinematic background for editing
You can choose a premade cinematic background photo from Textures4Photoshop or sites like Pixabay. You can also create a background with AI.
Here are some examples of cinematic backgrounds that you can create or download from WEBSITE STOCK ARTICLE:
- Desert dunes
- Neon-lit cityscape
- Rain-soaked alley
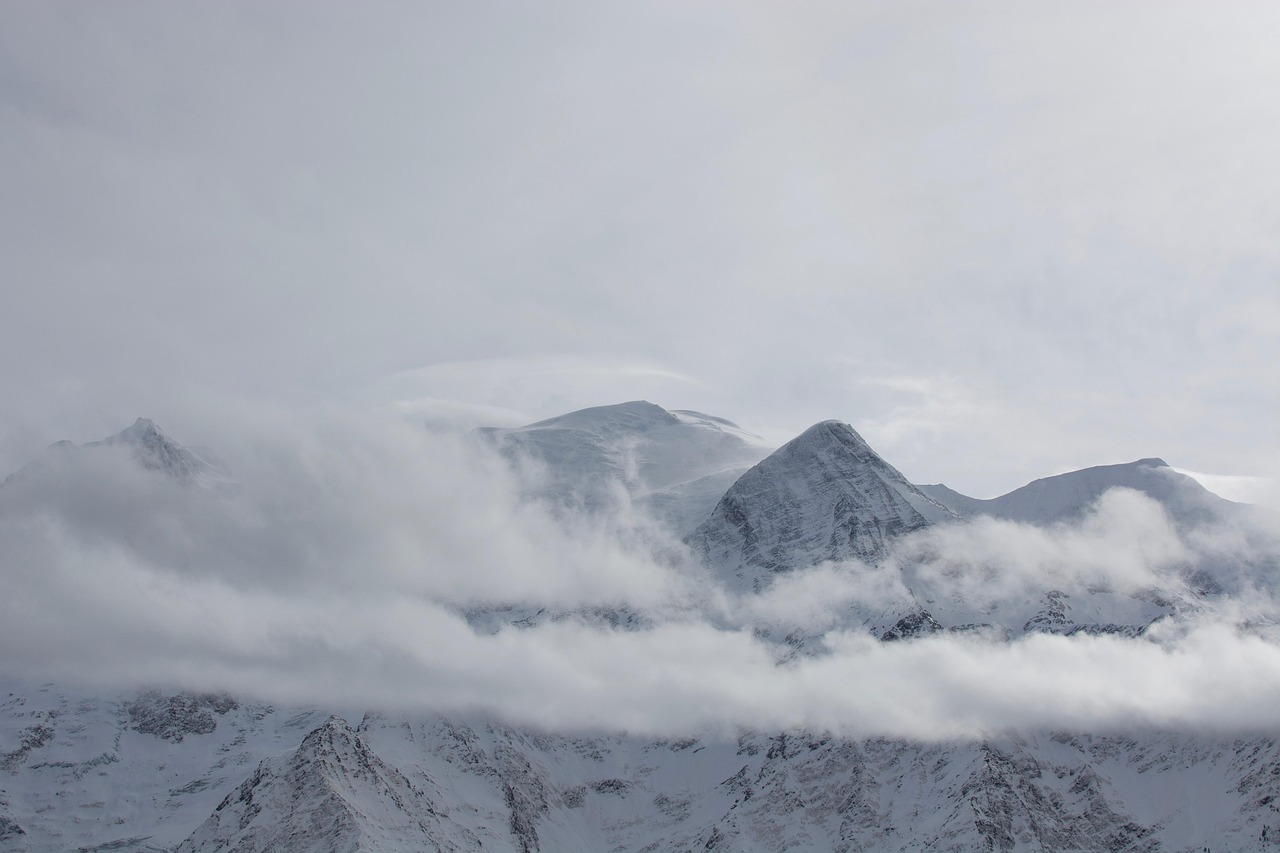
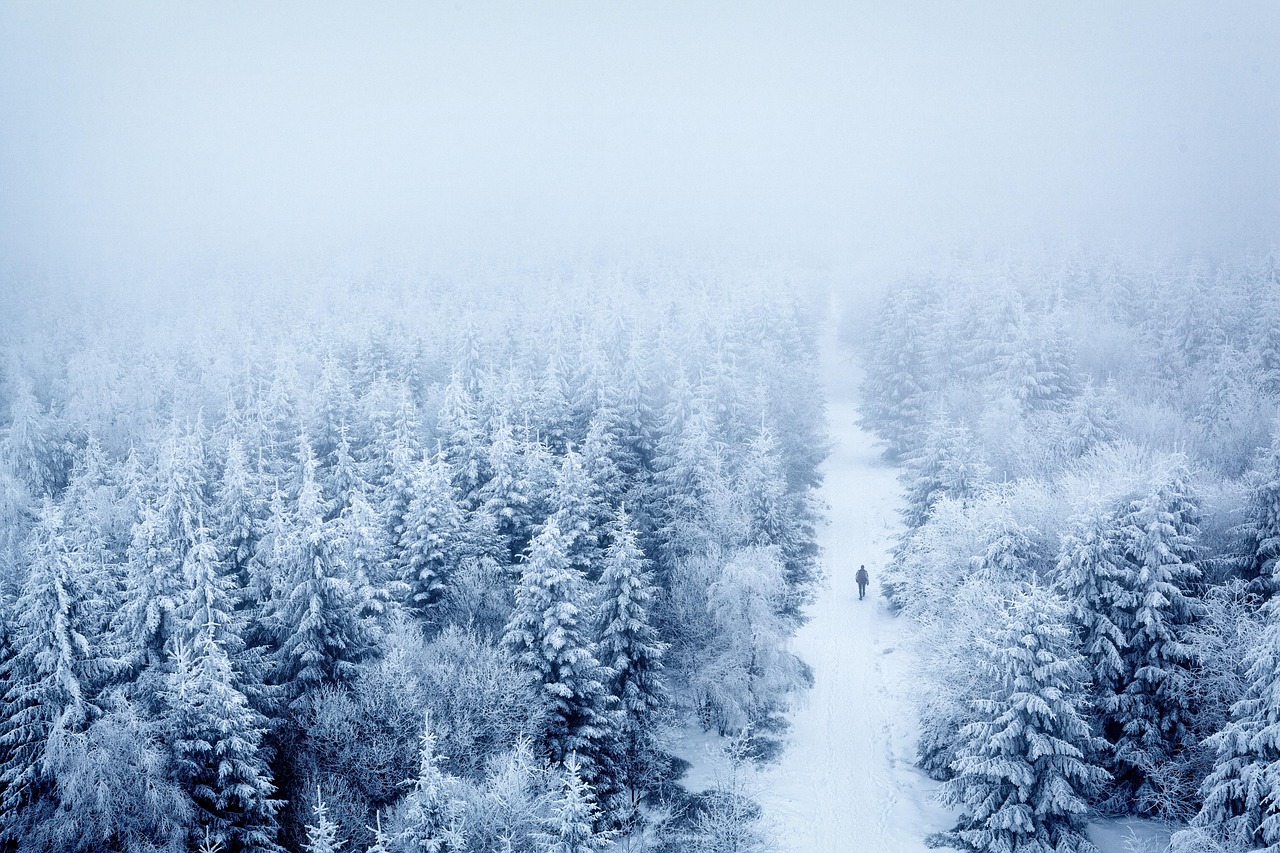
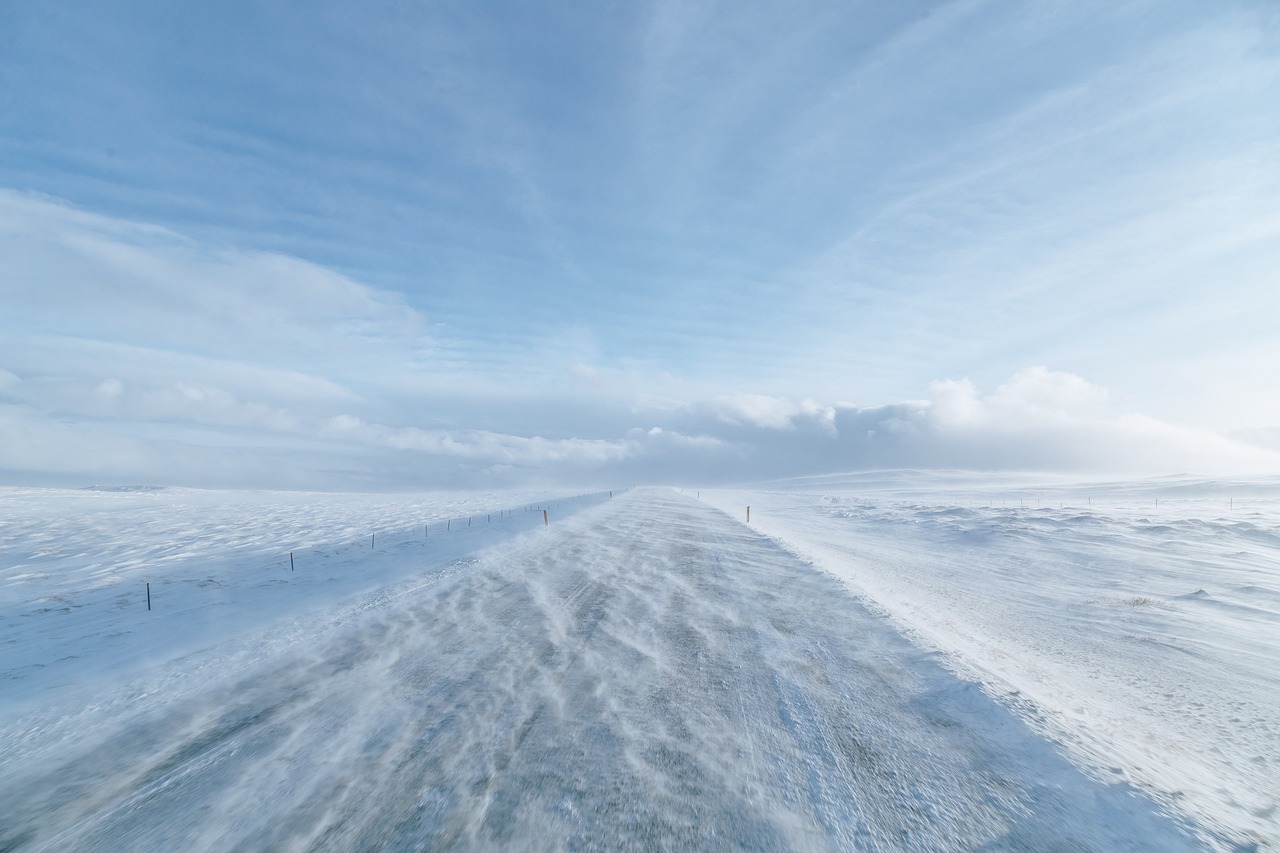
- Snowy mountain range
- Futuristic skyline
- Sunlit forest canopy
- Stormy ocean horizon
- Ancient ruins
- Misty valley
- Dystopian wasteland
Add Lighting and Depth
Define your light source, then paint soft light with warm or cool tones on a new layer. Duplicate the character, apply High Pass with Overlay/Soft Light to sharpen, and use Curves or Levels to brighten highlights and deepen shadows.
Create another new layer above the subject and switch the blending mode to Soft Light. With a soft brush, use black and white to paint highlights and shadows. This helps the character feel grounded in the space. Use lighting to enhance depth, but keep it controlled. A few focused highlights and subtle shadows go a long way.
If you plan to include a title, these fonts from movies can match the cinematic vibe and give your layout a finishing touch.
Cinematic Photoshop Effect
Apply Color Grading and Finishing Touches
Unify the design with color. Add a Gradient Map set to Soft Light or Overlay, choosing tones that fit the mood (e.g., teal shadows, warm highlights). Refine with Selective Color, Color Balance, or Hue/Saturation, masking as needed. Add a subtle vignette to focus on the subject. Once balanced, sharpen, flatten, and save a high-res copy.
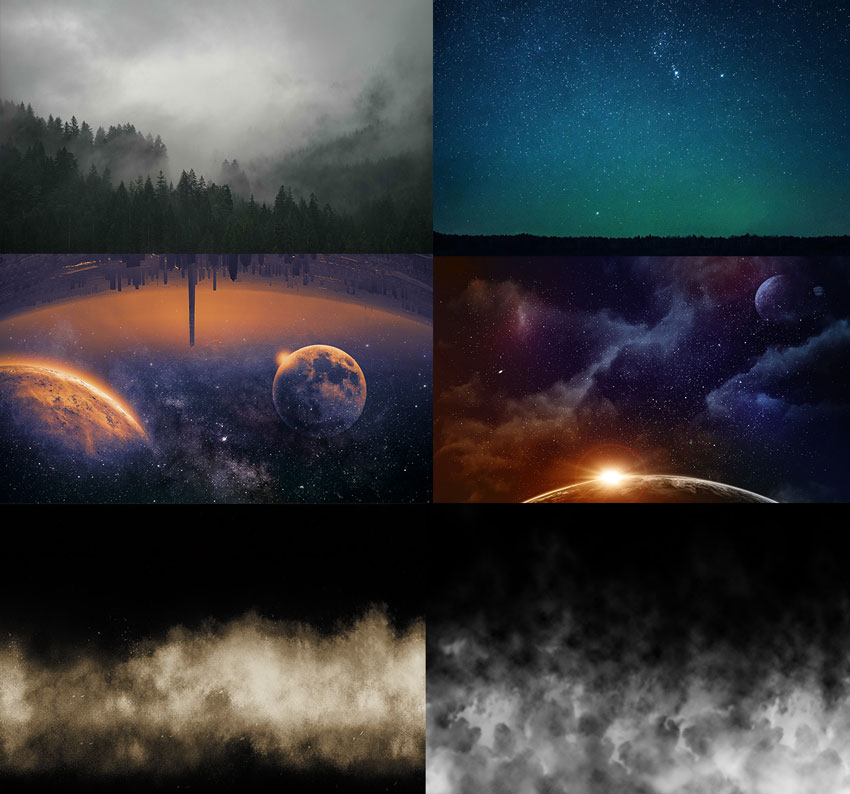
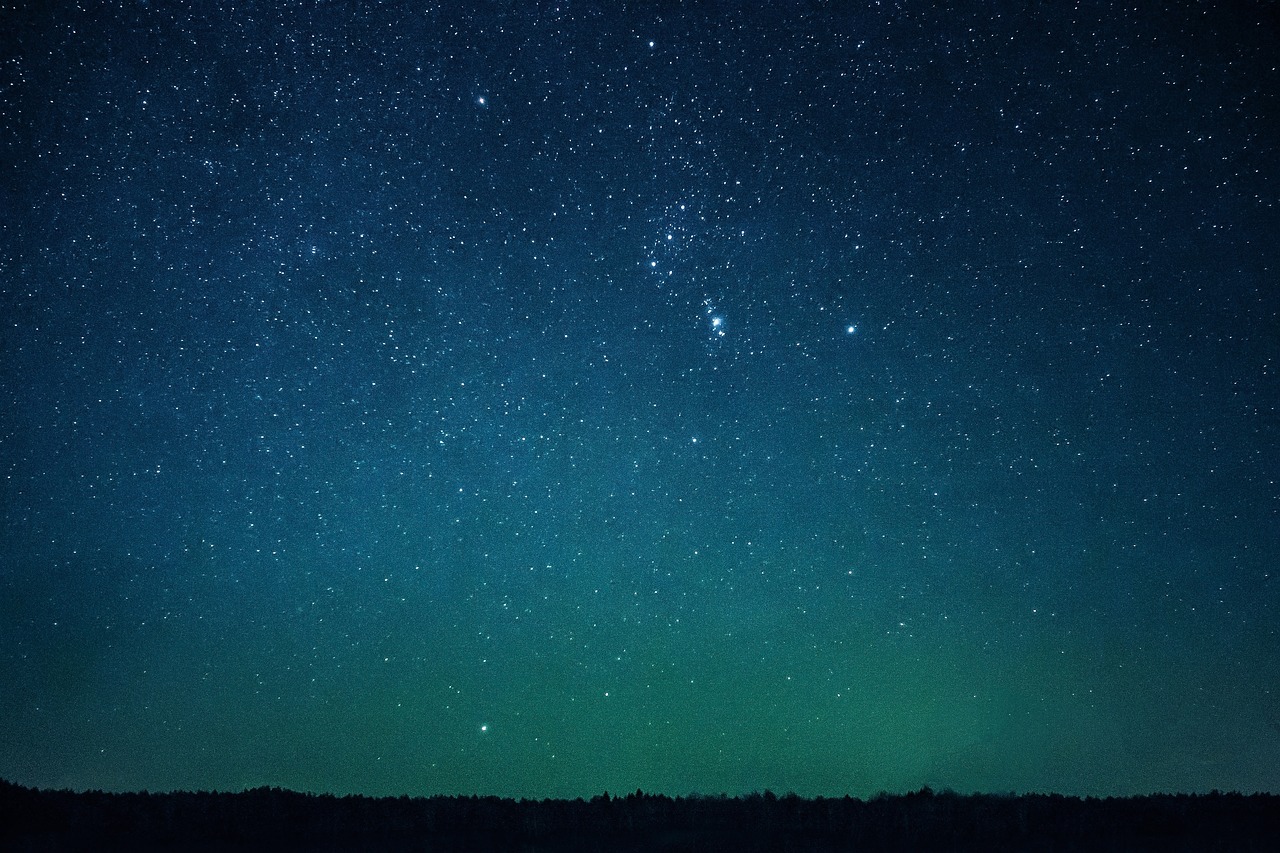
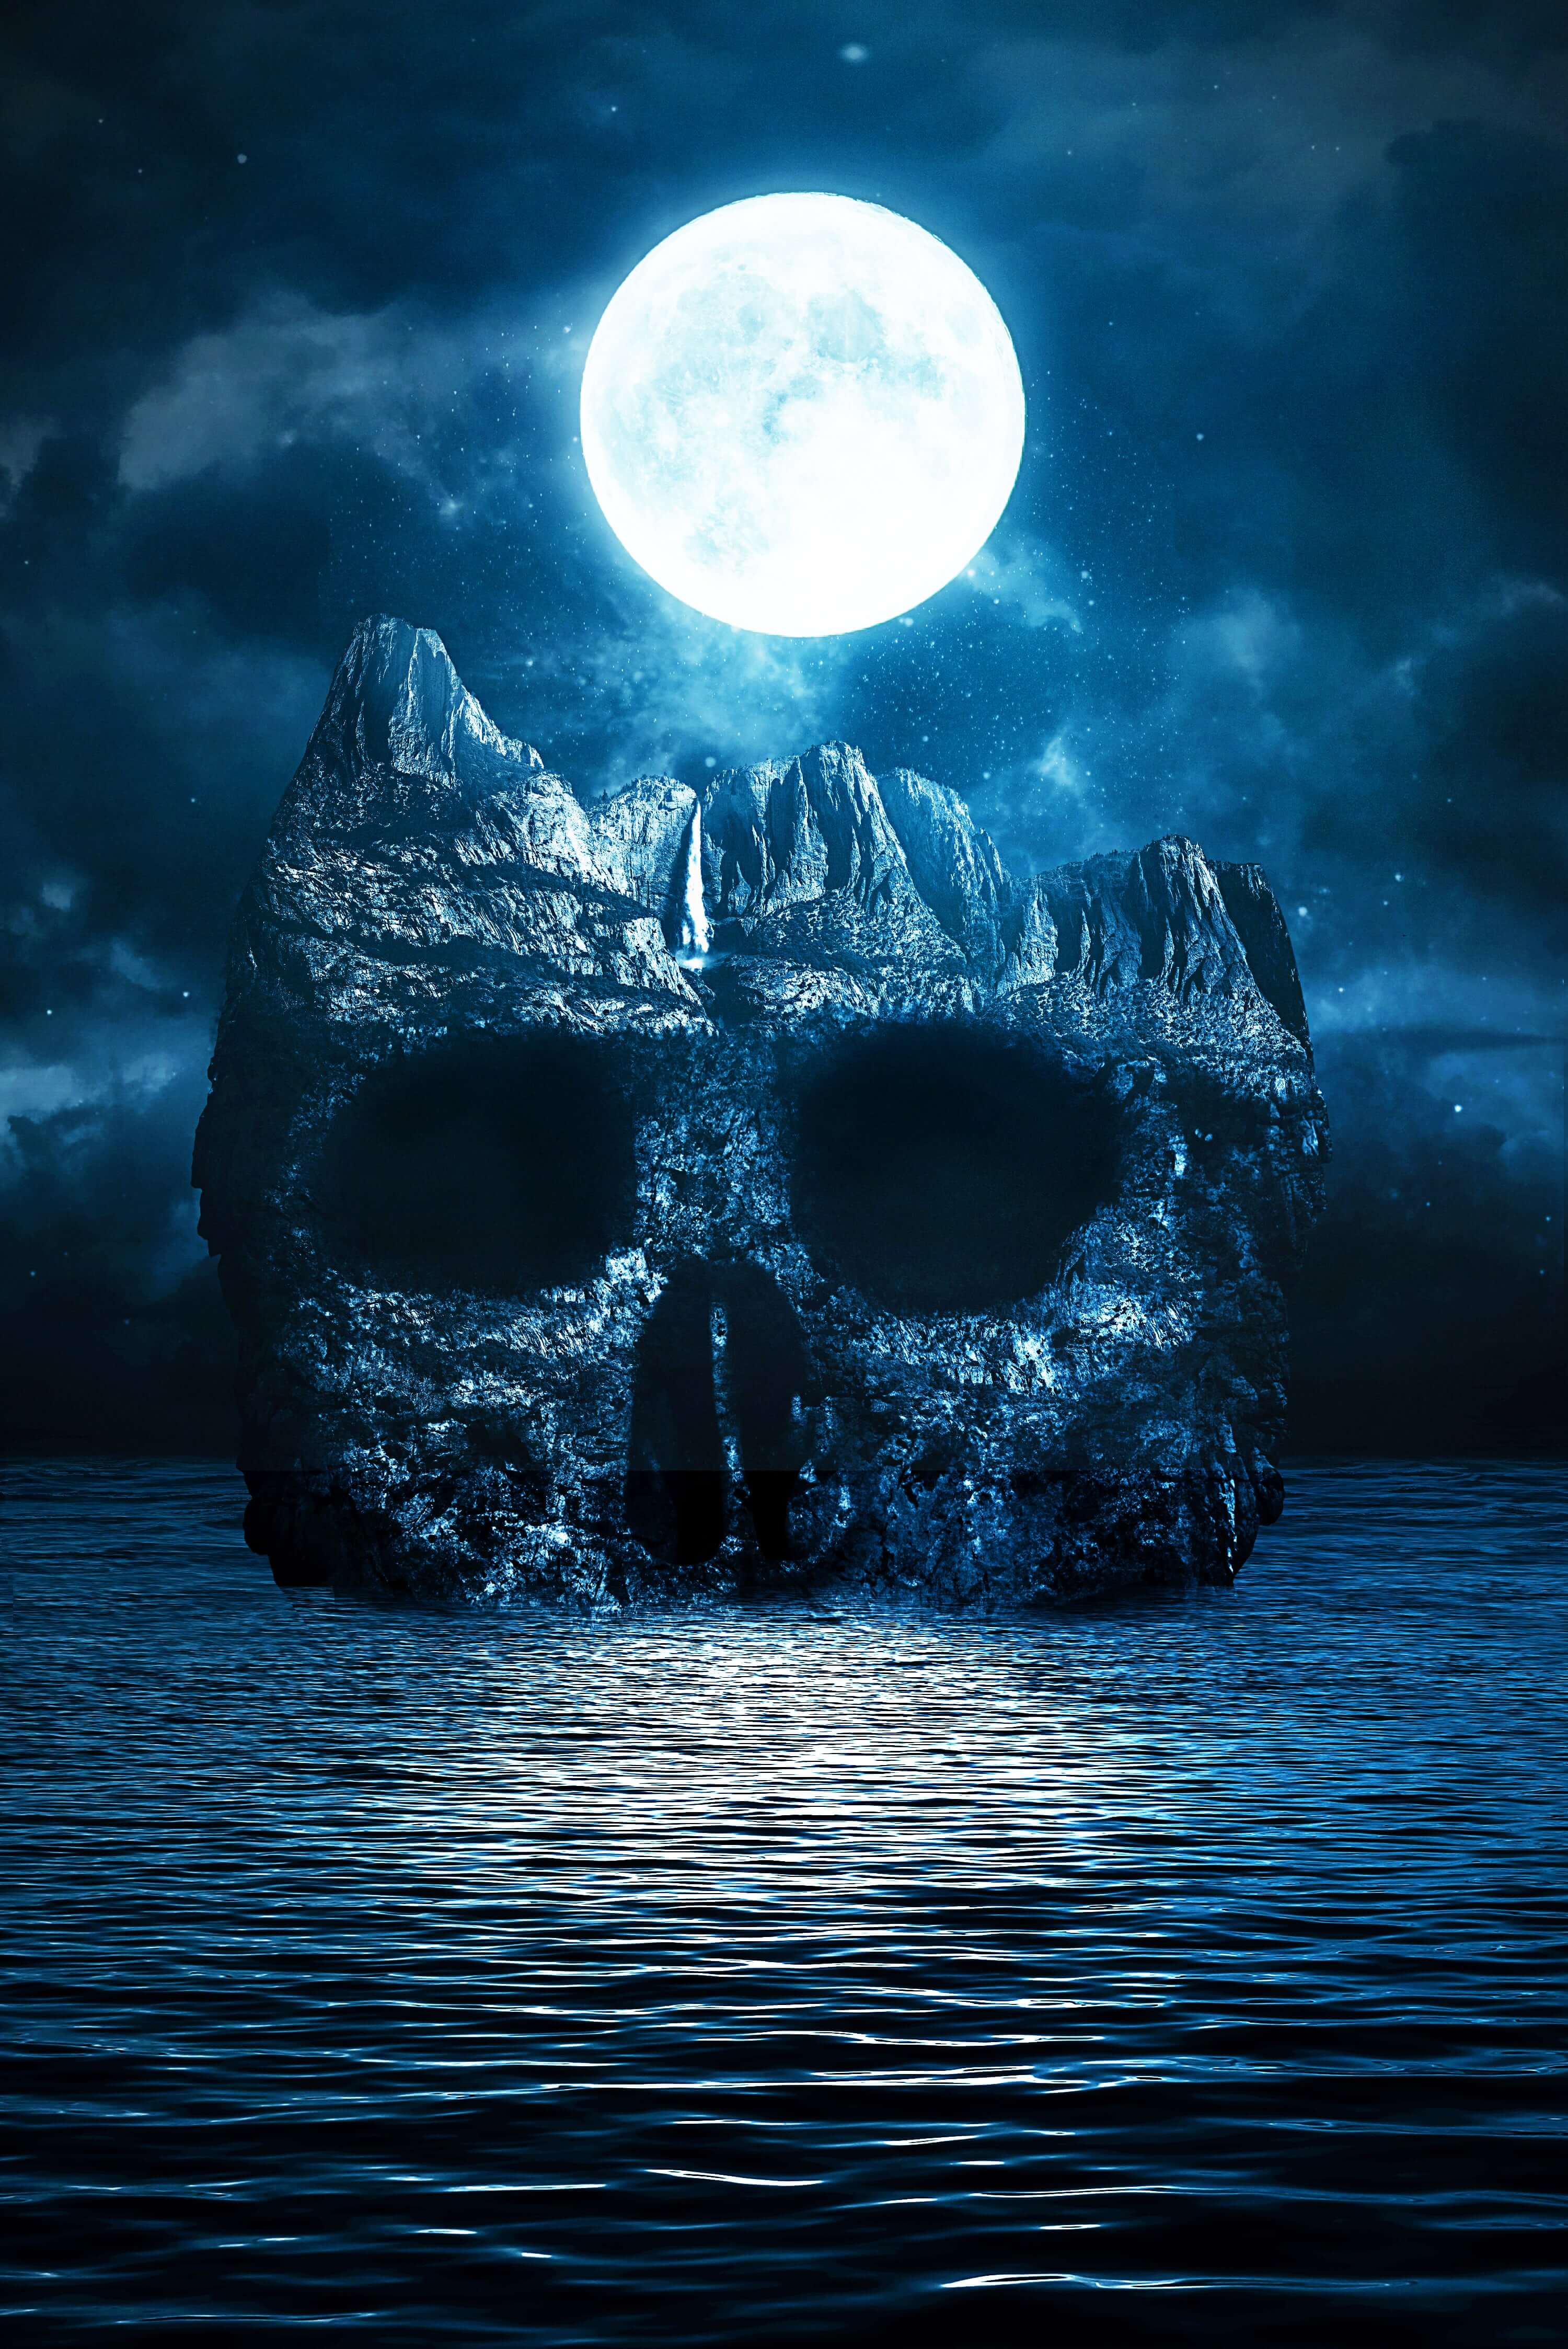
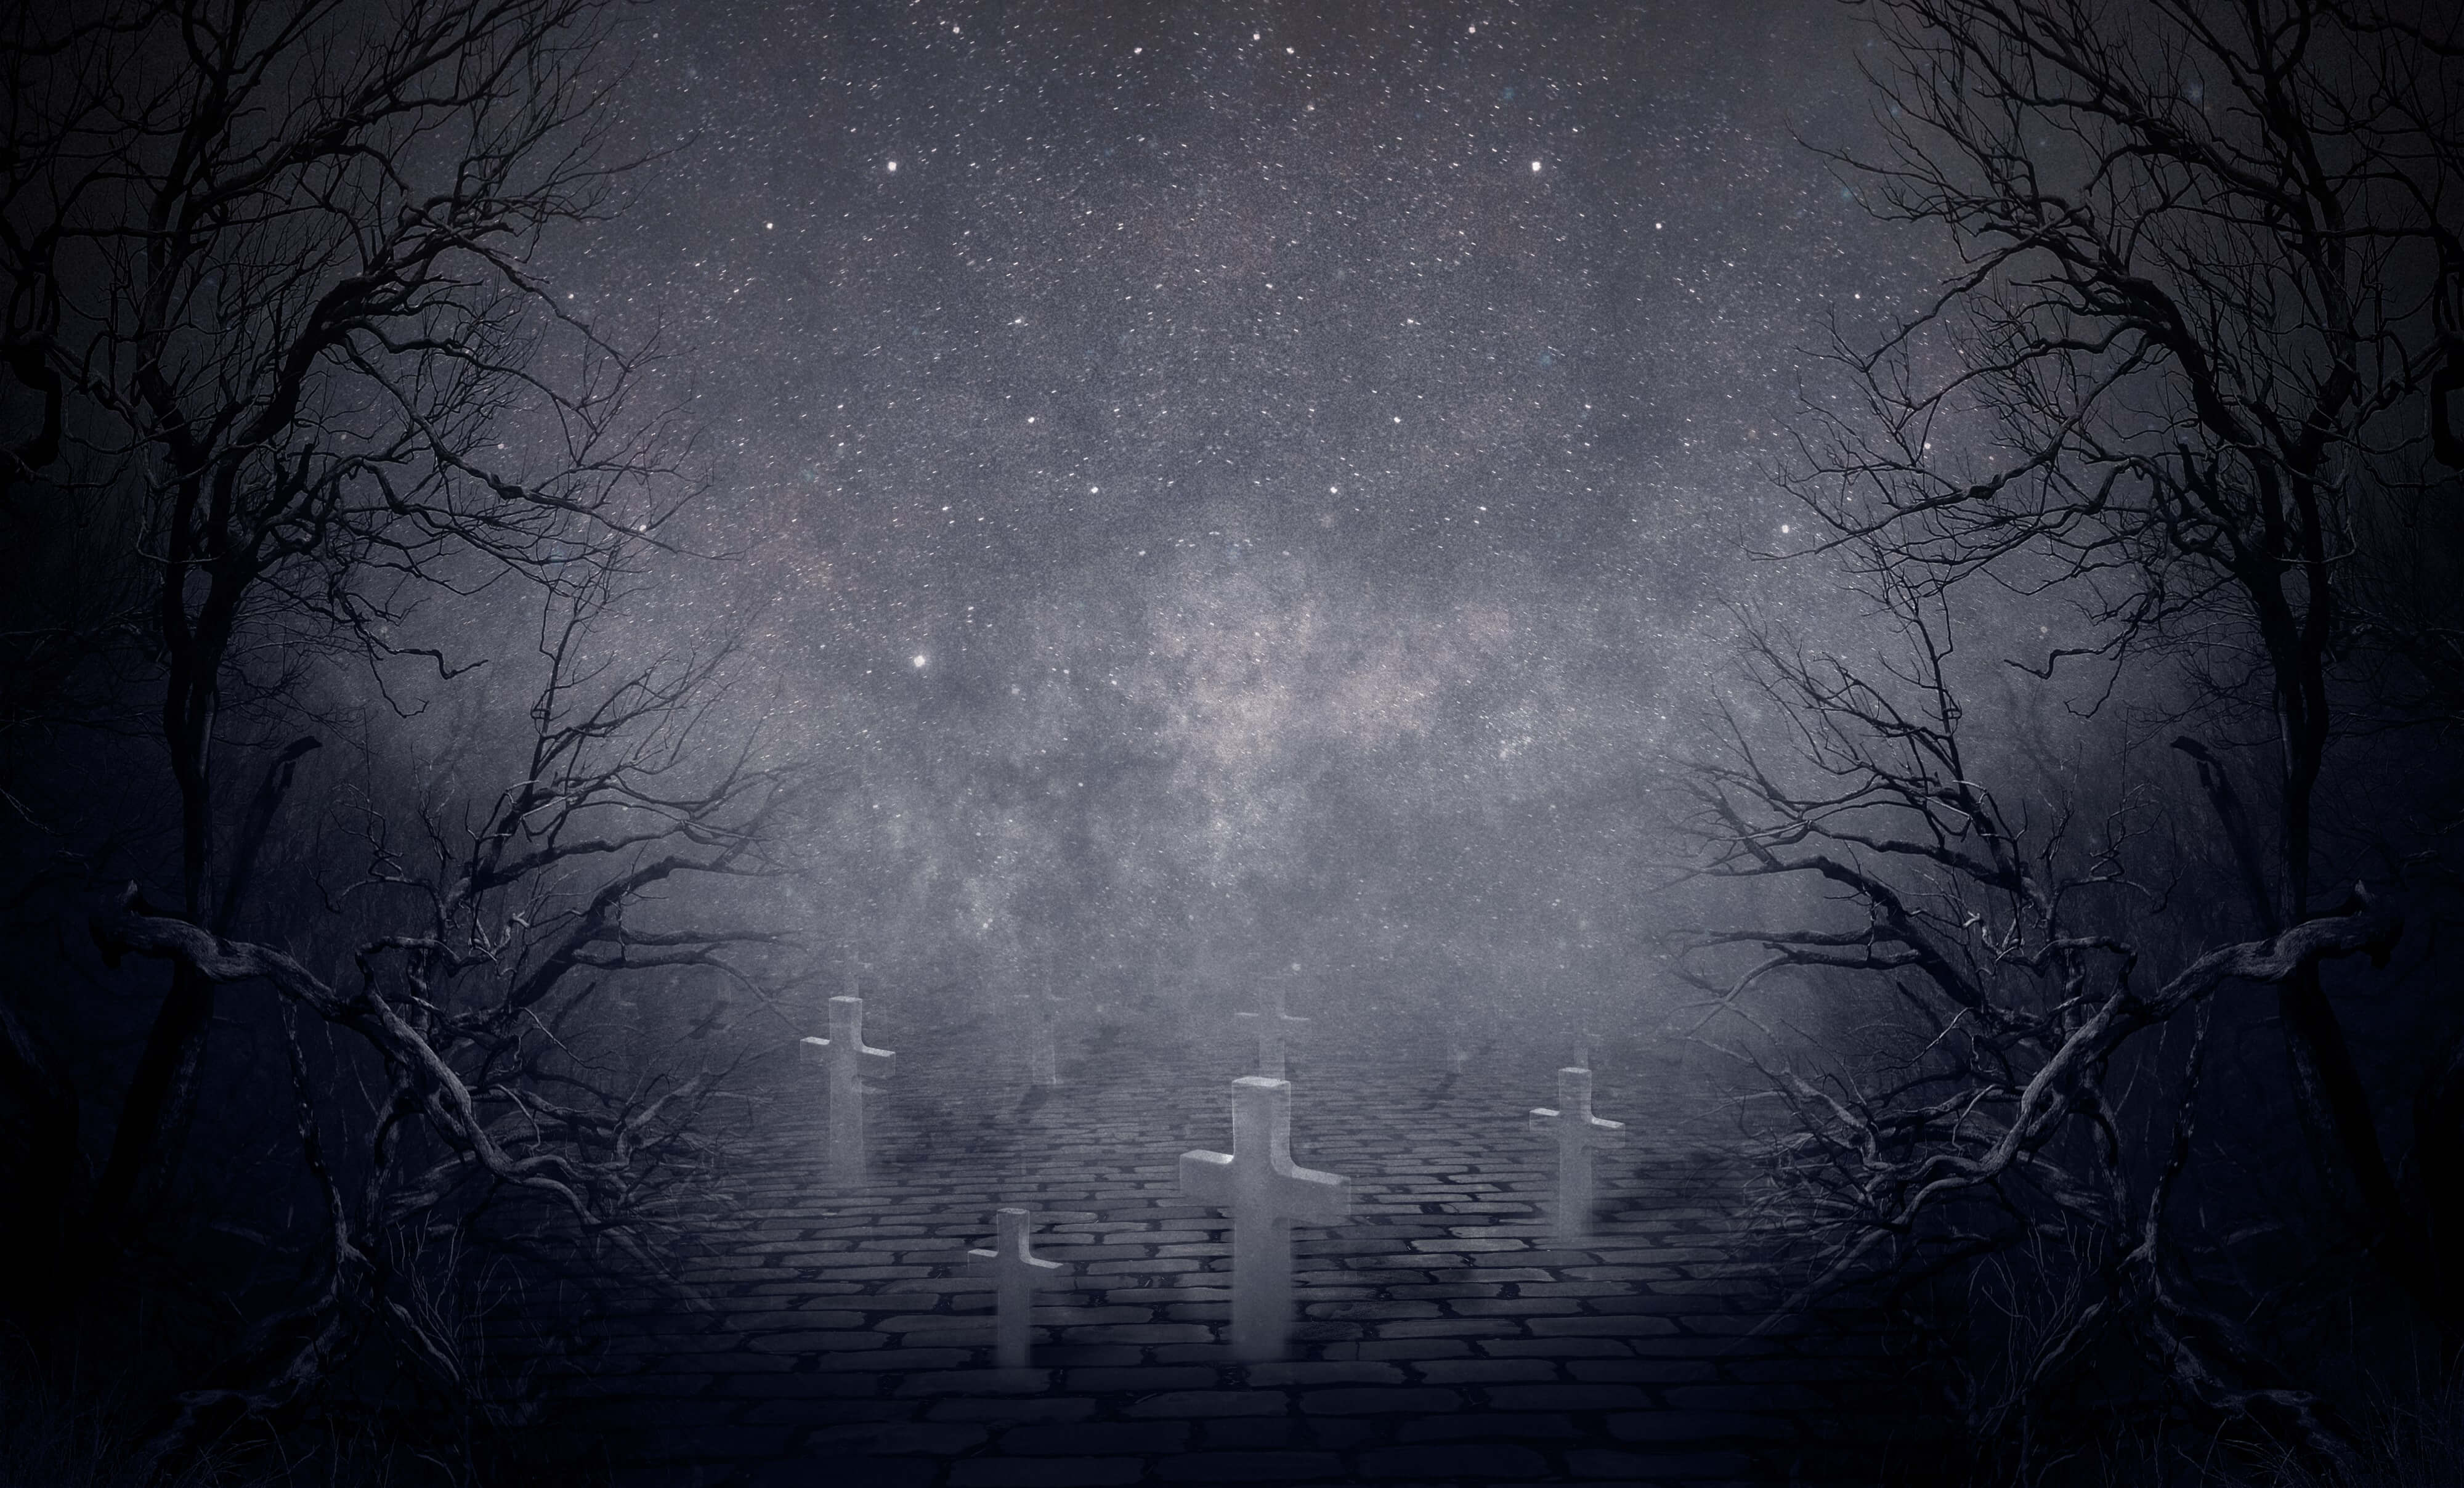
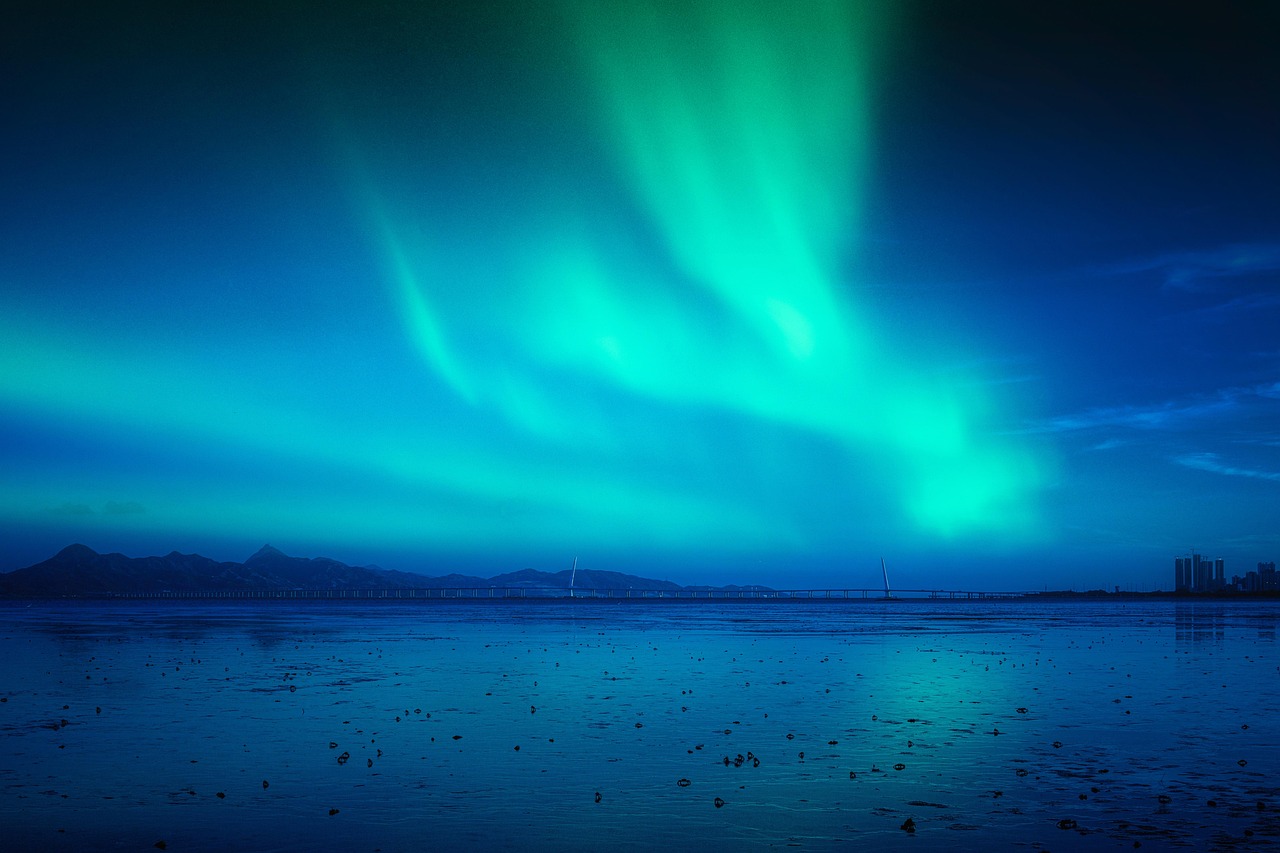
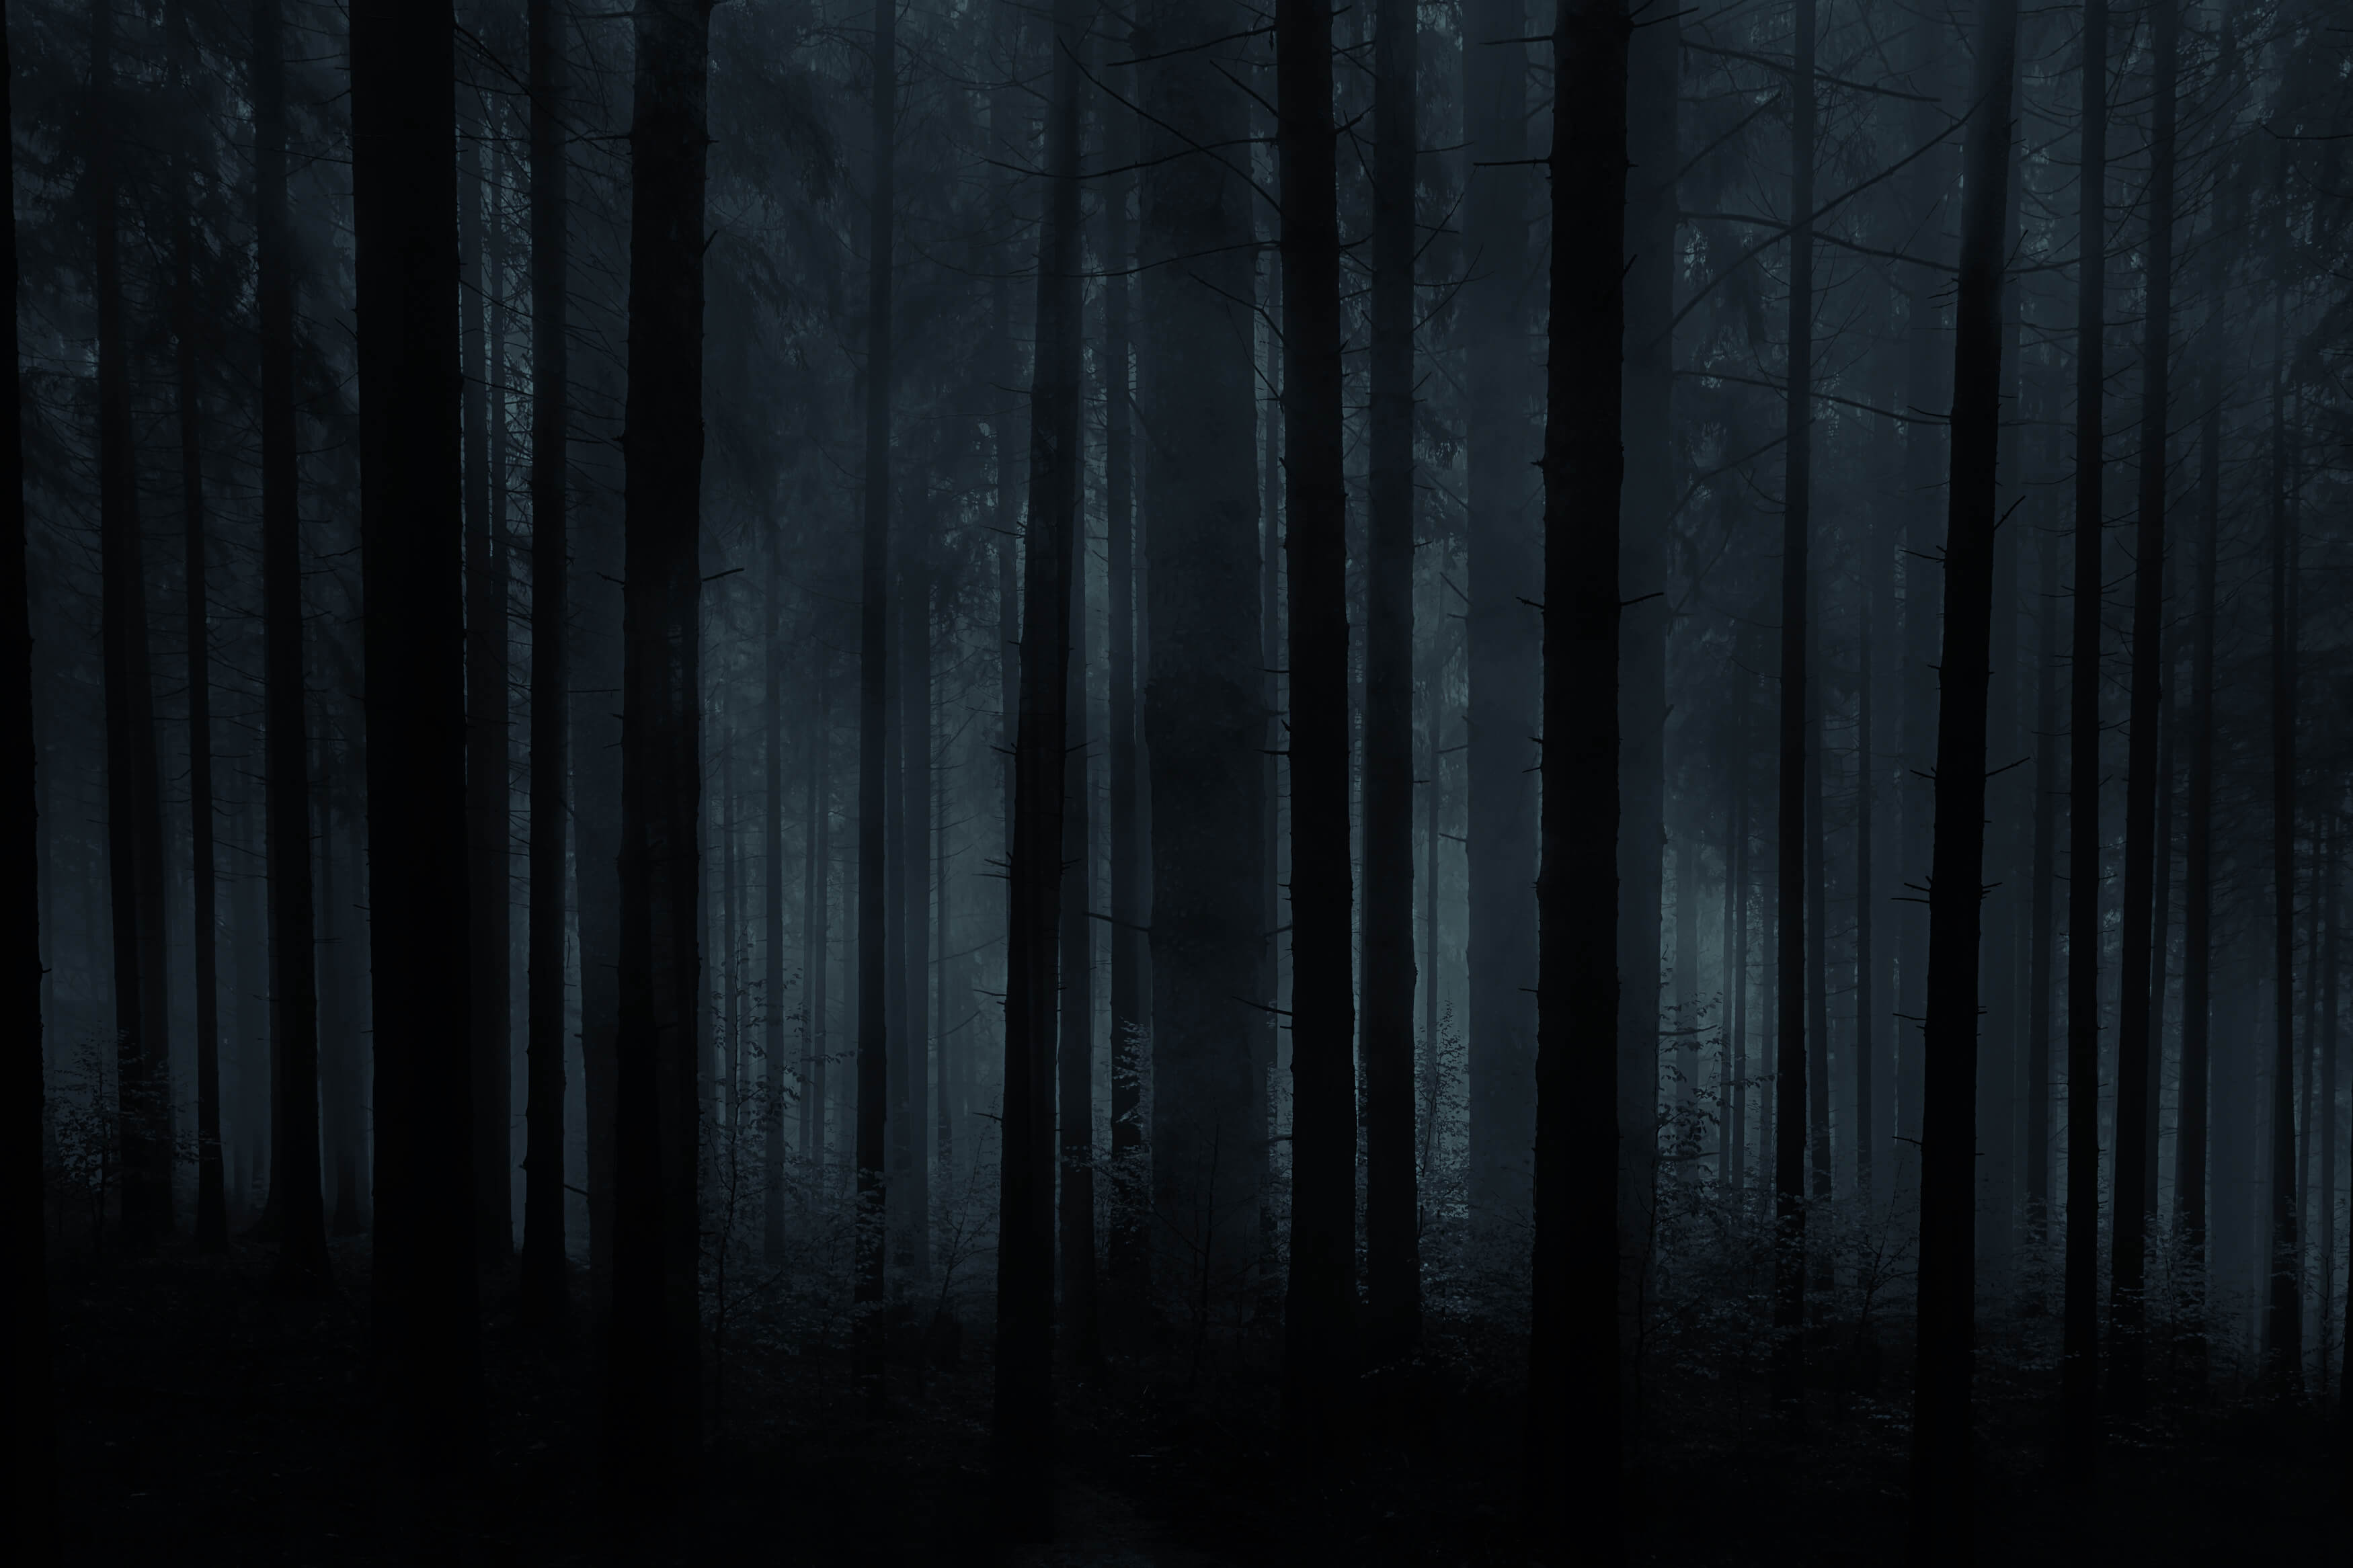
Dark Cinematic Background Images
Cinematic Background HD
.jpg)
.jpg)
.jpg)
.jpg)
Sometimes it's enough to use a simple texture background. Below you have a list with clouds textures, water textures, fire textures and dark backgrounds that are premade and ready to be used in photo editing.
As a super fast solution, you can use an AI background generator. It is a great options if you lack graphic design skills or you don't know how to use Photoshop.
A cinematic background needs:
- Depth & scale (foreground, midground, background layers)
- Atmospheric mood (lighting, color grading, tone)
- Texture & detail (richness without distraction)
- Focus & framing (guides the eye to the subject)
- Movement or stillness (subtle motion like fog, rain, or sky)
In Conclusion
Cinematic compositions are a creative way to combine storytelling and Photoshop techniques. Using a strong subject, layered background elements, and controlled lighting, you can create a design that feels polished and atmospheric.
This type of project is a great way to practice essential skills like layer masking, adjustment layers, and compositing, which are core tools for any character-based Photoshop workflow.
Free Empty Room Backgrounds for Photoshop
Squid Game Symbol
No comment(s) for "Cinematic Background"