
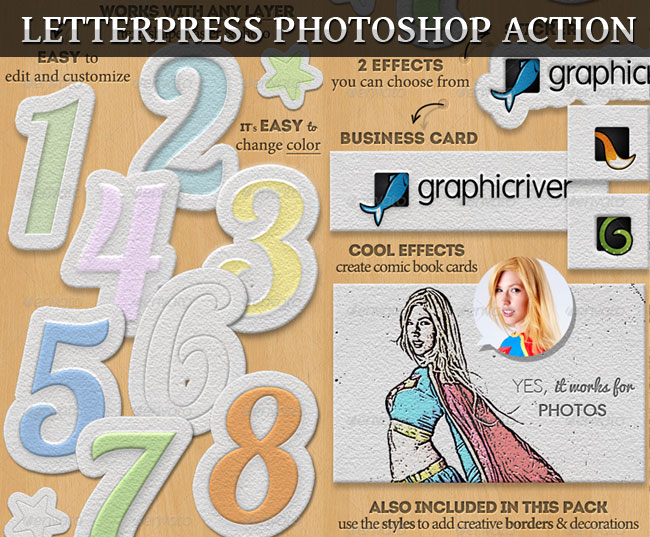
Downlod the Letterpress Effect Photoshop Actions
In this Photoshop tutorial I will show you how easy it is to create a press letter effect using some simple layer styles, rough paper texture and a layer mask. This Photoshop press effect can be used for business cards that are printed on rough paper or on cardboard texture.
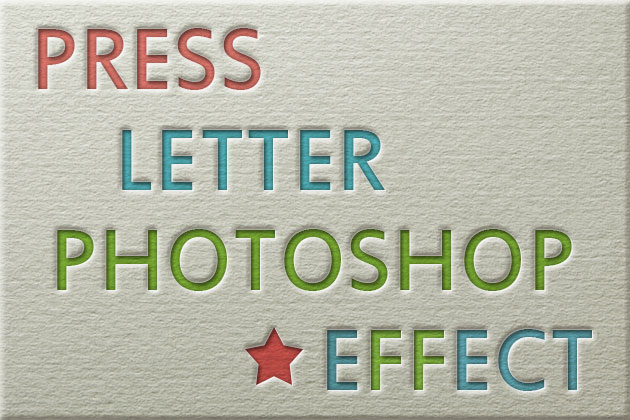
Letterpress Style Photoshop Effect
Here is the preview image for the press leter effect. I made a simple press business card using some simple pressed text. As you can see this effect works great on shapes too. All we have to do is set some layer styles and find the proper paper txture. It works best on rough paper like cardboard or canvas paper texture.
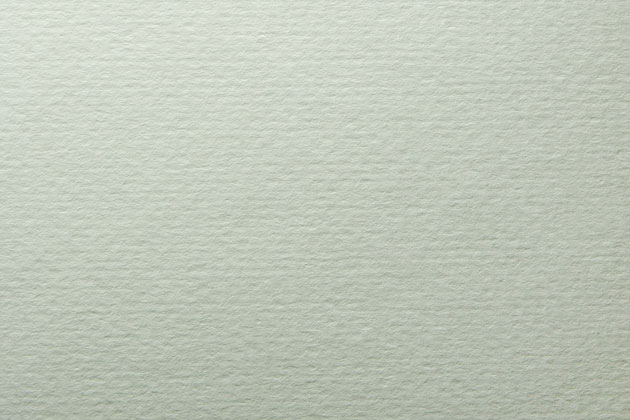
Rough Paper Texture Effect in Photoshop
To create the business card background we have to use a rough paper texture like this one, that has also the advantage that is seamless and free for commercial use.
For the preview image I used "paper-4.jpg" from this paper textures set. Call this first layer Paper Base. Duplicate the Paper Base layer and rename this second paper layer Paper Top.
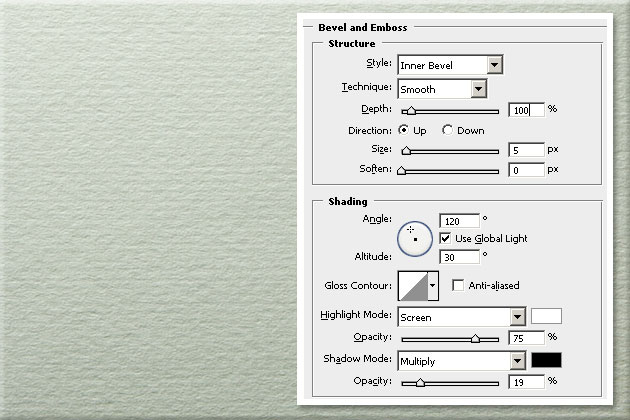
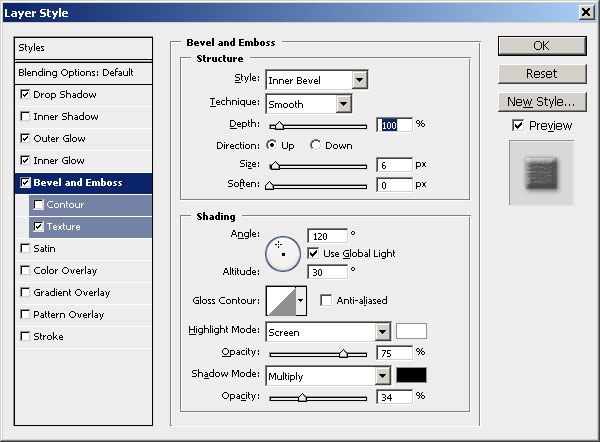
Open the layer style window for the Paper Base layer and add a Bevel and Emboss effect with these settings:
Open the layer style window for the Paper Top layer and add Bevel and Emboss effect with these settings:
The settings made are not all that visible for the momment but in the following steps you will clearly see why we did these settings.
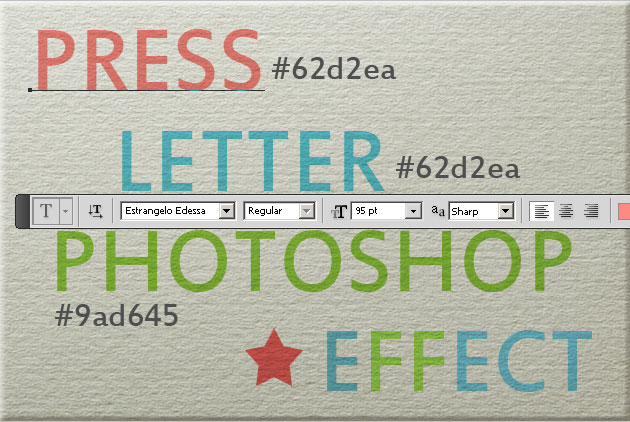
Add Text on Business Card in Photoshop
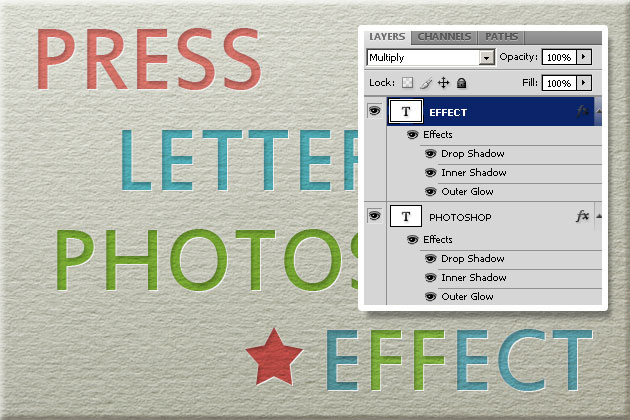
Now simply add some text layers, shapes or any other rasterized object that you want. I have added a text and a star shape just to see the effect on both types of layers. Change the blend mode of all these layers to Multiply, 100% opacity.
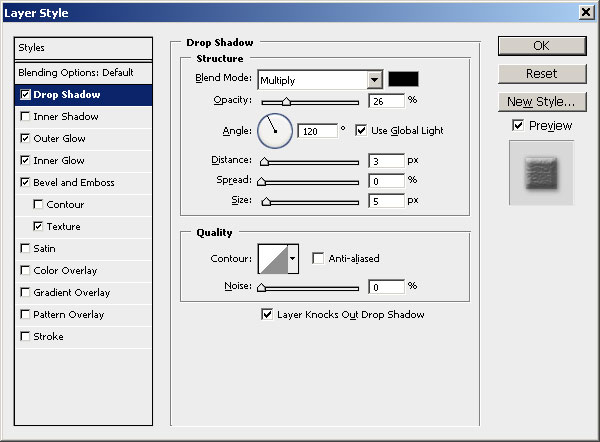
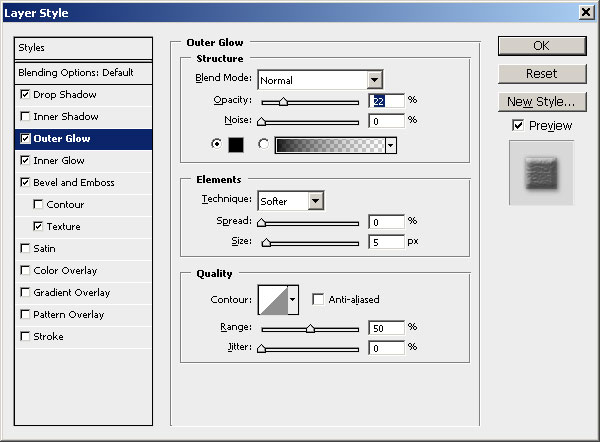
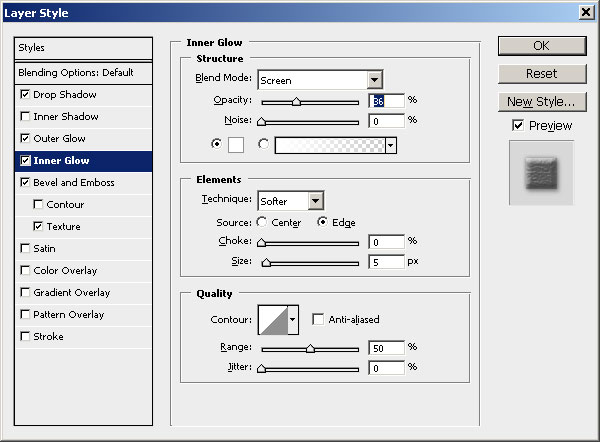
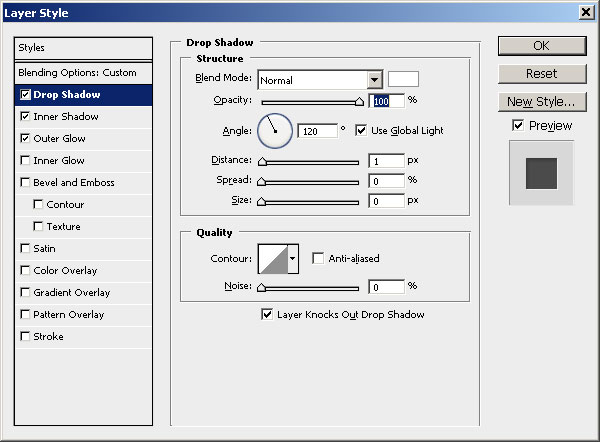
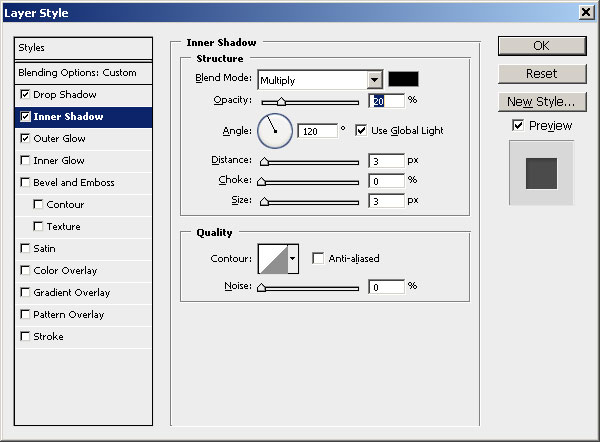
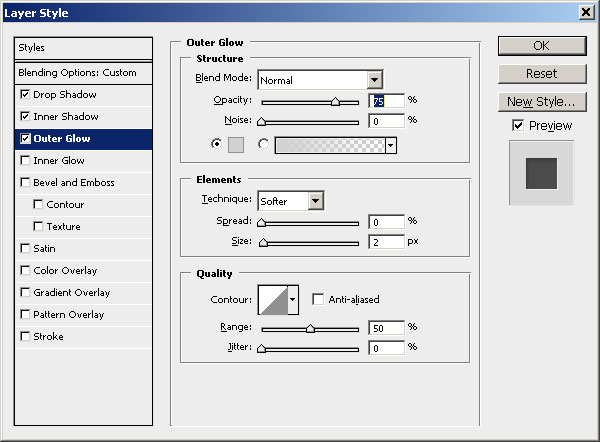
Open the layer style window for the first "Press" text layer and add Drop Shadow, Inner Shadow and Outer Glow with the following settings.
Embossed Letters in Photoshop
Right click on the Press Text Layer and choose Copy Layer Style. Select all the other text layers and the start shape layer and right click and from that list choose Paste Layer Style. That way you don't have to make all those steps for every layer.
As you can see we have obtained a good press letter effect but for the paper texture that we have this effect is just not enough. To obtain that realistic paper pressed text effect we have make some small adjustments.
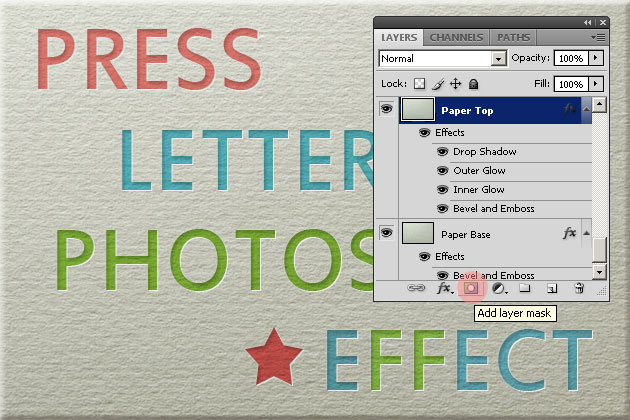
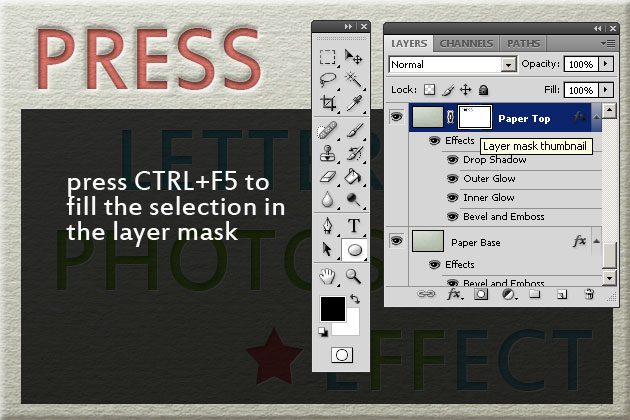
Go to the Paper Top layer and add a Layer Mask by pressing the Add Layer Mask button that you can find on the layers tab. If you are not sure how to add a layer mask you can find out from this tutorial on how to create and use layer mask in Photoshop.
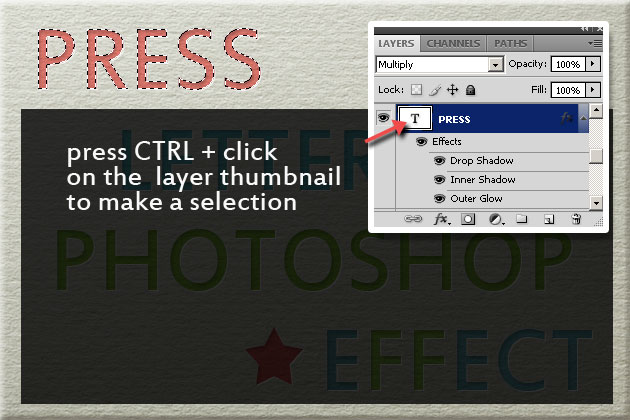
Select the Press Text Layer, keep the CTRL key pressed and click on the layer thumbnail to make a selection out of this text.
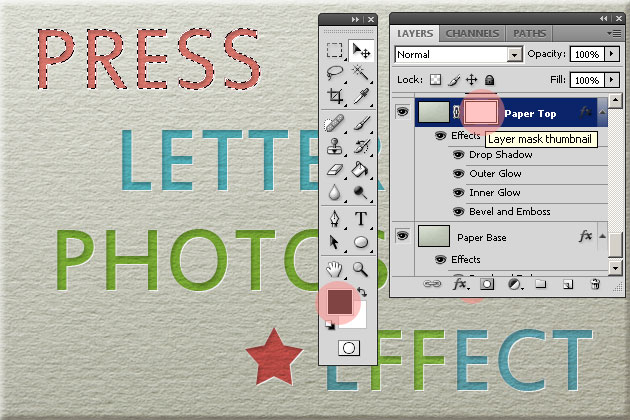
Return to the Paper Top layer, make sure you have the mask selected (click on the mask). Set the Foreground Color to black color and press SHIFT+F5 to fill the selection with the black color in the mask area.
Press CTRL+D to deselect the selection and to see the result.
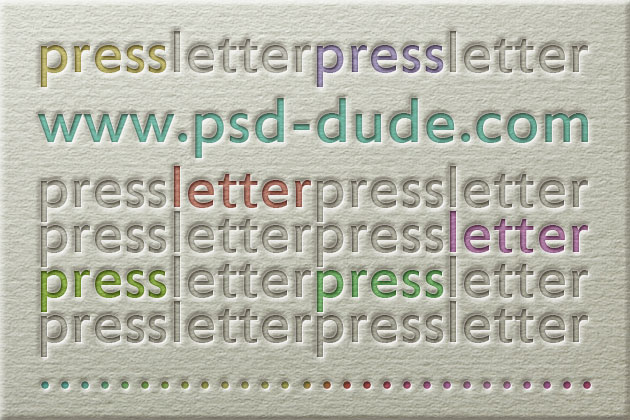
Repeat the process for all the other layers; make selection ad fill it with black in the layer mask of the Paper Top layer. As you can see you obtain a press letter effect in just a few simple steps. Your result should now look like this.
Just remember that you just might have to adjust the layer style settings of the Paper Top layer and the Text Layers depending on the size and the thickness of the text/shape. For example you might have to reduce the Drop Shadow distance and size for the Paper Top layer, and also the Outer Glow settings.
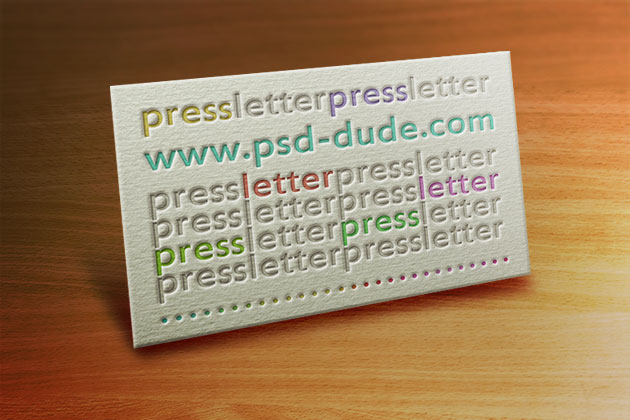
You make a nice preview image you can even add a nice wood background and give a little perspective to the business card using the Perspective Tool. Add a soft shadow and here is the final result for the press letter effect made in Photoshop.
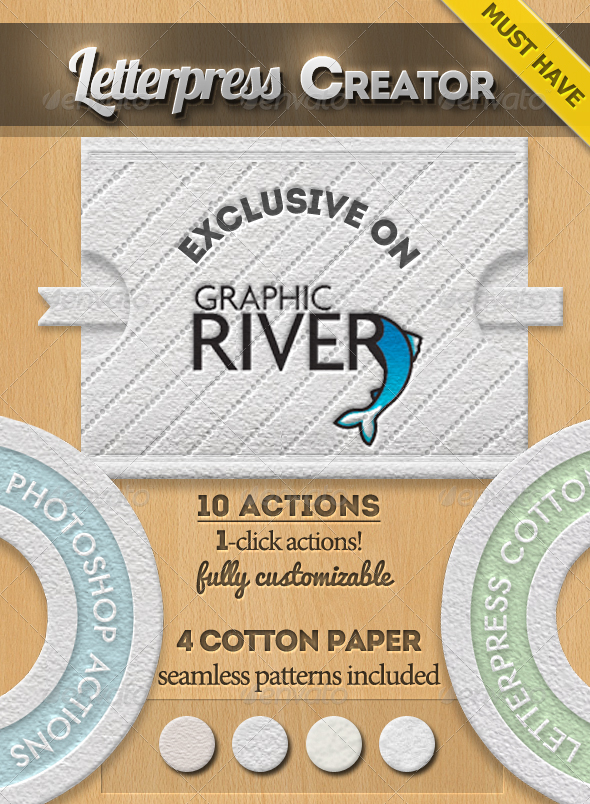
Downlod the Letterpress Effect Photoshop Actions
This set contains 10 Photoshop actions with styles intact that will allow you to create cotton and rough paper letterpress style effects of any text and/or vector shape. You can download the Letterpress Creator for just 4$ from graphicriver.
14 comment(s) for "Press Letter Photoshop Effect"
com los amigos. un brazo. psd.dude.spero nuevos efectos. reply
Thanks for the tutorial! I saw above you were going to make this an action, where can I find that? reply
Let me know if it works for you!
Thank you!
Su
If you don't know how to install a font you can check out this quick tutorial install font. reply