Learn how to create a lightning text effect in Photoshop using my premium photoshop action.
This is a quick tutorial on how to properly use and customize my premium Photoshop lightning action that you can download from graphicRiver. First you have to open a new PSD file and add only one layer. This layer can contain a text with any font type, a vector shape , raster image, etc.
I will add a text layer using this free lightning font that you can download and install on your computer. Learn how to install font in photoshop from this quick tutorial.

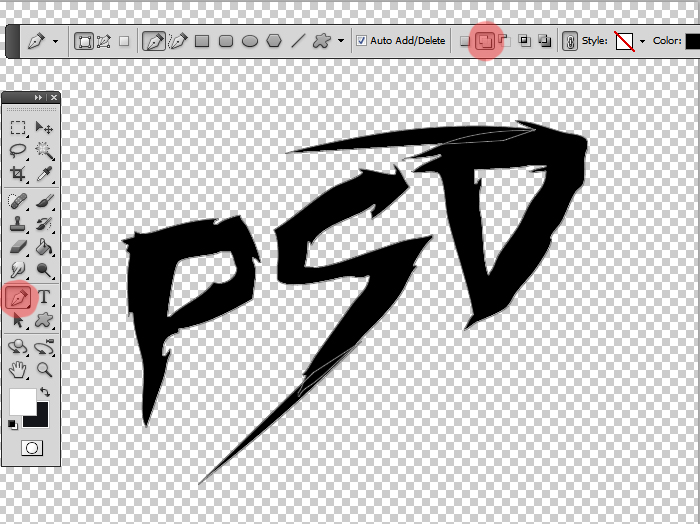
You can rotate the text, you can use the Transform Tool or the Warp Tool to make it more interesting. I decided to convert text to shape to modify its shape. Use the Pen Tool to add more details to the text shape.
Download the lightning action pack for this next step in creating the lighning text effect.
The package contains 1 ATN file (Photoshop action), 1 GRD (Photoshop gradient), 1 ABR (Photoshop brush), 1 ASL (Photoshop styles), 1 TPL (Photoshop tool presets) and a PDF Help file. Install the files found in the package(GRD, ABR, ASL and TPL). There are several options to install the file and one of them is going to Photoshop File>Open and select the file to load it. You have to install these files first otherwise the action won't work properly.
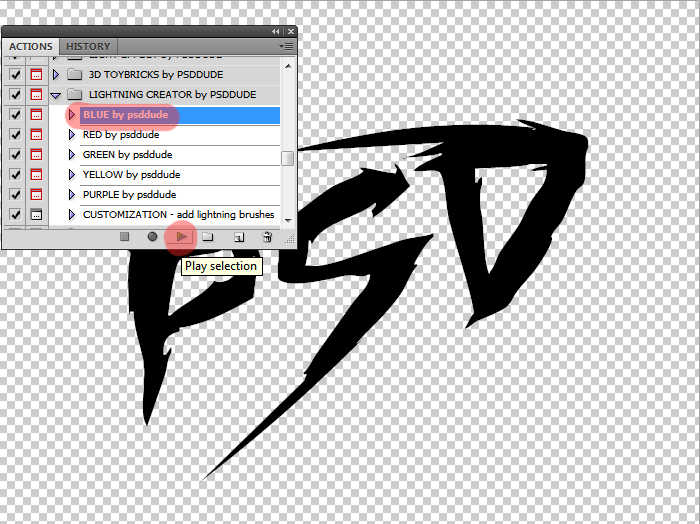
Install the LIGHTNING-CREATOR-by-PSDDUDE.atn Photoshop action file that is the main file of this pack. Make sure that the Brush Tool has the Normal mode selected and the opacity 100% before you play the action. Choose the one of the first 5 actions , click Play and wait the result. I will choose the first one, called "BLUE".
After the action has ended you have this result along with a number of layers that you can customize. The layers are gathered into groups so that you can easily edit.

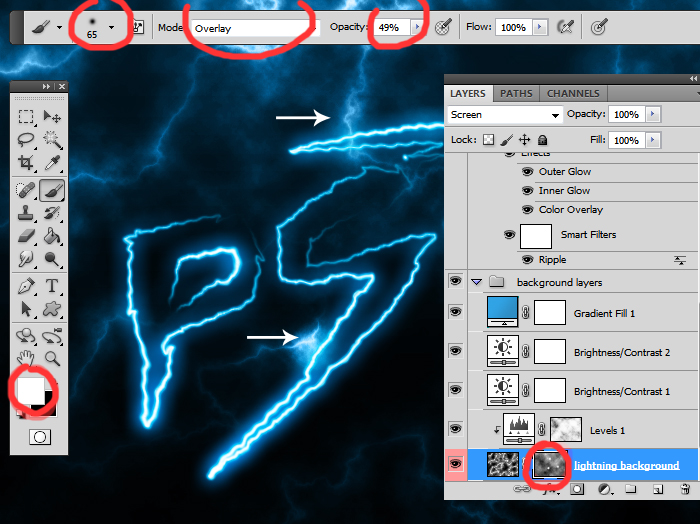
The action ends with a message for you to customize the layer lightning background inside the background layers Group. Paint with LightBlur Brush inside the Lightning Background mask as follows:
- use color White, different Opacity levels, Mode Overlay for creating highlights
- use color Black, different Opacity levels, Mode Overlay for masking
All you have to do is to click on the same place several times until you obtain the desired highlight effect. Make sure you have the layer mask selected and not the layer thumbnail.
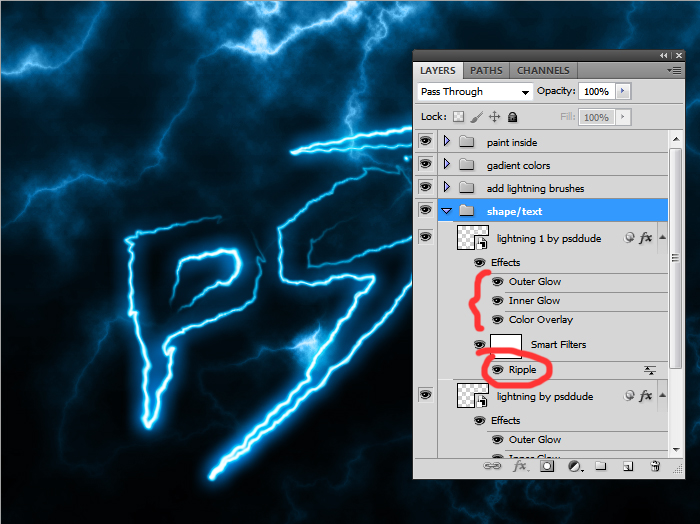
The group called shape/text containes two smart objects with layer styles that you can customize. Also I added the Ripple Filter, which is a smart filter; double click on its thumbnail to open the filter and edit the settings.
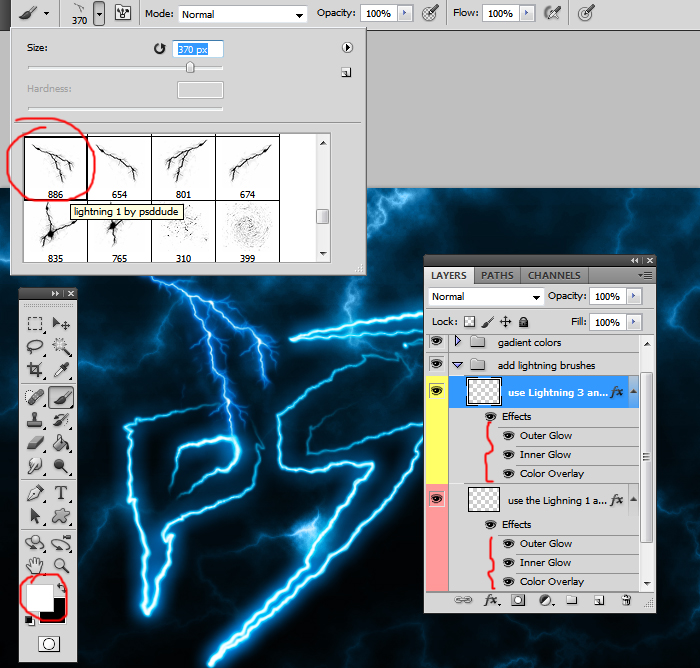
The add lightning brushes group contains two empty layers with layer styles. Inside these layers you can add lightning effects using the lightning brushes included in the pack.
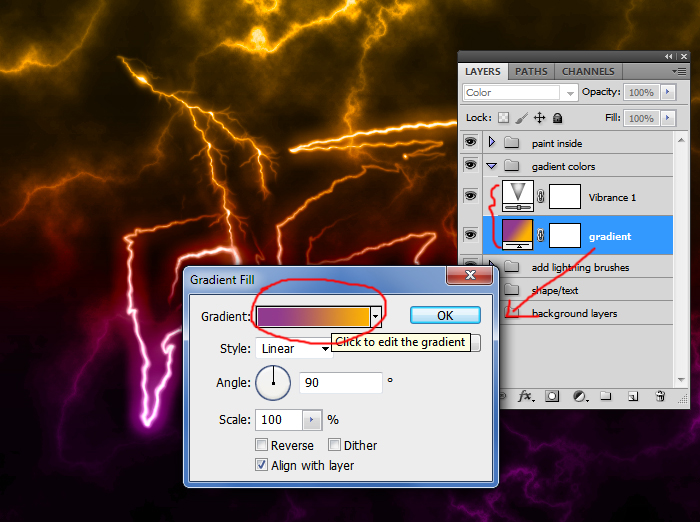
The gadient colors group contains two adjustment layers: Vibrance and Gradient that are hidden. You can make them visible if you want a quick way to change the color of the lightning effect. Open the Gradient adjustment and simply change the gradient colors. You can also adjust the layer opacity. The Vibrance adjustment allows you to change the saturation/vibrance of colors.
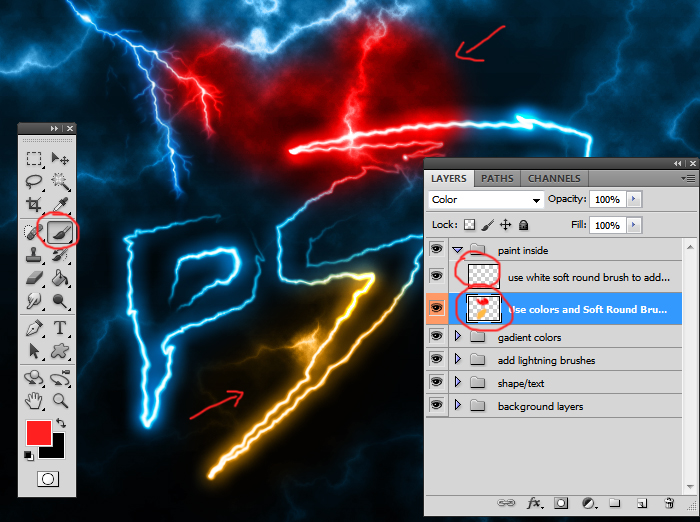
The paint inside contains two layers which are initially empty, each with a different blend mode:
- Use colors and Soft Round Brush to Paint - this layer allows you to add color effects in different areas of the image. Use a big soft round brush and choose different color tones to experiment and see the result. For a softer look you can use the Gaussian Blur filter.
- use white soft round brush to add highlights - this layer allows you to add highlights. Use a soft round brush, color white and simply paint over certain areas to add highlights.
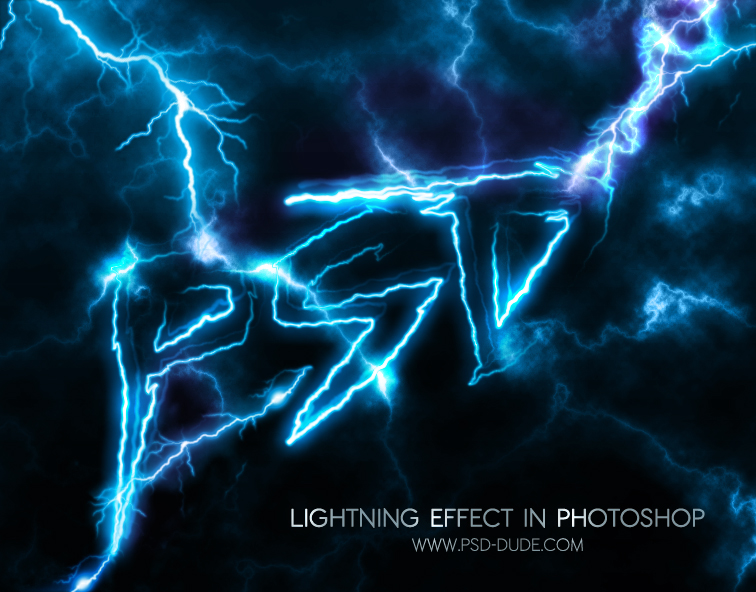
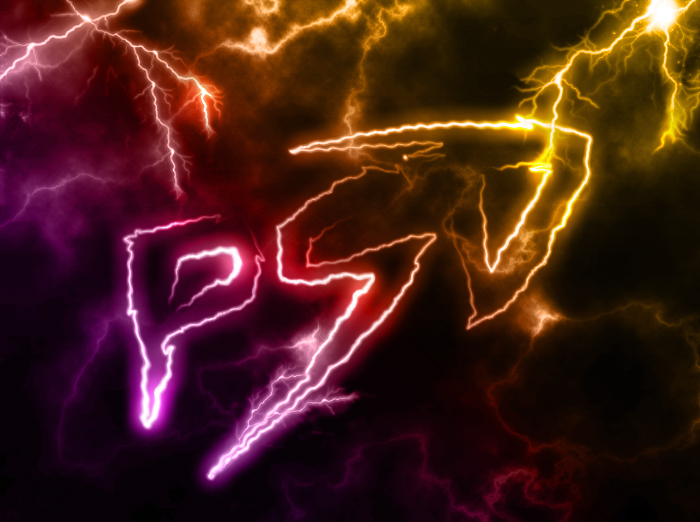
So here are two results of the lightning effect after some basic customization that won't take you more than 2-3 minutes.
This is the gradient map colored version; you can use any color combinations, any color tones, saturation, etc.
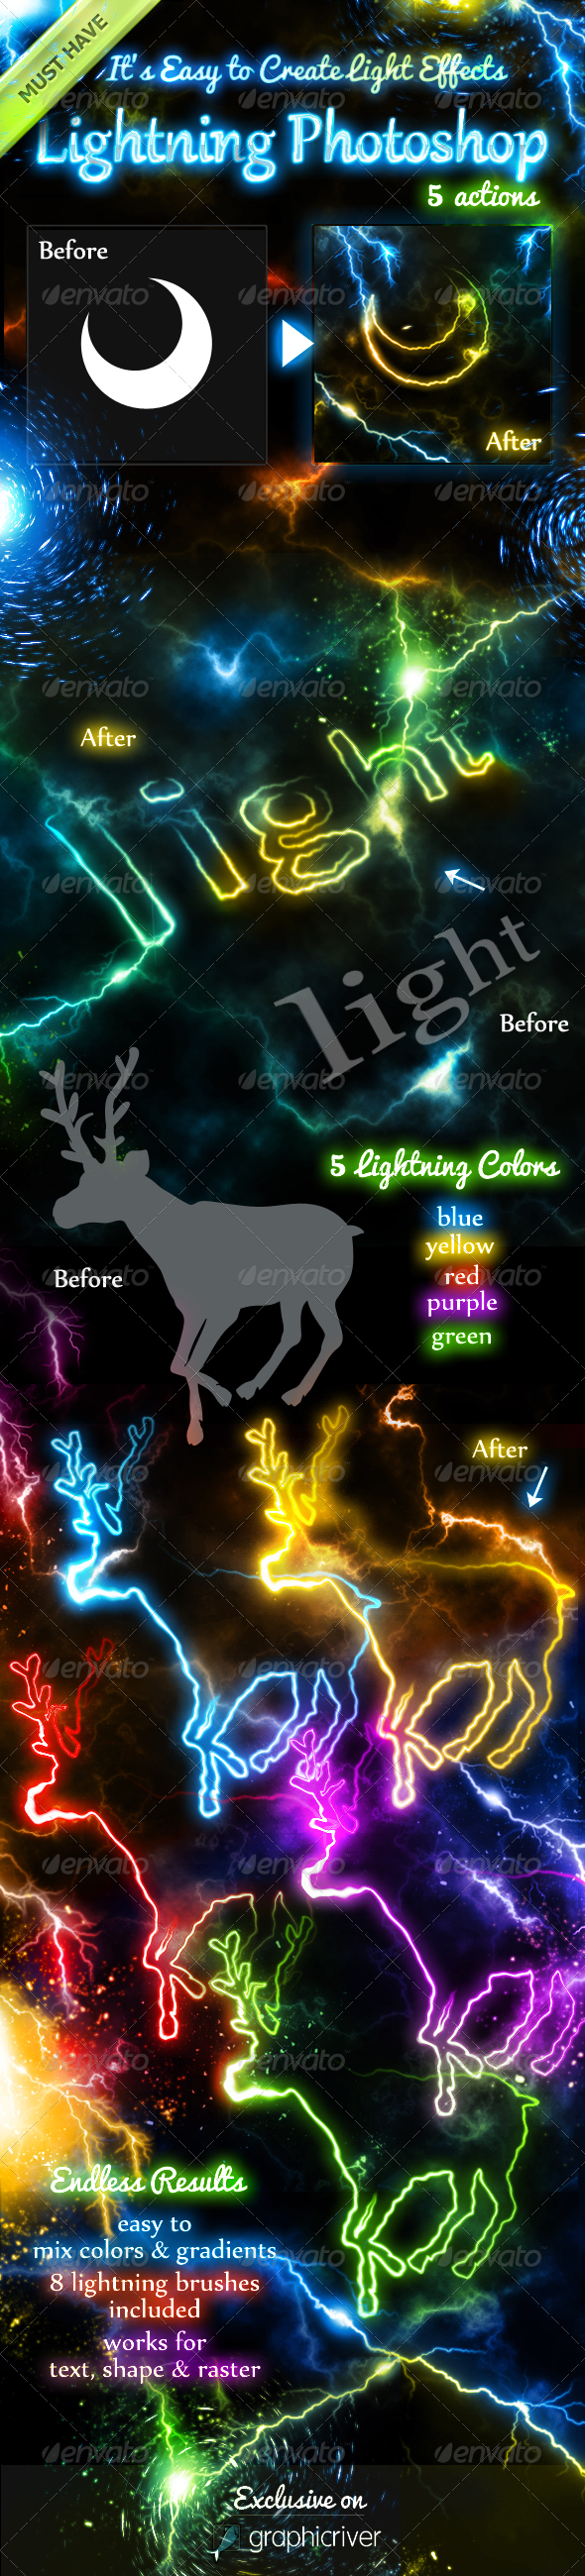
This set contains 5 Photoshop actions that will allow you to create realistic lightning light effects out of any text, shape or raster. The lightning effect can easily be modified after the action is ended. You can use one of the 8 lightning brushes included in this pack.
10 Lightning Overlays | FREE DOWNLOAD
Before you go, check out this awesome collection of free lightning overlays from PhotoshopSupply
1 comment(s) for "Photoshop Light Text Using The Lightning Creator"