Add Magic Sparkle Effect in Photoshop
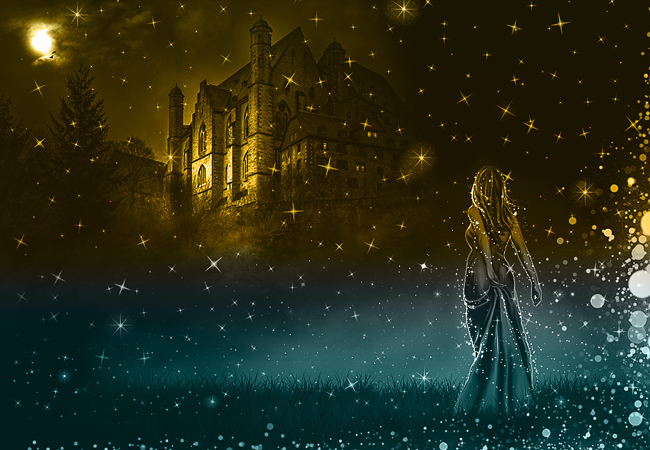
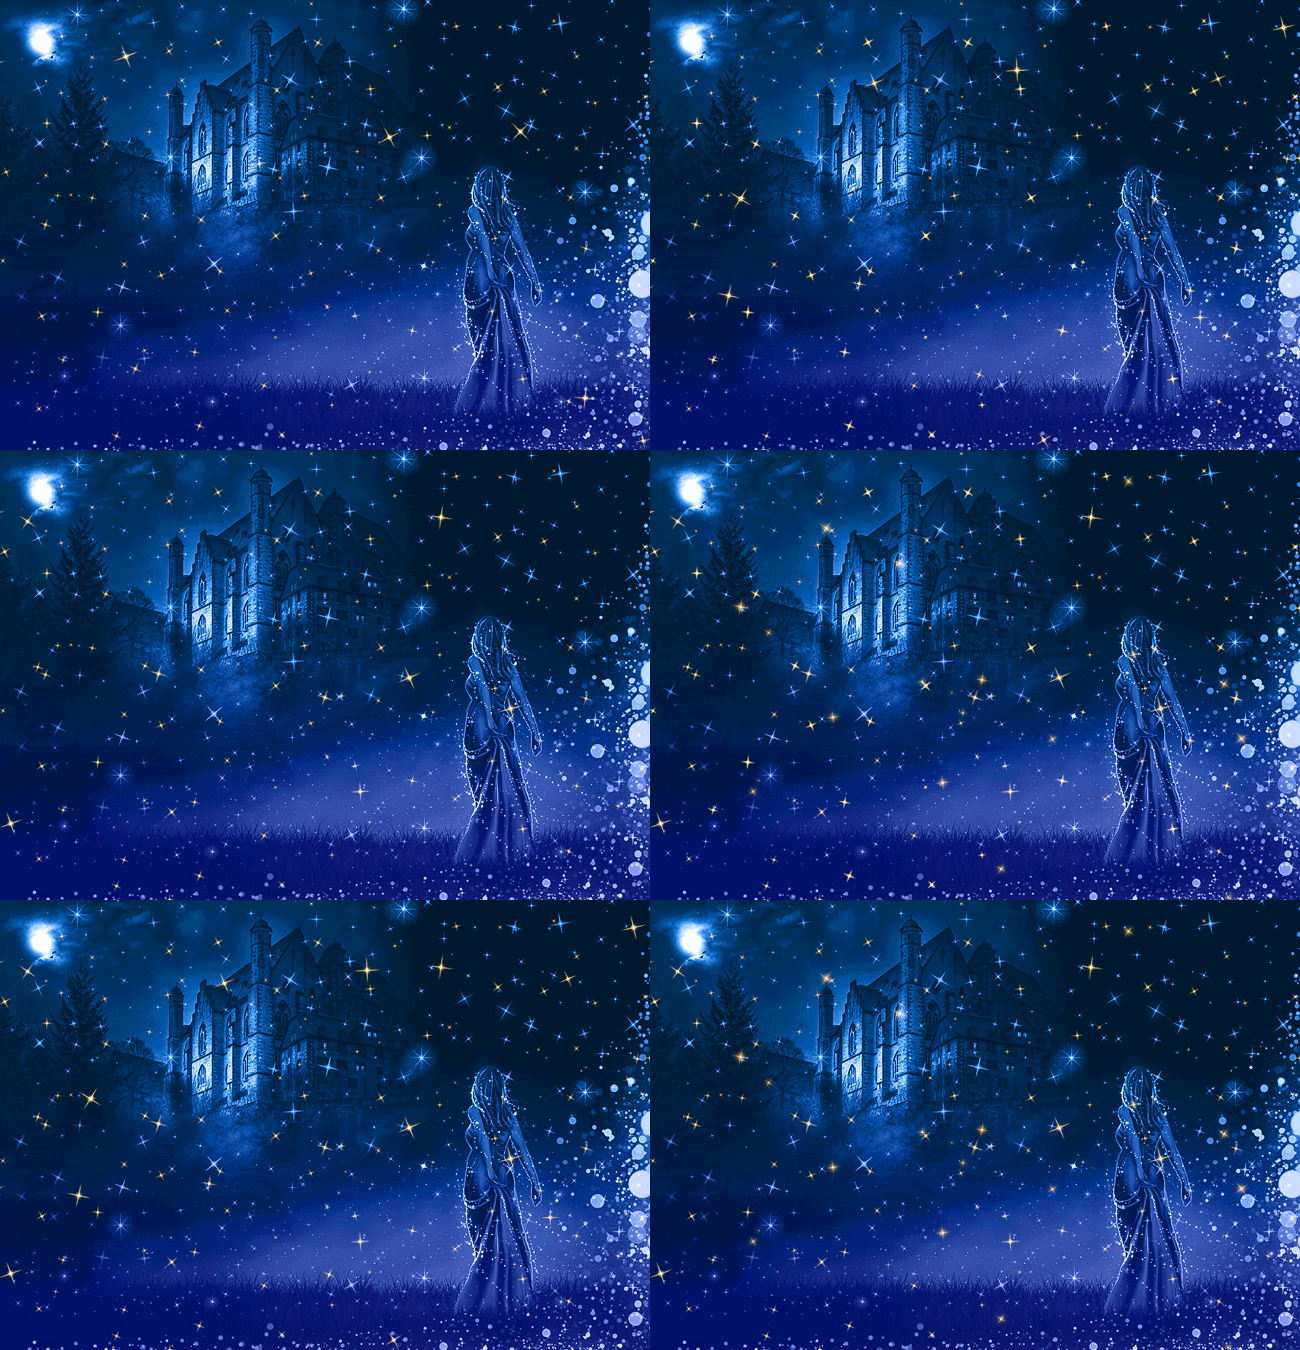
I will create a new PSD file, size around 960x665px just to give you an idea about the proportions of the image. Fill the background layer with black color. Add the Moonlight Castle stock image in a new layer.
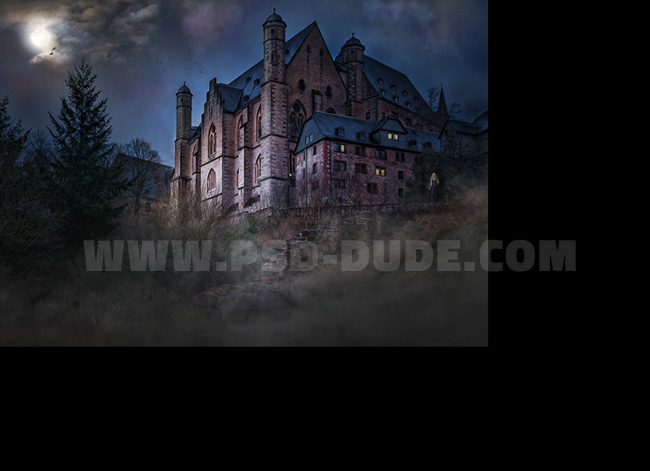
Add a layer mask to the Moonlight Castle layer. Pick the Brush Tool and use a soft round brush (color black) to paint over the edges of the image. Make sure you paint inside the layer mask and not the layer. That way we blend the two images and have a soft transition between the two. You might have to use different opacity levels.
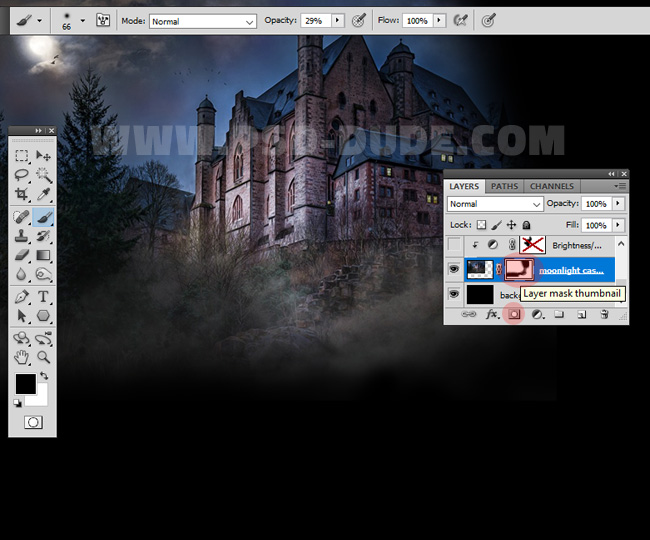
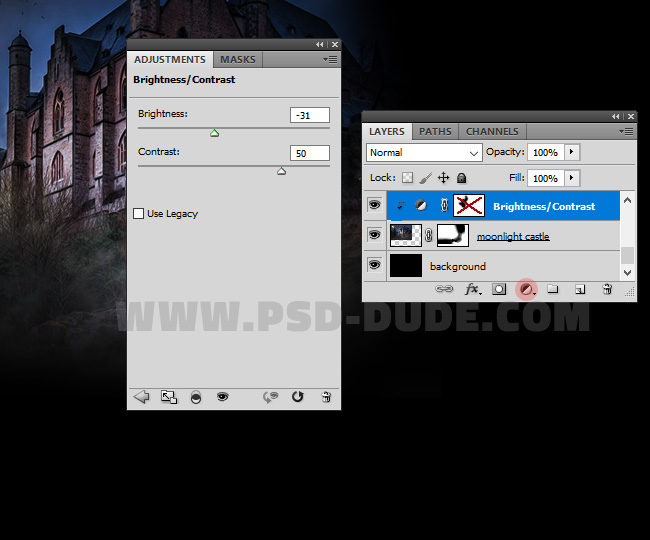
Add a Brightness/Contrast adjustment layer above the Moonlight Castle layer. Right click on the adjustment layer and choose Create clipping mask .
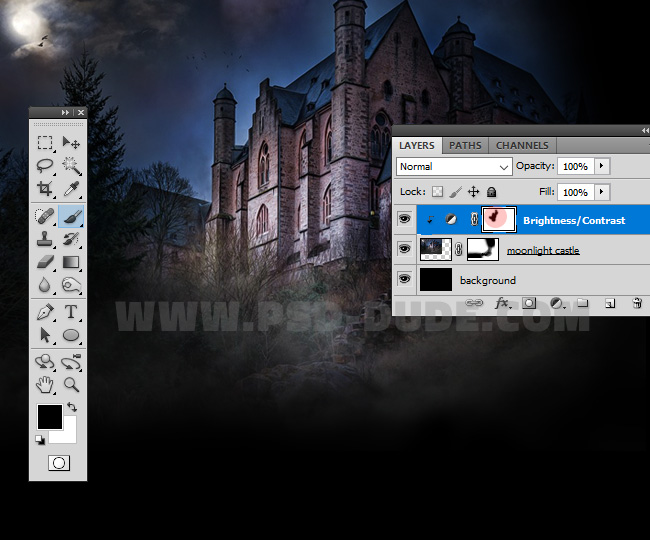
Pick the Brush Tool and use a soft round brush (color black) to paint over the castle area to lighten the castle. You might have to use different opacity levels.
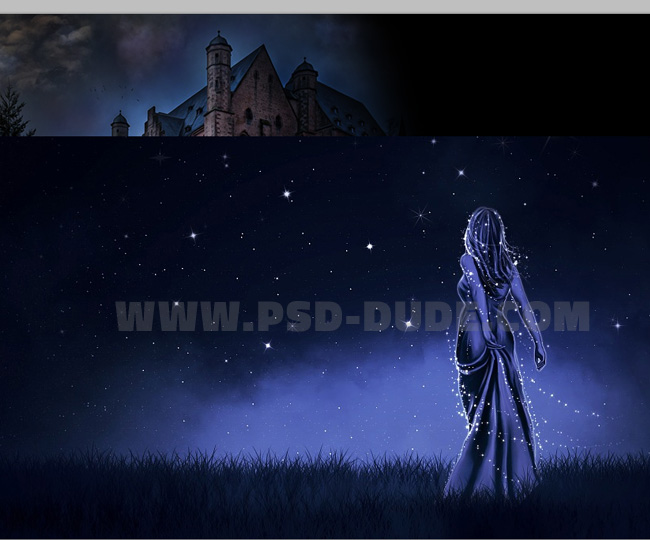
Add the Girl Stock in a new layer and call it Night Fairy.
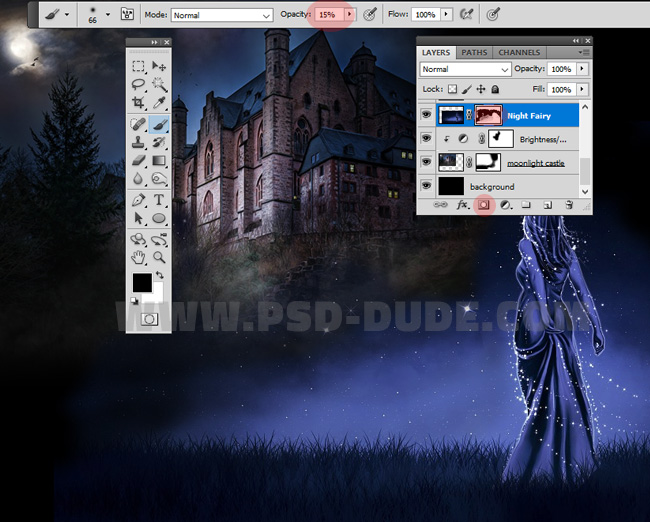
Add a layer mask to the Night Fairy layer. Pick the Brush Tool and use a soft round brush (color black) to paint over the edges of the image. Make sure you paint inside the layer mask and not the layer. That way we blend the Castle and the Girl images and have a soft transition between the two.
You might have to use different opacity levels. It is better to paint over the surface multiple times with low opacity levels to create a fog smoky effect.
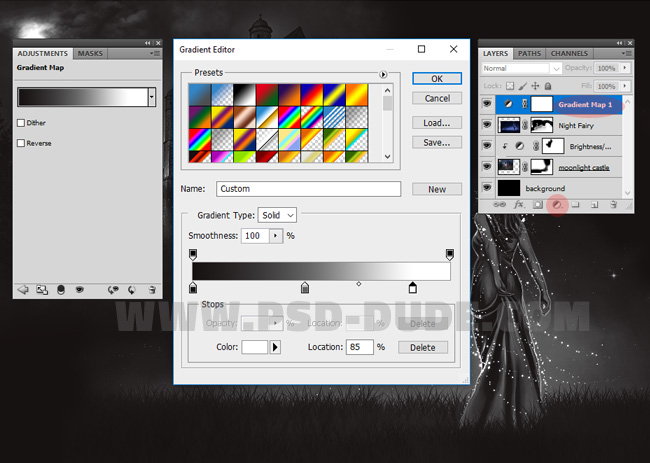
Add a Gradient Map adjustment layer using a grayscale gradient (color #161212, location 0%; color #626262, location 43%; color #ffffff, location 85%).
Add Sparkle overlay in Photoshop
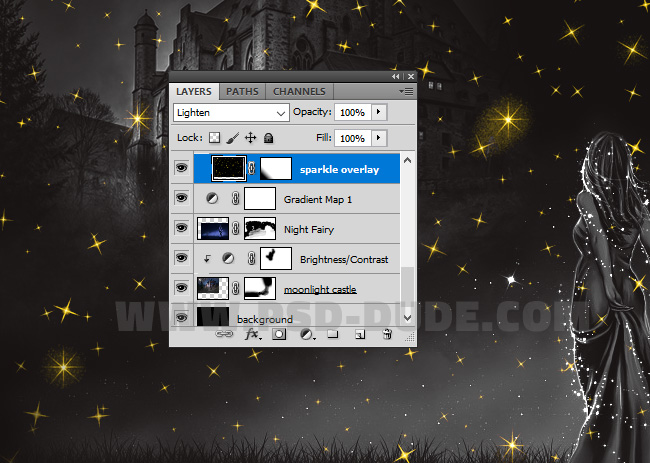
Add this sparkle overlay texture in a new layer and set the blend mode to Lighten. You can add a layer mask and use the Brush Tool to totally hide some sparkles using black color or to decrease opacity using tones of gray.
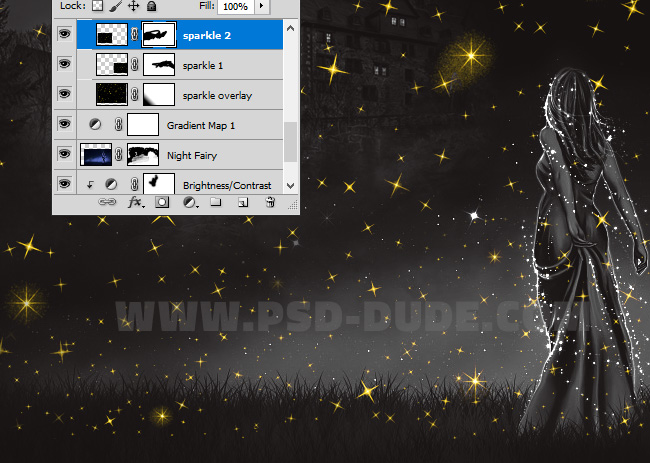
Duplicate the Sparkle Overlay texture and press Control-T to resize it to around 45% . Duplicate as many times as you want and add little sparkles on the lower part of the image. Again use a layer mask to hide some sparkles.
Photoshop Sparkle Brushes
If you want you can use Sparkle Brushes instead, or you can combine the sparkle texture overlay with the sparkle brushes.
If you want you can create a nice lights corner edge using this magic lights overlay texture. Set the blend mode to Lighten and make copies of this layer, resize, rotate, etc.
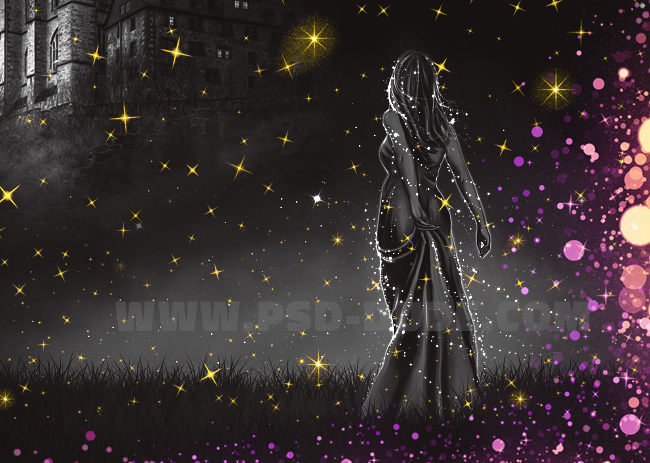
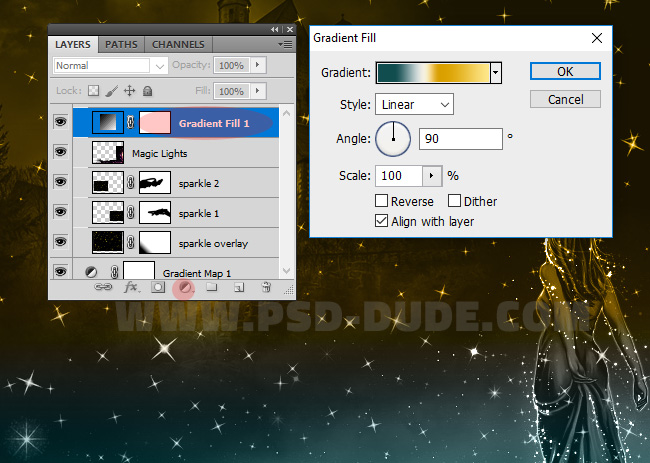
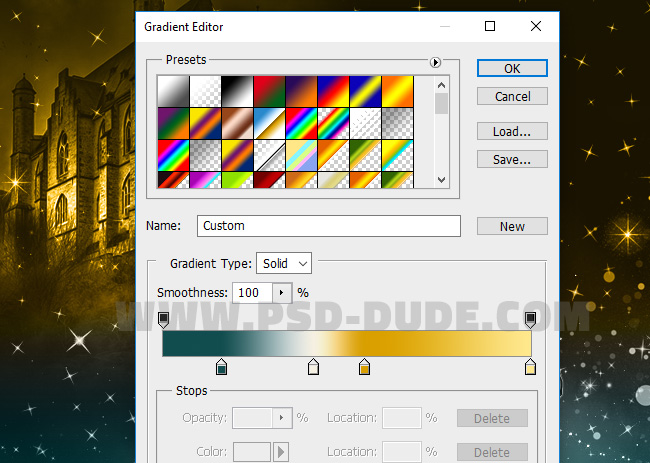
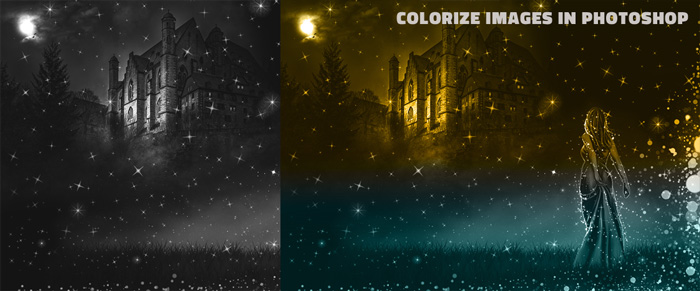
Use a Gradient Fill adjustment layer to colorize images in Photoshop. You can use and color gradients you like. Set the blend mode to Lighten.
High Pass Filter Technique
If you want to create more sharpen crisp look you can use the High Pass Filter Technique to sharpen images in Photoshop.
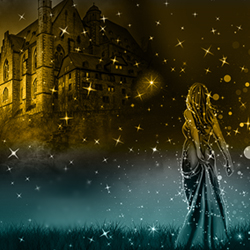
So here is the final result for the magic sparkle fairy tale night Photoshop manipulation. If you want to add animated sparkles try this animated sparkle overlay texture that you can use for free.


Download Animated Bokeh Lights Photoshop Action
1 comment(s) for "Magic Sparkle Fairy Tale Night Photoshop Tutorial"