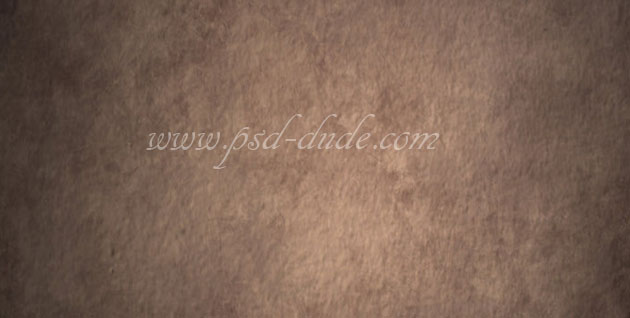
Open this grunge background in your PSD file. This will be our first layer. If you want you you can choose another grunge texture from this extended collection.
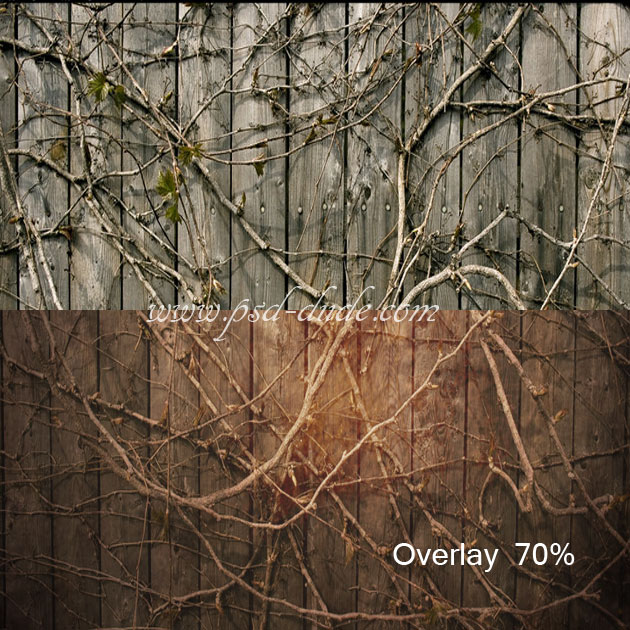
In a new layer open this wall with vines stock images. Change its blending mode to Overlay, 70% opacity.
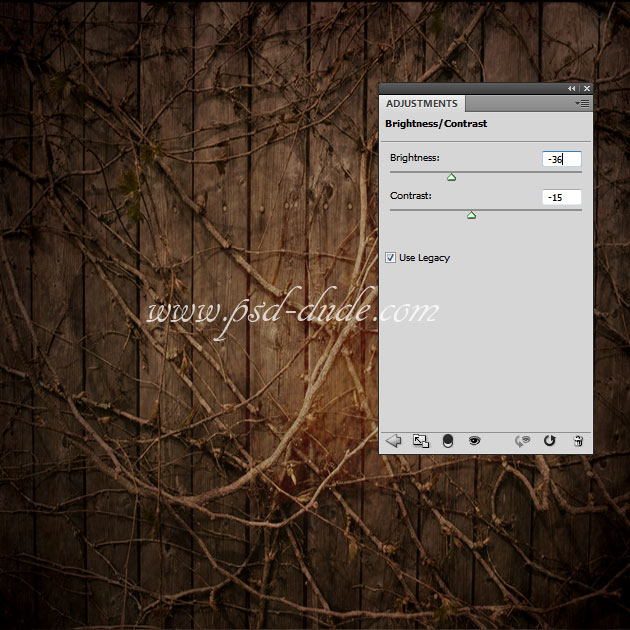
Add a Brightness/Contrast adjustment layer above the two layers.
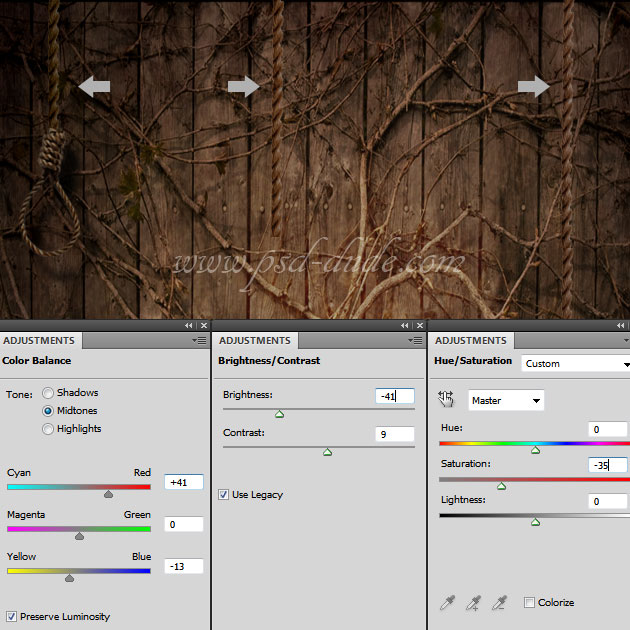
I will now use these rope PNG stock image and duplicate three times like shown in the image. As you can see the rope image has different color tones than the background. To fix that I will add three adjustment layers.
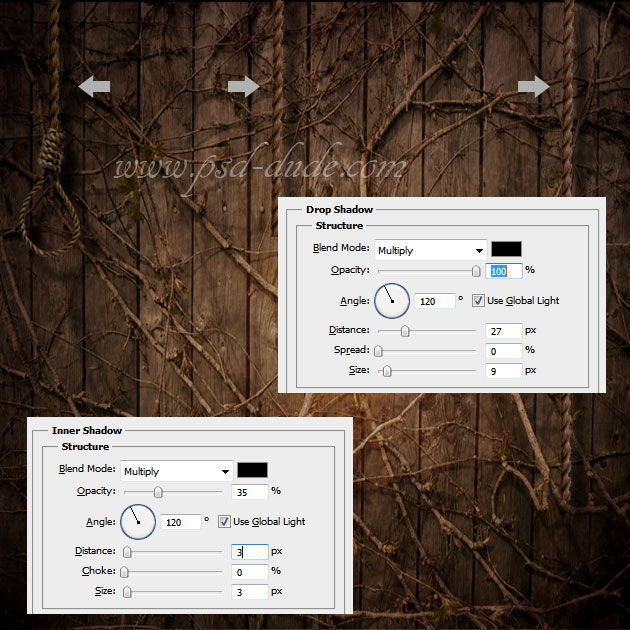
Open the layer style window and add a Drop Shadow and an Inner Shadow effects with these settings:
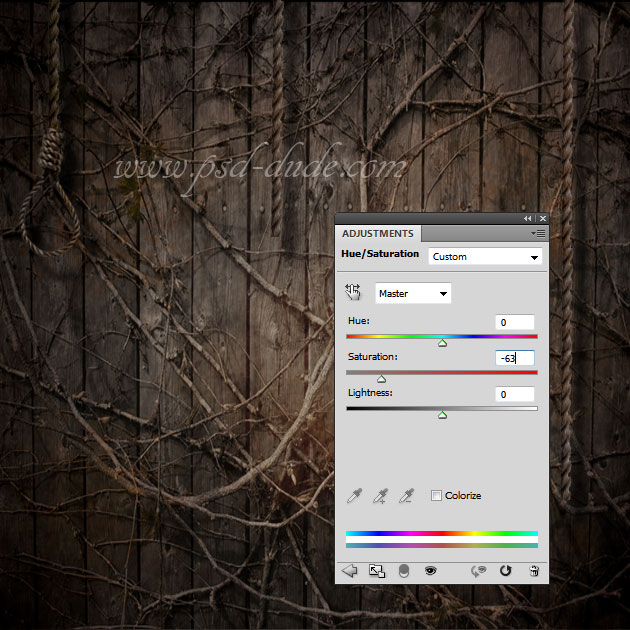
Add a new Hue/Saturation adjustment layer with these settings to reduce the saturation.
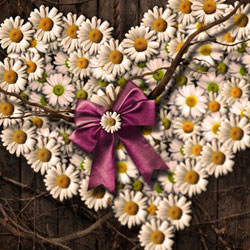
Now we'll create a daisy flower heart using a floral pattern that I have made using some daisy stock images (daisy 1 and daisy 2) Download the daisy floral pattern.
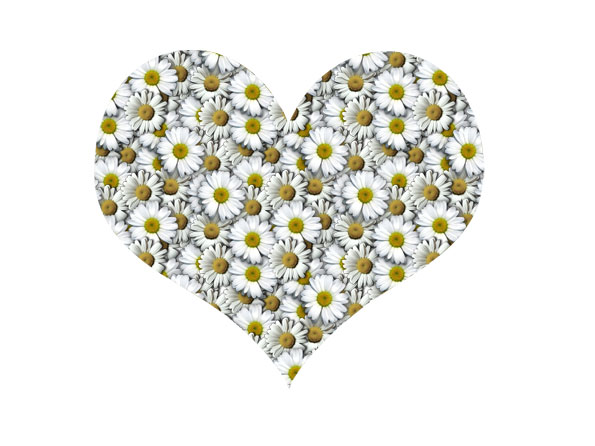
Start with a simple heart shape. Add a Pattern Overlay using the daisy pattern.

It is really important to reduce the Fill of the heart layer to 0% ; you will obtain a similar result. Call this layer Daisy Pattern 1.
Duplicate the Daisy Pattern 1 two times. Open the layer styles of the Daisy Pattern 2 and simply drag the daisy pattern on the heart shape so that you fill the entire area. Do the same with the Daisy Pattern 3
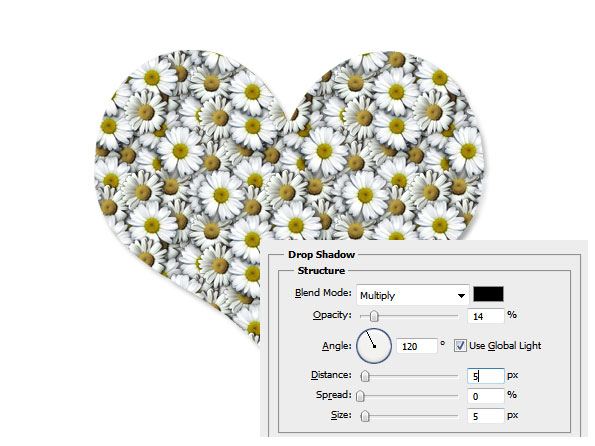
Convert the three into three separate smart objects. Right click on the layer and choose Convert to Smart Object. OPen the layer style window and add a Drop Shadow effect to each smart object.
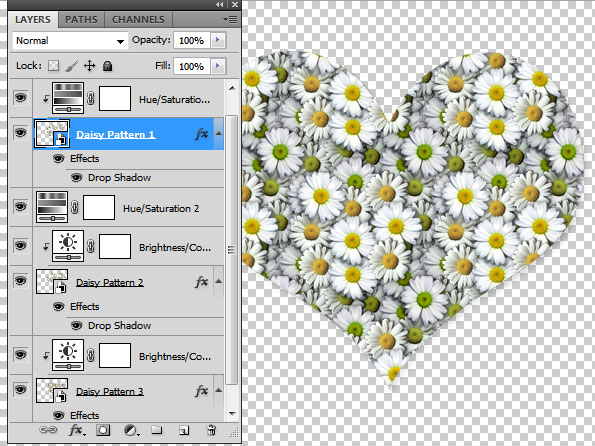
I will now add some adjustment layers to each smart object like shown in the image. Brightness/Contrast is used to darken the daisy pattern and Hue/Saturation to change the color of the daisy center.
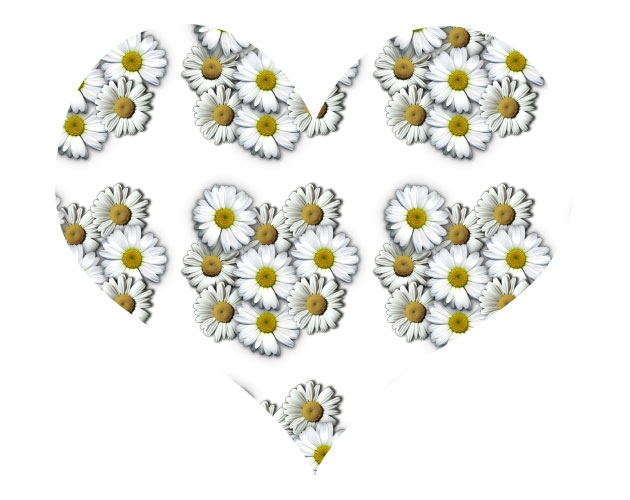
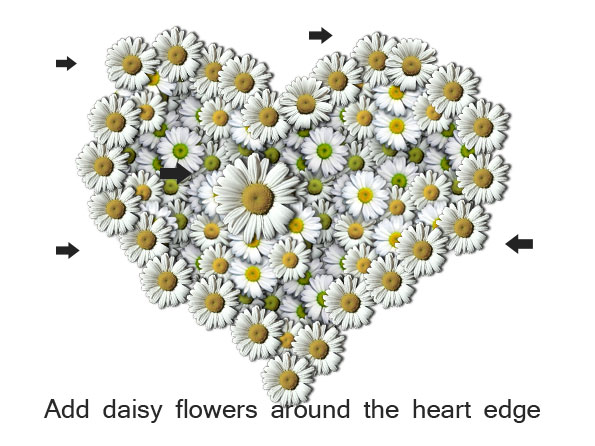
As you can see the heart is now filled with daisy flowers but the edge looks unfinished and cropped. To fix that issue I will take the same daisy heart stock images that I used in the pattern, and simply add them around the edges. Duplicate the daisy layers and put them one over the other; you will have to rotate them, scale to look like they are randomly placed. Don't forget to add a Drop Shadow effect for each daisy layer. You can even add flowers inside the heart shape.
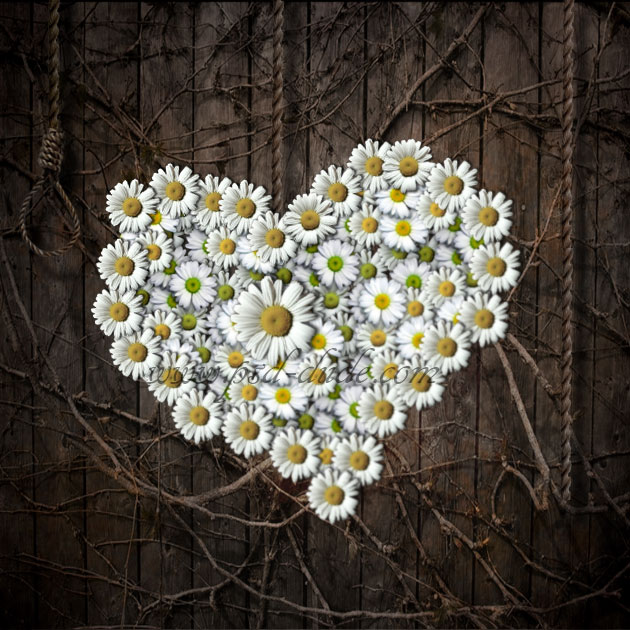
Now it is time to see how our daisy looks like with the grunge background. I suggest you to select all the layers of the Daisy Heart and convert them into a smart object.
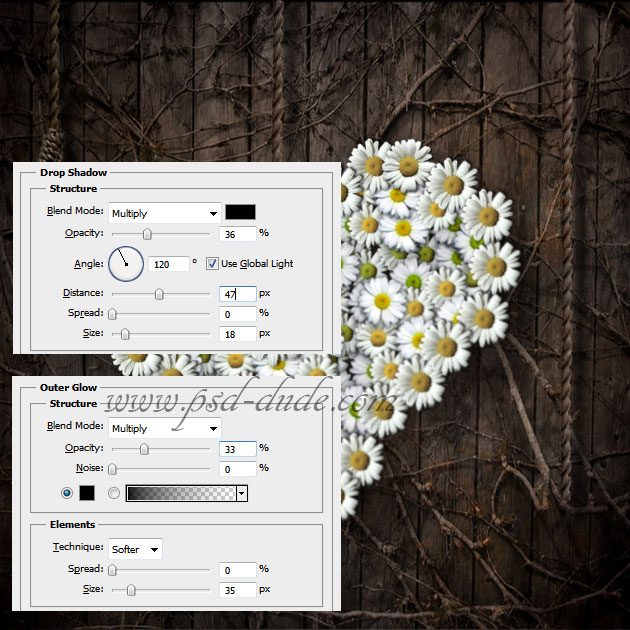
Add a Drop Shadow and Outer Glow effect to the Daisy Heart smart object layer.
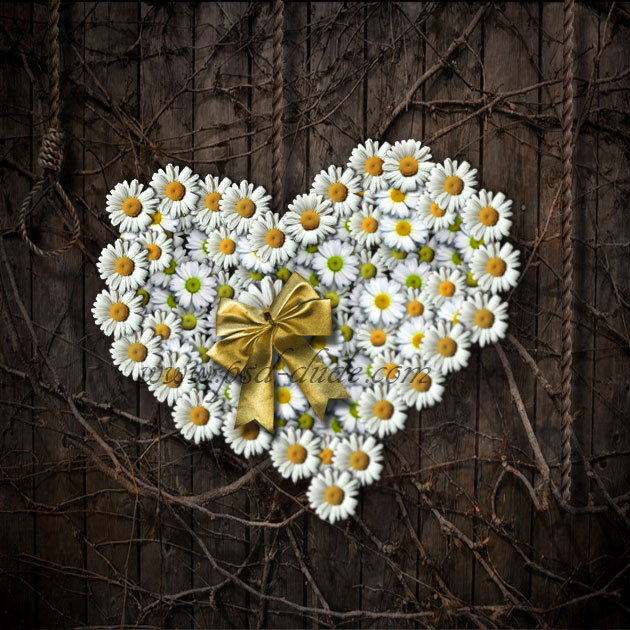
Add this golden bow PNG on the daisy heart like shown in the image. Don't forget to add a Drop Shadow and Outer Glow to create a realistic shadow effect.
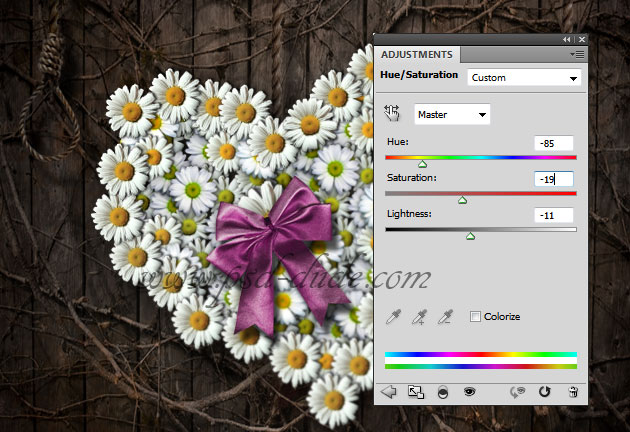
Add a Hue/Saturation adjustment layer only for the Bow Layer to change its color to pink purple.
Add a little daisy flower in the center of the bow. Add a drow shadow effect, of course.
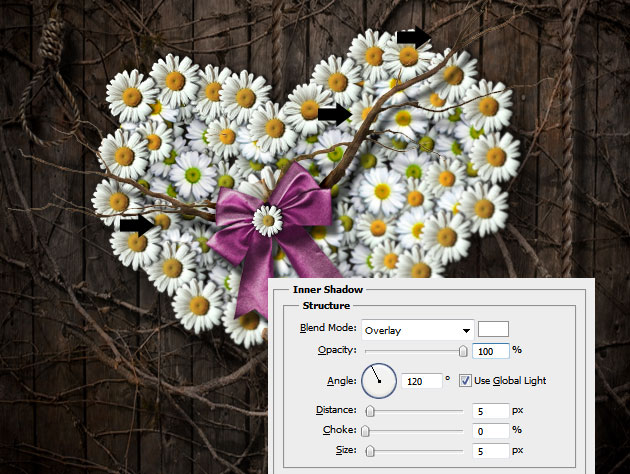
To make the image look more interesting and give it a grungy earthy feel I added some dead tree branches. Use the adjustment layers to match the color of the tree branches with the background. Add Drop Shadow effect and also a Inner Shadow with the following settings to add some highlight.
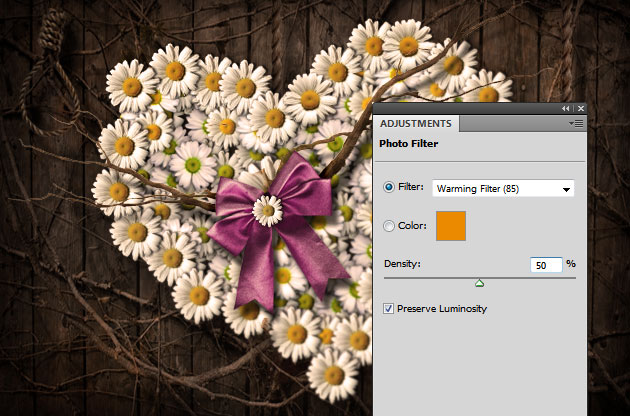
To blend all the images even better I have added a Photo Filter adjustment layer. You can even add a nice vignette effect.
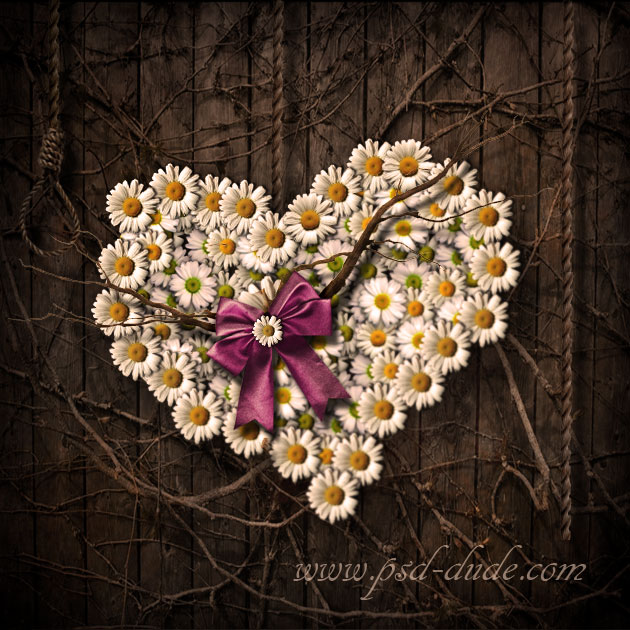
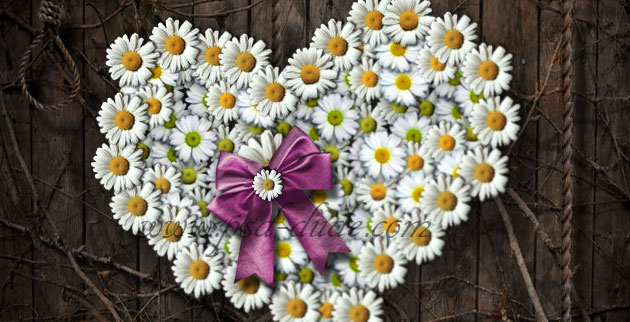
So here is the final result for my daisy heart photo manipulation with grungy earthy background; I really hope you like it. I am waiting to see your results; hopefully with other stock images, maybe other flowers or a mix of flowrrs ... spring is coming so be creative and have fun!
8 comment(s) for "Daisy Heart Photoshop Manipulation Tutorial"
My personalized realization:
http://www.chez-mireilled.com/article-carte-fete-des-mamies-2013-2-115670609.html