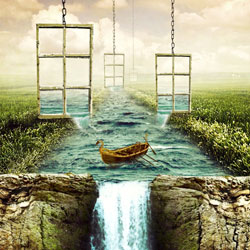
 Create a Surreal Window in the world Photo Manipulation
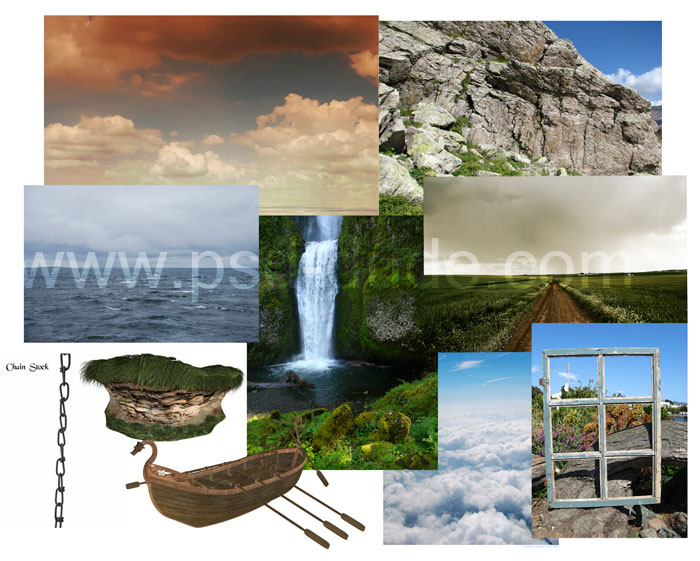
Step 1. Create a new document in Photoshop (Ctrl + N) 1453*2000 size pixels. Here are all the DeviantArt stock images used in the tutorial.
Create a Surreal Window in the world Photo Manipulation
Step 1. Create a new document in Photoshop (Ctrl + N) 1453*2000 size pixels. Here are all the DeviantArt stock images used in the tutorial.
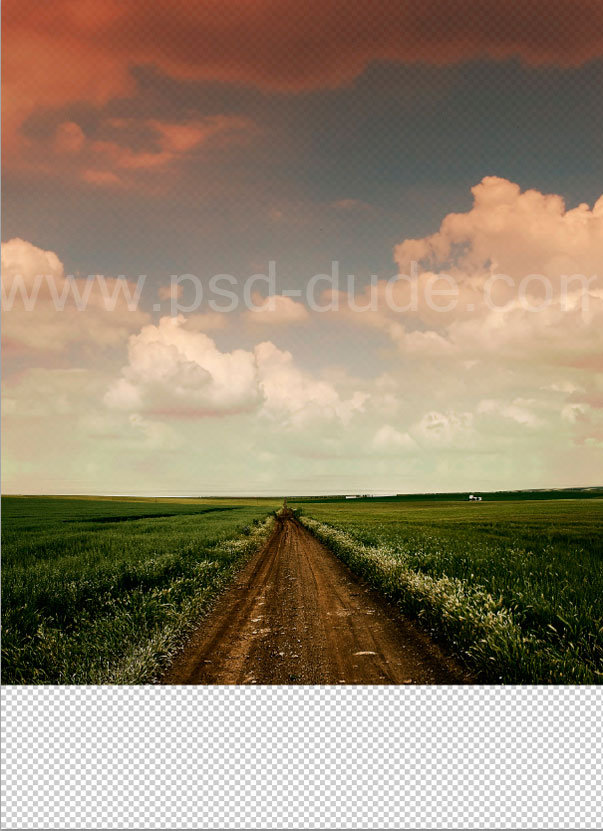
 Add the road stock image in the middle of the document in the file and cut the sky.
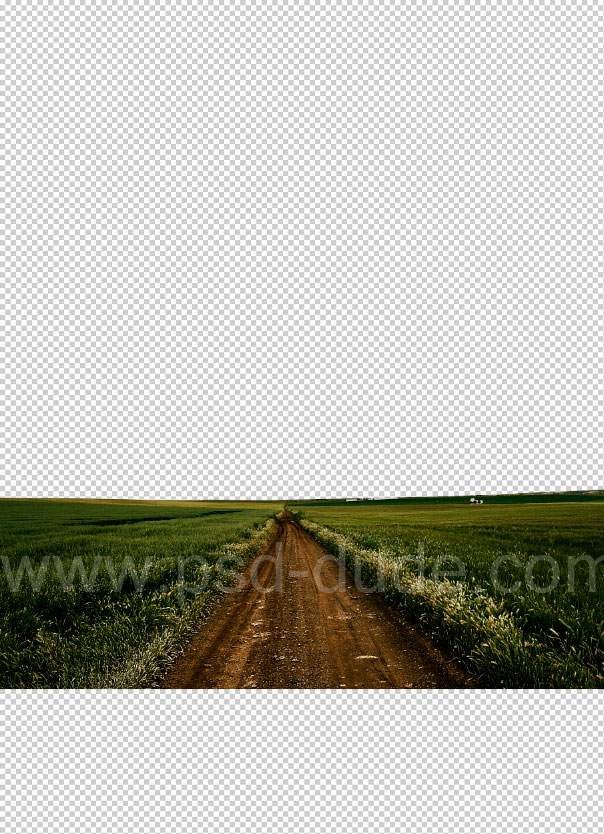 Step 2. Open the sky image and insert into our document near the road like shown in the image.
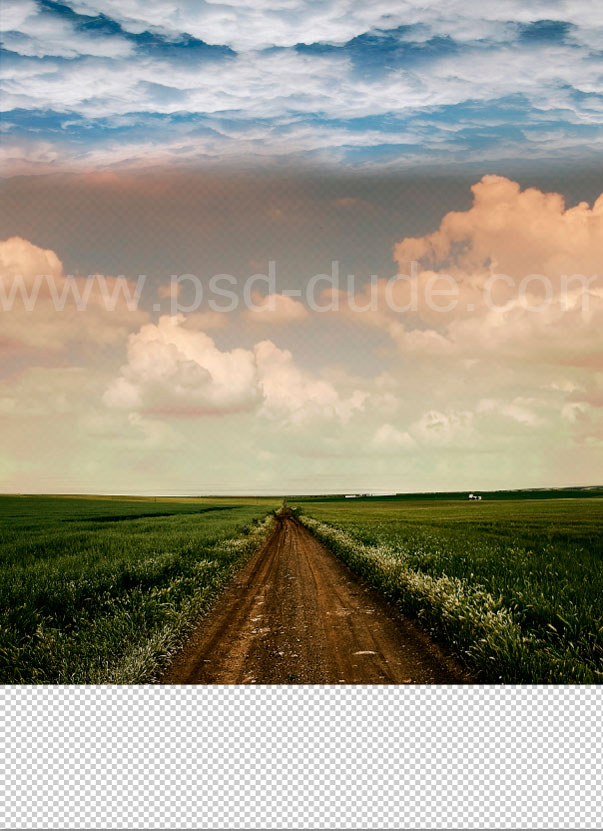
 Step 3. Open the second sky clouds image. Turn it on 180 degrees so clouds would hang down from above.
Cut off a part of the sky to clouds, then take the Eraser Tool and adjust its parameters (opacity and flow) and erase the bottom part of clouds to make the transition from one to another
would be more realistic.
Step 3. Open the second sky clouds image. Turn it on 180 degrees so clouds would hang down from above.
Cut off a part of the sky to clouds, then take the Eraser Tool and adjust its parameters (opacity and flow) and erase the bottom part of clouds to make the transition from one to another
would be more realistic.
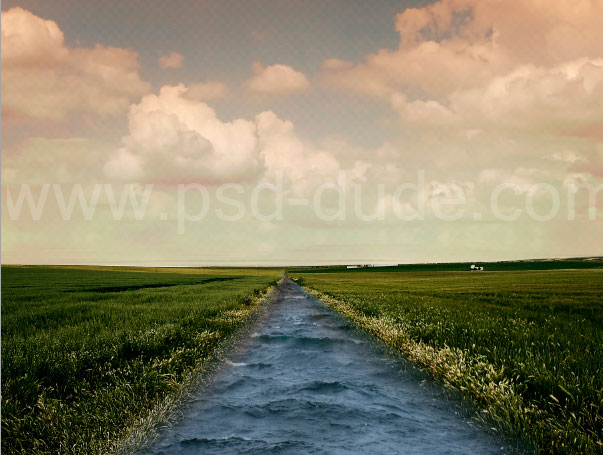
 Step 4. Open the ocean image and replace the road with the water texture. Simply select the shape of the road and copy the
water texture. Use the Eraser Tool with a nosy brush to blend the water and the grass better. Here you can find more
free water textures.
Step 4. Open the ocean image and replace the road with the water texture. Simply select the shape of the road and copy the
water texture. Use the Eraser Tool with a nosy brush to blend the water and the grass better. Here you can find more
free water textures.
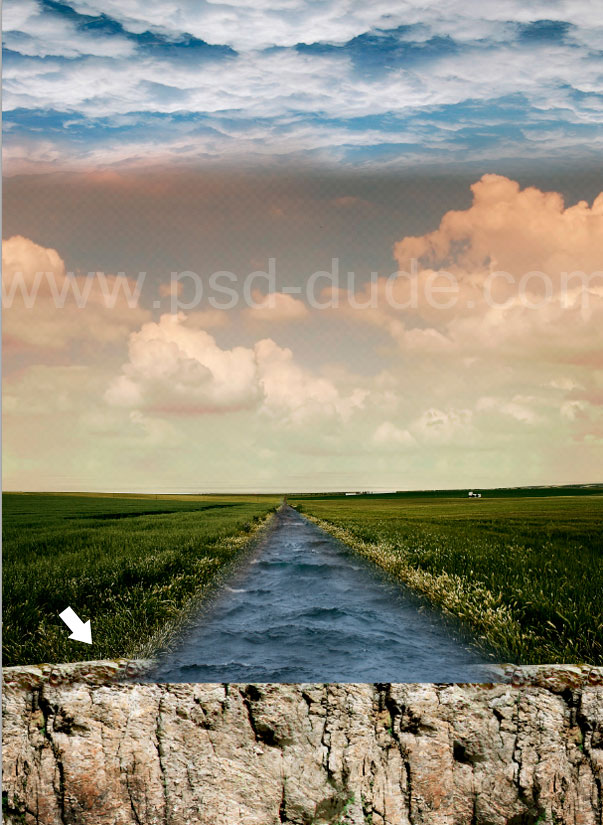
 Step 5. Open the mountain photo choose that part of mountains which approaches you more, and to place it behind a layer with road below. Then again take a photo
with mountains and cut out with the help lasso the top part of mountains.
Step 5. Open the mountain photo choose that part of mountains which approaches you more, and to place it behind a layer with road below. Then again take a photo
with mountains and cut out with the help lasso the top part of mountains.
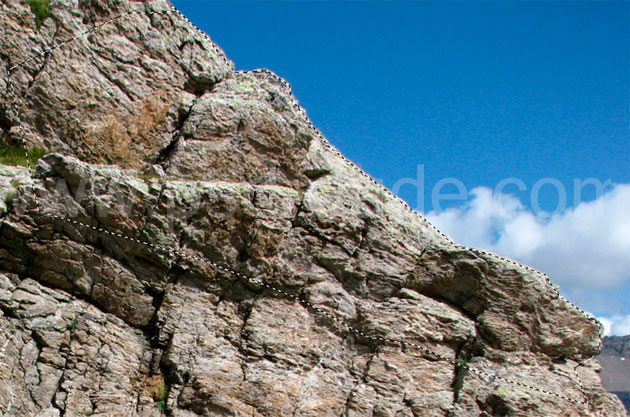 Duplicate the selected area and make a wall in front of the water canal like shown in the image. Try to make a seamless pass between the rock copies.
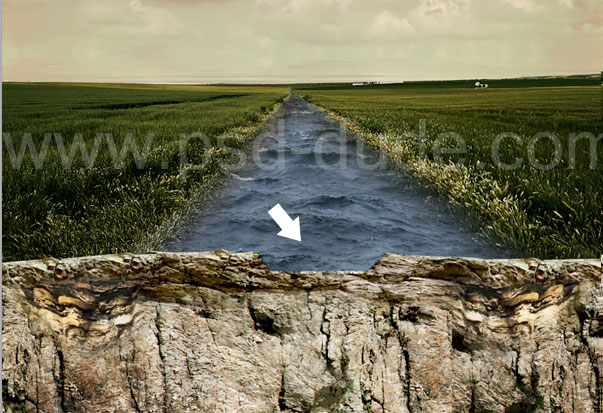
 Make a small cut at the middle of the sone wall like in the image.
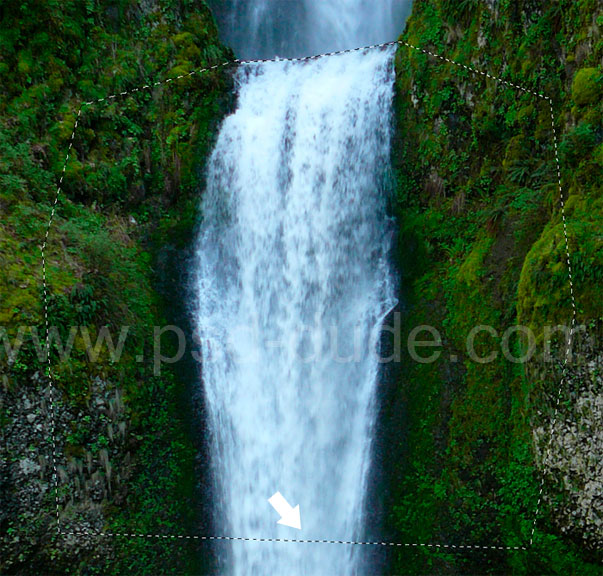
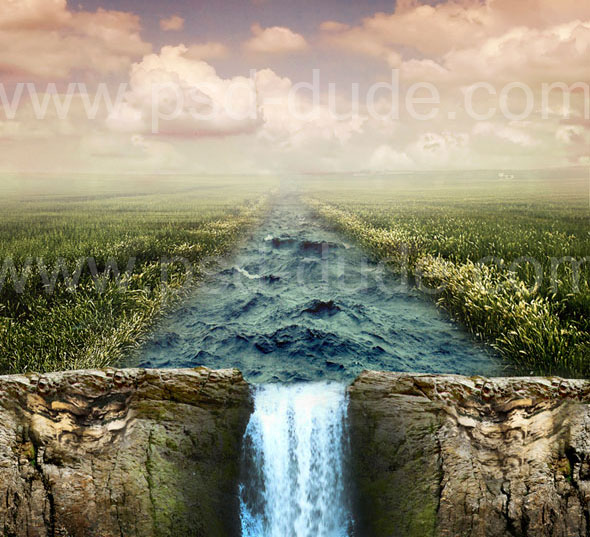
 Step 7. Open the waterfall image and cut out the waterfall together with a grass on each side.
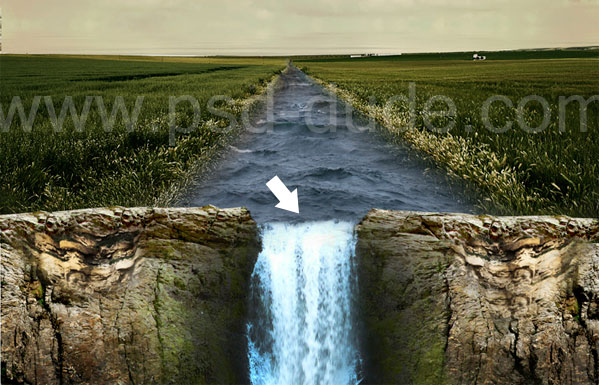
 Place the waterfall cutout in the middle of the rocky wall and use the Eraser Tool and the Burn Tool to make the transition between the grass and the wall look as realistic
as possible.
Place the waterfall cutout in the middle of the rocky wall and use the Eraser Tool and the Burn Tool to make the transition between the grass and the wall look as realistic
as possible.
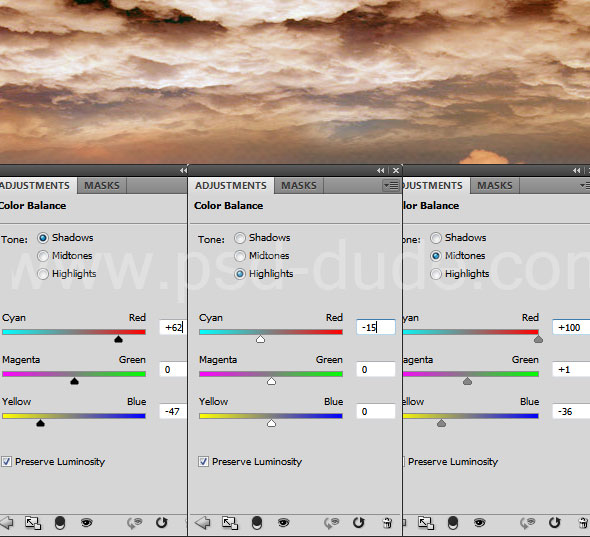
 Step 8. Choose the layer with the top clouds and adjust color tones using an image correction technique. The color of the top clouds must be close to the color tones
of the rest of the sky. Use a Color Balance adjustment layer only for the Top Clouds Layer..
Step 8. Choose the layer with the top clouds and adjust color tones using an image correction technique. The color of the top clouds must be close to the color tones
of the rest of the sky. Use a Color Balance adjustment layer only for the Top Clouds Layer..
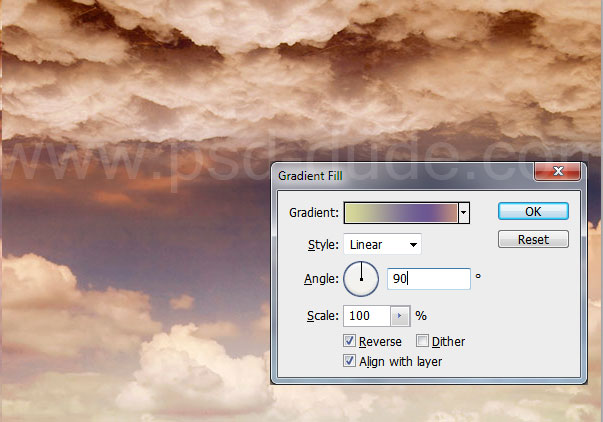
 You can use a Gradient map. The colors
that I have used for the map are #c4927d, #6d5892 and #d8da98. Set the blend mode of this gradient map to Overlay 45% opacity level.
You can use a Gradient map. The colors
that I have used for the map are #c4927d, #6d5892 and #d8da98. Set the blend mode of this gradient map to Overlay 45% opacity level.
 Also you have to adjust all the other layers to obtain a nice looking color tone. Create a new layer above all the other layers, choose the Brush Tool and draw a fog
between sky and field layers, changing the opacity and the flow for the brush. You can also adjust the landscape making the water canal a little wider(a simple way is to select half
of the canal, duplicate and flip it horizontal; adjust the water and the grass using the Clone Stamp Tool )
Also you have to adjust all the other layers to obtain a nice looking color tone. Create a new layer above all the other layers, choose the Brush Tool and draw a fog
between sky and field layers, changing the opacity and the flow for the brush. You can also adjust the landscape making the water canal a little wider(a simple way is to select half
of the canal, duplicate and flip it horizontal; adjust the water and the grass using the Clone Stamp Tool )
 Step 9.
Choose the chain stock image and cut out the white background using a
Photoshop Selection Tool technique. Make some copies of
the chain and put them together into one long chain. To merge layers (Ctrl+Shift+E) in one layer. Use this window frame,
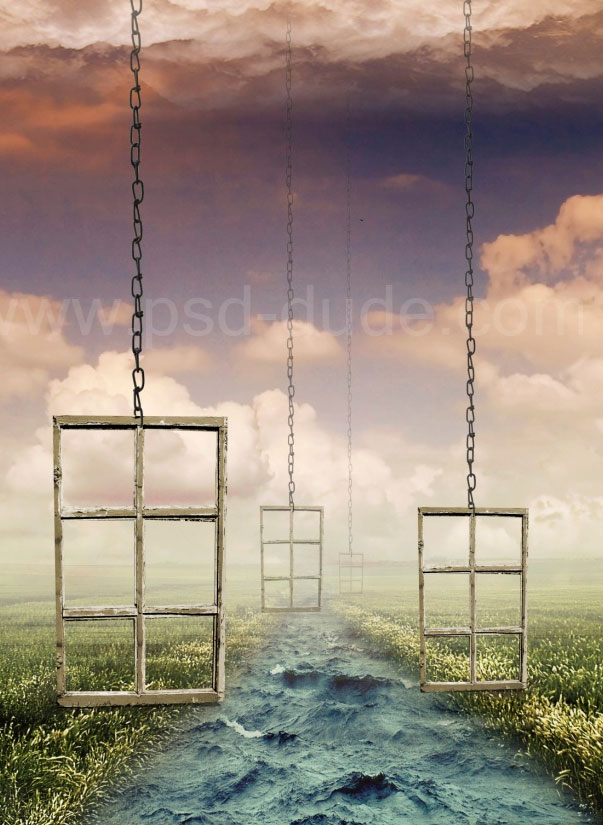
remove the background and connect the window with the chain and merge the layers. Make 4 copies of this Chain Window layer and resize and place them on the canvas like shown in the image.
Change the opacity for the windows that are in the background.
Step 9.
Choose the chain stock image and cut out the white background using a
Photoshop Selection Tool technique. Make some copies of
the chain and put them together into one long chain. To merge layers (Ctrl+Shift+E) in one layer. Use this window frame,
remove the background and connect the window with the chain and merge the layers. Make 4 copies of this Chain Window layer and resize and place them on the canvas like shown in the image.
Change the opacity for the windows that are in the background.
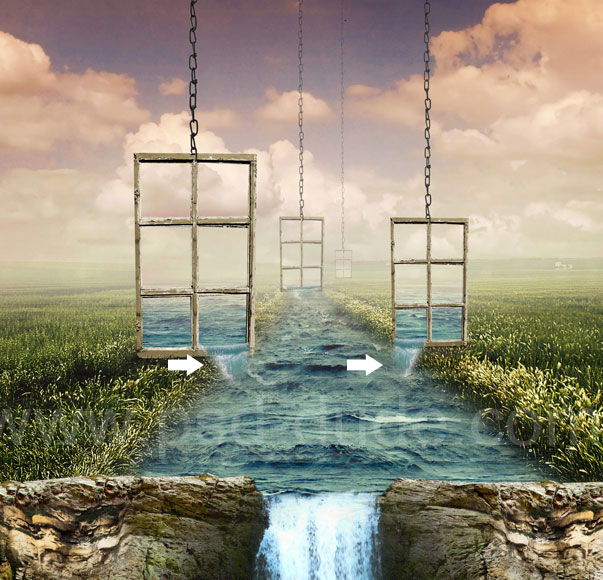
 Step 10. Place the water stock image behind the windows like in the image. Simply make 4 selections for each window and cut the areas from the water texture.
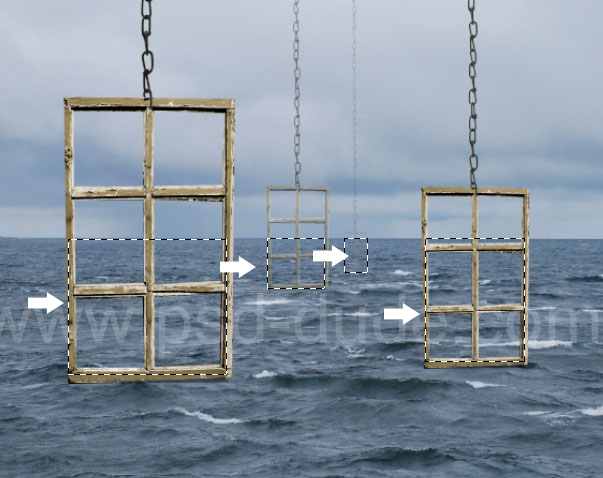 As you can see we have water only inside the windows. Now you have to adjust the color tones of the water to make is similar to the canal water. Also use the same
water texture to create the water flowing effect.
As you can see we have water only inside the windows. Now you have to adjust the color tones of the water to make is similar to the canal water. Also use the same
water texture to create the water flowing effect.
 Step 11.
Choose a boat stock image and place it on the water. Create a reflection of the boat and a soft shadow effect on the water surface. Erase parts of the boat using a 60% opacity for the Eraser Tool to create the impression that part of the boat is sunk in the water.
You can paint little details and ornaments using the Brush Tool to make the boat look more interesting. Also adjust the color of the boat to match with the rest of the image.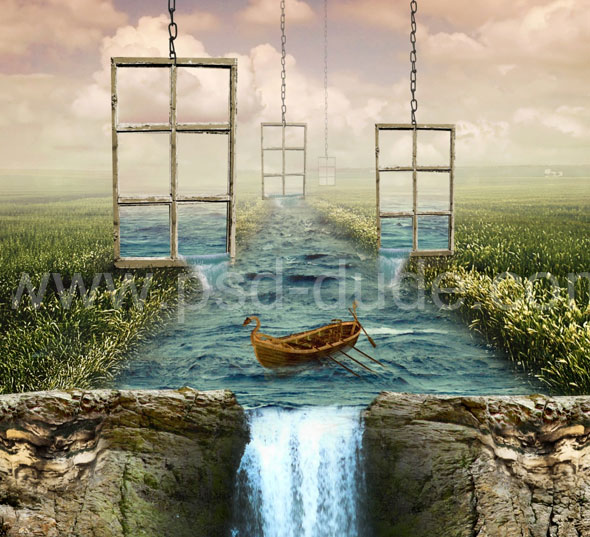 Step 12. For the final touches you can use birds brush to add birds on the sky like show in the preview image. Also
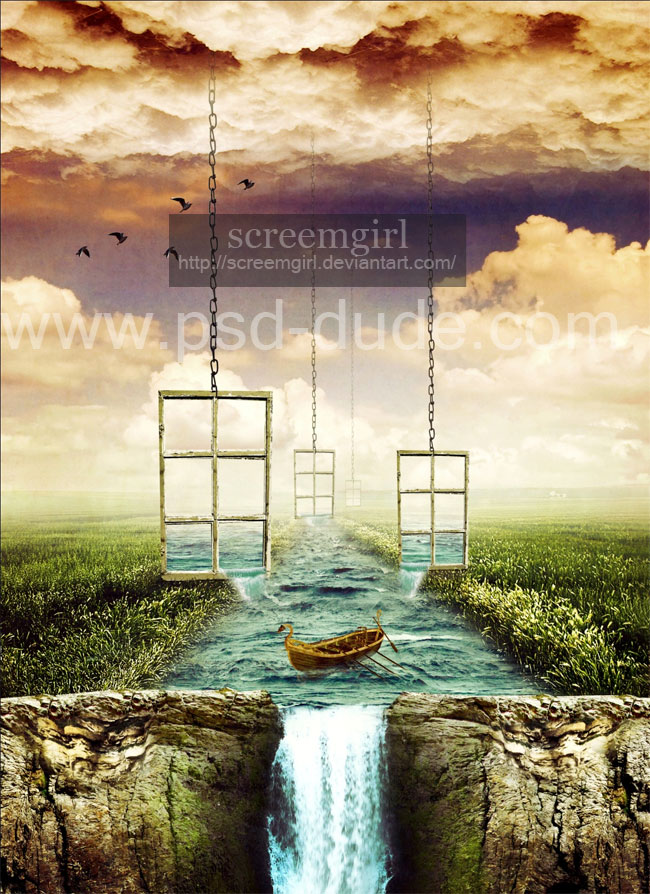
you can add a Gradient Map adjustment layer for all the images and/or change the color tones. Here is the final result for this beautiful
surreal landscape Photoshop manipulation; I hope you've enjoyed this new tutorial.
Step 12. For the final touches you can use birds brush to add birds on the sky like show in the preview image. Also
you can add a Gradient Map adjustment layer for all the images and/or change the color tones. Here is the final result for this beautiful
surreal landscape Photoshop manipulation; I hope you've enjoyed this new tutorial.
About the Author
 Elleen Violet is a really talented digital artist from Ukraine. Her favorite style of art is vintage retro surreal and you can see that interesting style in all her beautiful
photoshop manipulations. Visit the DA account as well as vk.com profile.
Elleen Violet is a really talented digital artist from Ukraine. Her favorite style of art is vintage retro surreal and you can see that interesting style in all her beautiful
photoshop manipulations. Visit the DA account as well as vk.com profile.
8 comment(s) for "Create an Emotional Surreal Landscape in Photoshop"