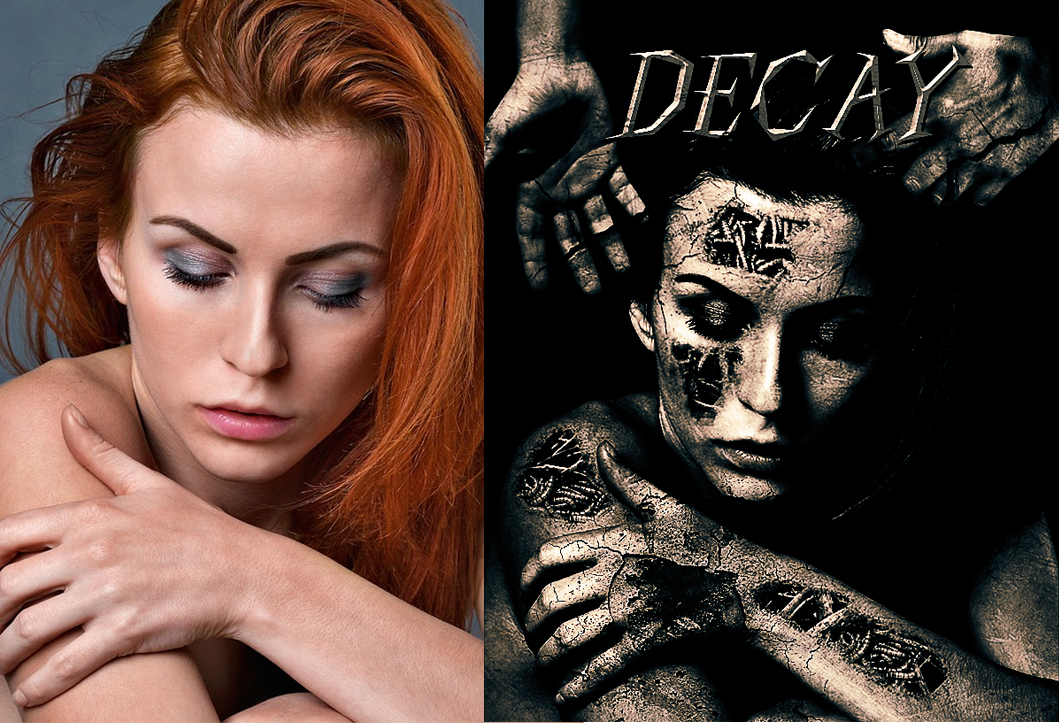
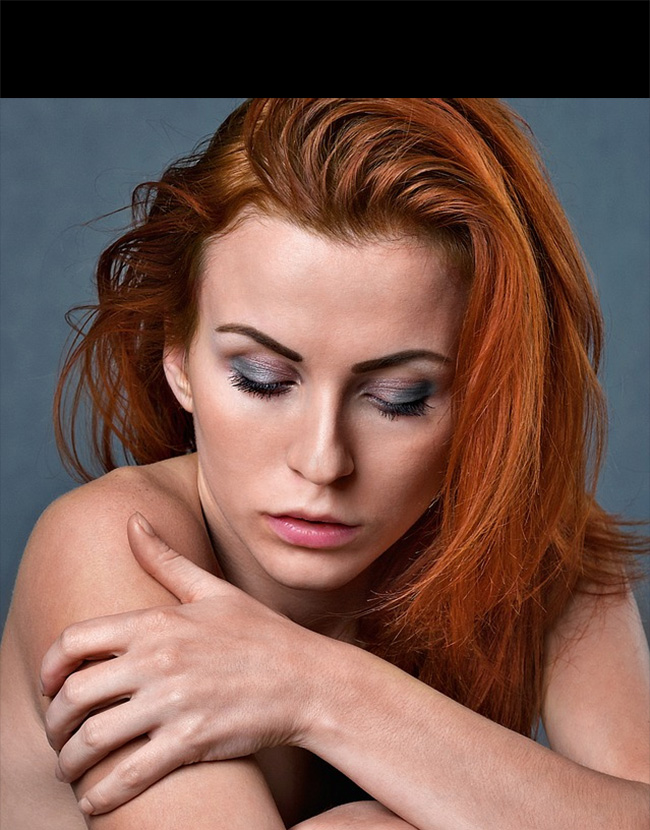
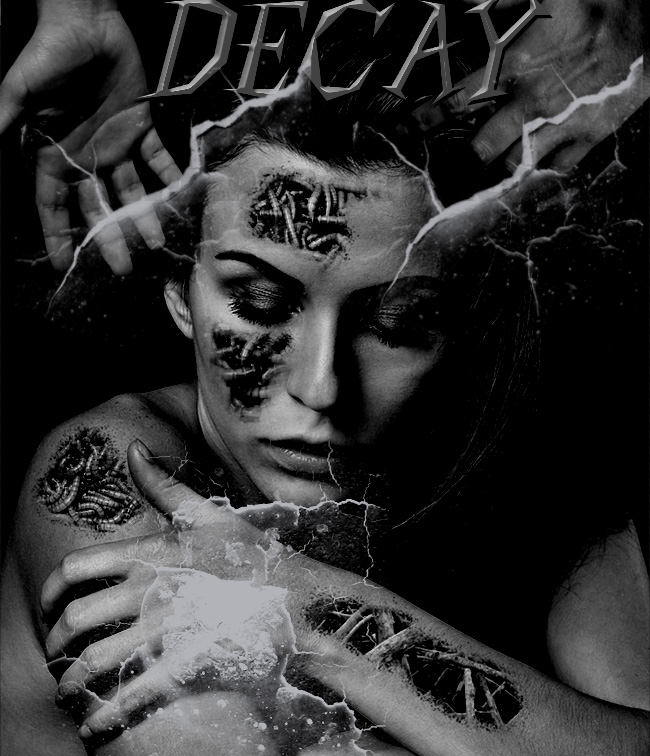
Create a new PSD file and fill the background layer with color black. Add the girl stock image in a new layer and call it Portrait.
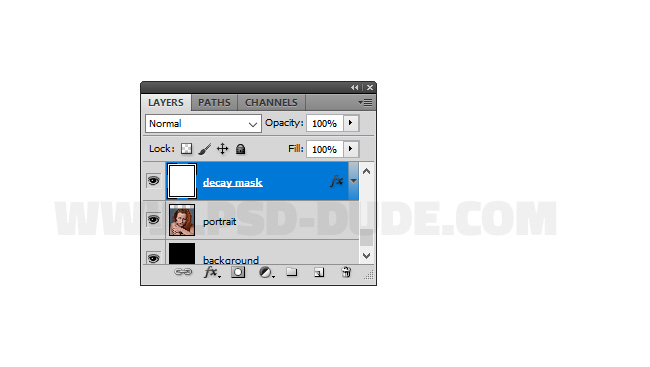
Create a new layer and call it Decay Mask. Fill this layer with color white (keep the CTRL key pressed and press F5 to fill the layer with the Foreground Color).
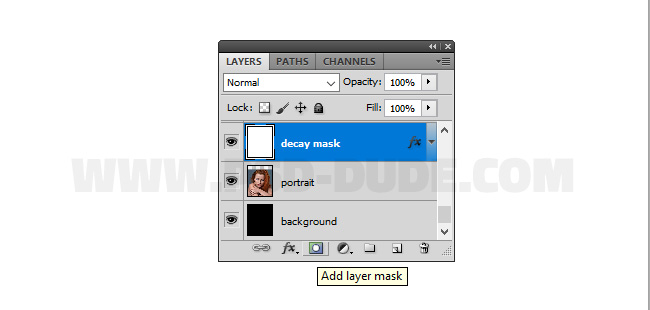
Add a layer mask to the Decay Mask layer.
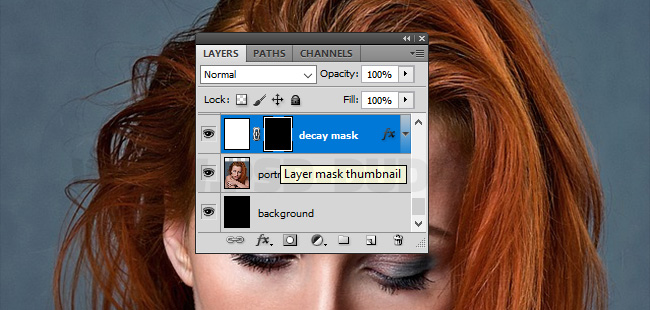
Click on the layer mask thumbnail to make sure you work in the layer mask and not in the actual layer. Press CTRL and I to invert the selection.
Use the Brush Tool, color white and with a soft round brush paint over the portrait like shown in the preview. Make sure you are working in the Decay Mask layer mask.
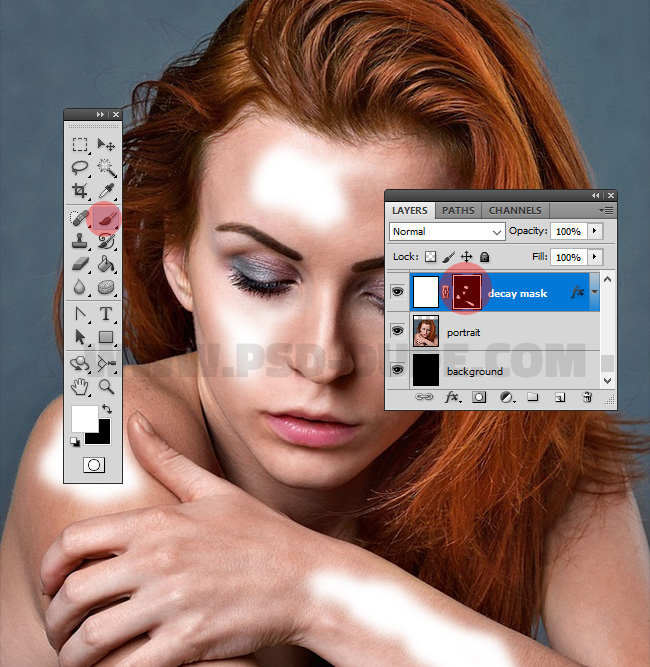
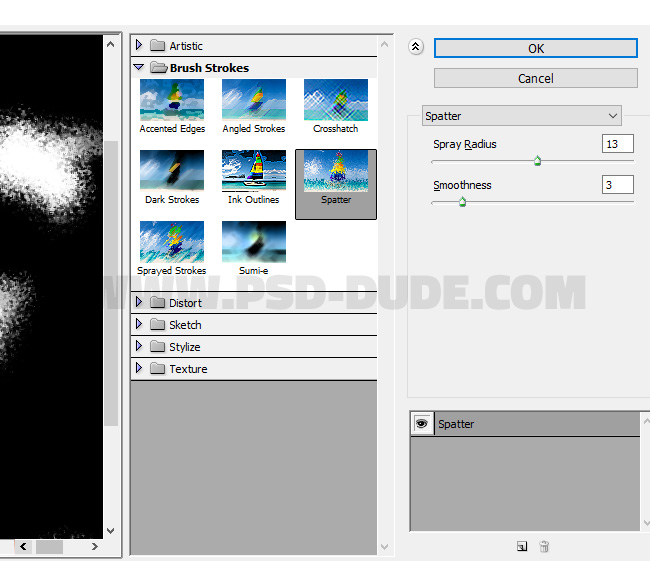
Make sure that you are still working on Decay Mask layer mask. Go to Filter > Brush Strokes and choose the Spatter Filter and set the Spray Radius to 13 and the Smoothness to 3.
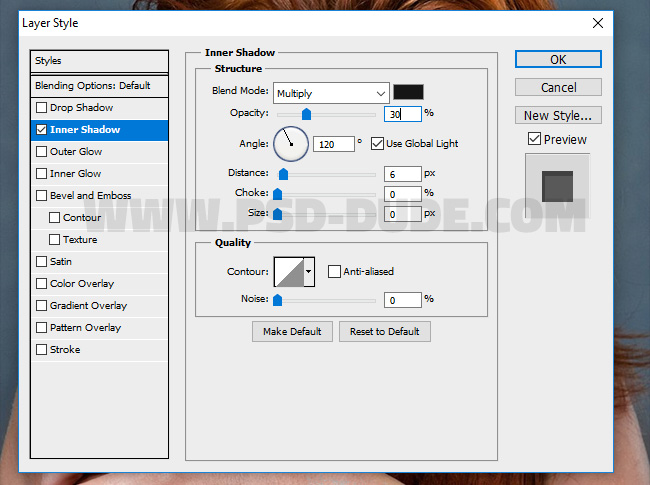
Add an Inner Shadow layer style to the Decay Mask layer.
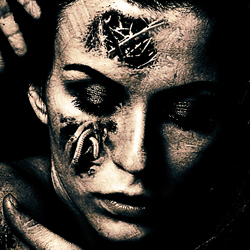
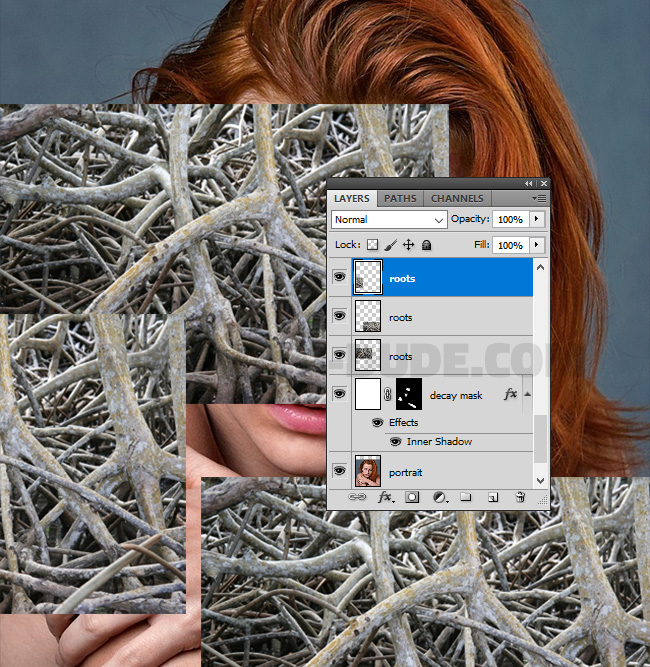
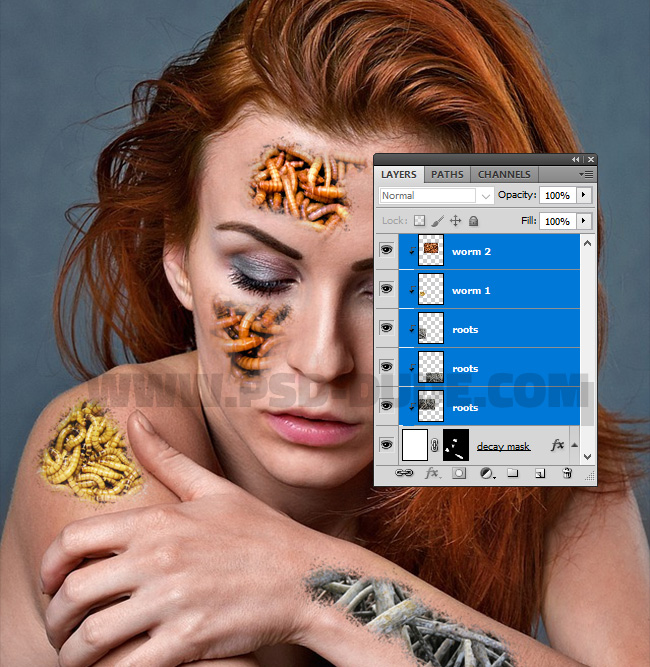
Create a new layer above the Decay Mask layer and call it Roots. Copy this tree root stock image in this layer. Make 2 or 3 copies of this layer so that you cover the white areas that you painted in the previous steps.
Now add some worms above the root layers. Use these stock images: worm 1 and worm 2 . You might also have to increase the brightness and the contrast of these images but these are details that we will take care of later on.
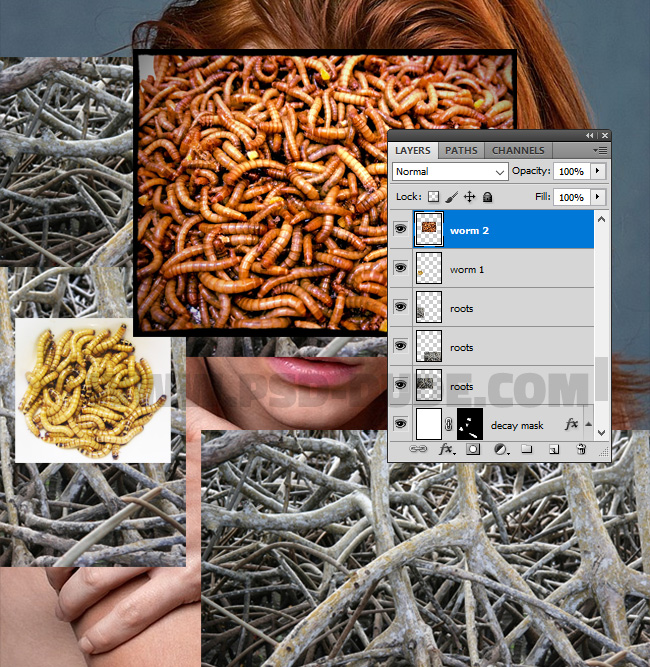
Select the Root and the Worm layers, right click and choose Create Clipping Mask
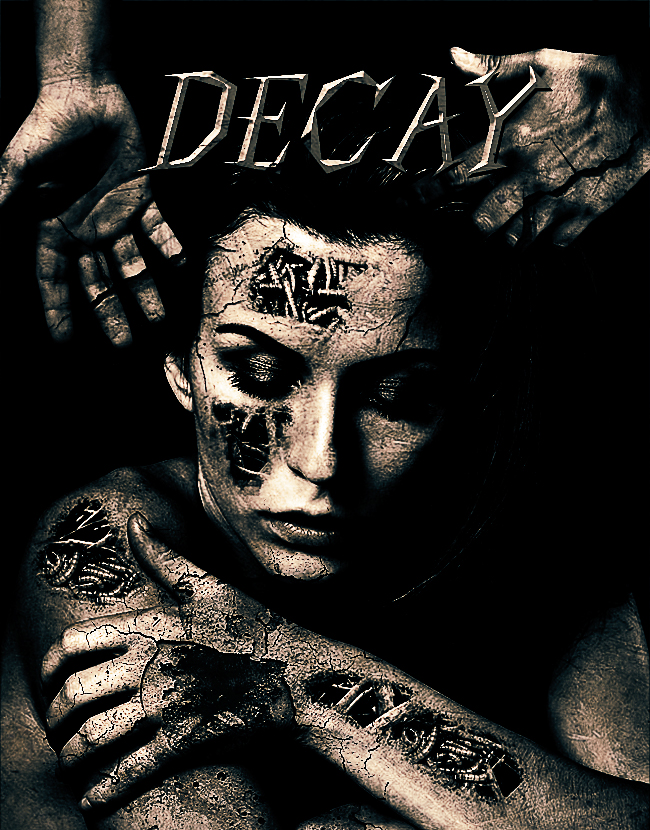
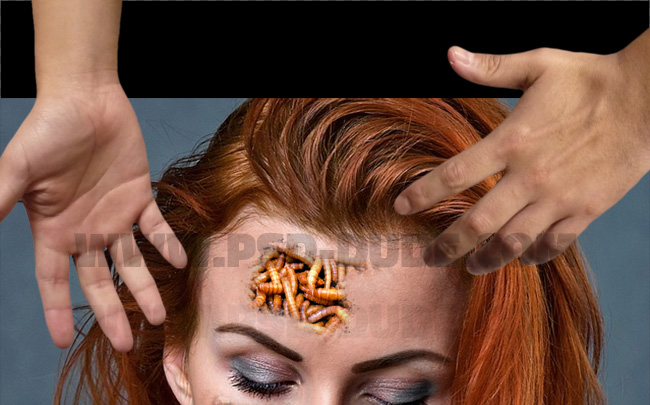
Create a new layer and add this hands stock image. Use one of the Photoshop selection tools to remove the background. Place each hand in a different layer and place them like shown in the preview.
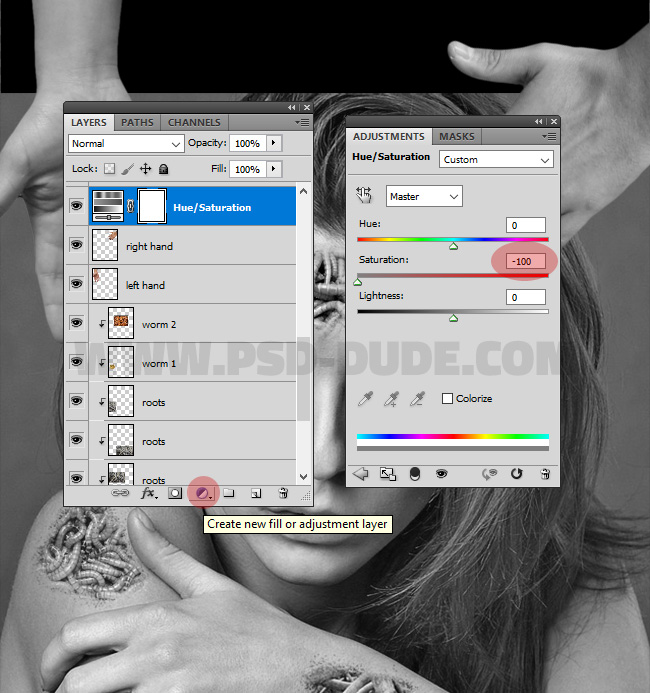
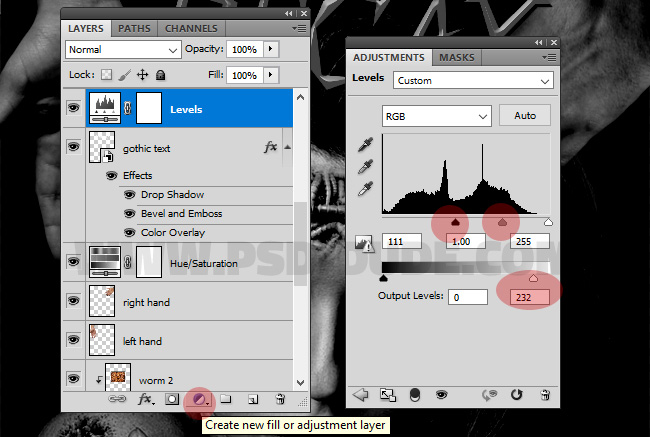
Add a Hue/Saturation adjustment layer.
If you want to add text to this photo manipulation you have to choose the right font type. I will use a dark gothic font called Living by Numbers Font which is a free font for commercial use also. Learn how to install font in Photoshop from this quick tutorial.
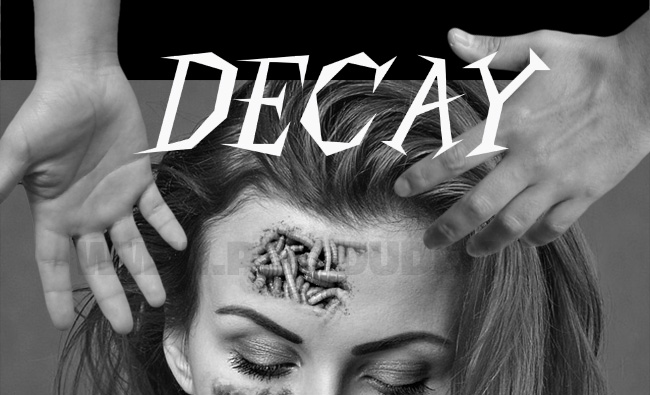
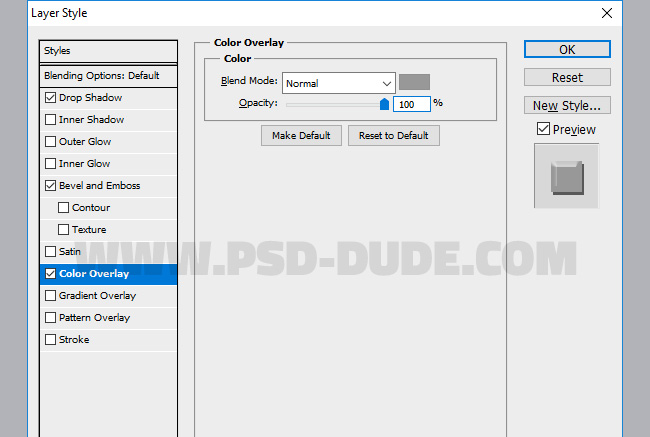
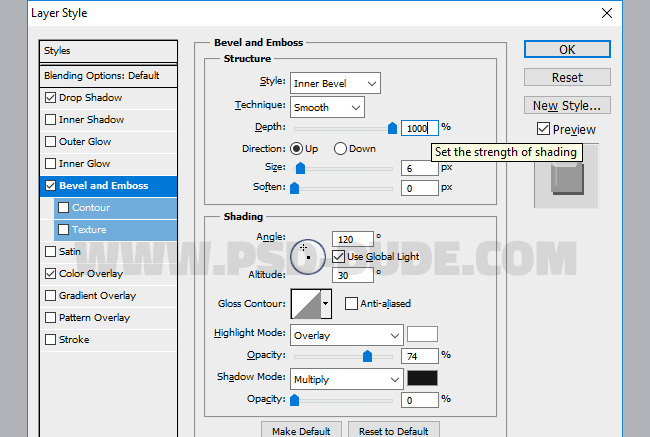
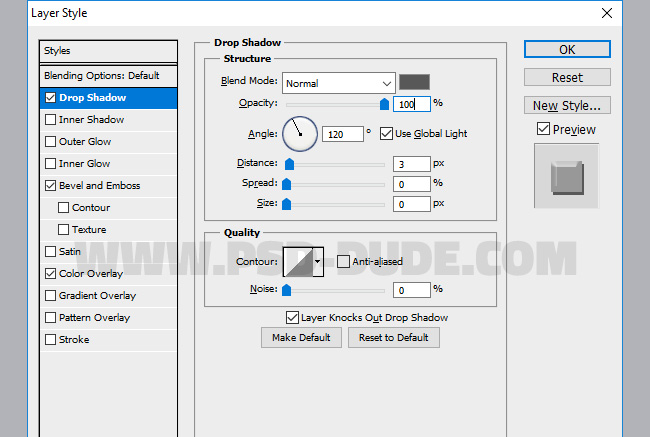
Add this layer style to the Gothic Text layer: Color Overlay color #989898, Bevel and Emboss color #ffffff and Drop Shadow color #585858 .
To create that dark horror look we have to darken the image. You can try this cool Dark Light Effect Photoshop action for quick results.
Dark Light Premium Photoshop Action
To create a dark light effect in Photoshop we'll use the Levels adjustment.
Create a new layer and call it Decay Crack Effect. Use these Decay and Crack Brushes to add cracks over the image like shown in the screenshot.
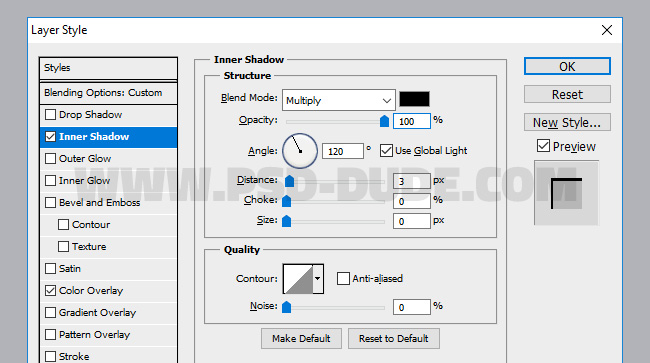
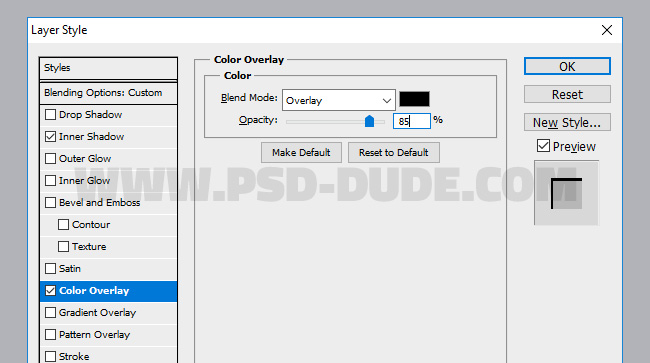
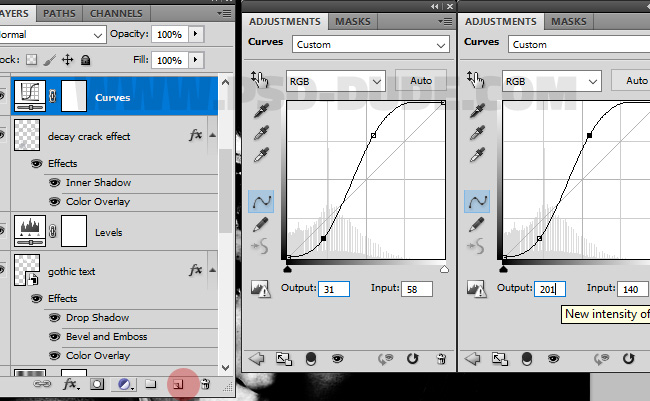
Set the Fill of the Decay Crack Effect to 0% and add an Inner Shadow and a Color Overlay style.
To increase the contrast and to add more drama let's add a Curves adjustment layer.
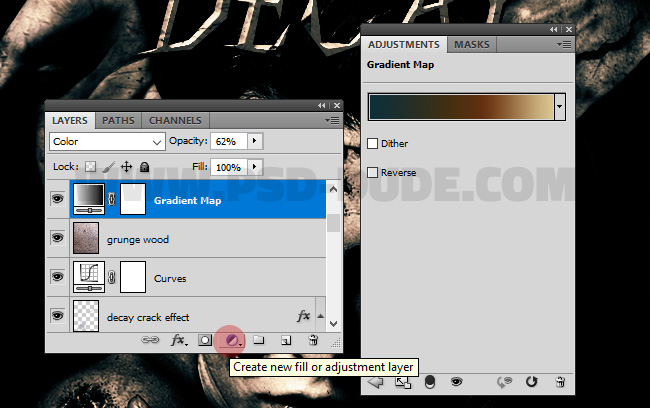
If you want you can add one of these grunge texture backgrounds in a new layer with an Overlay blend mode. I used this wood grunge texture for this manipulation. Also I added a Gradient Map adjustment with Color blend mode and 62% opacity level. The colors for the gradient are: color: #0e2f3a / location 0% , #612f10 / location 60% , #dac691 / location 100% . You can use of course any color tones you like for example bloody red colors.
For the final touches you can now return to the Worm and Root layers and simply reposition, erase some of the worms, increase contrast, etc. The final step is to add a sharp crisp look to the image. To sharpen images you have to use the Photoshop High Pass Filter technique. Don't skip this step. You can add two high pass layers for more sharper details.
2 comment(s) for "Create A Horror Decay Portrait Effect In Photoshop"