Painted Wood Photoshop Action Comics Book Photoshop Action Infographic JS Library Textures for Photoshop Online Label Maker

Create 3D Text in Photoshop Using PS Action

www.psd-dude.com
Tutorials Text Effects 41814 November 4th, 2018

I was playing with my recent 3D Photoshop action trying to create new and unique effects. And one of these effects looked interesting enough to make a tutorial out of it. So let's find out how to make a 3D text in Photoshop, using a Ps action in one of the steps, just to simplify the process.

The 3D effect is quite convincing and it is ready in no time. Because I don't have CS5 version, that has some nice 3D features, I have to use other tricks to obtain 3D effects. The final result is an empty 3D text similar to an opened text box.

Beside the actual written tutorial you can download the free PSD file with all the layer styles intact. Ok, let's start!

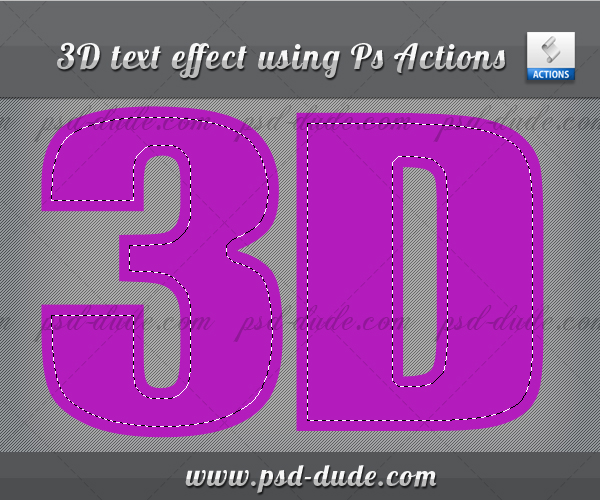
I have decided to use a text for this tutorial but you can use a custom shape or any other layer just as well. Open a new psd file, 600x500 px size. First we need to find a beautiful font, it has to be a big font with a large size so that it covers all the canvas. I've chosen a default Photoshop font family called Impact. Write the text you want, in my case it is "3D". Resize it to cover the entire canvas as I told earlier. The color is entirely up to you depending on your background. I have chosen a purple color, #b31cbc.

Right click on the text layer and choose Convert to Shape. This means that the text becomes vector and you can easily change its shape if you want. For example you can make the "D" letter more round etc.

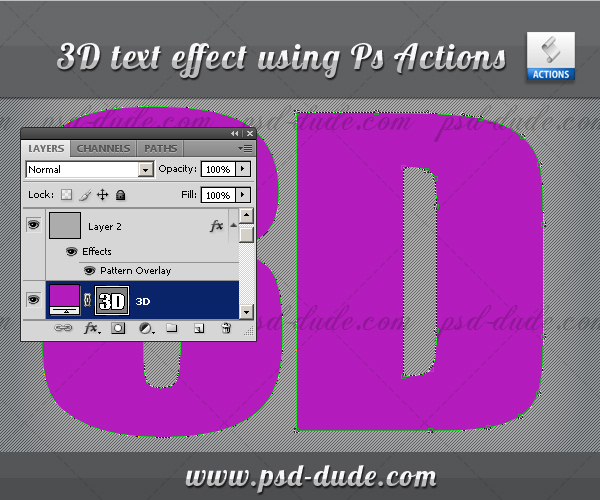
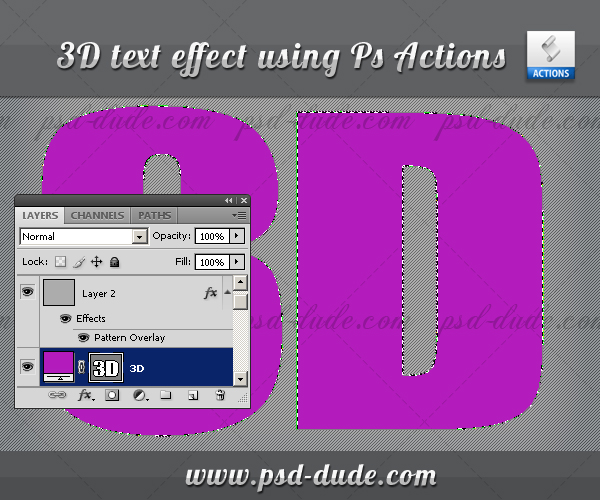
Press CTRL and click on the layer's thumbnail. You can see that the shape is now selected.

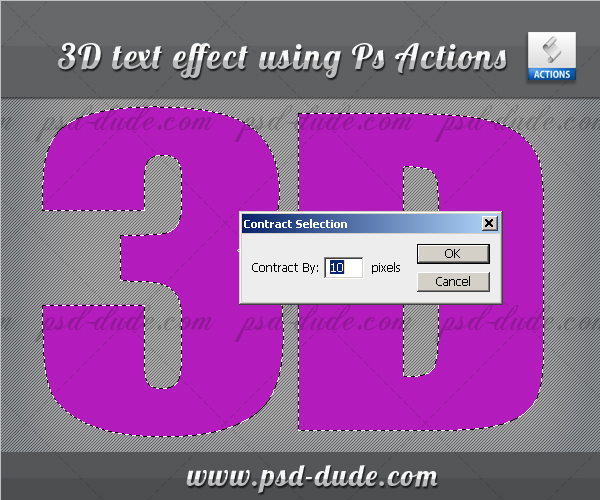
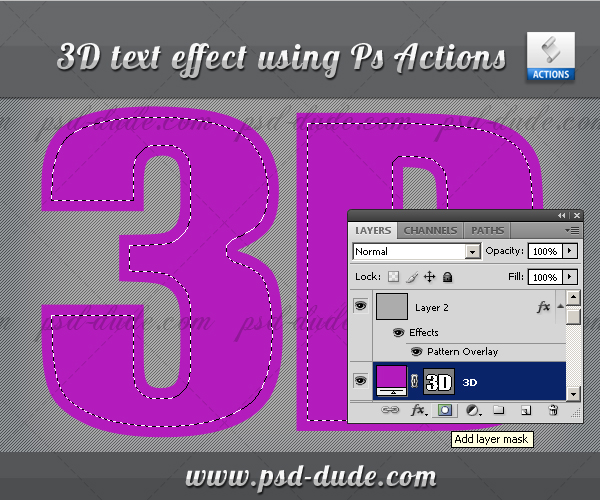
Go to the Select Menu, Modify and choose Contract by 10 pixels.

Now press Add layer mask and then press CTRL+I to invert the mask. You can see that our text has a 10px outline and the rest is under the mask.

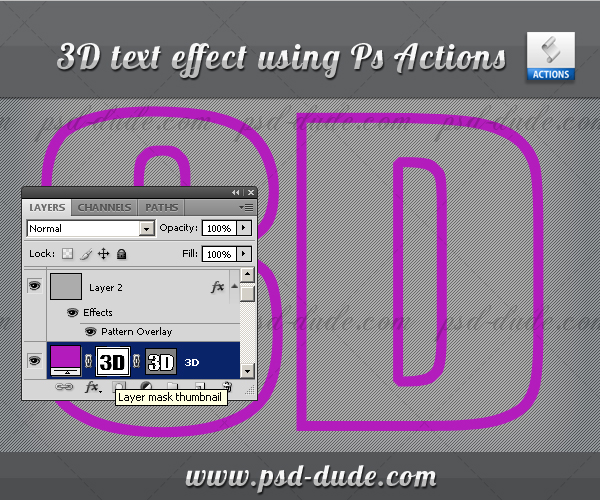
Now rename this layer Shape 1, otherwise the action it won't work. Download this 3D Photoshop Action and play it. You have to obtain 2 layers : Shape 1 copy 34 and Shape 1 copy 35. To make the tutorial easy to read, I will rename these layers: Bottom and Top Layers.

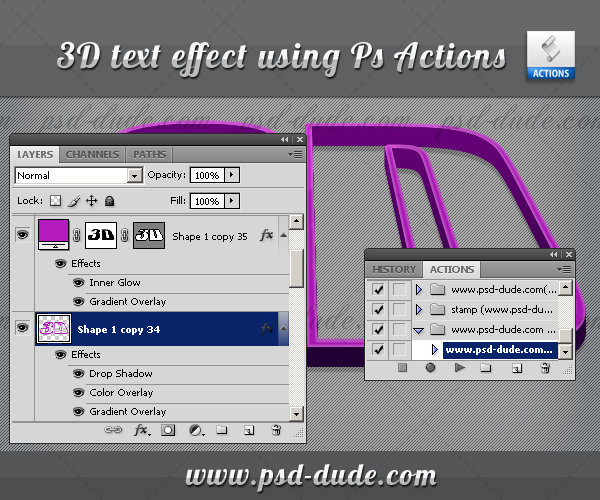
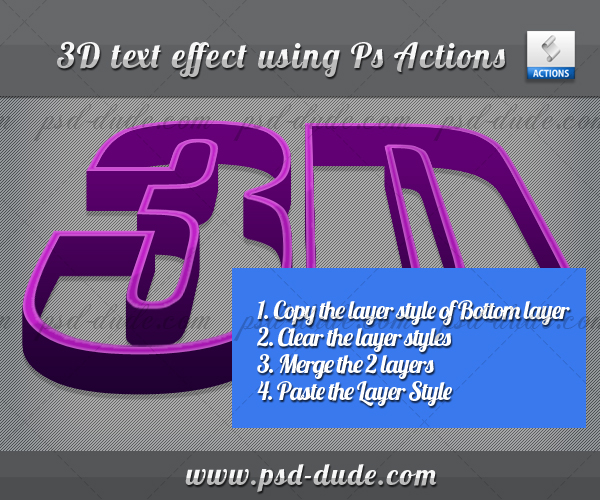
To expand the height of the text I will now duplicate the Bottom layer and move it downwards like in the image. Right click on the Bottom layer and choose Copy layer style. Now Clear the layer styles of both Bottom Layers and merge them. Add Paste Style to the new Bottom Merged layer. This step is not mandatory, but the text will look better.

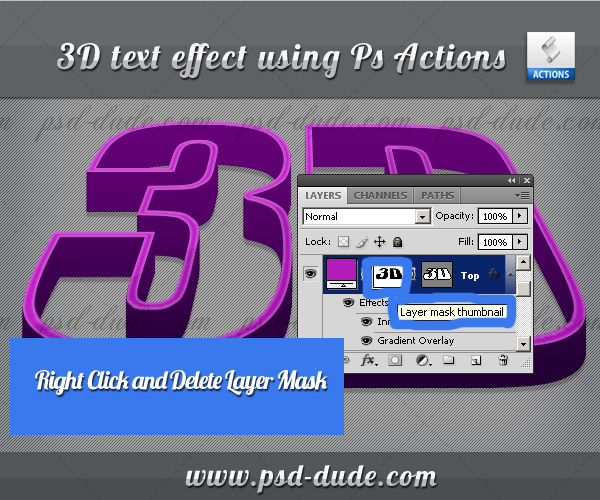
Duplicate the Top Layer and place it behind Bottom Merged Layer. Right click on the Layer Mask Thumbnail and choose Delete Layer Mask and also Clear the Layer Style.

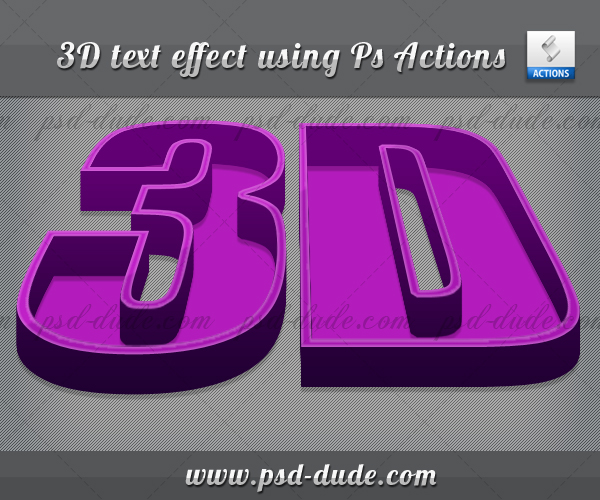
This is how our 3D text in Photoshop looks so far:

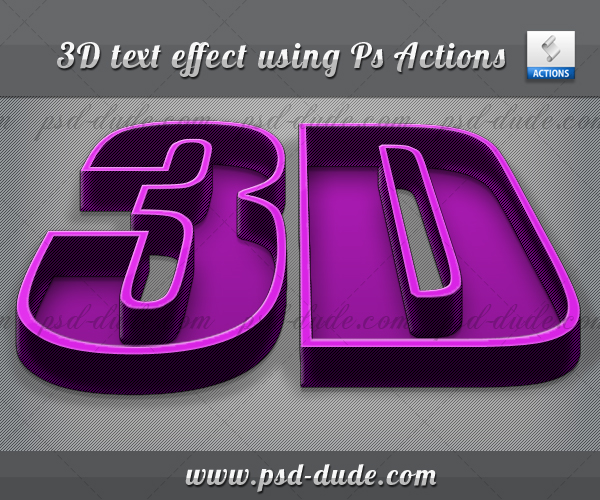
All we have to do now is to change the appearance of the three layer by adding some extra layer styles. The first thing is to change the color of the Top Layer to #de2be9. Th most important addition is Satin and Pattern added to the layer style of the Bottom Merged Layer. You can see the exact settings downloading the PSD file. The file has 467 KB size and it was made with Photoshop CS4.

5 ( 103 votes)

If you're looking for amazing textures and backgrounds for Photoshop, explore Textures4Photoshop where you can find 1000+ unique images. You can download all these textures and backgrounds for free to use in personal or commercial projects!

Be a Cool Dude!

With your donation you can help us maintain this website and keep producing free resources many months to come! Any amount counts

9 comment(s) for "Create 3D Text in Photoshop Using PS Action"

PSDDude
8:35 AM Saturday, November 5, 2011
I have used my 3D text and fill it with water to make this beach landscape, hope you like it!
reply
psddude
2:24 PM Wednesday, November 9, 2011
Unfortunately I don't have time to make this tutorial but it is not to complicated you can try it. Simply create the text with a sand texture applied, add again a sand texture as background and fill the text with water texture. The rest are simple details :) reply
USAMA
USAMA
3:21 PM Saturday, December 10, 2011
wooooooooow
you are the best
thank you reply
PSDDude
3:22 PM Saturday, December 10, 2011
:) thanks reply
LIYAZIDI
LIYAZIDI
1:08 PM Sunday, January 29, 2012
sorry i can't do it because i have some defficult about this tuts.pictures 8 to the end of tuto.sorry reply
PSDDude
1:12 PM Sunday, January 29, 2012
May I ask why? All you have to do is to rename the layers like specified in the tutorial and to use the 3D Photoshop Action afterwards. reply
mihai
mihai
1:30 AM Tuesday, December 23, 2014
it looks nice, can you provide the tutorial ?? thank you in advance reply
abdurahman
abdurahman
10:27 AM Thursday, April 16, 2015
please am not able to attempt step 7, contract wasn't available for click. is there anyway to make it click able please ? reply
PSDDude
10:34 AM Thursday, April 16, 2015
If the Select > Modify > Contract is greyed out in Photoshop check if you made the selection.
The contract menu only applies to Selections. If there is no active selection it will not work. reply

Have something to say? Leave us a comment

Click to Upload Fan Art!

Share your Psd Dude inspired works


Get new posts by email:
LIKE US ON FACEBOOK

      Online Photo Editor
top