This white snow winter landscape will be created in the naive folk art style that I really like, even though this is my first photo manipulation made in this style. Naive art is often characterized by a childlike simplicity in its subject matter and technique.
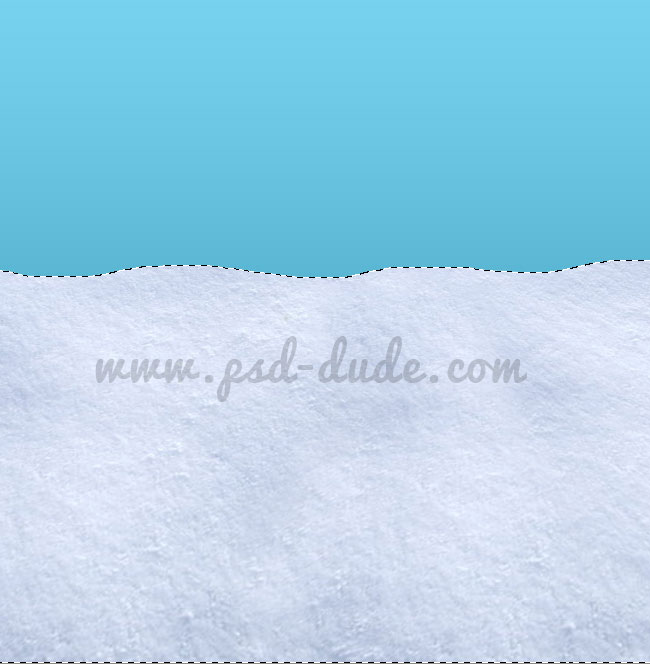
Create a new layer and add a Gradient Overlay using these two colors: #318daa and #76d2ef

In a new layer use the Pen Tool to make a selection like shown in the image.

Fill the selection with white and call this layer Snow Surface. Use this snow texture in a new layer and add it as clipping mask for the Snow Surface layer.
Use this Christmas tree PNG image, resize, duplicate and place it on the horizon line like shown in the image.

Add a Brightness/Contrast adjustment layer to lighten the trees.

Create a new layer above the Xmas Trees Layer and use an soft round brush and the Brush Tool to add cast shadow effect for the trees. Use this color #53575f, set the blend mode of the layer to Multiply, opacity 60%. Use the Gaussian Blur filter to soften the shadow.

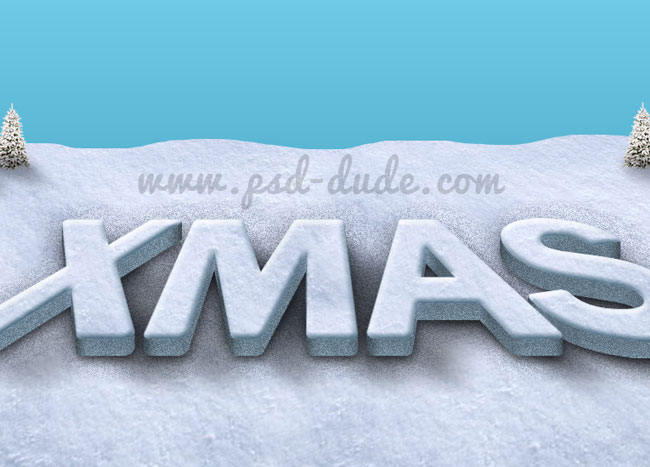
Now I will add a 3D text effect using one of my 3D mockups. You can download the PSD file containing the snow text effect here. All you have to do is to open the ADD YOUR TEXT HERE smart object and change the text, font type, size, etc. Save the smart object and close it in order to see the result.
In order to place the snow text inside your Winter Landscape PSD file, you have to:
- select the "ADD YOUR SNOW TEXTURE", "ADD YOUR TEXT HERE" and the "3d snow text by www.psd-dude.com" group from the 3D-SNOW-TEXT-by-PSDDUDE.psd file
- right click on the layers and choose Duplicate. In the Destination field choose the Winter Landscape PSD file.
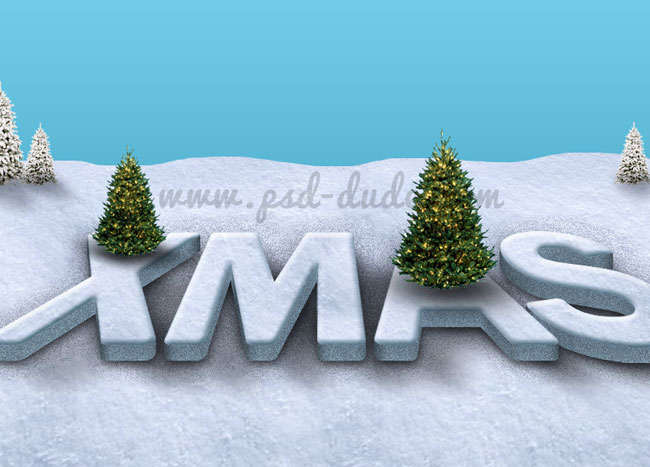
Add this beautiful decorated Christmas tree on top of the 3D text.

Add a Color Balance and Brightness/Contrasta djustment layers with clipping mask.

You have to paint a shadow effect under the tree using the same technique used in the previous steps.

Gather all the layers of the decorated Xmas tree in a group. Duplicate the group, move, resize and put it in another place.
Use a sparkle brush to decorate the top of the Christmas trees. Use white color.

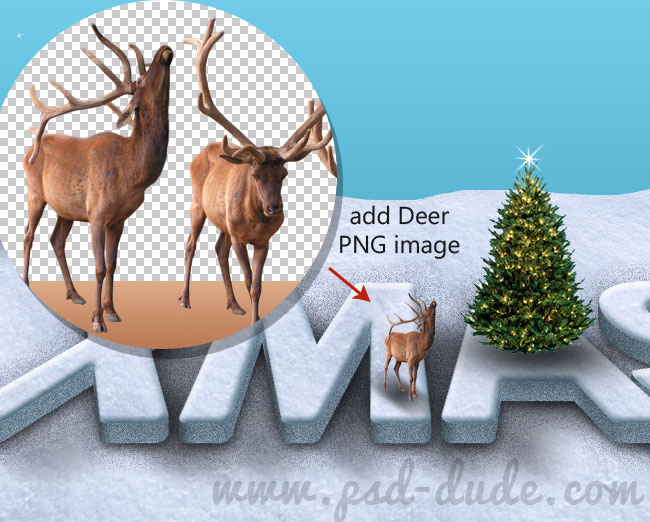
I will now add a deer PNG image on the 3D snow text. Resize the image and place it where you want. Don't forget to paint the shadow effect.
I will now add this house PNG stock image. You only have to resize it and also to add a shadow effect.

To create a beautiful winter frame for our photo manipulation I decided to add these thorn brances in on the top of our image. Duplicate the PNG image, rotate, resize to create a beautiful natural frame.

I will now add a snow effect on the brances. Merge all the brances layer into one layer called Branches. Make a selection using the Branches layer; move the selection 5px up depending on your canvas.

Create a new layer and call it Branches Snow. Fill this layer with pure white.

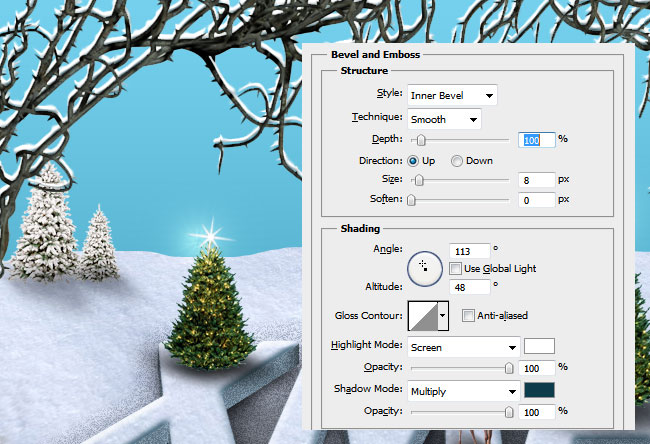
Make a selection out of the Branches layer and delete the selection from the Branches Snow layer. Add Bevel and Emboss layer style to the Branches Snow layer using white and #0c3c4b colors.
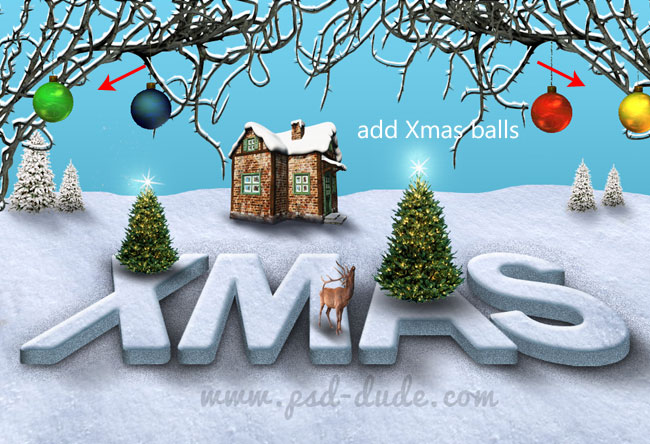
To make the Christmas landscape more festive and colorful you can add Xmas balls and other decorations like Christmas lights.
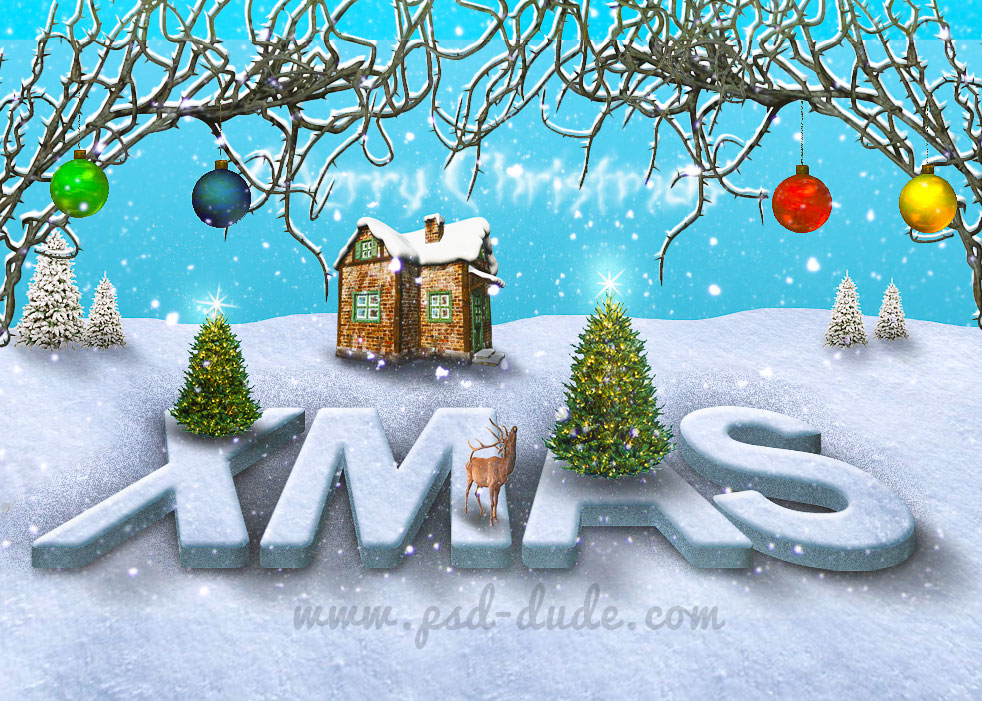
For the final touches I have added snowing effects. All you have to do is to add the falling snow texture and to set the blend mode to Screen. You can use these textures snowfall 1 and snowfall 2 with Screen blend mode. Download this snow brushes and add snow using the Brush Tool and color #ffffff. Another thing that you can do is to add a Vibrance adjustment layer to make the colors pop.

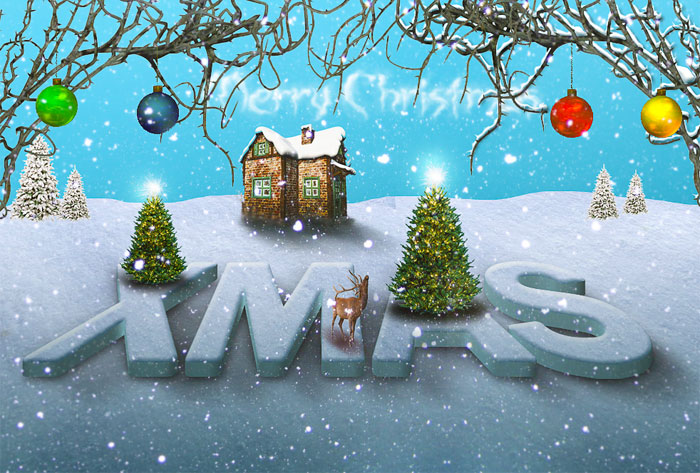
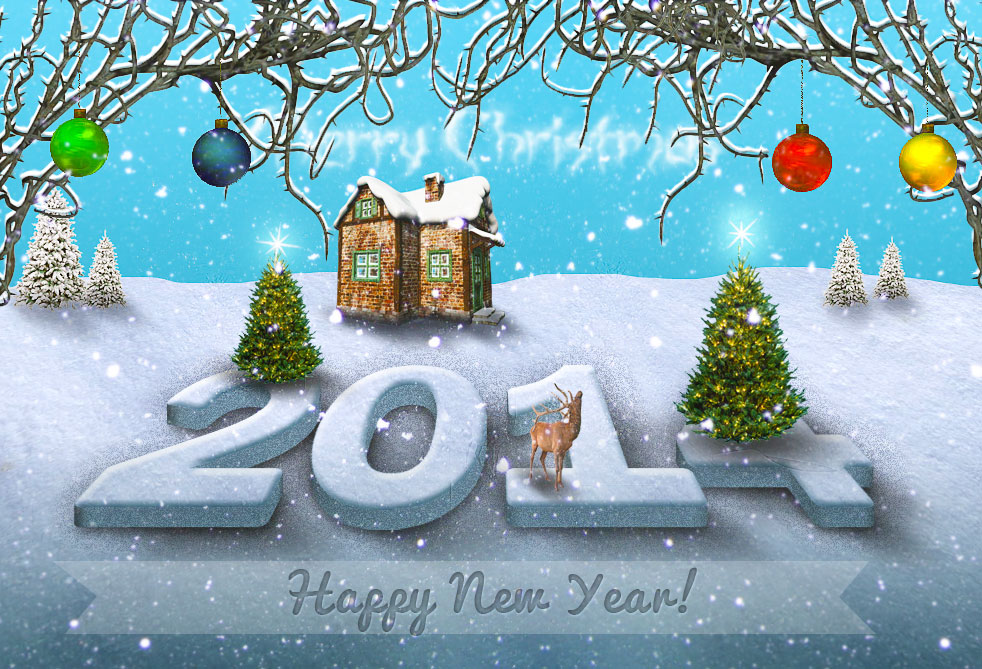
So here is the final result for this winter Christmas Photoshop manipulation that I hope you all enjoy making.
And do't forget you can easily replace the text ith your own. You can see that I have replaced the text "xmas" with "2014" and took me just a few seconds to do it.
Online Christmas Card Maker
Did you know you can use online tools like MockoFun to make Christmas cards? Combine Christmas vector shapes with text and create some amazing Christmas cards. MockoFun provides pre-made templates for making Christmas cards online in just a few minutes.
Check out this awesome list of over 50 Christmas fonts that you can use online or download for free to use in Photoshop. Combine Christmas fonts with text symbols like a star symbol for example.
Check out this tutorial on how to use the online Christmas Card Maker and all the awesome features that MockoFun has to offer.


9 comment(s) for "White Christmas Winter Landscape Photoshop Tutorial"
I hope you like it.
Thanks.
sorry for the broken page. I have updated the link for the thorn branches and now it works :)
Your winter landscape looks very beautiful, keep up the good work! reply
Very good practice, and the presentation!
Thank you! (Hungary)