For start here are some basic tutorials and resources that might prove useful for this sci-fi tutorial. You can learn how to create a sunburst or a ray of light, how to add non-destructive lens flare effect, etc. Also there is a huge collection of light and optical flare brushes and textures.
- Lens Flare Textures
- Light Brushes and Textures
- Abstract Light Brushes
- Create lens Flare in Photoshop
- Create Rays of light in Photoshop
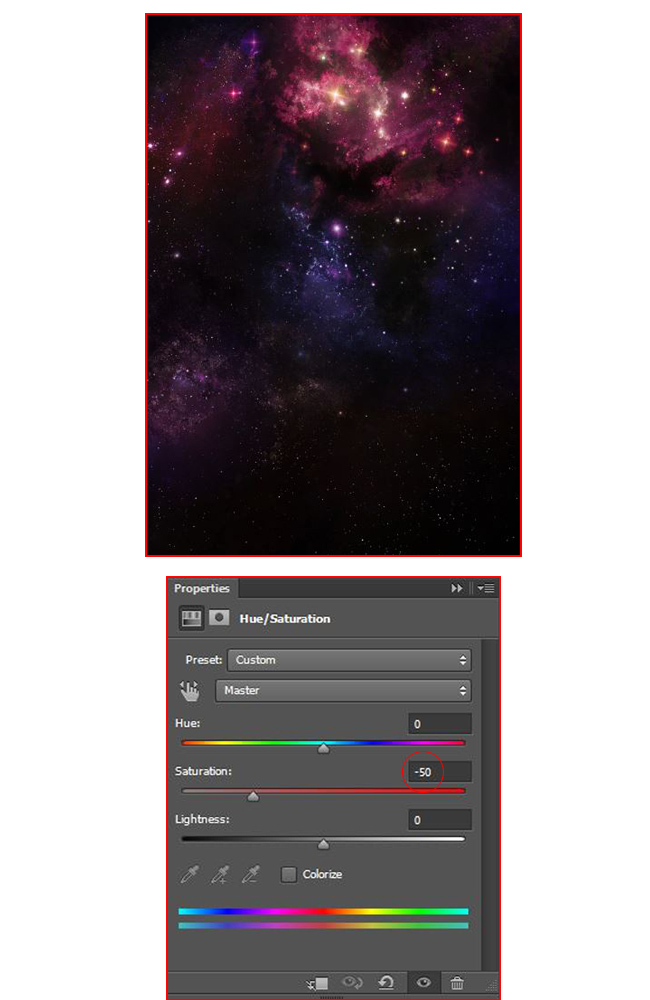
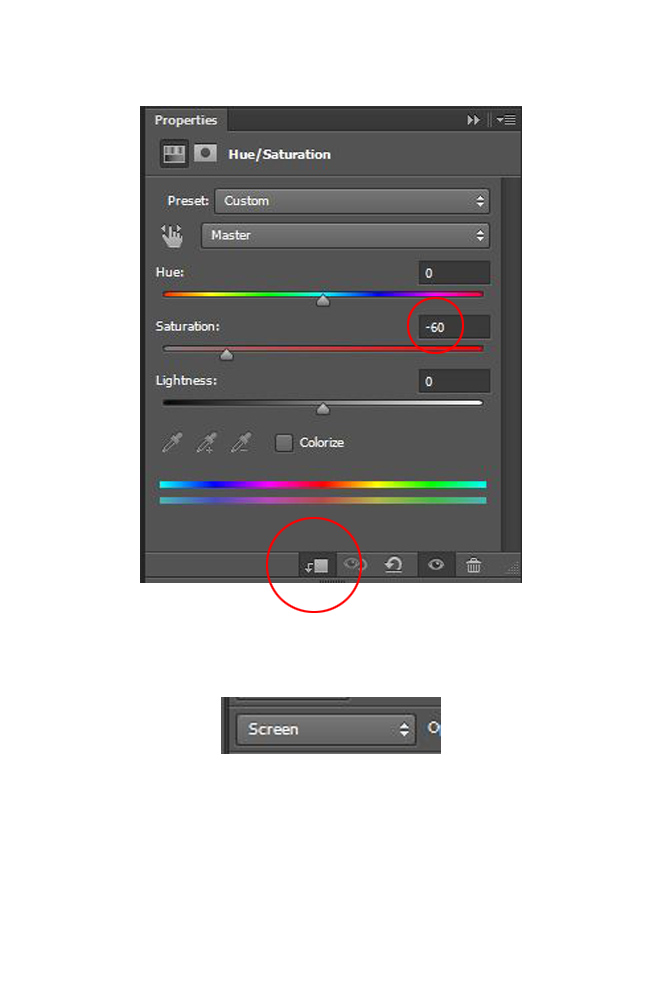
Open the image Deep Space and go to Adjustment Layer > Hue/Saturation make the following settings.
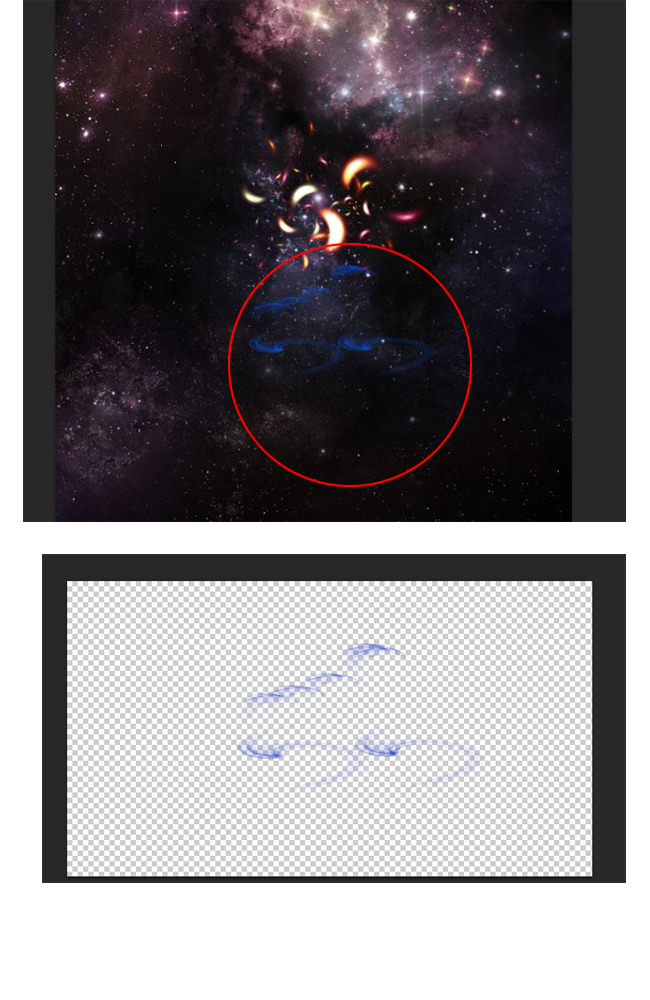
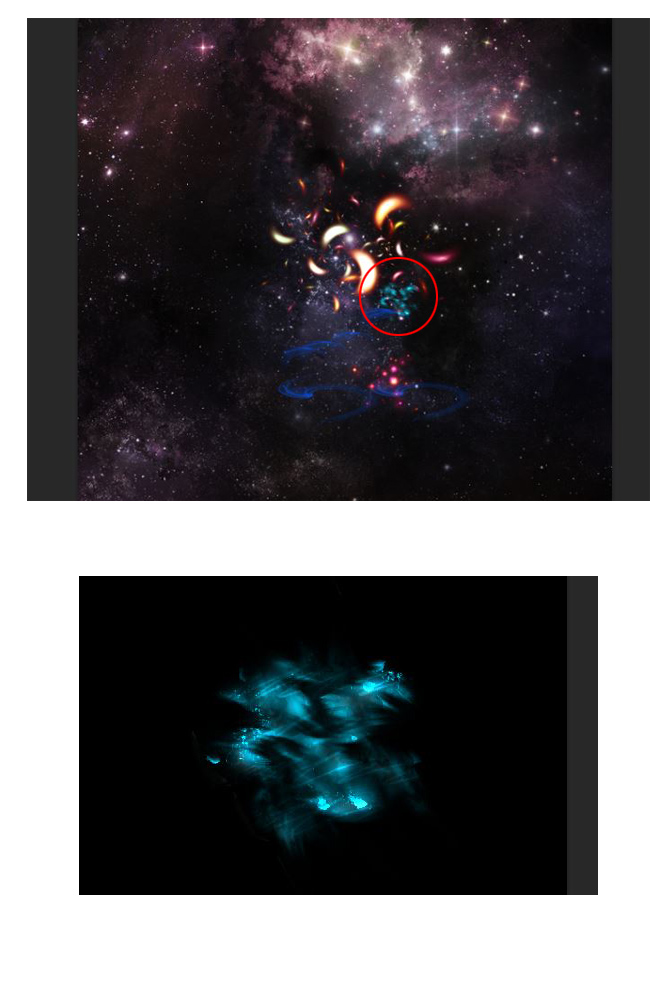
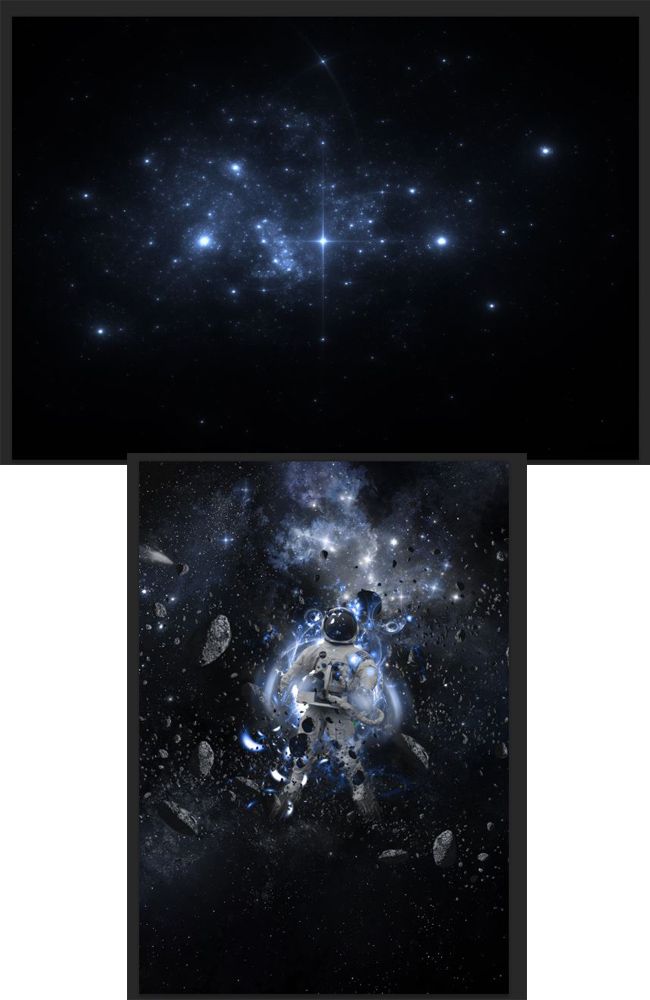
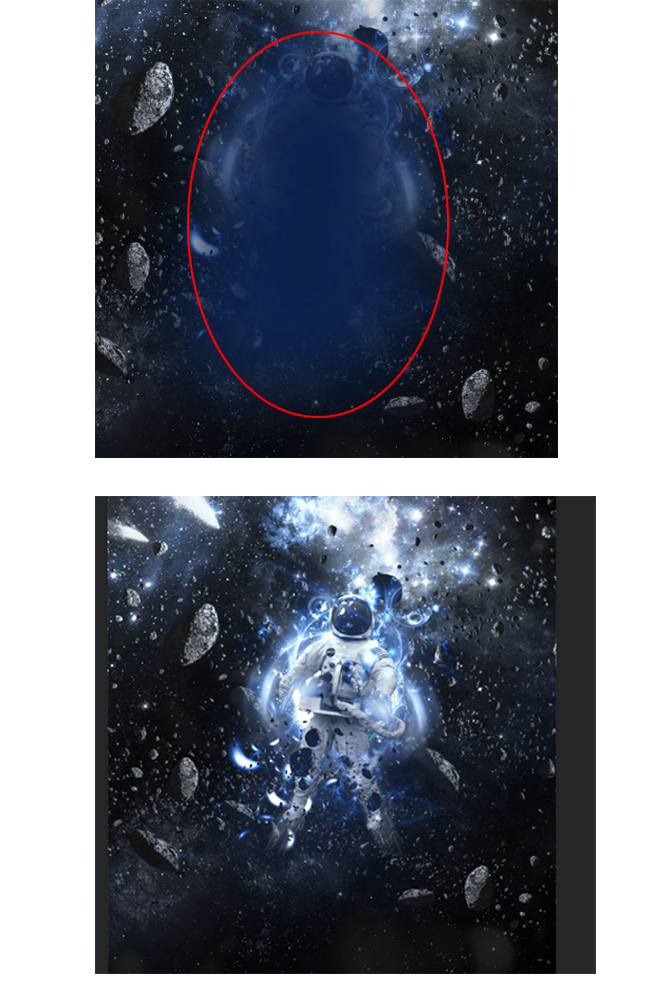
Now open the stars background and create a layer mask. Use the Brush Tool, set foreground color to black and paint as shown in the picture below.
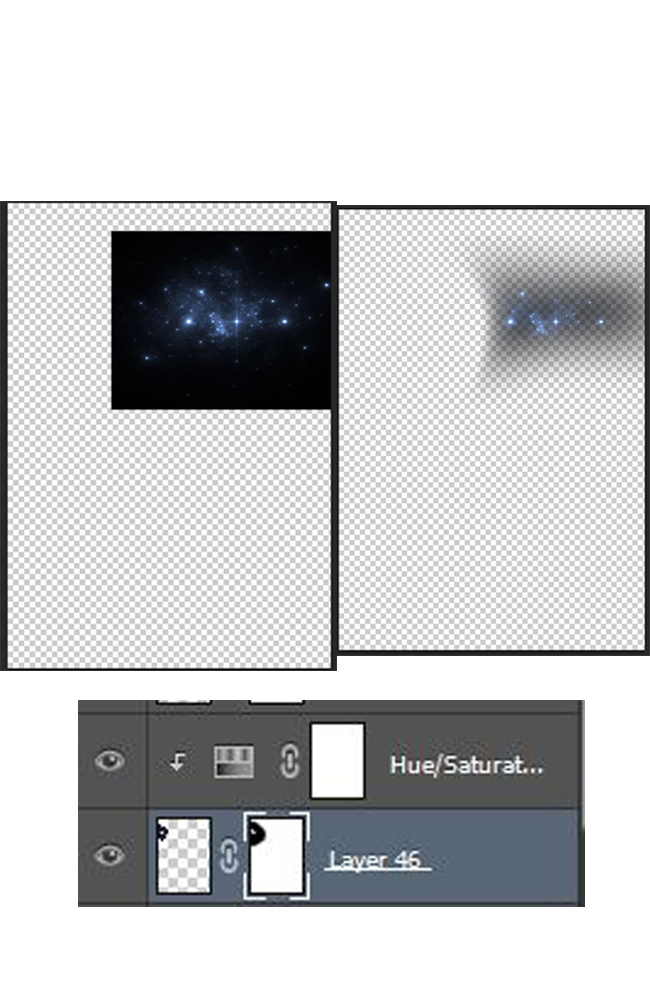
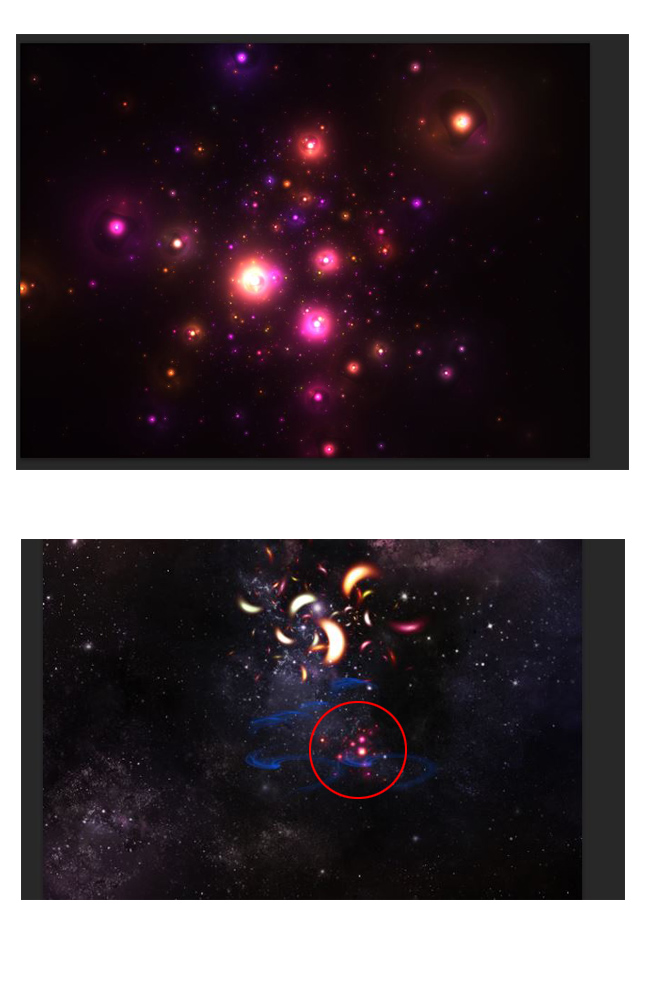
Set blend mode to Screen and click on Adjustment Layer > Hue/Saturation and use these settings.
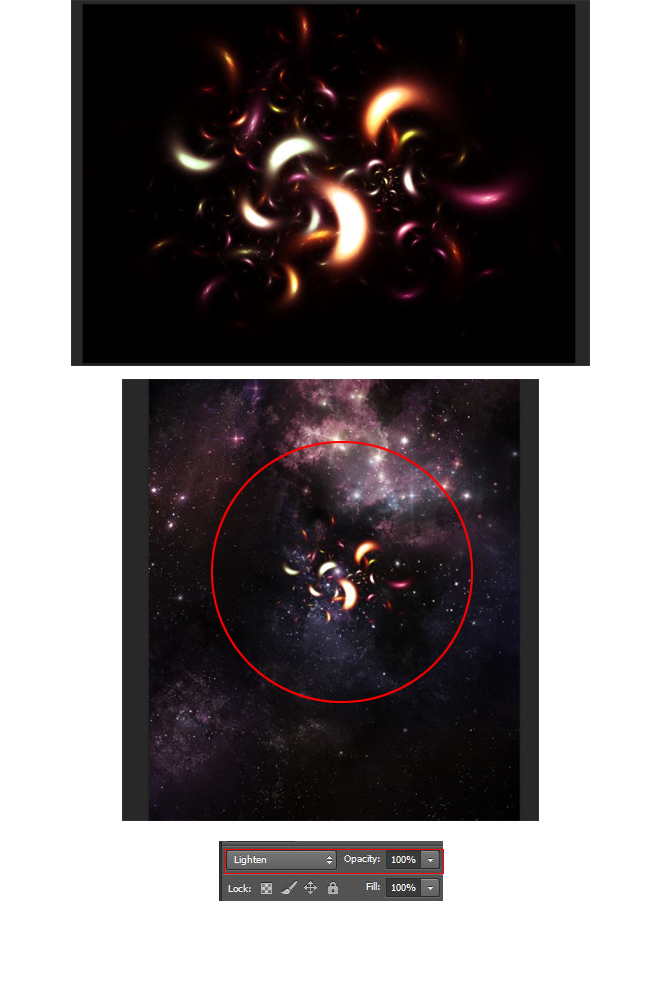
Open Fractal Lights 4 and set blend mode to Lighten
Open the light strokes from GFX Light Pack and place it like in the preview.
From the Fractal Lights 4 pack add the 4-11.png image and set blend mode to Lighten.
Open the Light2(4-20.png) from Fractal Lights 4 pack and set blend mode to Lighten.
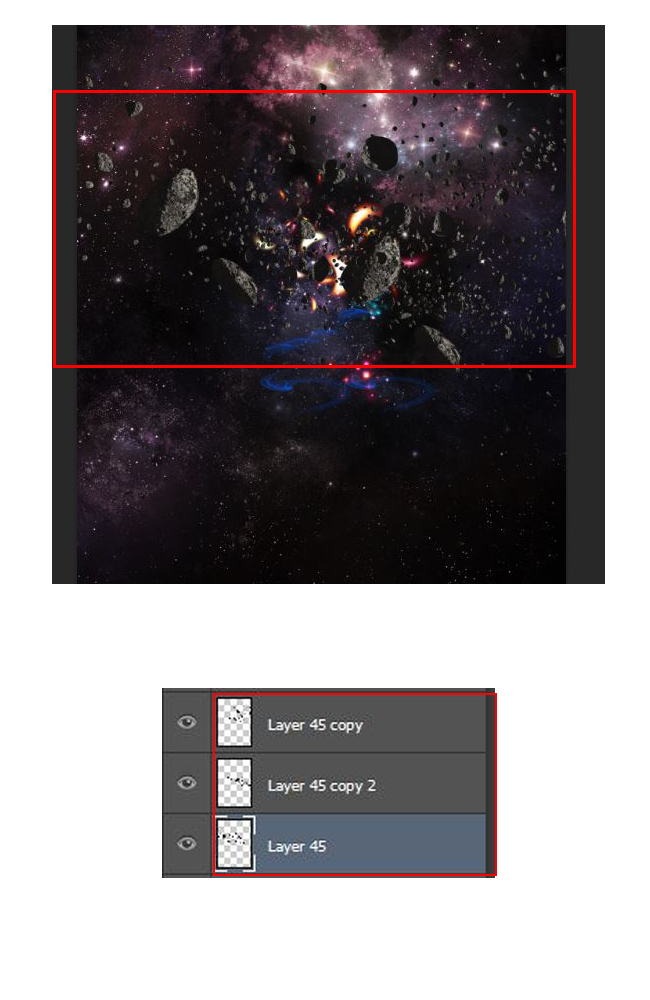
Open Asteroids and duplicate yhem two times pressing CTRL+J as shown in the picture below.
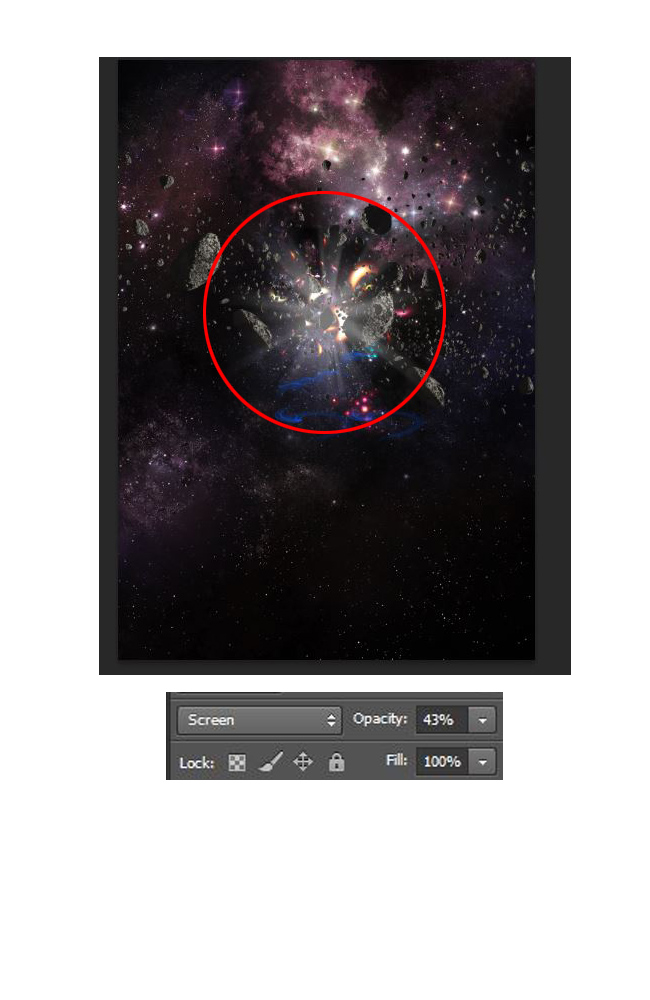
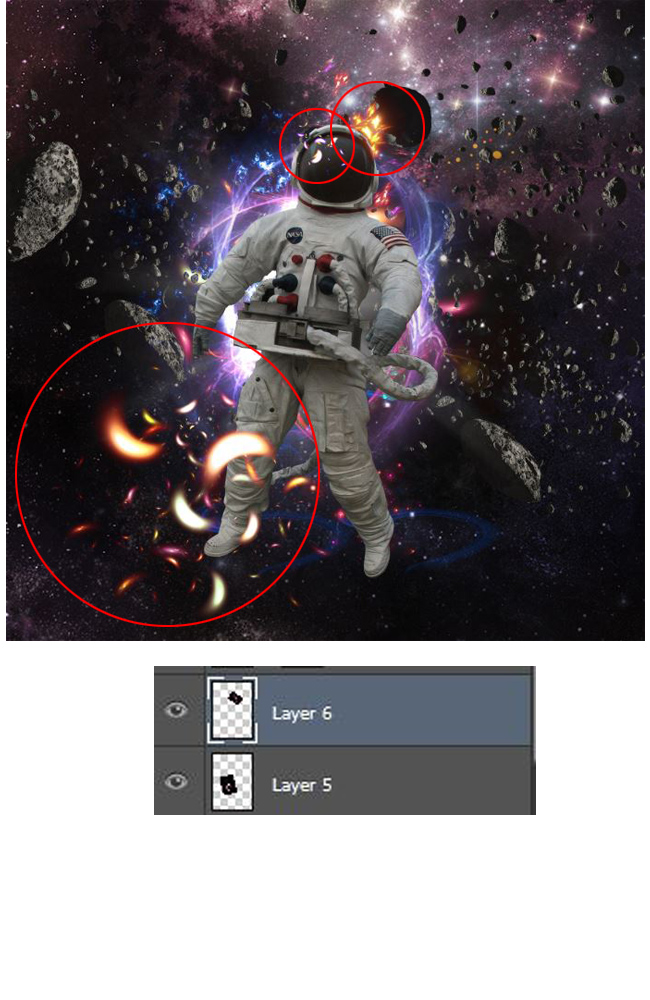
Open the Light Burst form Light GFX Pack and set blend mode to Screen and opacity to 43%.
Now open Light 3,4,5 and 6 from GFX Light Pack and set the blend mode to Lighten and opacity to 100%. On Light4 create layer mask and use the brush tool with foreground color black and wipe the edges.
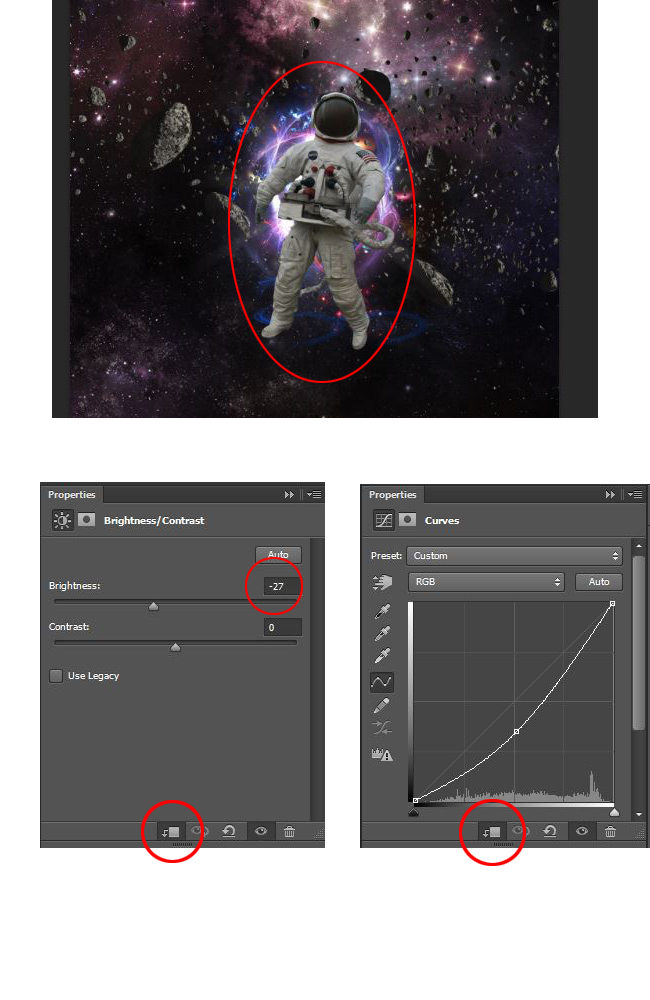
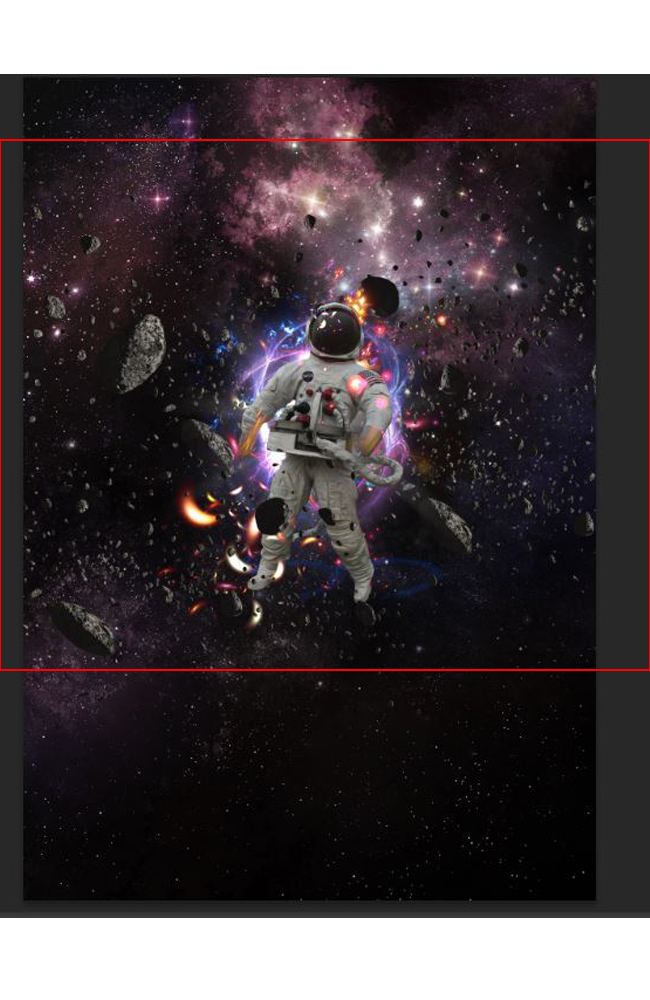
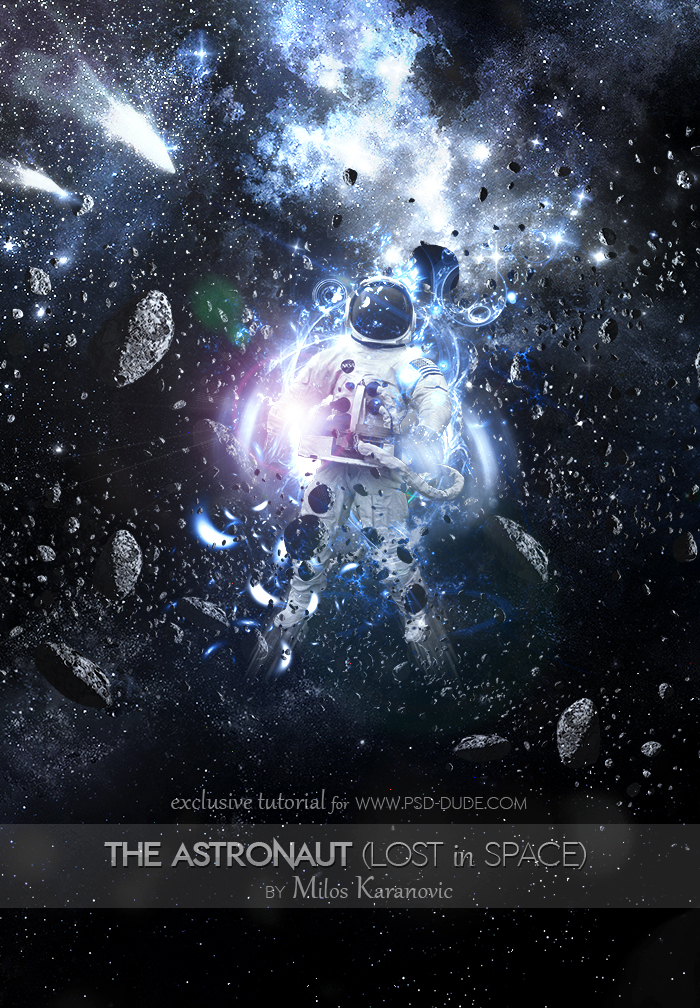
Add this Astronaut stock image and remove its background. The best wat to cutout the image is by using the Pen tool. Now go to Adjustments Layer > Curves and Adjustments Layer > Brightness/Contrast with clipping mask enabled.
Open again the Fractal Lights 4 pack and add the two images 4-2.png and 4-10.png in new layers; set the blend mode to Lighten. Open also this space texture and set blend mode to Lighten as shown in the picture below.
Open the Light Circles(4-11.png from the Fractal Lights 4) and set blend mode to Lighten.
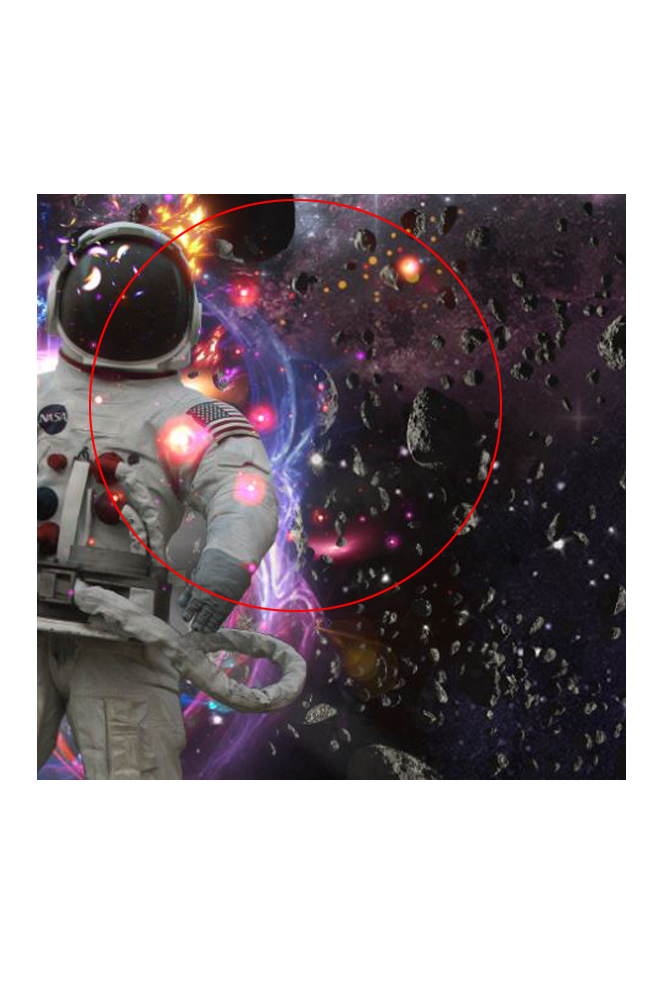
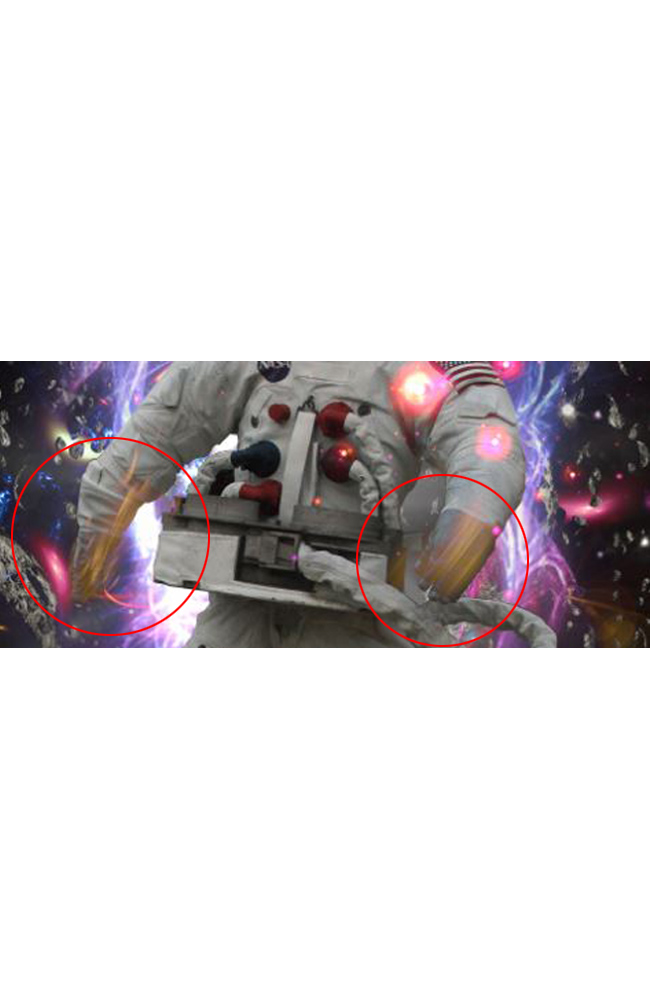
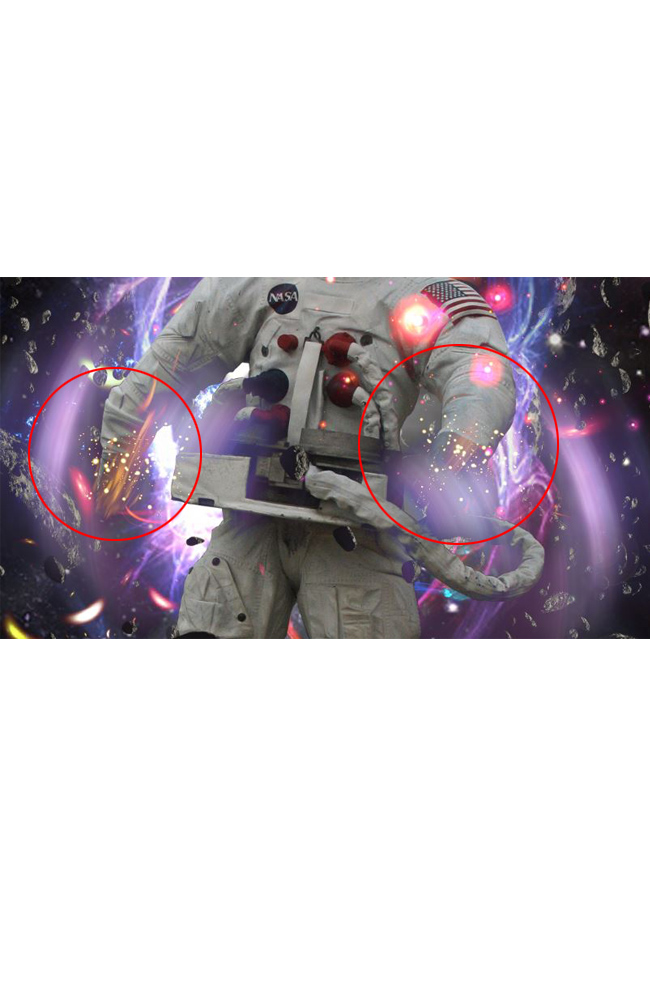
Now open a Light7 & Light8 from the GFX Light Pack and put the images above the hands of the astronaut and set the blend mode to Lighten.
Now again add the Asteroids and also add this Stars background with blend mode set to Lighten.
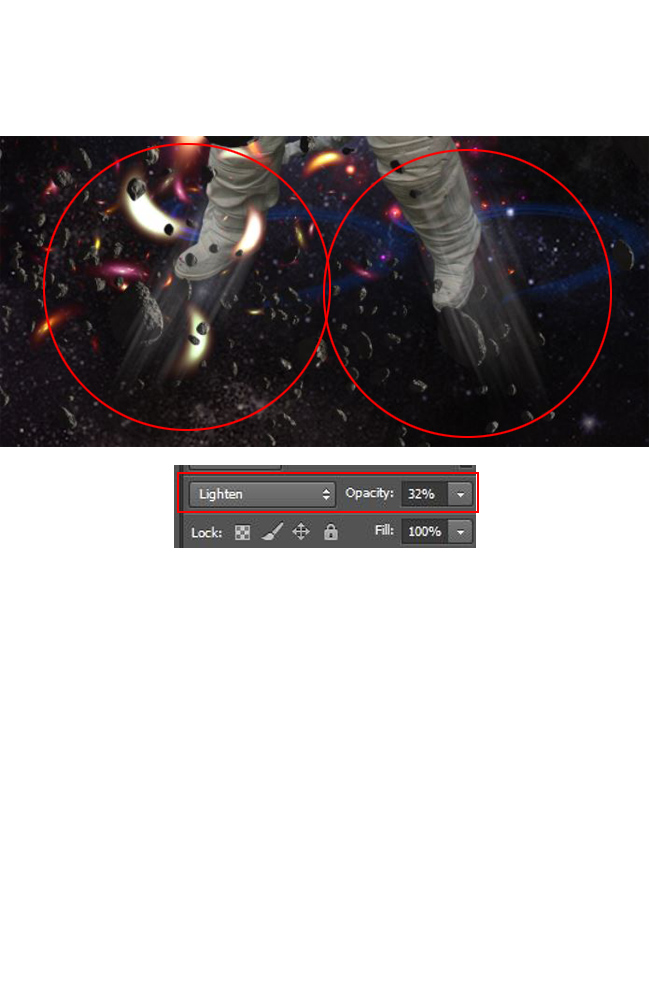
Open Light8 form GFX Light Pack and place it to left and right leg with blend mode set to Lighten and opacity 32%.
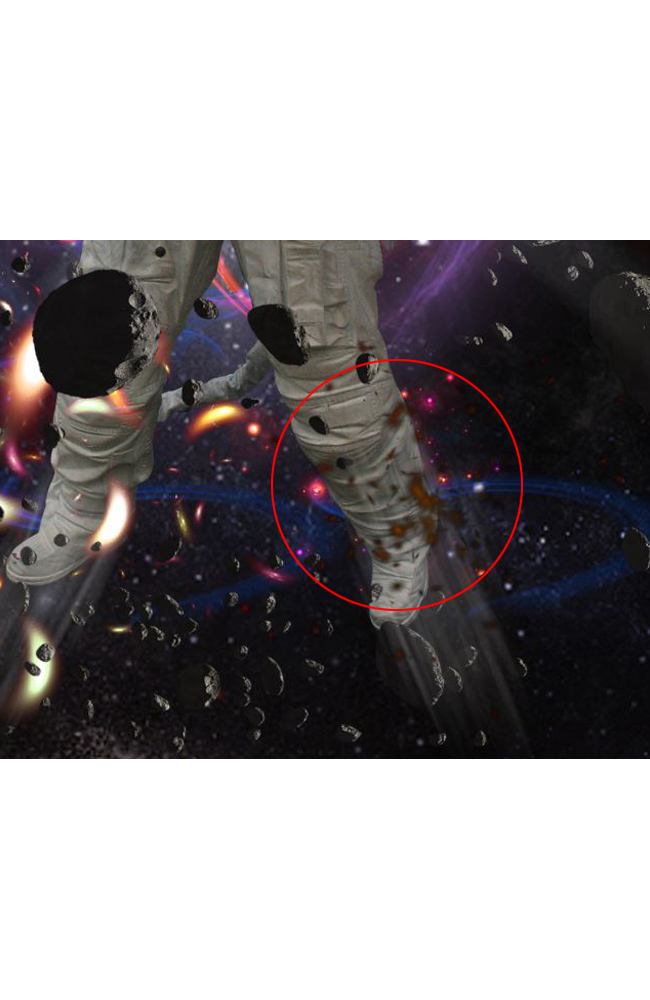
Open Particles and add them on the right leg of the astronaut like shown in the preview.
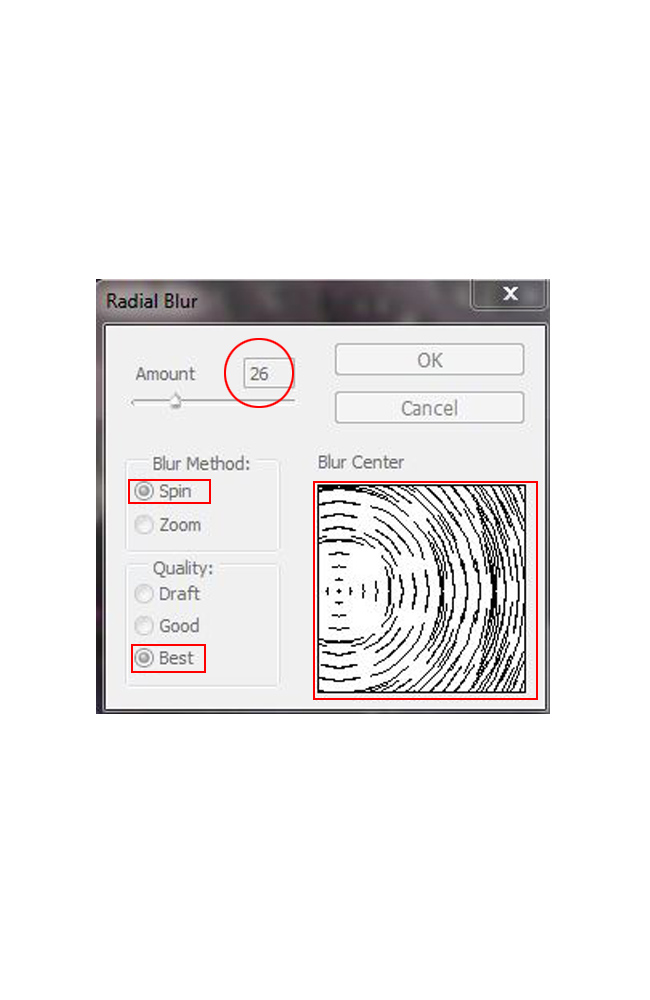
Now open Apophysis Light from the GFX Light Pack and go to Filter > Blur > Radial Blur and use these settings. Od course you have to set the blend mode to Lighten. Now use Eraser Tool and delete the edges.
Open Light9 from GFX Light Pack and set blend mode to Lighten.
Now add image 3-10.png from the Fractal Light 3 pack. And use transform selection by pressing CTRL+T and rotate to left, set blend mode to Lighten and opacity to 35%. Open another Fractal Light (3-9.png) and also change the blend mode from normal to Lighten.
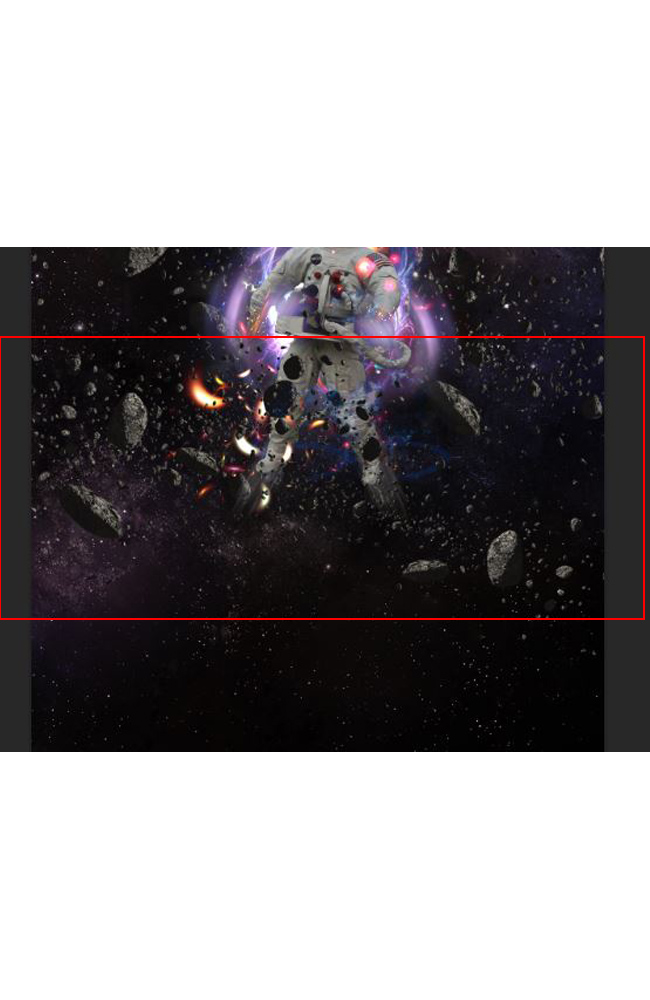
Now open again Asteroids stock image again and add them randomly to left and right side of the outer space scene.
I will now add another space lights; use the Fractal Light 3 pack and open the 3-11.png and 3-7.png stock images. As always set the layer blend mode to Lighten.
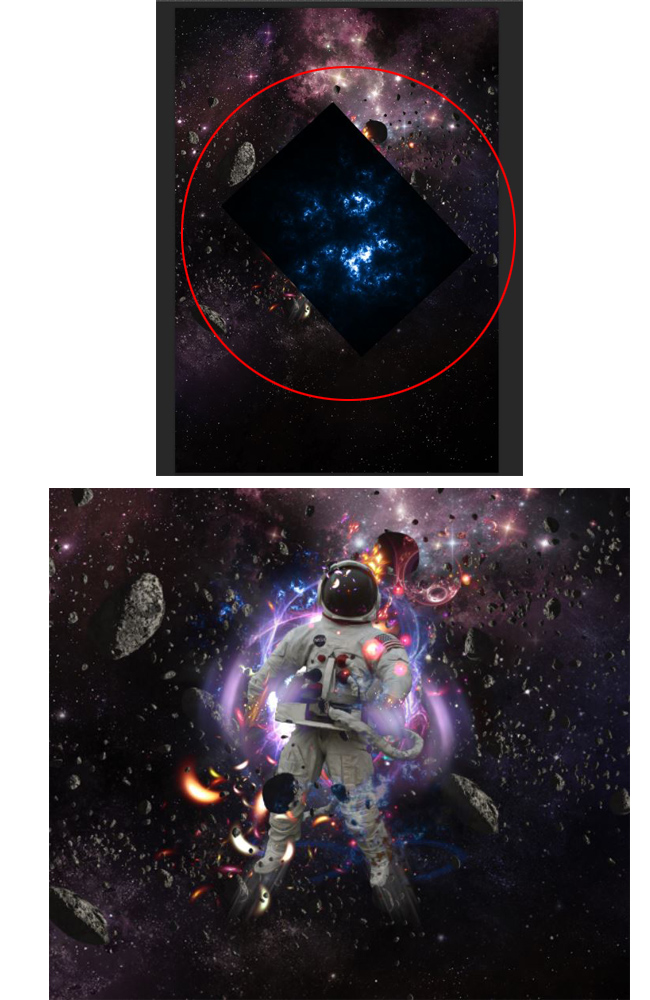
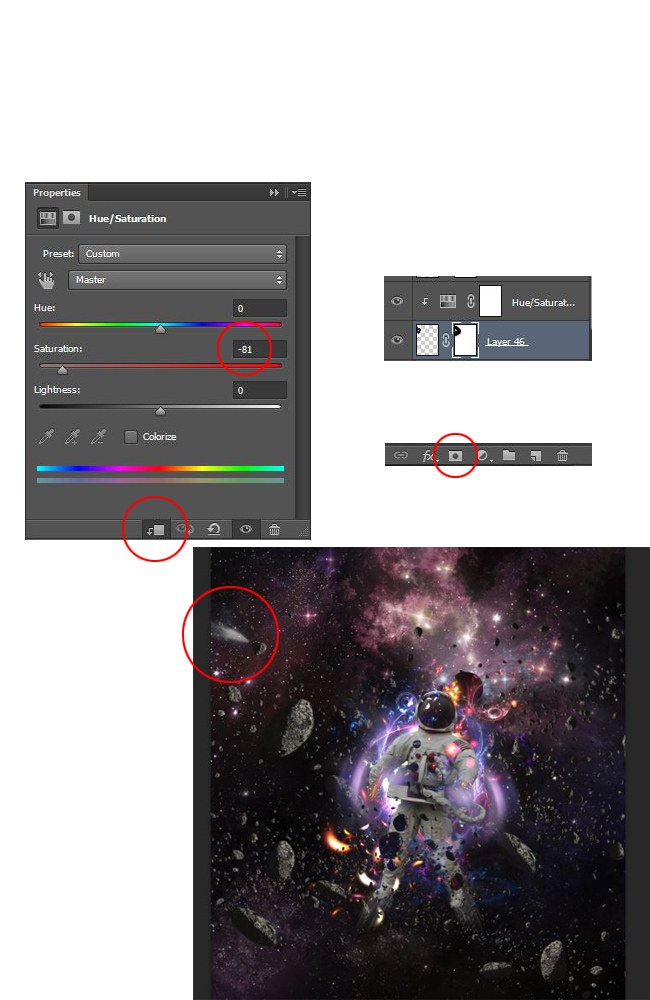
Open the Comet stock image from the star backgrounds pack. Create a layer mask and use brush tool with black color and delete unnecessary part. Of course the blend mode is set to Lighten. Go to Adjustments Layer > Hue/Saturation and set to -81 with clipping mask. The reason we add the adjustment as clipping mask is because we want the decreased saturation to affect only this layer.
Now open the agian the Stars Background and set blend mode to Hue to obtain blue color tone for all the elements added in the previous steps.
Open the Particles pack and set blend mode to Lighten.

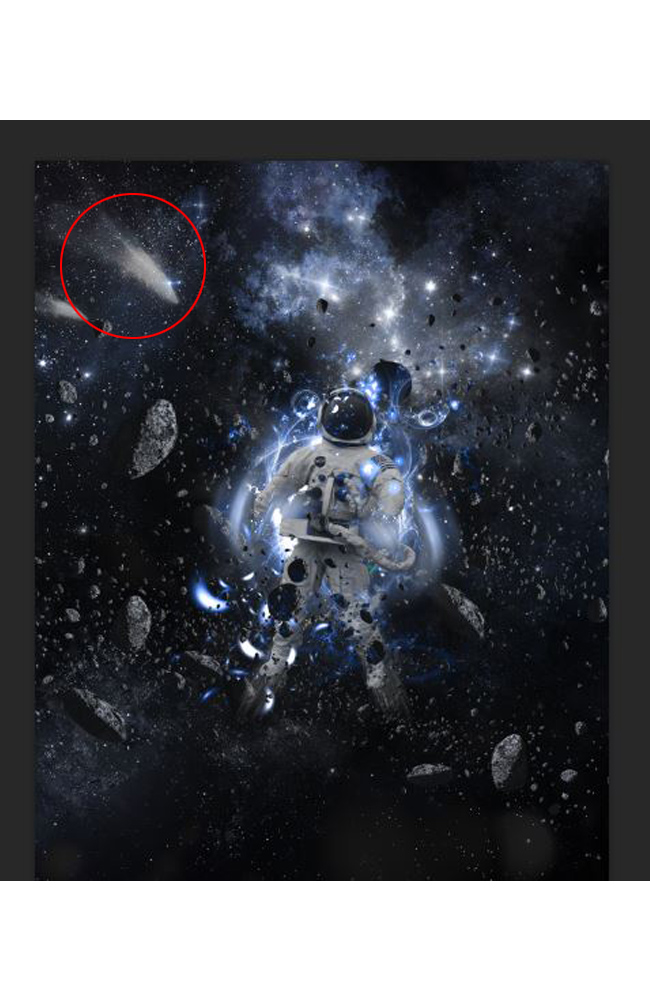
Now repeat the same procedure as described above, by adding a comet increased in size, as shown in the picture.
Open this Dust Texture and press CTRL+T to transform and move it to the right side to resize it. Blend mode set to Color Dodge with opacity 75%.

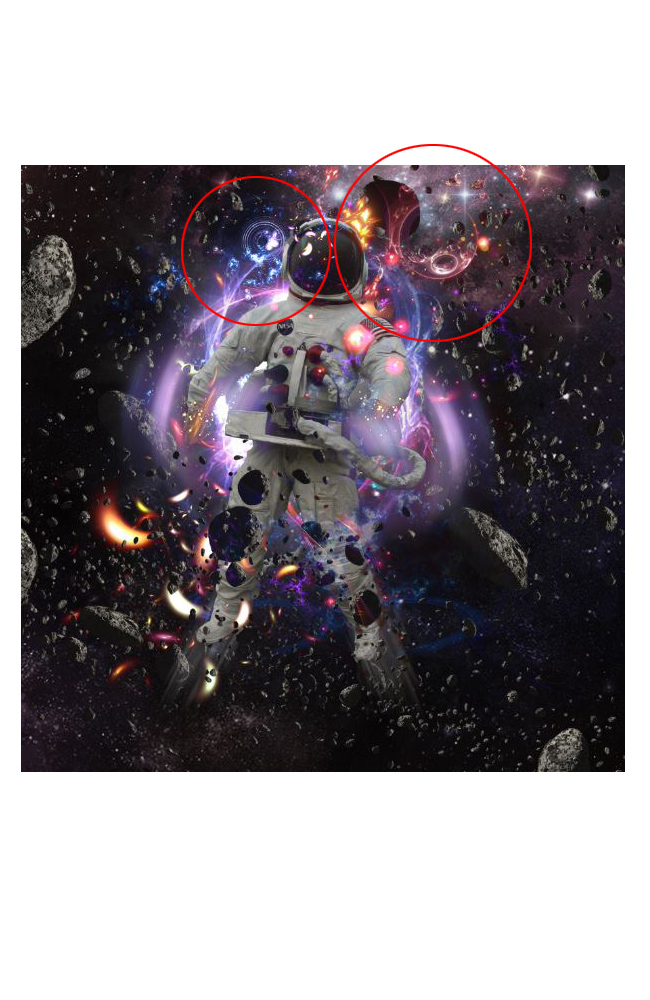
Open Texture.jpg from the GFX Light Pack and set blend mode to GFX Light Pack. Also open Optical Flare and drop a flare effect on the head of the astronaut with blend mode set to Lighten with opacity 40%.
Create a new layer, use the brush tool with color code "0e244d" and paint the Astronaut area like shown in the image. Blend mode set to Linear Dodge with opacity 40%.
Now finaly we can add some Adjustments. Go to Adjustments Layer > Curves; Go to Adjustments Layer > Levels and go to Adjustments Layer > Gradient Map and set blend mode to Soft Light with opacity 40%.

11 comment(s) for "Outer Space Astronaut Photoshop Manipulation Tutorial"
I have added the link for the Stars background.
The Fractal Light 4 is a pack with multiple backgrounds that you have to download from here:
http://greentunic.deviantart.com/art/Fractal-Pack-4-150661301
I know that this tutorial is a little bit complicated, with lots of images to blend. But you can easily replace any of the images that you don't find with other free stock from DA for example! reply
Too bad the link for GFX Light Pack doesn't work for me reply