

Create the Displacement Map PSD in Photoshop
Download this fabric folds texture on your computer. Open the image in a new PSD file and call this layer Fabric Folds. The size of your image and PSD file will be 3500x2500px. Now it is time to set the size of your canvas; you can either crop the image using the Crop Tool or resize the image by going to Image > Image Size.
Now you can make small adjustments to the folds images. For example you can resize (CTRL+T), move or rotate. Also you can use the Filter > Blur > Gaussian Blur to obtain a softer look. I will leave it as it is.
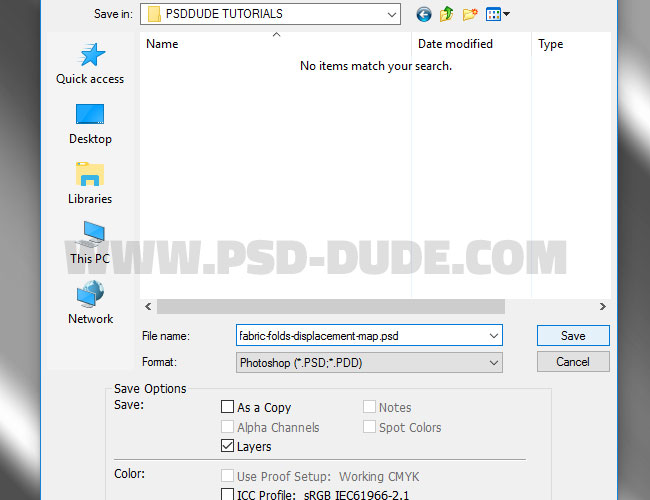
Save the PSD file and name it fabric-folds-displacement-map.psd.
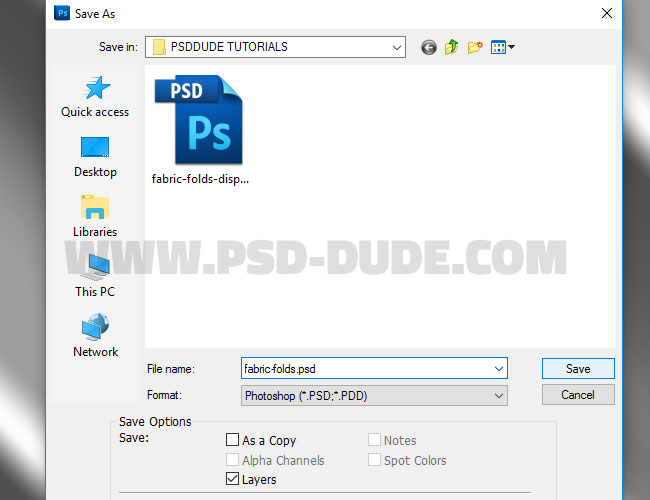
Again go to File menu and this time choose the Save as option. Call this new PSD file fabric-folds.psd. Hide the Fabric Folds layer for the moment.
Download this fabric texture and place it into your fabric-folds.psd PSD file, below the Fabric Folds layer. Call this layer Fabric Texture.

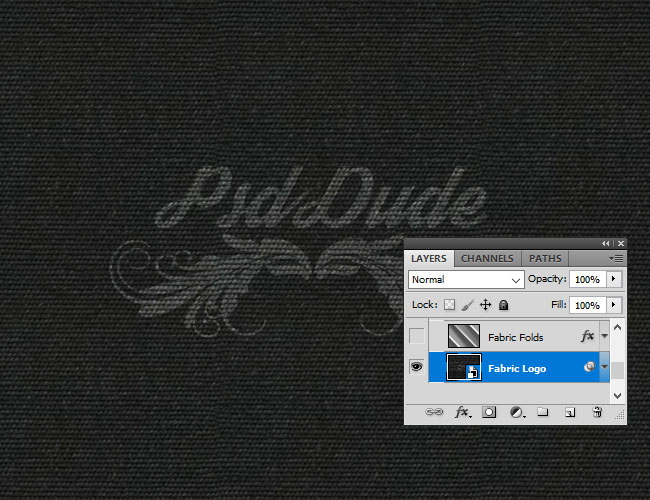
Now you can add your logo or a simple text in a new layer(s) above the Fabric Texture layer and below the hidden Fabric Folds layer. Using a logo you will see and understand the effect of the displacement map much better. I used white color for the logo with Overlay blend mode.
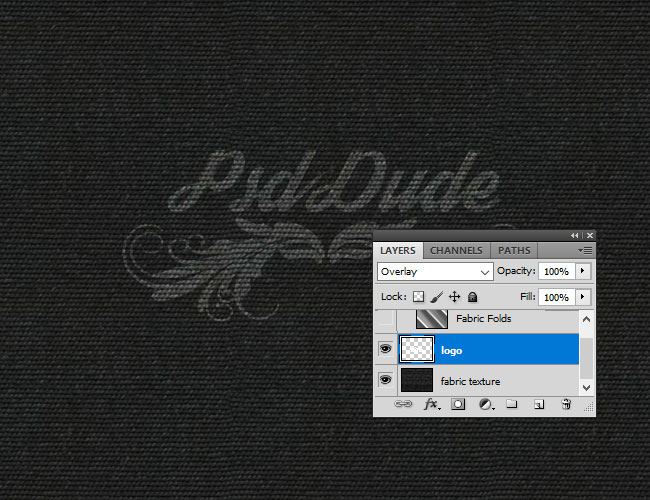
Select the Fabric Texture and the Logo layer and right click to convert into a smart object called Fabric Logo.
Add Displacement Map in Photoshop
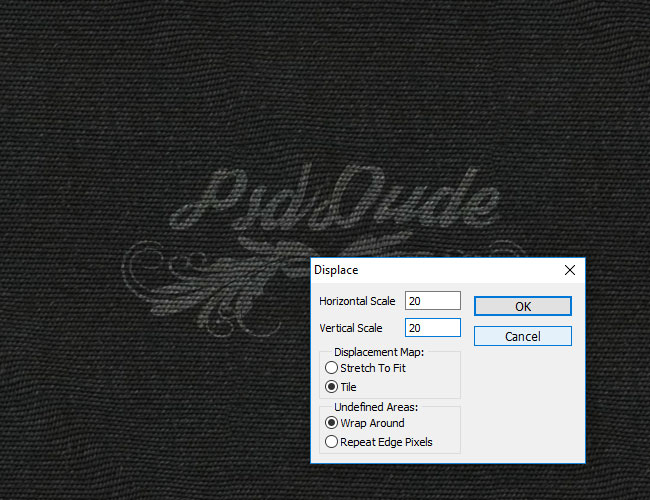
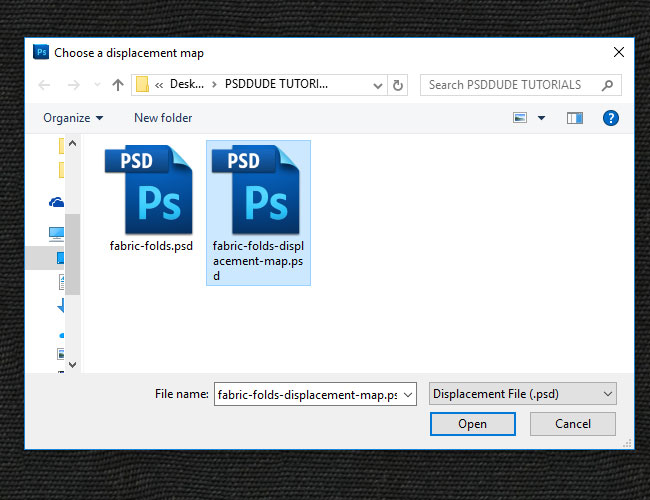
Go to Filter > Distort > Displace and choose the fabric-folds-displacement-map.psd as dosplacement map. Set the Horizontal scale and Vertical scale to 20, Tile, Wrap Around. Here you can find more tutorials on how to use the Displacement Map Filter in Photoshop .
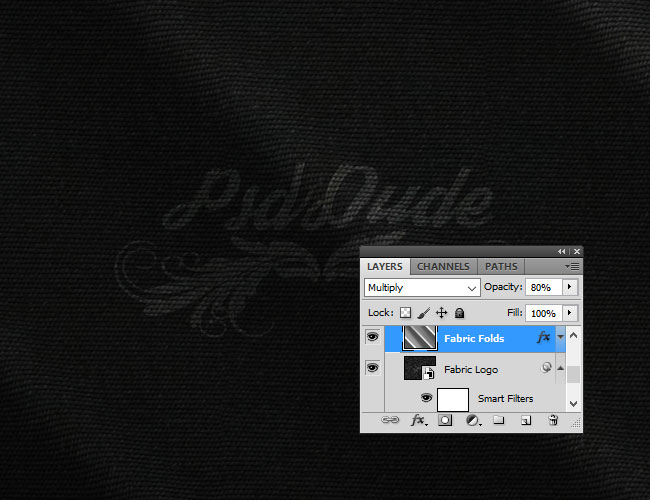
Now. make visible the Fabric Folds layer and set the blend mode to Multiply, 80% opacity level.
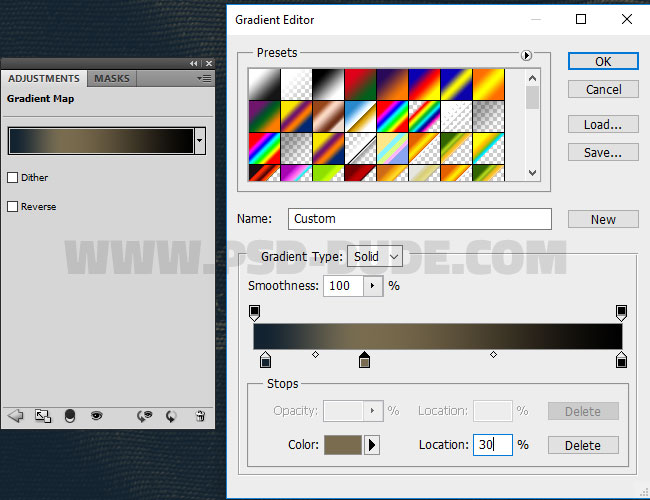
Add a Gradient Map adjustment layer with these colors: #132330(location 3%), #796c50(location 30%) and #000000(location 100%).
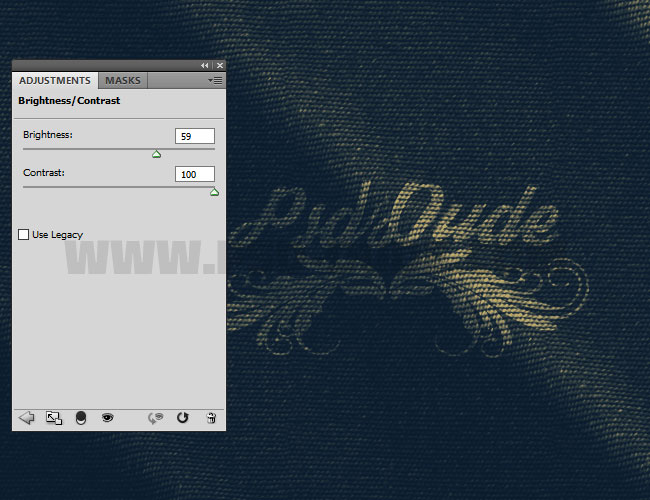
Add a Brightness/Contrast adjustment layer.
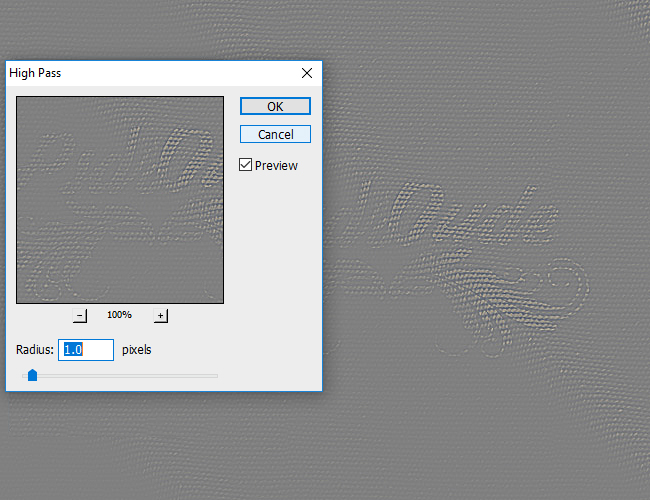
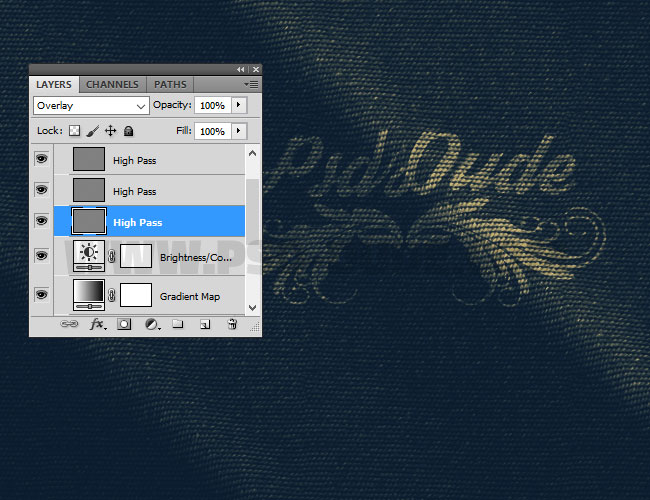
Press SHIFT+CTRL+ALT+E to make a new layer with all the visible layers merged. Call this layer High Pass. Go to Filter > Other > High Pass.
Set the blend mode of this layer to Overlay. If you want a more sharpen result you can duplicate this layer as many times as you want. So here is the final result
5 comment(s) for "Create Realistic Fabric Folds In Photoshop With Displacement Map"
Also don't forget to set the Fill to 0% opacity level for all three gradient layers. reply