Create Green Pea Photoshop Typography Effect

Create The Food Typography Background
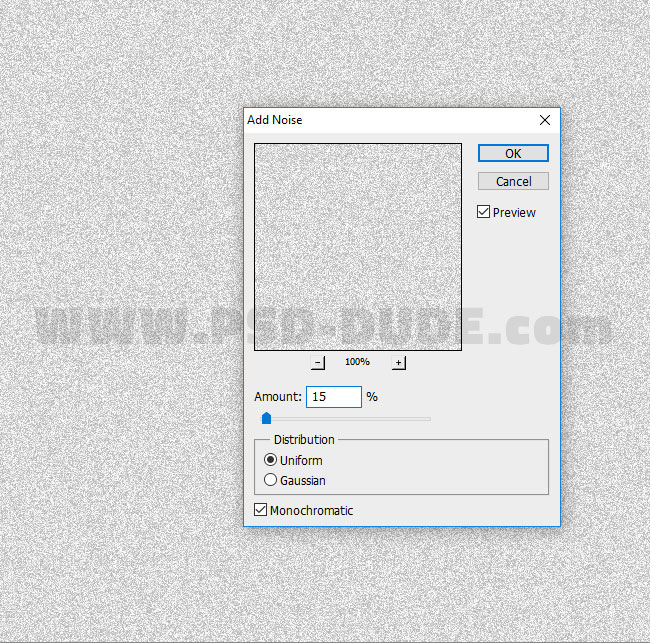
Create a new layer and call it Background. Fill the layer with this light gray color #dadada and go to Filter > Noise > Add Noise.
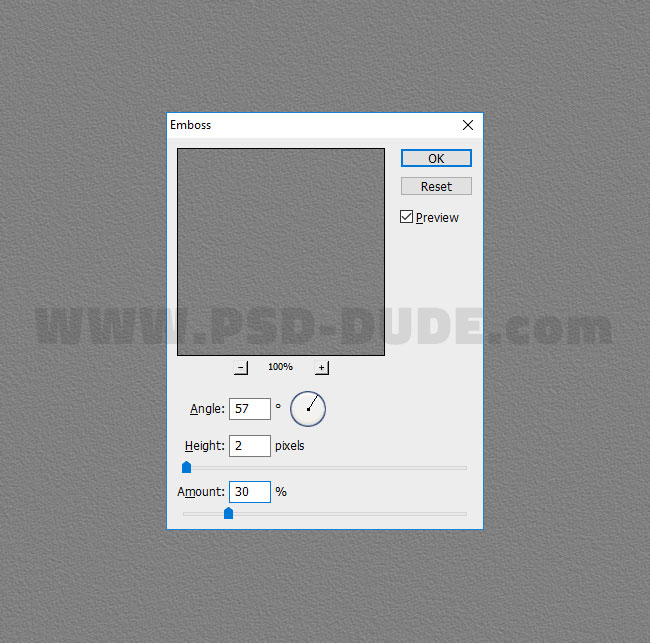
Go to Filter > Stylize > Emboss and make these settings: Angle 57, Height 2, Amount 30.
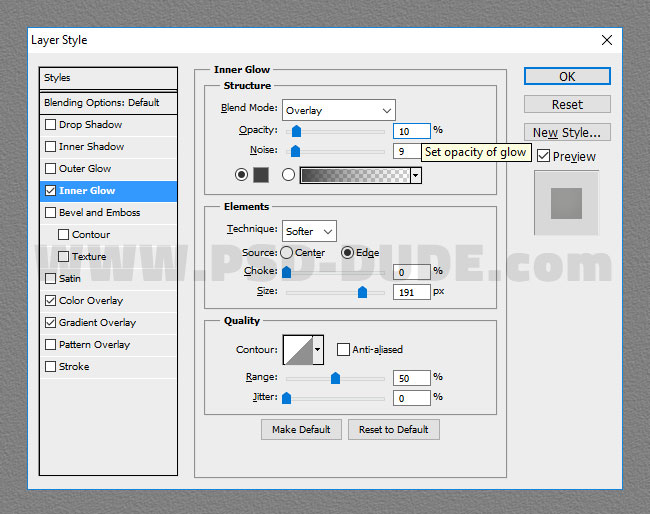
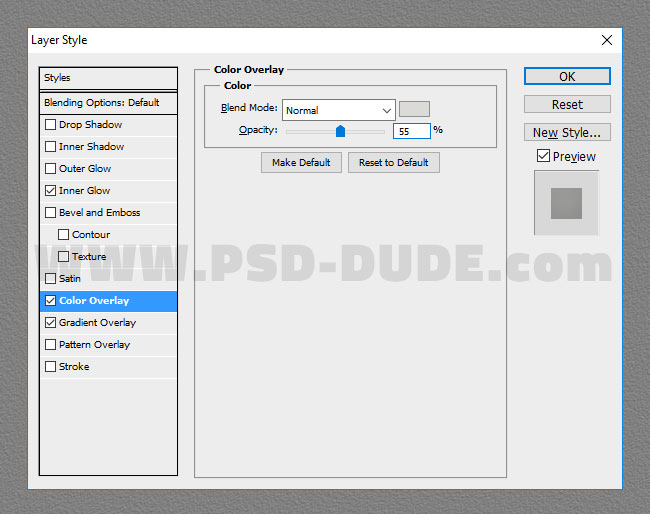
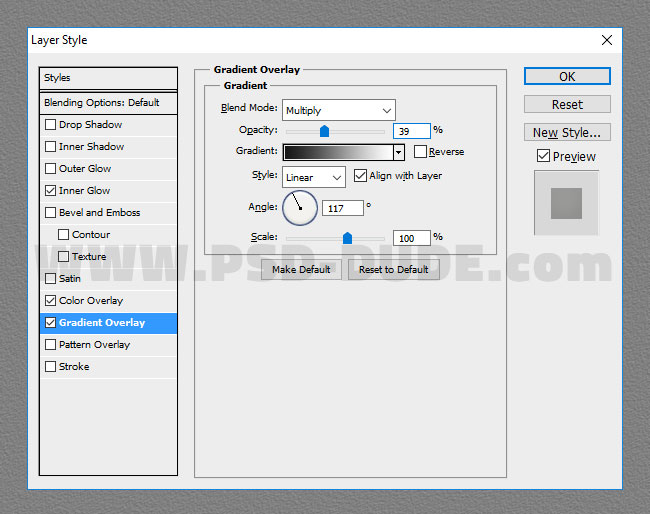
Add these layer styles to the Background layer: Inner Glow #414141, Color Overlay #dbdad8 and Gradient Overlay #000000 and #ffffff. If you want a different color background simply change the Color Overlay with any color you like.
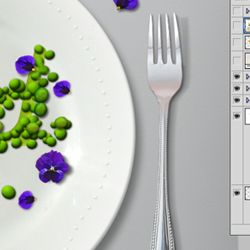
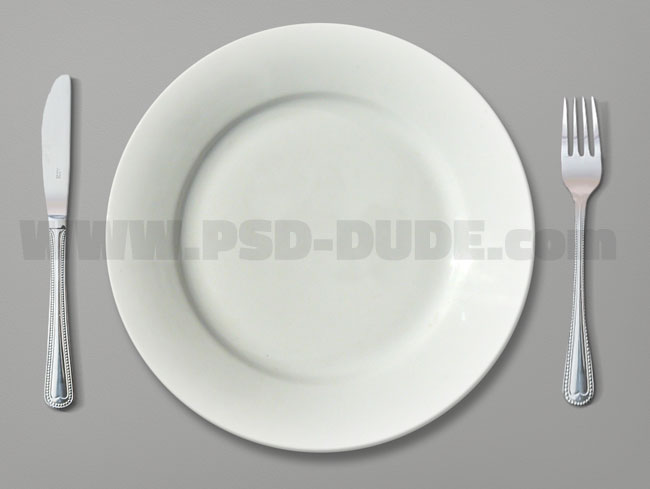
Create a new layer and place the "fork-knife-plate-psddude.png" PNG image. You will find the PNG cutout image in this pack along with other resources. You can of course search another cutlery image and plate stock image on these free stock image websites
I decided to decorate the plate using a floral vector shape and a hand made dotted border. Rasterize the flower vector before adding the dotted border otherwise you will get an error message. Learn how to create your own dotted brush in Photoshop from this quick tutorial.
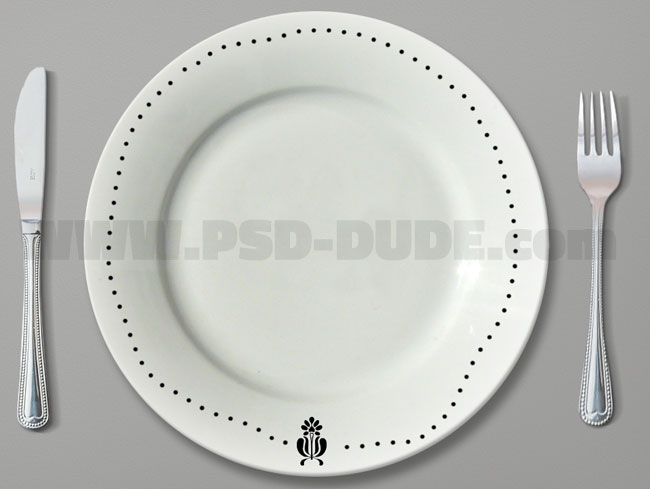
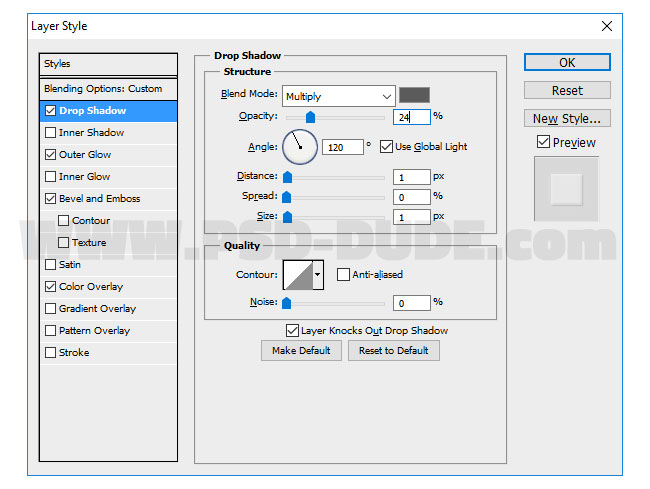
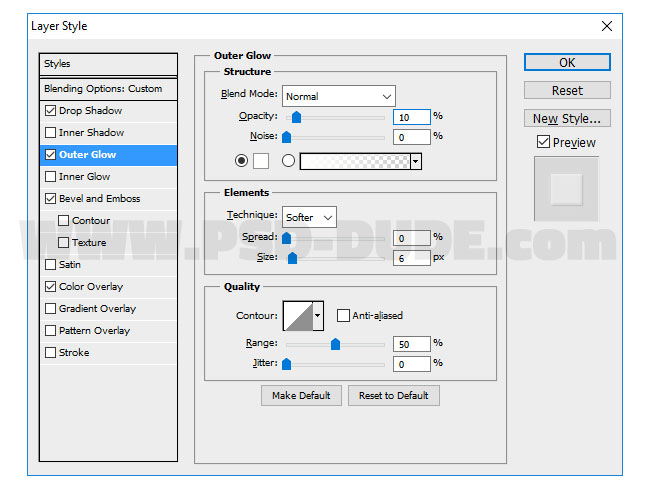
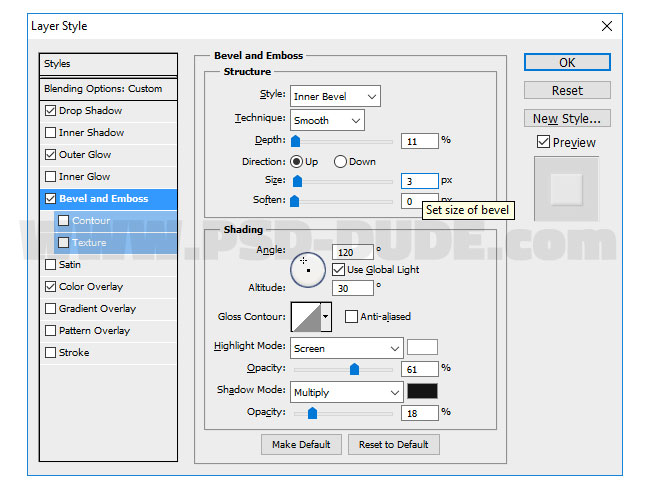
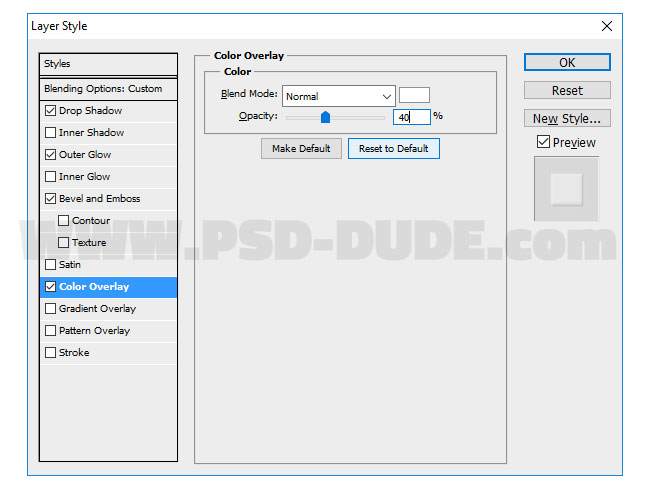
Use these layer styles for the decorative border layer. First make sure you have the Fill to 0% very important. Second add Drop Shadow (color #5b5b5b), Outer Glow, Bevel and Emboss, Color Overlay with these settings.
Also you can add a logo or a text like I did. I used the Olympic Branding free font and for the styles I used one of these cool letterpress styles for Photoshop. So you can choose either to engrave text or to emboss text it's up to you.

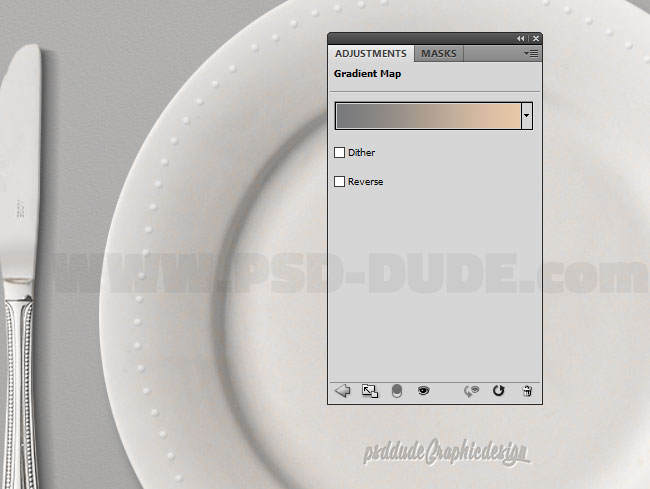
To blend all the elements together I will use a quick color blending technique. So go to Layer > New Adjustment Layer > Gradient Map to add a gradient map color effect. Set the blend mode to Hue 100% opacity level. The colors for the gradient are #78797b and #e7c8a9 but you can use other color tones.
Add The Text For The Typography
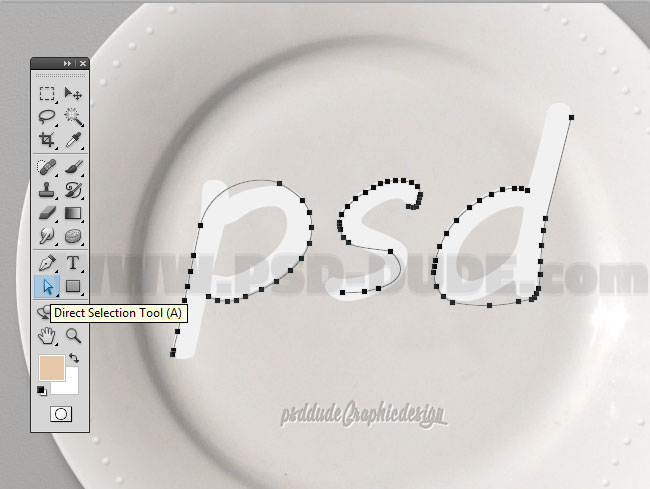
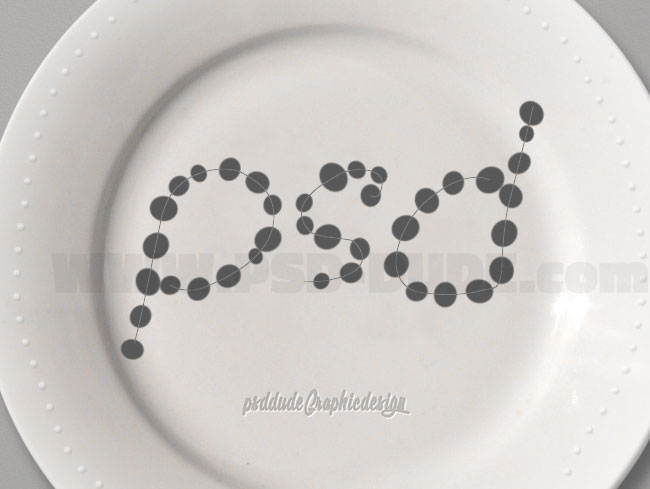
I used the MV Boli font type to write a text. Then I right click on the layer and choose Create Work Path. As you can see this is a closed path. To open a path in Photoshop, just click on one of the path segments with the Direct Selection Tool and then press the Delete key. If doing that it deletes the entire path you did not select the segment, so press CTRL+Z to undo and try again.
Add And Decorate The Plate, Fork and Knife
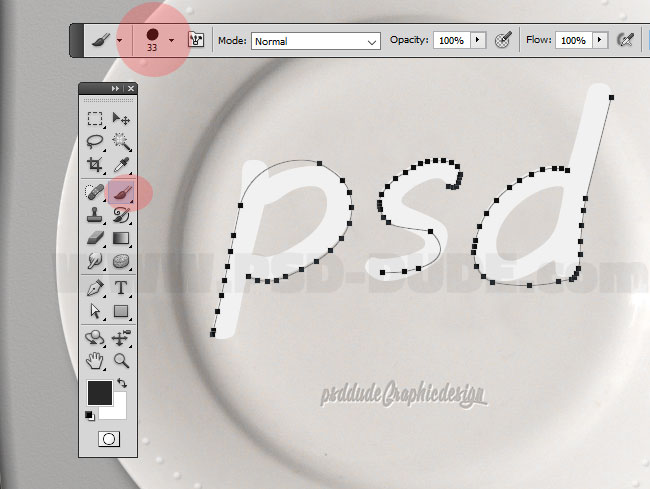
Create a new layer and call it Pea. Pick the Brush Tool and choose the pea brush that you will this pack along with other resources. Install the ABR file in Photoshop.
Quick Tip: Make Work Path and Stroke Path
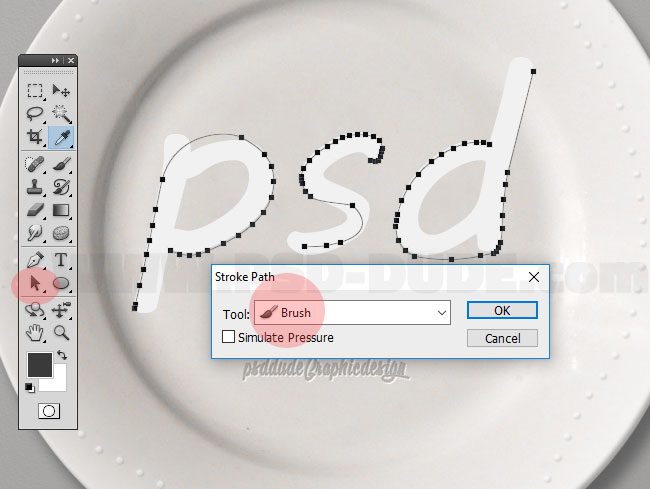
Pick the Path Selection Tool and right click on the path. Choose Stroke Path. Hide the text layer and also you can now delete the path. You can avoid these steps by simply using the Brush Tool and hand draw the letters.
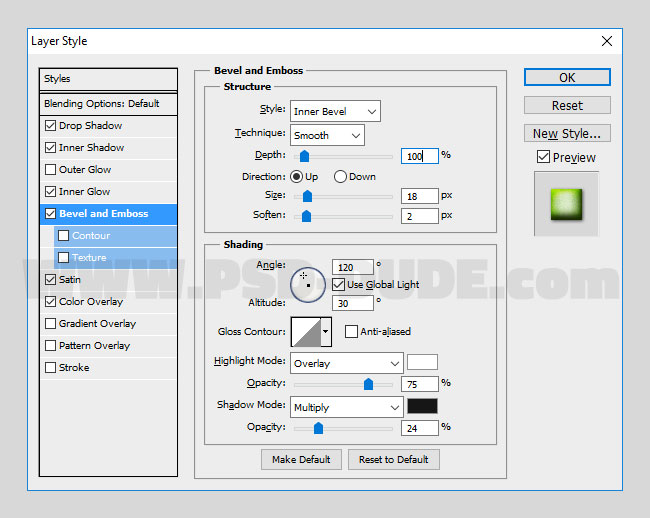
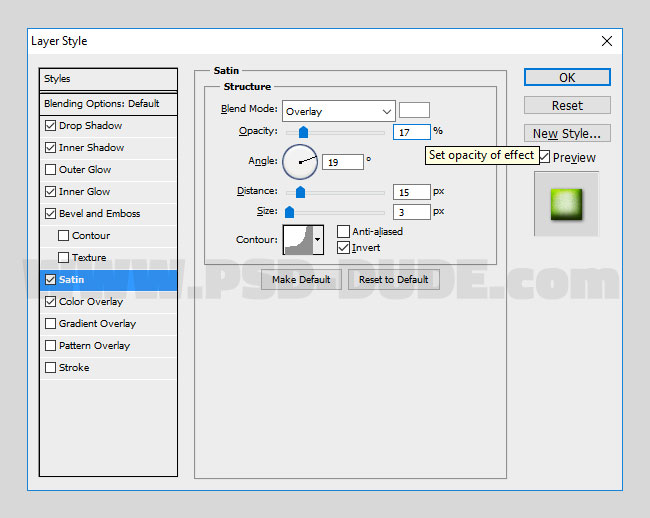
Green Pea Typography Layer Styles
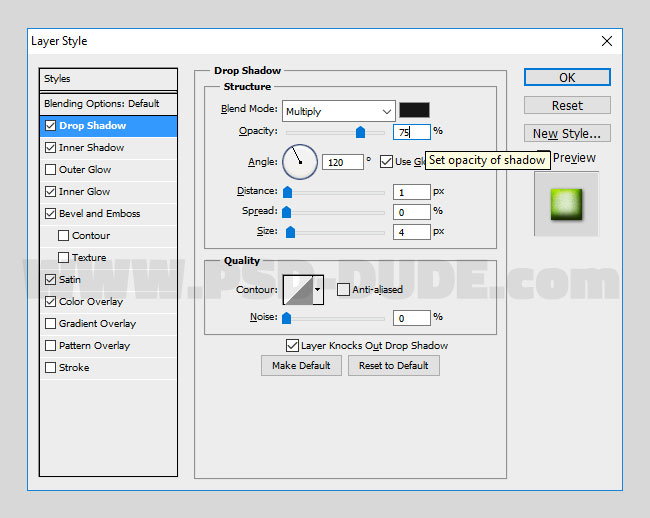
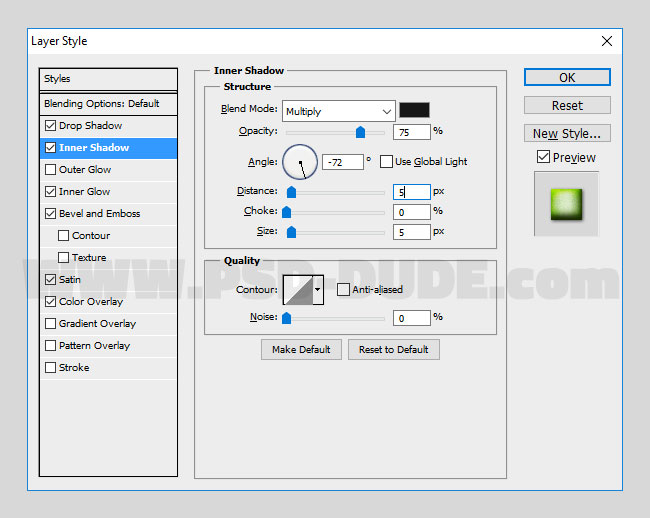
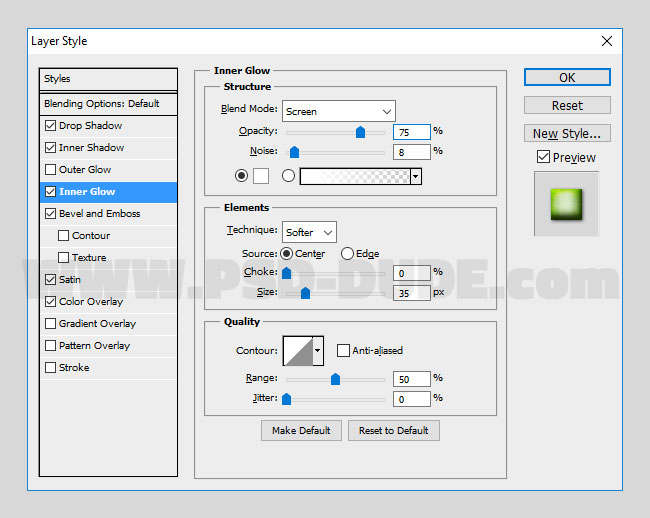
Add these layer styles to the Pea Layer to make the dots look like real peas. The layer styles and colors are:Drop Shadow (color #161616), Inner Shadow (color #161616), Inner Glow (color #ffffff), Bevel and Emboss (colors #ffffff and #161616), Color Overlay (color light green #58a003), Satin (color #ffffff).

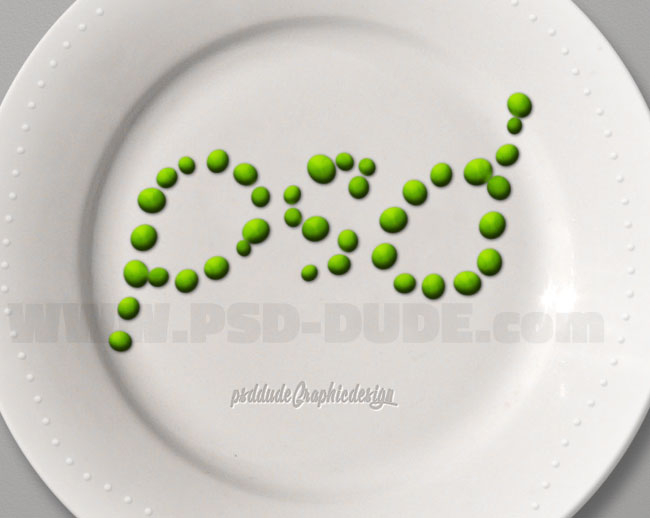
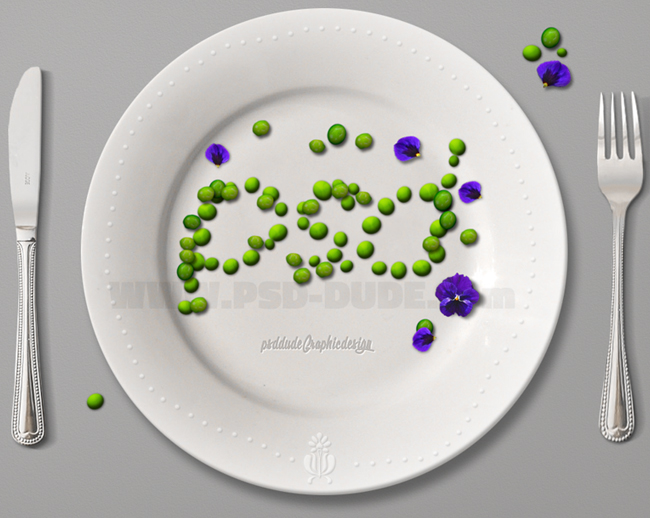
Your food typography pea text effect should now look something like this.
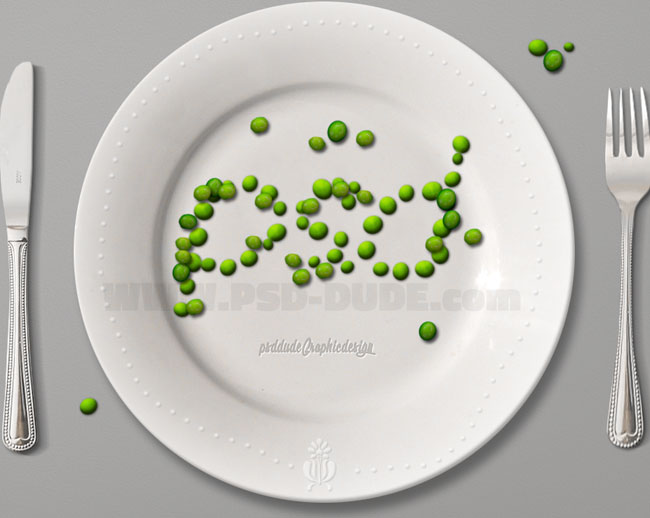
Create onother layers and use the "pea brush" to add more peas. For each layer you have to add the same layer styles. For that go to the Pea Layer, right click on the layer name and choose Copy Layer Style. Go to the other layers and right click again; this time choose Paste Layer Style.
Q:How can I paste the style of one layer to one or multiple layers?
A: You can copy the layer style of one layer to another layer simply by doing a right-click on the FX icon and choosing Copy Layer Style from the menu. Then select the target layer and right-click again then choose Paste Layer Style. You can apply layer styles to multiple layers; simply select the layers, right-click and choose Paste Layer Style and the style will be applied to all the layers.
Food Typography Decoration Final Touches
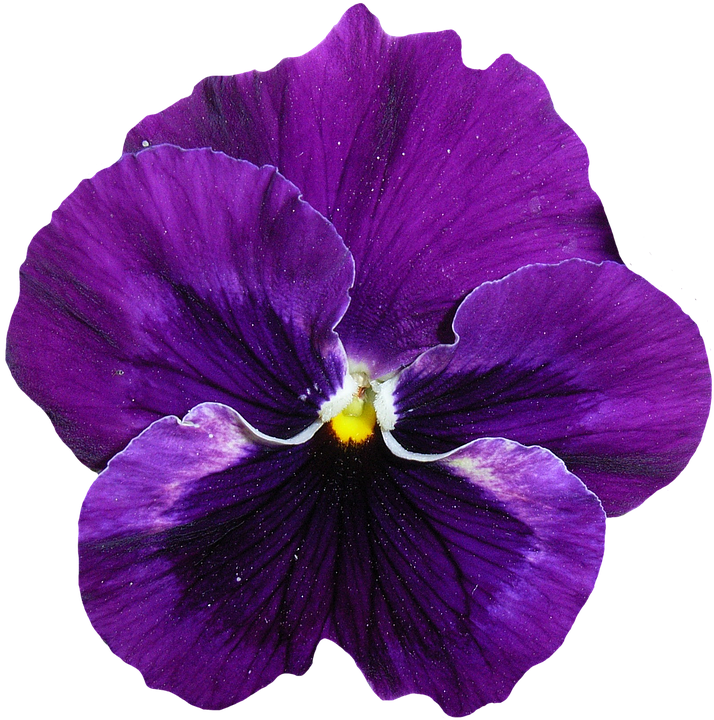
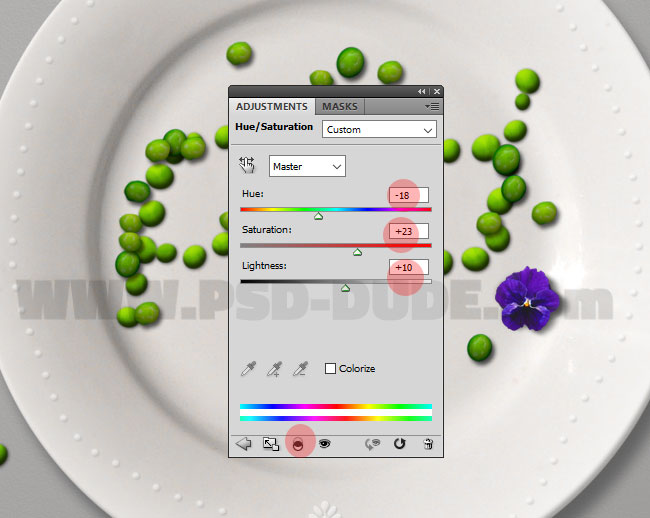
For the final touches I added this pansy flower on the plate. By the way the pansy are told to be edible flower but read more info before eating :) For the color correction I added a Hue/Saturation adjustment just for the Pansy Flower layer using a clipping mask.
Select the Hue/Saturation adjustment and the Pansy Flower layer and right-click to Merge Layers. Use one of the Photoshop selection tools that you like best to cut some petals. Add petals in different areas to decorate the plate; act like you are a vegan gourmet chef using only fresh bio organic ingredients! And don't forget to add a Drop Shadow style for all the flower layers to look realistic.
To sharpen the image use the High Pass Filter. You can learn here how to Sharpen Images With High Pass Filter In Photoshop it's quite easy and you will see the difference. So here is the final result for the peas and pansy flower food typography made in Photoshop.
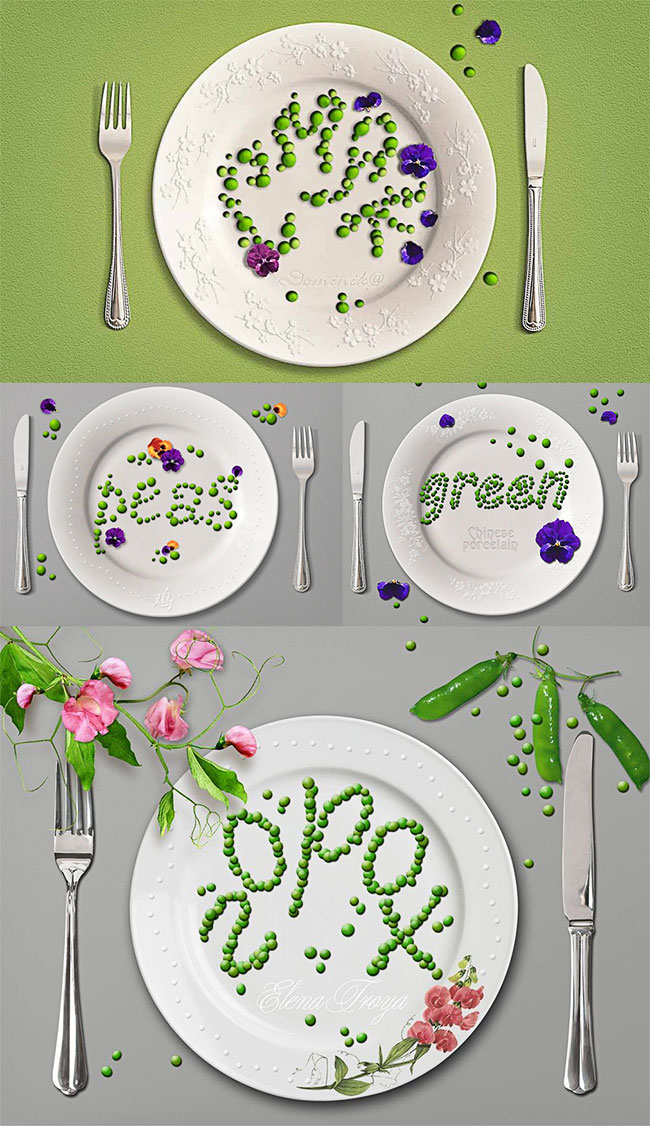
Beautiful Fan-Art Images Collage
2 comment(s) for "Create a Green Pea Text Effect in Photoshop"