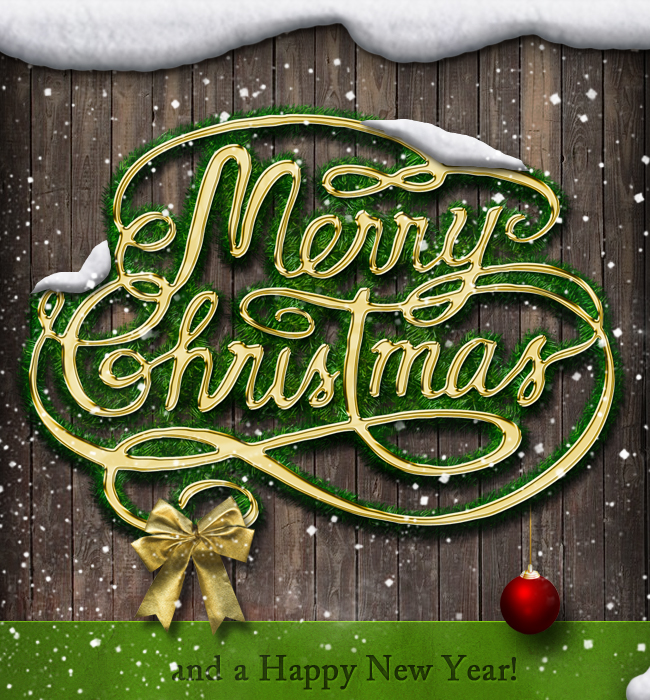
Let's start with a simple wood background. You can choose one of these wood textures or you can use the exact image that I used link . I also added a Hue/Saturation adjustment to desaturate the image a little. And also you can adjust the Brightness/Contrast depending on your image.
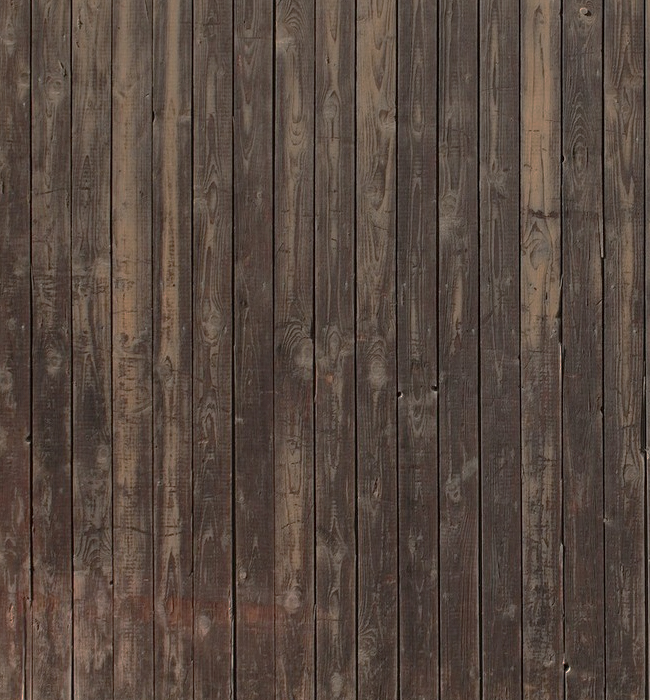
Add a Inner Glow layer style to create a soft vignette.

In a new PSD file I have added this Merry Christmas vector shape; you can download the CSH file from here here

For the text effect I used my Christmas Styles creation kit that you can get from graphicriver. If you purchase this item I would really appreciate your support for my work.
If you want a freebie solution, add a golden layer style to the text and create a fir tree border.

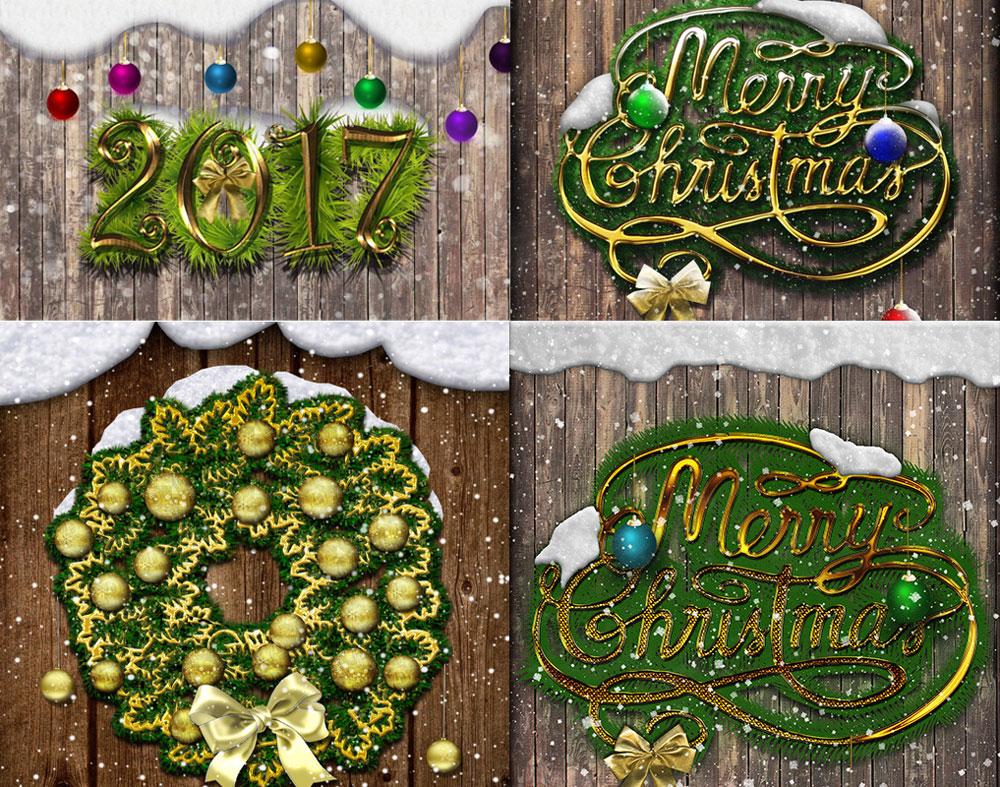
Download the Christmas Styles creation kit and play the "christmas fir 1" action.

Select the "effect 1" action and play it in the same PSD file where you played the action from the previous step. Here is the result.


Select the "christmas tree by psddude" and the "xmas effect 1" layers and copy them in the original PSD file the one with the wooden background.

Download this golden bow PNG and add it as Christmas decoration on the text in any place you want. Add a Drop Shadow layer style for a realistic look.

Let's create some snow effect. Draw some shapes like shown in the image. You can use the Lasso Tool to make the selection and fill it with white color.

Above this layer add in a new layer this snow texture. Right click on the Snow Texture Layer and choose Create Clipping Mask. Here you have a great collection of free snow and ice textures

Select the Snow Texture Layer and the Snow Shape Layer and convert them into a smart object. Add these layer styles to the smart object.


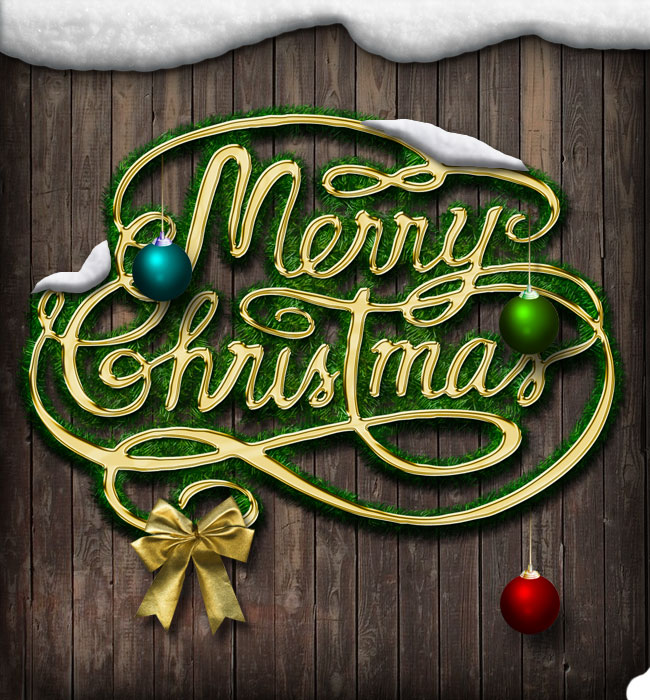
If you want you can add other decorations like this Christmas ball for example. Remove the background and add these layer styles.


Place mutiple Christmas balls. You can easily change the color using a Hue/Saturation adjustment.
How to Create Falling Snow Effect in Photoshop
If you want to add falling snow effect you can add the falling snow texture and set the blend mode to Screen. You can use these textures snowfall 1 and snowfall 2 with Screen blend mode. Also you can download this snow brushes and add snow using the Brush Tool and color #ffffff.
Here are some more snowfall textures that you can use with Screen blend mode.
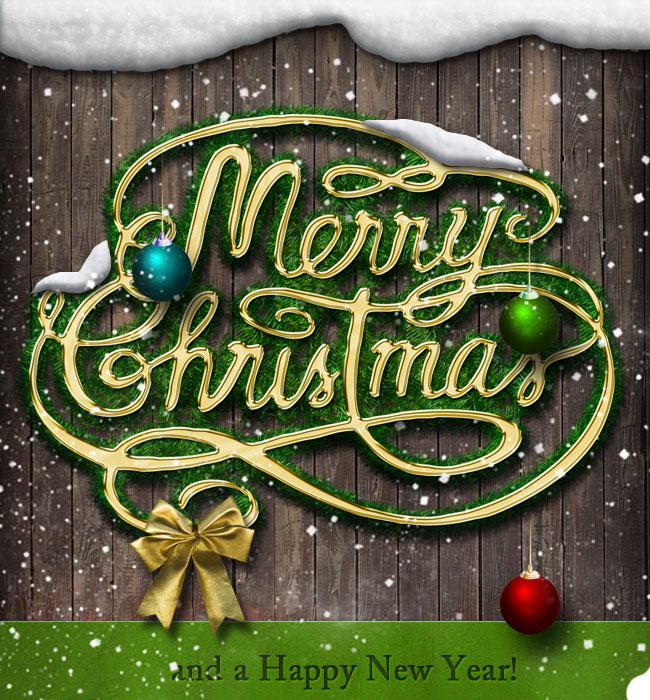
So here is the final result for the Christmas and New Year Greeting card. You can use these actions to create personalized Christmas and New Year greeting cards, wallpapers, header images, etc .
Beautiful Fan-Art Images Collage
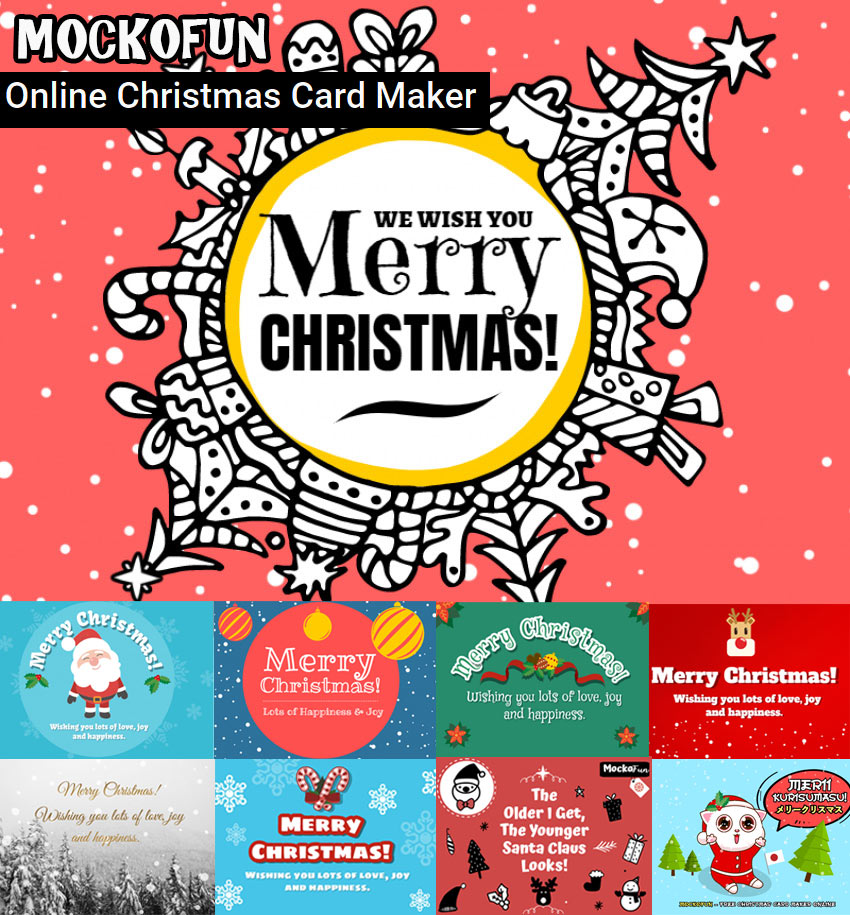
Online Christmas Card Maker
Did you know you can use online tools like MockoFun to make Christmas cards? Combine Christmas vector shapes with text and create some amazing Christmas cards. MockoFun provides pre-made templates for making Christmas cards online in just a few minutes.
Check out this awesome list of over 50 Christmas fonts that you can use online or download for free to use in Photoshop. Combine Christmas fonts with text symbols like a star symbol for example.
Check out this tutorial on how to use the online Christmas Card Maker and all the awesome features that MockoFun has to offer.
7 comment(s) for "Christmas and New Year Greeting Card Photoshop Tutorial"
I enjoyed the tutorial and here I leave my result. Thank you very much for sharing.
photo manipulation carnival, you help me with tutorial.please reply
https://www.psd-dude.com/tutorials/create-a-carnival-party-flyer-in-photoshop.aspx reply