Step 1 - Find a Nice Font
Write "ICE AGE" with Bauhaus 93 , regular, 72 pt , sharp�the color is not important because we are going to change it.

Step 2 - Change the Text
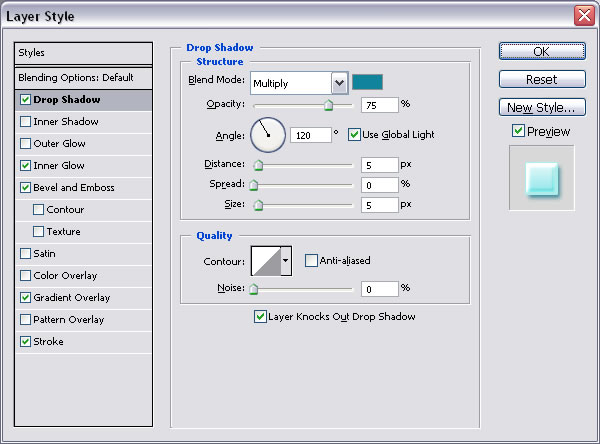
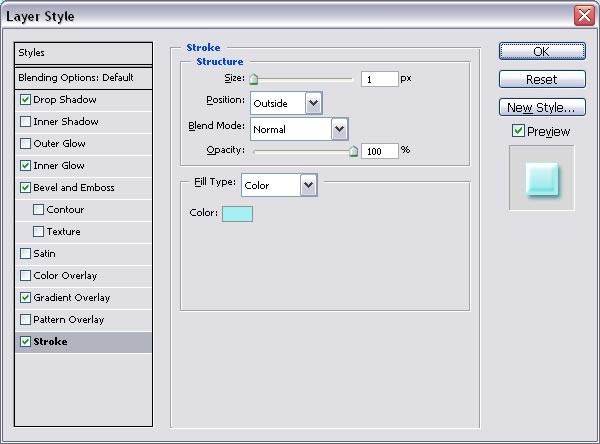
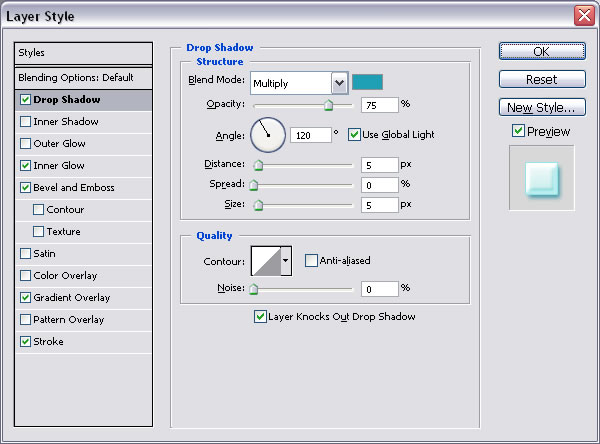
Go to Blending options of Ice Age layer and do the following settings:
The shadow color is # 10849d. It is important to know that if you are using another palette of colors you must adjust all the colors in this tutorial for a nice result(the stroke color, the shadow color, etc)
Drop shadow effect gives the text depth.
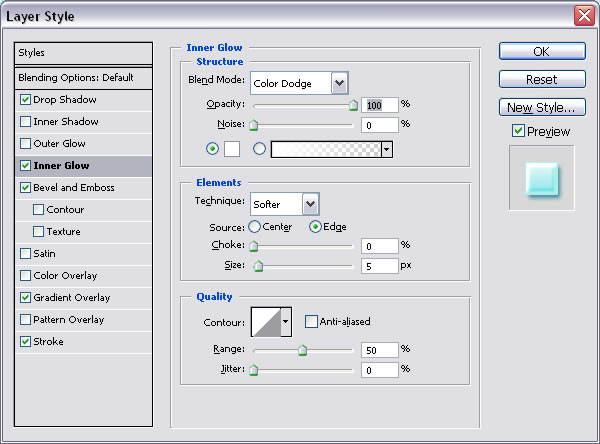
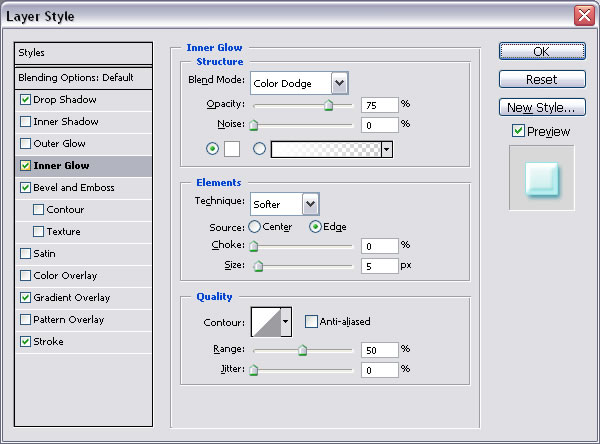
Inner Glow, use white color, color dodge and 100% opacity.
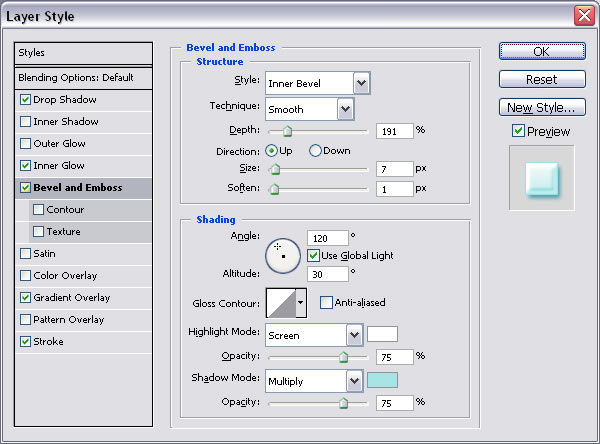
Bevel and Emboss - this gives a 3d look to the text. Use Highlight Mode Color white and Shadow Mode Color # 95e4e3

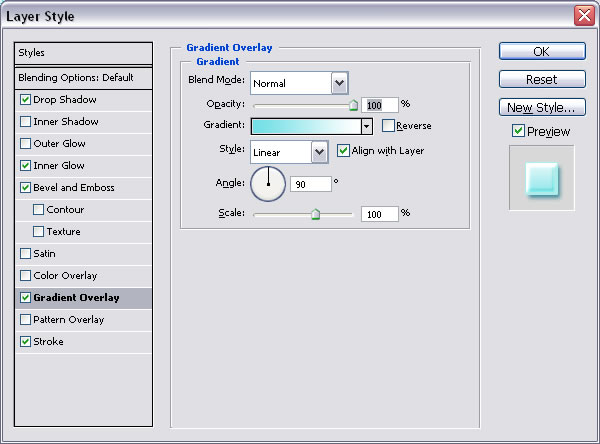
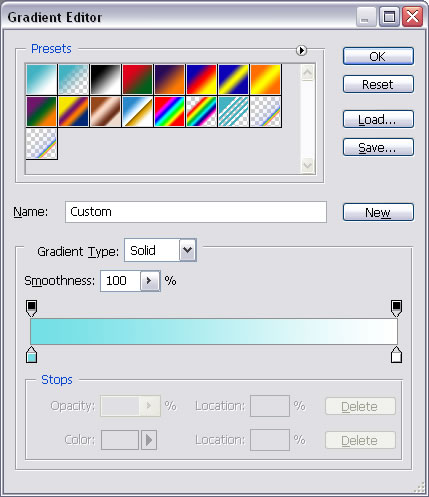
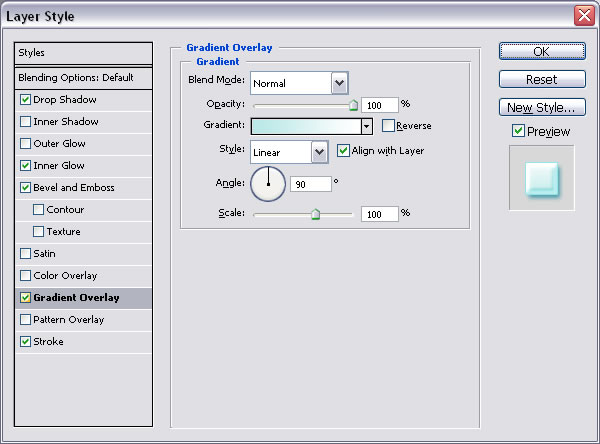
Gradient Overlay - colors of the gradient # 72dfe6 and white.
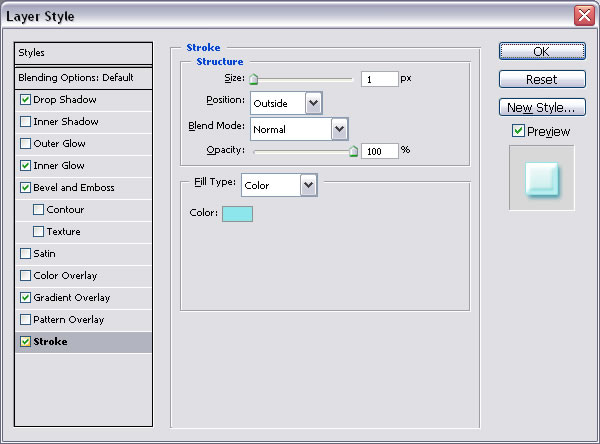
Stroke - color # a3f1f2.
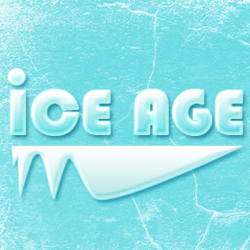
This is the result so far!

Step 3 - Put the dot on the "I"
Draw a circle with the Ellipse Tool and do the same settings as the one presented above.
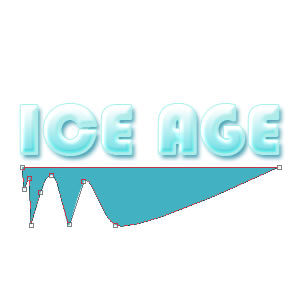
Step 4 - Adding ice under the text
With the Pen Tool draw a shape like in the next photo. After that we will do almost the exact settings that we did for the text.
So go to Blending Options and do the following settings:
Color # 1f9fb6
Color white and #a6e4e7
Gradient color #bae8e7 and white.
Color # 8ce6ec
Step 5 - The final Touch
Draw a rectangle with the Rectangle Tool, color #a4e9ee and place it beneath Ice Age Layer.
Now create a new layer on top of Rectangle Layer and copy this texture
and call it Texture. Set the blending mode of the Texture Layer to Overlay 70% and you are done.
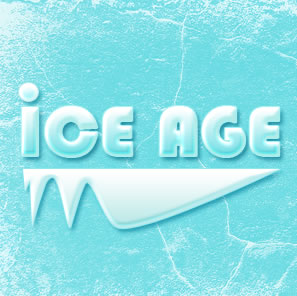
This is my final result!
5 comment(s) for "Interesting Ice Text Effect"
Keep up the good work.
Regards. reply