
In this quick tutorial we will create an engraved burnt wood effect in Photoshop. You can use any type of layer, text shape and raster. For this tutorial I will use a combination of text and shapes, an insignia badge that you can download it for free here. The badge can be edited and customize with your own text and shapes.
To start you have to choose a nice looking wood texture ; I will pick a vintage rustic wood that you can download from here.
Let's add some adjustment layers to make the wood more vintage and old looking. First add a Brightness/Contrast adjustment and second add a Hue/Saturation adjustment to decrease the saturation level.
Time to add your logo, badge, insignia, etc. I will use a retro insignia that I made; you can download the retro insignia badge PSD for free. It is fully layered editable insignia badge that you can customize.
You can also choose one of these amazing premium retro badge insignias PSD files and customize them with your own text, logo, etc. These premium files come fully layered, fully editable, with vector shapes as PSD files.
Add the insignia in a new layer above the Wood texture layer. I have converted all the badge layers in a smart object ; it will be easier to edit.
As you can see the badge and the texture have different perspective. The insignia has a fron view and the wood texture is inclined. For that we'll use the Edit>Transform>Distort to change the perspective for the Insignia layer.
Now all we have to do is to add the following layer styles to create the engrave wood effect and also the burnt wood effect.
So here is the final result for the engraved burnt wood logo made in Photoshop using basic layer styles. You can easily replace the wood texture with any other texture like stone, leather, etc.
Premium Wood Photoshop Effects
If you want to try different wood Photoshop effects like painted wood or carved wood you can try these actions. You will obtain quick results, easy to edit and customize.
Painted Wood Photoshop Style Actions
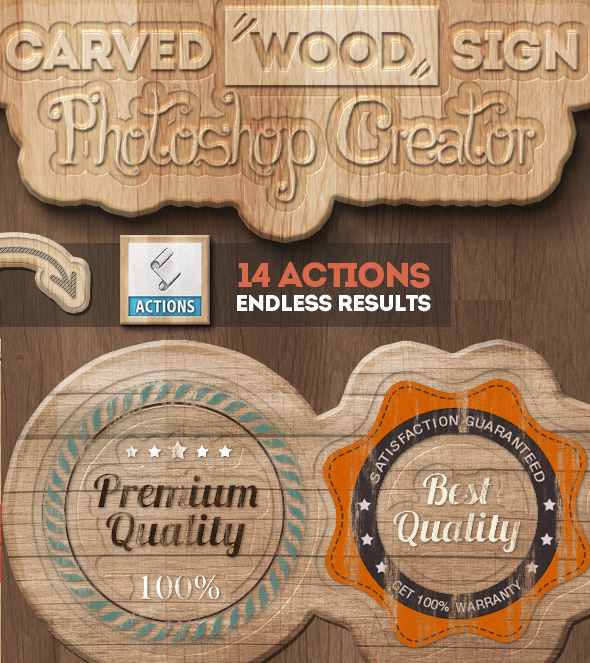
Carved Wood Sign Photoshop Creator
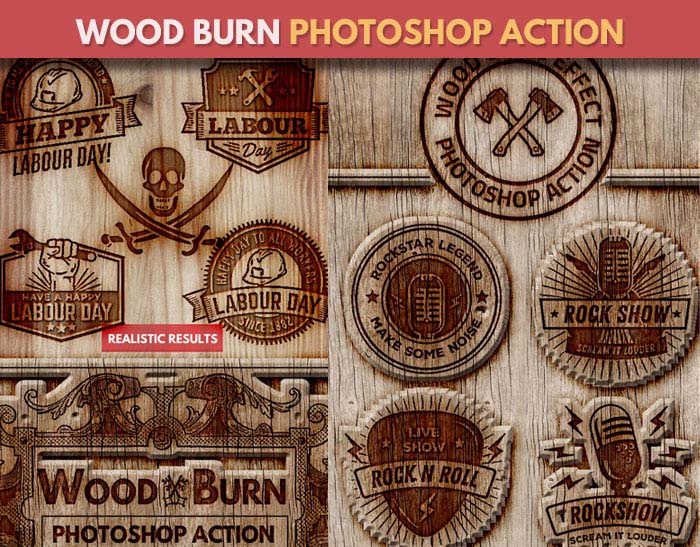
Wood Burn Effect Photoshop Action
13 comment(s) for "Create an Engraved Wood Logo in Photoshop"
I noticed in the screenshots above that you have an Inner Glow selected, but no settings screenshot for it. There also seems to be two screenshots for color overlay. Is the Inner Glow screenshot missing? reply
About your question, it is true that a Inner Glow style is checked but it doesn't change the final effect so I decided not to add it. reply
reply
I just discover this site and I think I'm going to stick with it!
I just wanted to ask, I'm missing the typos, so can I download them somewhere? reply
Second, the free fonts that are used in the PSD file are:
Ethon Free Font Type - http://www.dafont.com/ethon.font
Intro Free Font Type - http://www.fontfabric.com/intro-free-font reply