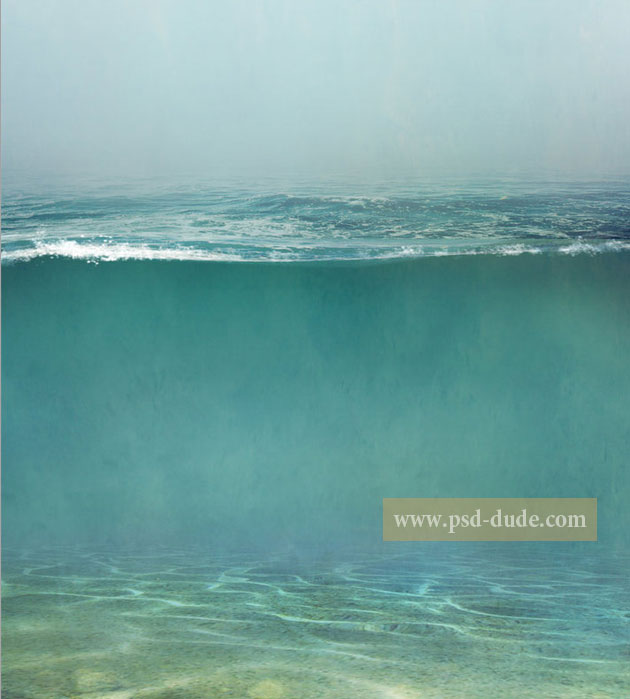
Start with this beautiful underwater premade background as first layer for this water photo manipulation. Call this Underwater Layer. If you want you can use another under water background from this list or you can create one yourself.
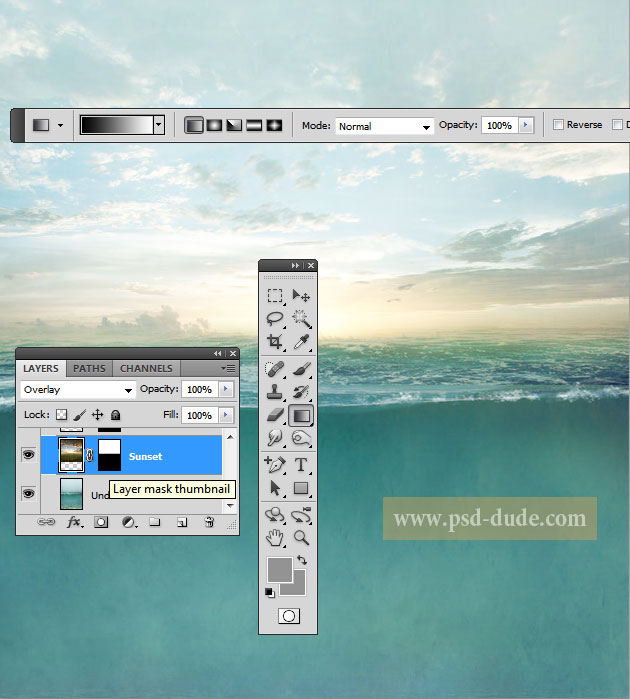
Add this sunset stock image in a new layer above the Underwater Layer. Call this layer Sunset Layer.
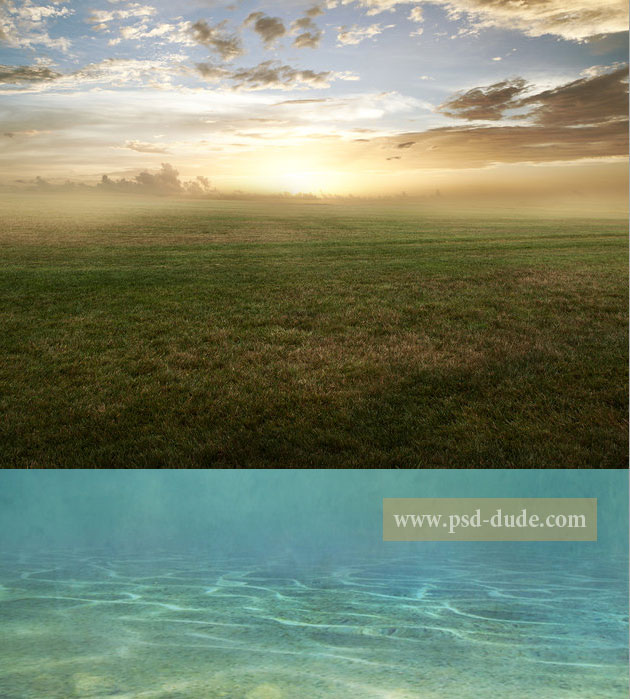
Set the blend mode of the Sunset Layer to Overlay. Add a layer mask to this layer; and use the Gradient Tool inside the layer mask to hide the grass area. Use a black and white linear gradient and you should obtain result like this:
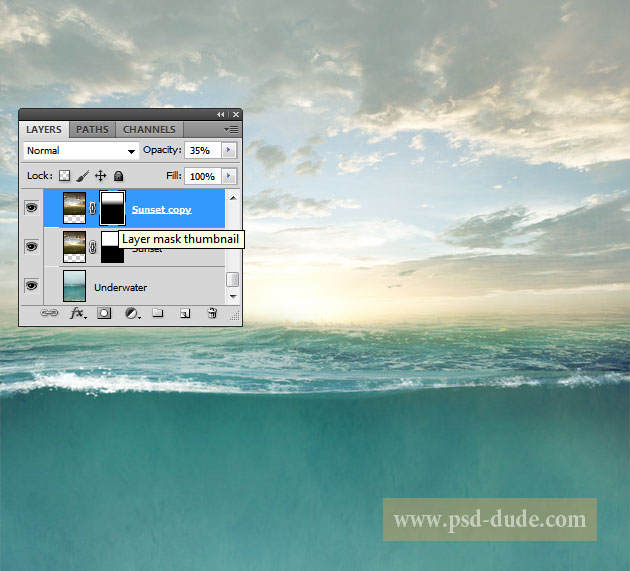
Duplicate the Sunset Layer (without the mask and blend mode) and add a layer mask to hide the grass area and part of the sky. Set the opacity to around 35%.
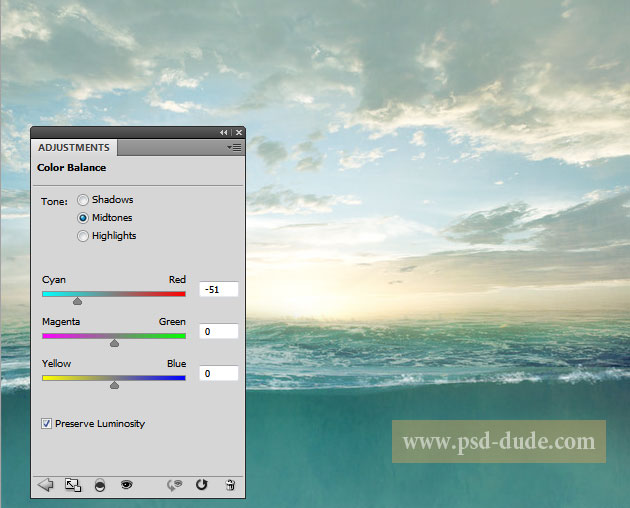
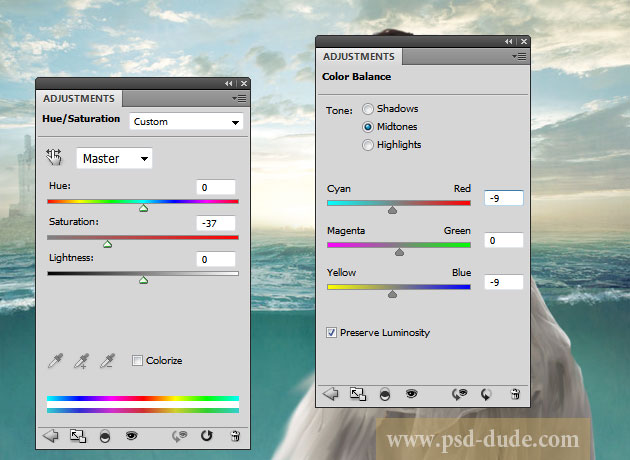
Add a >Color Balance adjustment layer only for the Sunset Copy Layer with these settings
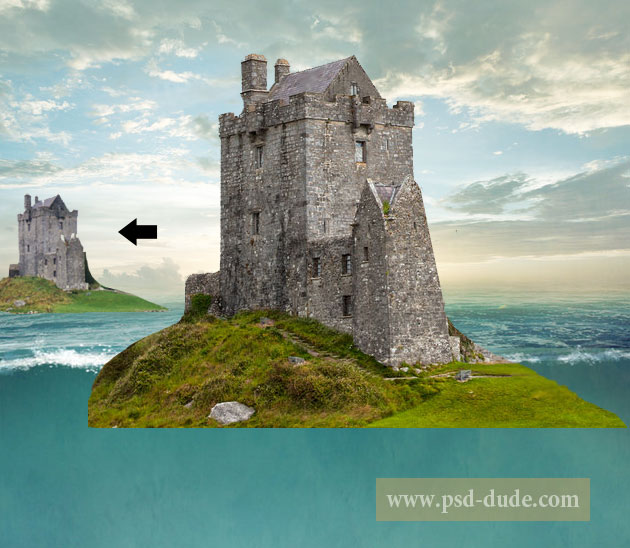
I will now add this Dunguaire Castle stock image in a new layer. Use one of the Selection Tools to crop a part of this castle like shown in the image.

Resize the castle and place it like shown in the image.
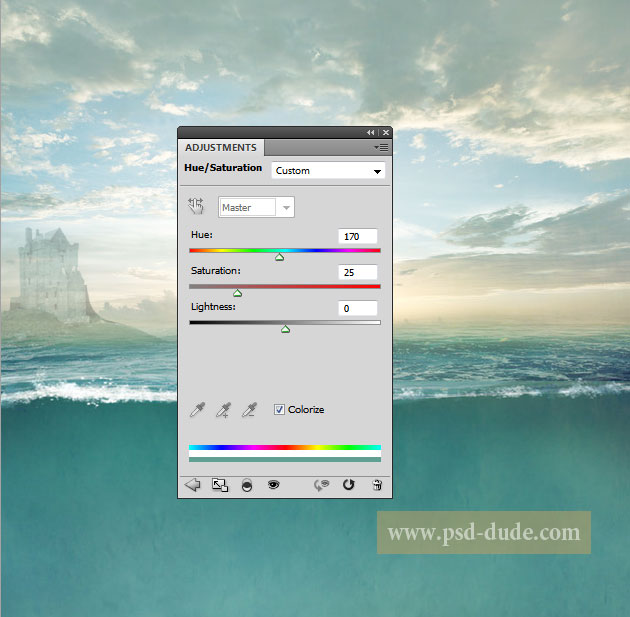
Add a Hue/Saturation adjustment layer and make sure you click the Clip to layer button so that the adjustment to apply only for the castle. Reduce the opacity of the castle Layer to about 30%
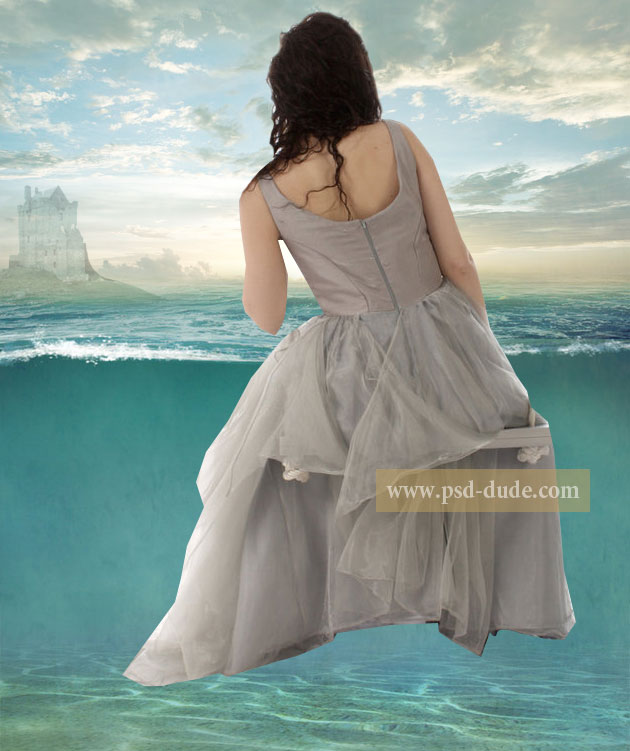
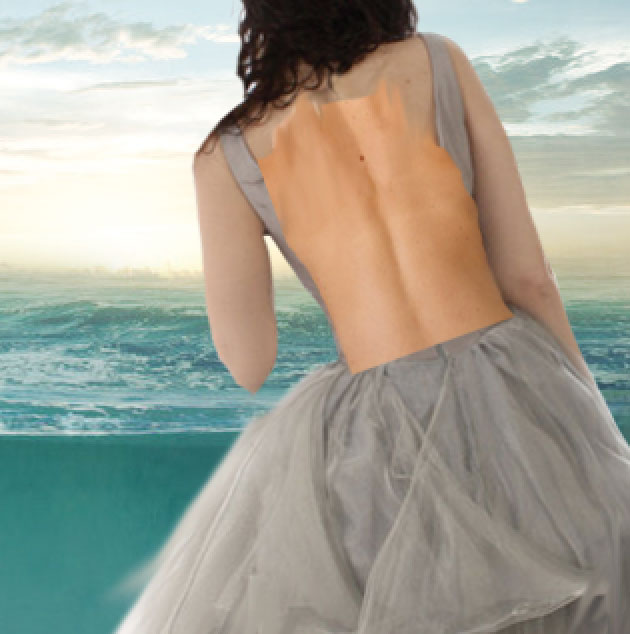
Open the Girl Stock in a new layer and use the Selection Tools to crop the girl like shown in the image. It is better to use the Pen Tool for cropping this image.
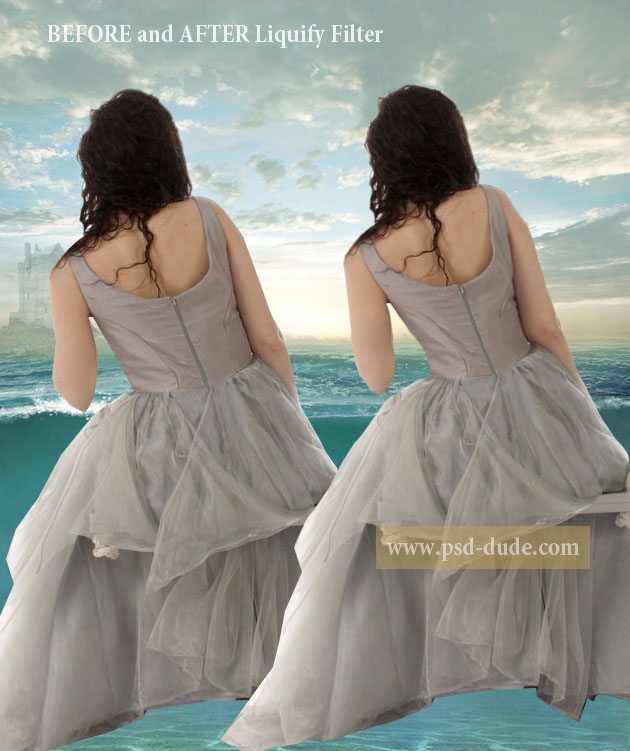
Now comes the trick part. Open the Liquify Filter and use the Forward Warp Tool to adjust the girl figure. This is a really time consuming process so take your time to do it right. Play with different brush sizes. The incorrect use of the Liquify Filter can lead to a major Photoshop disaster.
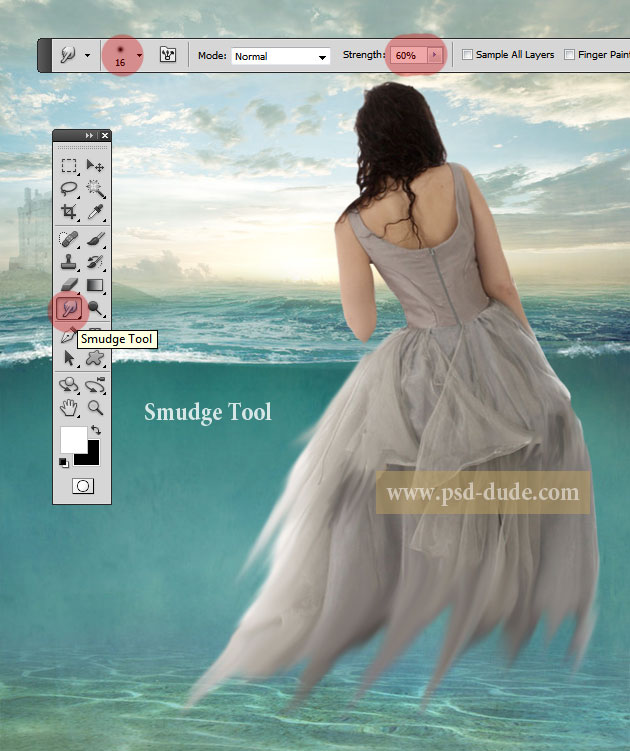
Use the Smudge Tool for the girl dress to create a wet clothes effects; it is not a realistic effect but looks nice. The Smudge Tool actually mixes the colors and we will obtain a painting effect. Use a soft round brush and different sizes to create a similar effect.
Use the Clone Stamp Tool to hide the unwanted hair from the girl back. Also use this stock image to crop and paste some skin on the girl back like in the image. Resize and rotate the image to fit.
Add two adjustment layers, Color Balance and Hue/Saturation with the following settings to match the color of the skin.
Use the Eraser Tool to give the Skin Layer a nice shape; the idea is to create a dress with an empty back.

Use the Burn Tool to darken the edge of the Skin Layer like in the image.

In a new layer add this hair PNG stock image. Set the opacity to around 90% and place the hair like in the image.
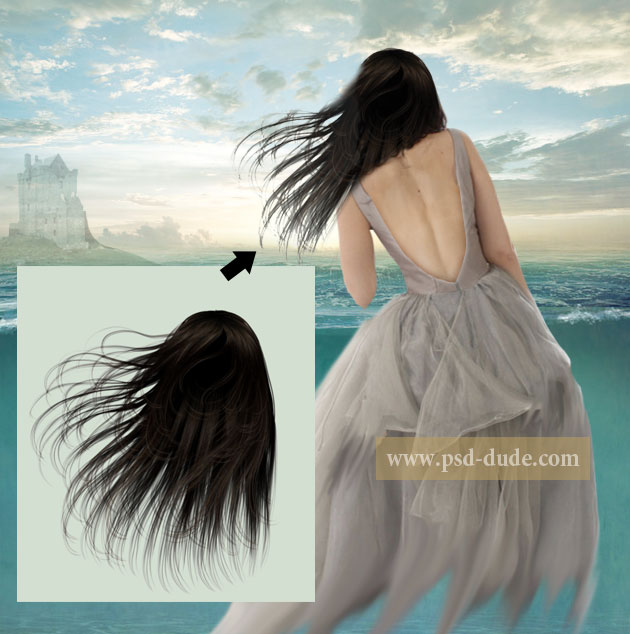
Duplicate the hair layer, lower the opacity and move it to create a shadow for the hair. Erase the hair that goes out of the girl area.

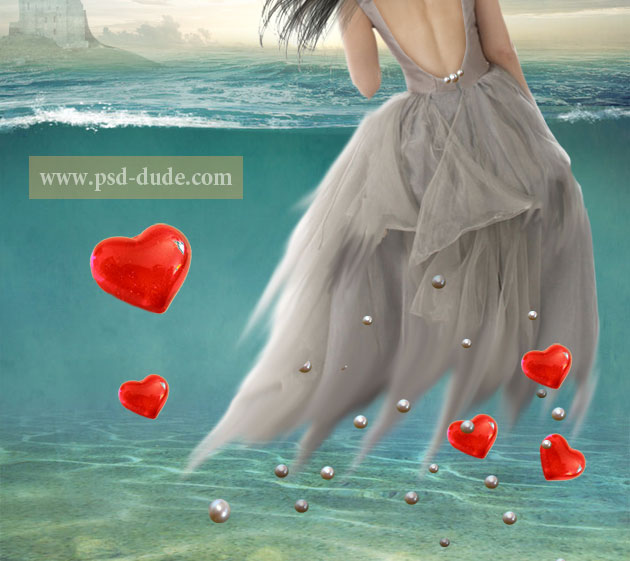
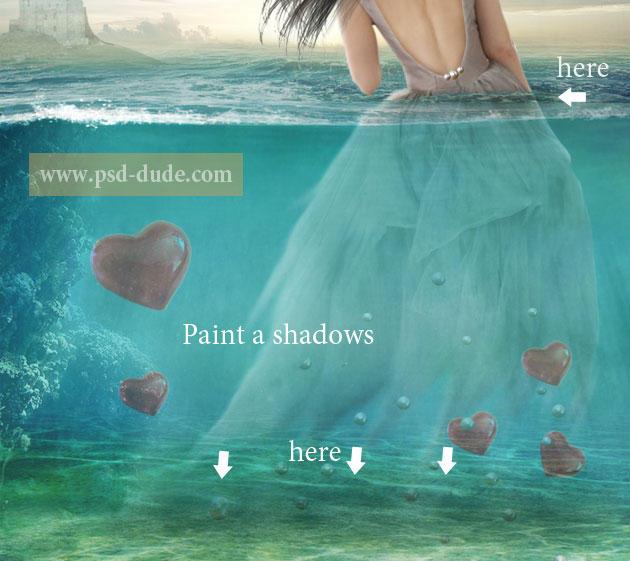
Copy this beautiful red heart in your PSD file, remove the background, resize and rotate them like shown in the image.
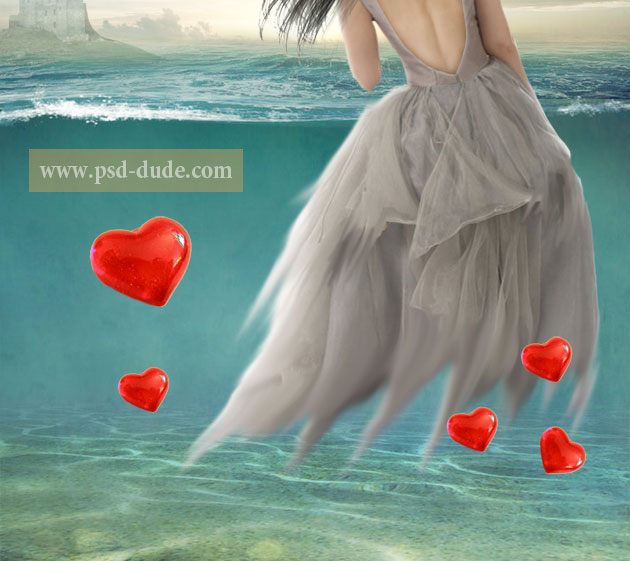
Do the same by adding some pearls; crop one pearl and simply duplicate it several times.
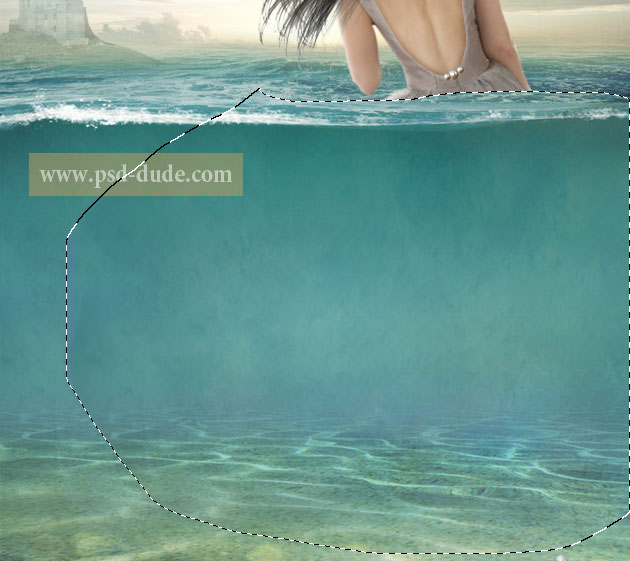
Make a selection and use the Underwater Background Layer to make a Layer via Copy ( press CTRL+J); place this selection copy layer above the other layers.
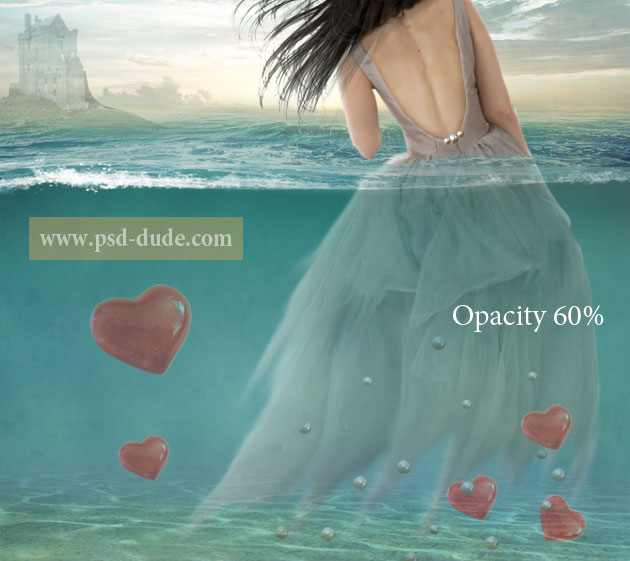
Set the opacity of this layer to around 60%
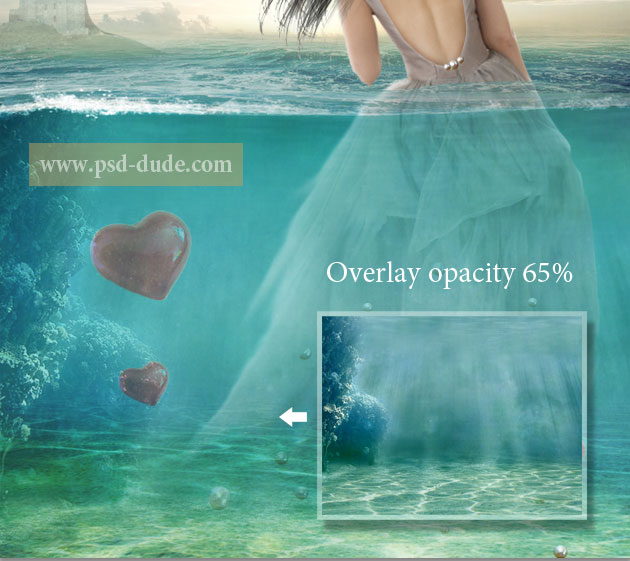
Use this Underwater Lagoon and add it over the underwater surface area. Set the blend mode to Overlay, opacity 65%.
Use a soft round brush and black color to paint a shadow for the girl/hearts/pearls with the Brush Tool. Play wth different opacity levels to obtain a realistic result.
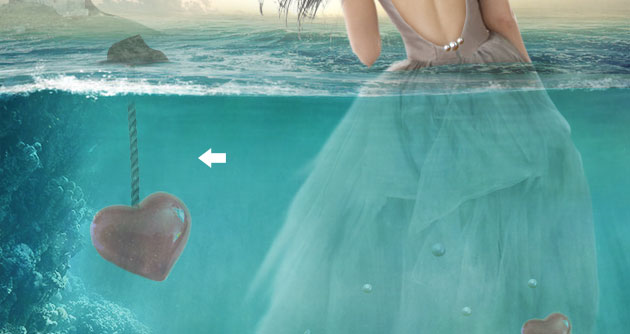
You can even add a rope and tie the heart to a little rock for example. Get creative.
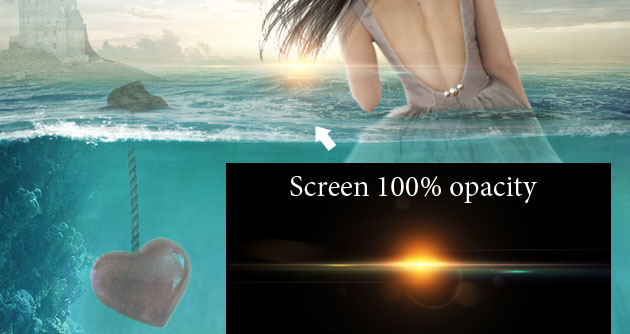
I will now use one of these amazing optical flare stock image to add a nice light detail to my photo manipulation. Simply open the Optical-3-psdbox.jpg stock image and change its mode to Screen 100% opacity.
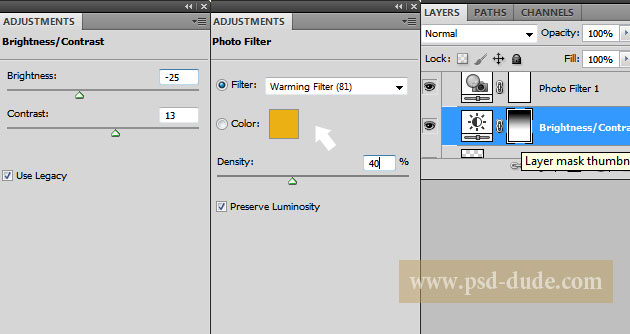
We are really close to end this tutorial. All we have to to is blend all the pieces together by adding a Photo Filter and a Brightness Contrast adjustment layers. You can see in the preview the settings; and also you can see that the Brightness Contrast adjustment layer has a layer mask filled with a black and white gradient so that only the lower part of the image to be darkened.
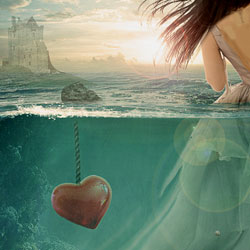
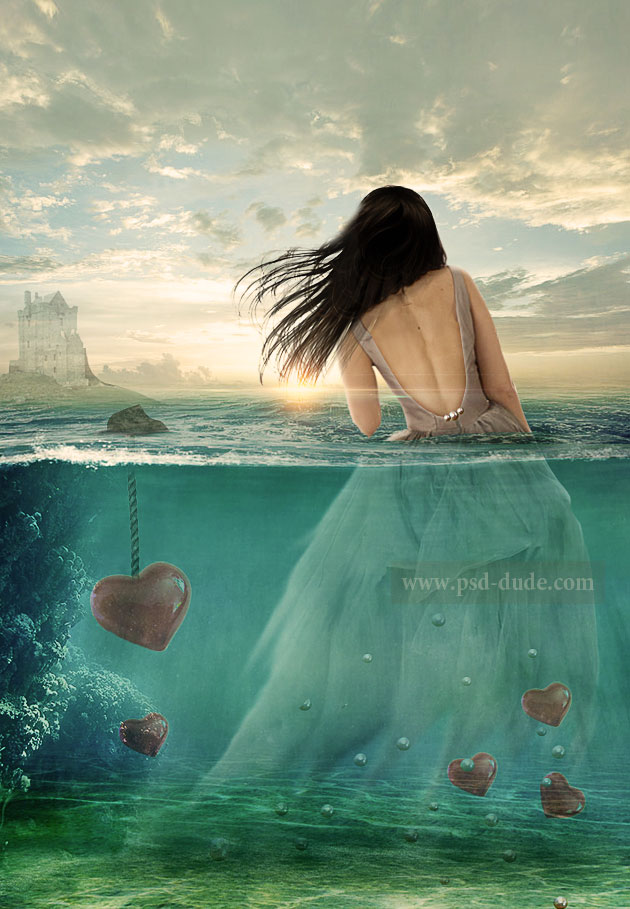
So here is the final result for this love photo manipulation just in time for the Valentine's Day.
22 comment(s) for "Love Me Photoshop Manipulation for Valentine Day"
source: http://i42.photobucket.com/albums/e303/myrimadlin/underwaterValpsddude_zps70ee0c0c.jpg