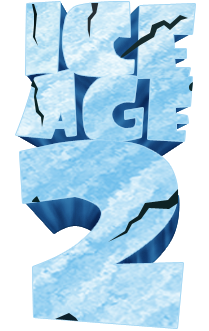
Step 1 - Don't write, DRAW
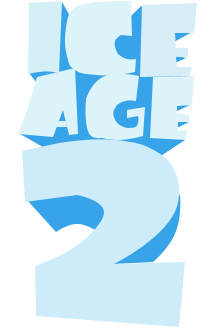
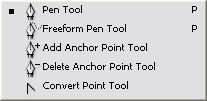
Using a font face that's similar to the original font would be the easier route. I'm a bit of a fonts enthusiast and if you want, check out this list of fonts from movies. But, I don't want to find a font close to the one used in the movie poster so I will draw with the Pen Tool the text. It doesn't have to be perfect but it has to be similar to Ice Age Text.
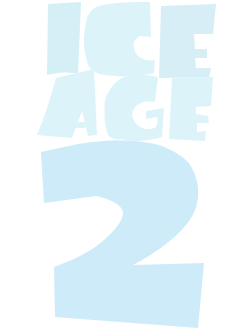
So take the Pen Tool and draw all the letters.
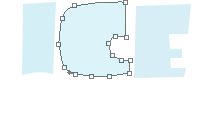
With the same tool draw also the "2" number.
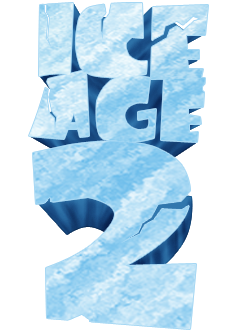
Step 2 - Give the text a 3D look
If you don't have a new photoshop version or you don't have 3ds max software you can give your text a 3D look drawing.
So select all the layers so drawn so far and put them into a group. Call the group Text.(Layer - New - Group from layers)
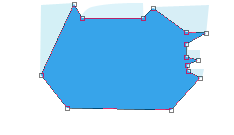
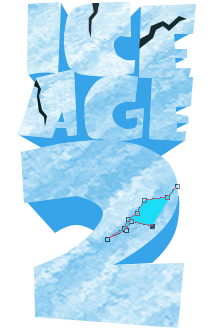
With the Pen Tool draw a shadow like in the picture below. You will have to have 3 layers; one for the "ice", oane for the "age" and one for "2".
The shape for the "ice" looks like this:
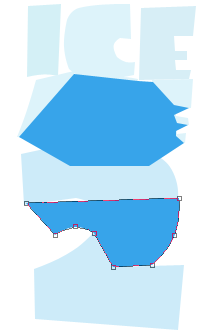
The shadows for the "age" and "2" look like this:
Now put all this 3 layers into a group called Shadow. Place the Shadow group beneath Text Layer
Step 3 - Ice Texture
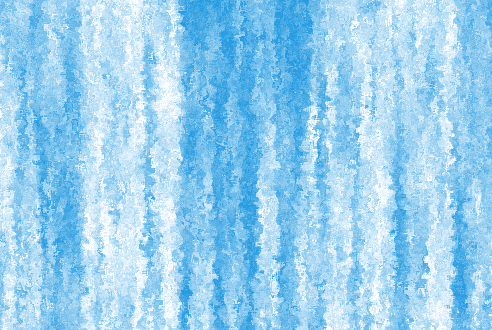
Draw a rectangle with the Rectangle Tool, color # 259be0. call this layer Texture. Set Foreground Color # 259be0 and Background color white.
Now go to Filter - Render - Clouds.
Go to Filter - Render - Fibers(variance 14, strength 4)
Go to Filter again, Brush Strokes - Spatter(spray radius 13, smoothness 8).
Your texture should look like this:
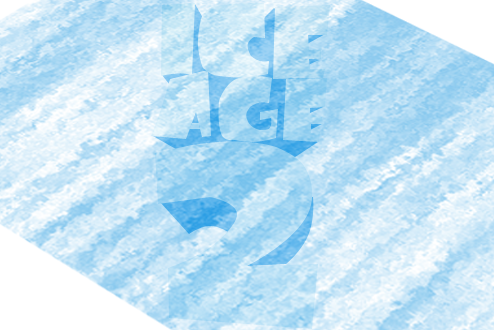
Step 4 - Give perspective to the Ice Texture
Go to Edit - Transform - Rotate angle 40 degrees. Go to Edit - Transform - Perspective .
Scale the texture to make it bigger so that it covers the entire text.
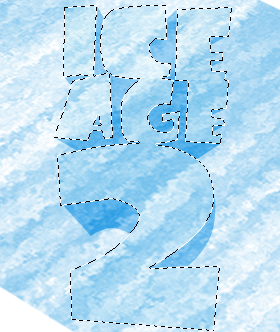
Step 5 - Texture the text
Go to Text Group, right click Duplicate group. Call this new group Rasterized Text.
Select all the layers from this group, right click and choose Merge Layers.
The result is one layer, call it Shape.
Press CTRL + layer Thumbnail...you will see that the text will be selected.
Go to Texture Layer and press CTRL+C and CTRL+V.....
now you will have the text with the texture in a new layer, set opacity of to 55 %
and call it New Texture. Hide Texture Layer.

Step 6 - Add cracks
Select Shape Layer and New Texture Layer and merge the two layers into one call it Shape.
Duplicate Shadow group, call the new group Rasterized Shadow and merge all the layers from this group. The result is one layer, call it Shadow.
Hide the initial groups: Text group and Shadow group.
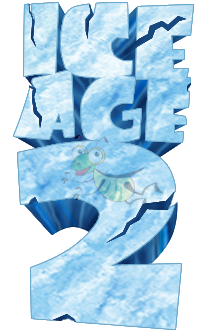
Your screen should look like this:
Now with the Pen Tool make craks, color # 17487f. You don't have to draw perfect from the first time because with vectors you can change the shape after you drawn it. You can add a point, delete a point or move the point.
You can see that the crack is very thin so you can obtain this result either by Zoom In the image (CTRL++) or by adding a new point where you want and than with the keyboard arrows place it in the right place.
Now Duplicate all this layers with craks and merge the duplicated ones into a new layer called Cracks. We will work with this effect later on.
Step 7 - Add depth to the text
Do you remember Shadow Layer? Duplicate that layer (so we can have a copy in case of something is going wrong) and lets start adding depth.
Go to Blending Options of this layer and check Color : 100 % opacity, blend mode - normal, color #3177ad . Check also Stroke: size - 1, position - outside, blend mode - normal, opacity 100%, fill type - color, color #1f6397 . Duplicate the layer and merge the two layers.
Take the Burn Tool, size 9 px , range - midtones, expossure 5%(it is better to exposse the area many times with a low expossure than to exposse to much and spoile everything).
Start burning the area following the edges and the direction of the depth. Take your time on this step. I did some mistakes but I hope you will not notice. Change the size of the tool to 4 px and make darker lines. Use also the Dodge Tool and Sponge Tool (Saturate) to make a bigger contrast, because this is a cartoon text.
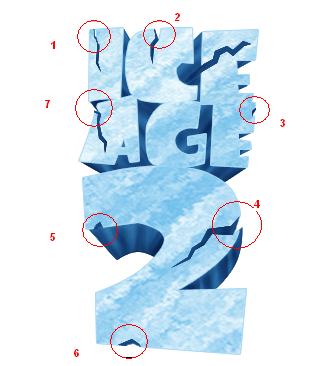
Step 8 - Work with Crack Layer
Press CTRL and Thumbnail of the crack layer, than go to Shape Layer and delete the section. It will look something like this if you hide Crack Layer.
Now return to Crack Layer and delete parts from the cracks like in the picture below:
For number 4 in the picture you will have to go to Shadow Layer and delete some of this area too.
Burn parts of the Crack Layer to give it also depth.
Step 9 - Work with Shape Layer
We will burn and dodge the colors of the layer Shape until we obtain a better result. Set the stroke color to # 6ba8cb .

Step 10 - Cartoon Character caught in the ice
Go to http://www.fordesigner.com/maps//7091-0.htm and download the cartoons. I will use this cricket.
Go to Shape layer and duplicate it. Place the Cricket Layer between Shape Layer and the new duplicated Shape Layer. Set the opacity of the new duplicated Shape Layer to 75%. Now delete parts from this layer that correspond to parts of the cricket that are out of the ice.
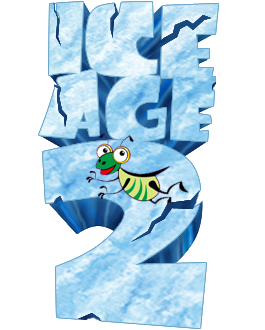
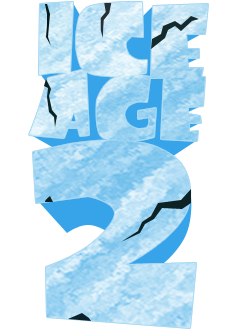
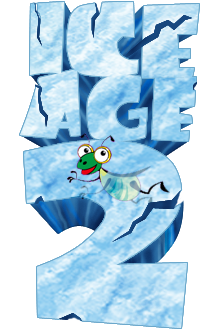
FINAL RESULT!
3 comment(s) for "How to Make an Ice Text Logo for Ice Age 2"
thanks for this useful information... reply