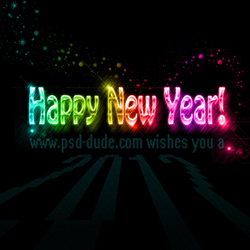
A year has passed since my last wallpaper for 2011 . Now it's time for a wallpaper dedicated to the New 2012 Year that will come in just a few days. So let's start!
As I have mentioned in my previous tutorials, when I make a wallpaper, I usually create it at 1920x1200 px size. That way, since most people's resolutions are that size or smaller, the wallpaper comes out looking good. So open a new PSD file with this size.
 If you want to save a file template all you have to do is go to New Menu, and Save Preset.
That way you don't have to input all the details like size, resolution, etc every time you create a new file.
Simply choose your file template from the Preset list.
If you want to save a file template all you have to do is go to New Menu, and Save Preset.
That way you don't have to input all the details like size, resolution, etc every time you create a new file.
Simply choose your file template from the Preset list.
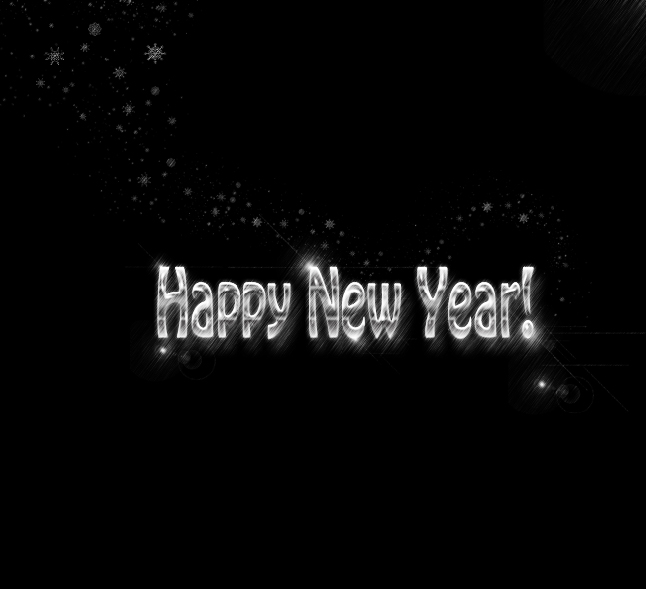
When using Gradient Fill layers and you want to add color only to some elements like text and light effects in our case, you have to start with a black background. So create a new layer call it Background and make it black (#000000). Use the Hobo Std font family to write the "Happy New Year!" text. The color is no important because we'll change it in the next step.

Open the Layer Style window and let's add some effects. Sett the Fill of the text layer to 0% . Add Drop Shadow, color #bdbdbd.

Add Inner Shadow, the color is #ffffff (white) and the other settings:

Next add a soft Outer Glow, the color used is #bcbcbc .

Add a black color Inner Glow.

Add Bevel and Emboss effect. Make all of the settings presented in the image below.

The last setting is a Gradient Overlay, style reflected and the gradient map made from different tones of gray and white.

Duplicate the Text Layer remove the layer styles, set the Fill to 0% again and add a Bevel and Emboss style, with different settings: different angle, depth, size and so on.

Add Lens Flare Brushes
Download my Lens Flare brushes and use them to add soft sparkle effects on the text but also on the background. Use white as color, different brushes and sizes.
It is better to make two or three layers one for every brush type/size that you use. That way you can easily erase, resize or change the place of your effect without affecting the others.

Don't worry if they don't look good yet. This happens to some brushes like: sparkle brushes, smoke brushes, glow brushes and so on. They need a color Gradient Fill layer to shine.
Add Snowflake Brushes
Because we are still in the winter season I have decided to use some Snowflakes Brushes. You can use other types of brushes like stars or sparkle brushes but just remember not to overcrowd the image. Two types of brushes are more than enough.

Add Sketch Effect
Cool effects can be obtained in Photoshop in so many ways. For faster results you can use brushes or you can use Filters to add different effects to an image. I have decide to make an effect myself something similar to Crosshatch Filter.
So make another layer and fill it with black color. Add Noise filter, 100% Amount. Use also the Motion Blur filter, angle -55 and distance 19 px. Add Smart Sharpen filter with the following settings and that is all. You can make a new layer similar to this but with 55 angle for the Motion Blur and different settings for the Smart Sharpen and you will obtain an effect similar to Crosshatch Filter.

Change the Blending Mode of this layer to Soft Light 100%.
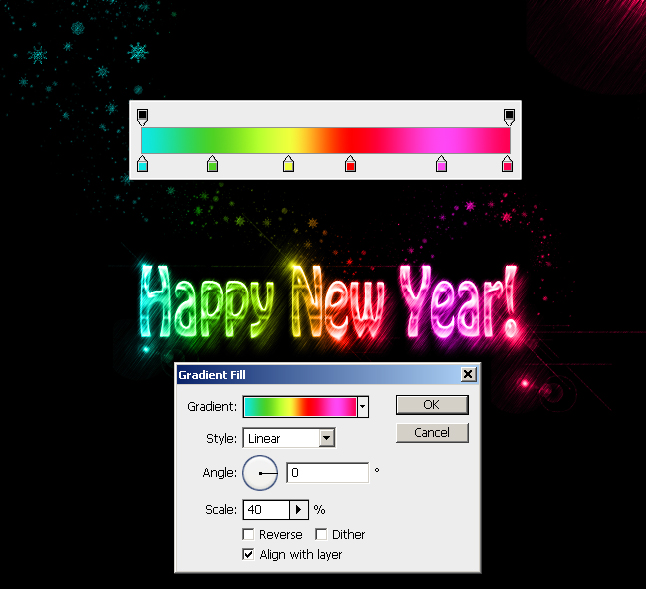
Add Gradient Fill Layer
Press Create New Fill or Adjustment Layer button from the Layers Tab and add Gradient. Change the Blending Mode of this layer to Color 100% .
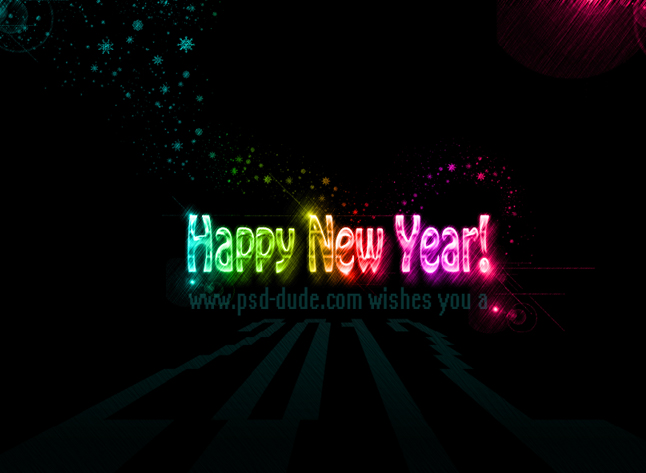
Add 2012 Text Effect
For the final touches let's add a 2012 text using the System font family, color #23ecea. Rasterize the Text layer so that you can add Perspective like shown in the image:

Set the opacity of this layer to 7% and add a simple black and white Gradient Overlay, 80% opacity.

Hope you like my new 2012 wallpaper and decide to add it as your computer desktop. You can even use it as an iPhone wallpaper. For that you have to download the free PSD(12.7MB) file and customize it as you wish. If you use it you have to link back to our blog. Don't redistribute the PSD file.
9 comment(s) for "Happy New Year 2012 Wallpaper Tutorial"
Thanks so much for sharing it
keep up good work
reply
thanks!! reply