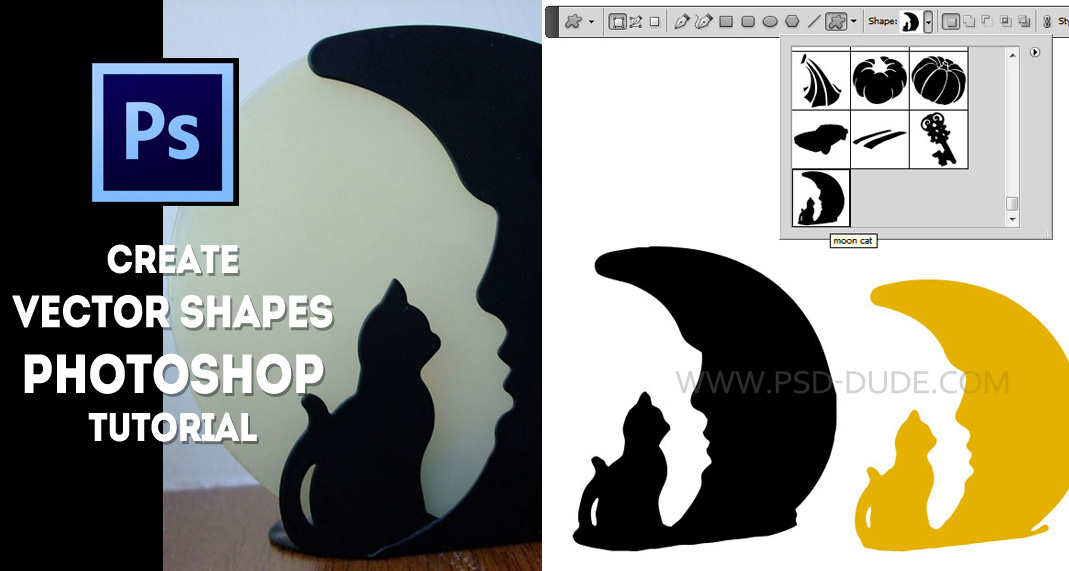
From this tutorial you will learn how to make a Photoshop shape from raster images using the selection tools. You can create in this way so many custom shapes with less effort and pretty good results.
A custom shape in Photoshop is drawn using the Pen Tool or using the Ellipse Tool, Rectangle Tool or combining other custom shapes. So when I say custom shape in Photoshop I am thinking of a shape drawn by hand from scratch using one of the vector tools available. If you want to learn this first method, that in my opinion is the better one, read this tutorial on how to create custom shapes in Photoshop.
But there is also another way to make custom shapes that is much easier and used by many people. But if you use this method in a wrong way you obtain a poor quality raster image, not a vector shape, with lots of anchor points. So here I will explain you the right way in which you can create shapes from raster images using selections.
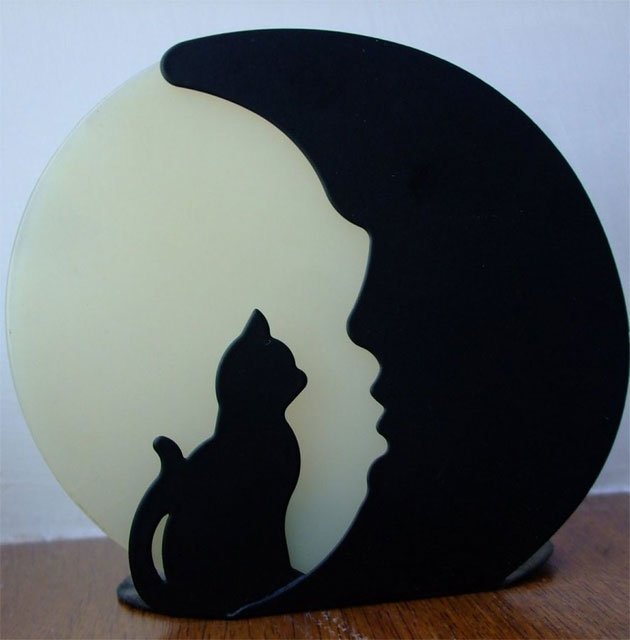
You can make shapes from any raster image but the main idea is to obtain a shape with less effort. For that you have to choose images that can be extracted from the background easily. For example birds on a clear blue sky, silhouette images, cut out images, cut out PNG and so on. I will use this Cat Moon Silhouette to create a vector silhouette.
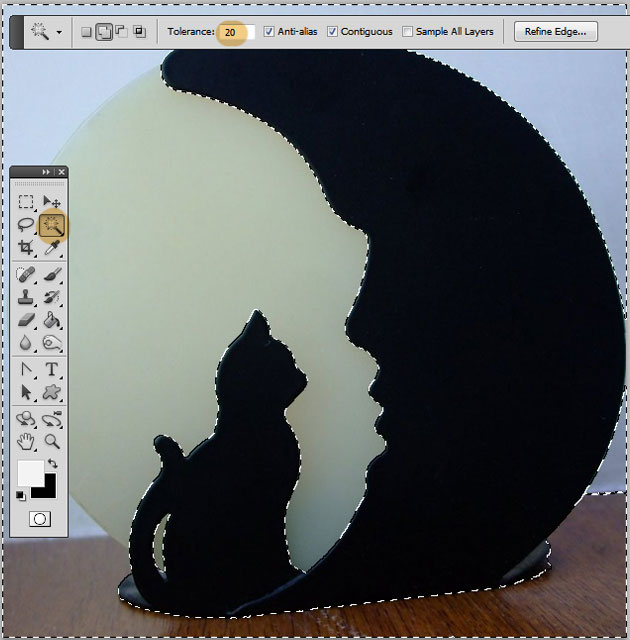
Use the Magic Wand Tool to select the Cat Moon Silhouette background. Adjust the Feather accordingly to your image. Keep the SHIFT key pressed to add to the selection.
Press SHIFT+CTRL+I to inverse the selection. Here comes the important part. When you are trying to make shapes from selections, you have to use hi res images. After you make the selection, it is important to go to the Select>Modify and choose Feather. The feather radius depends on your image size and shape details. If you choose a greater number for the feather radius your shape will have less anchor points (which is a good thing) but at the same time you can loose some important shape details(which is not good). So you have to choose the right amount. For this image I will use 3 px for the radius.

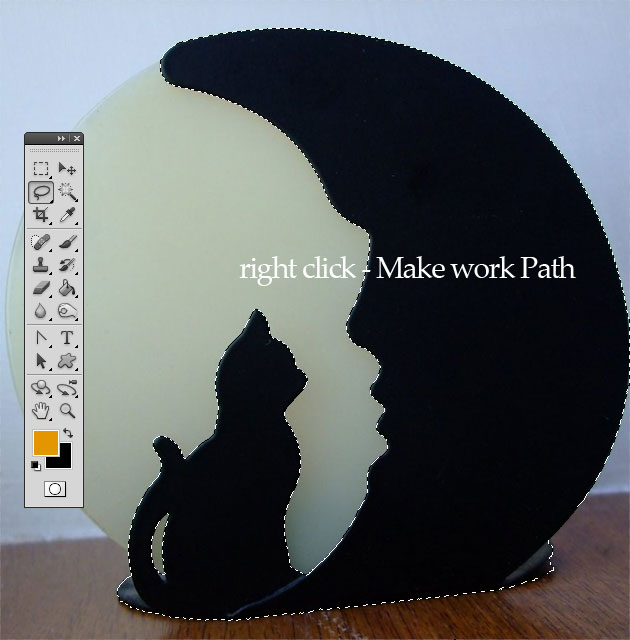
Right click on the selection and choose Make Work Path.
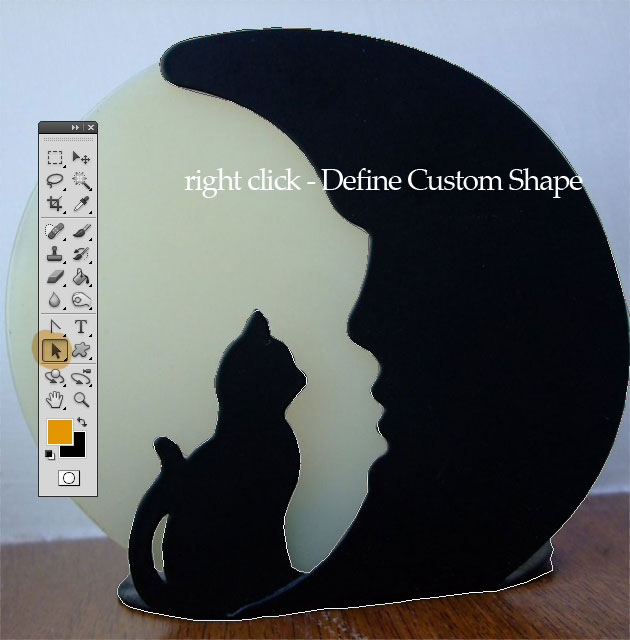
Pick the Path Selection Tool and right click and choose Define Custom Shape.
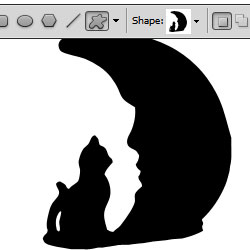
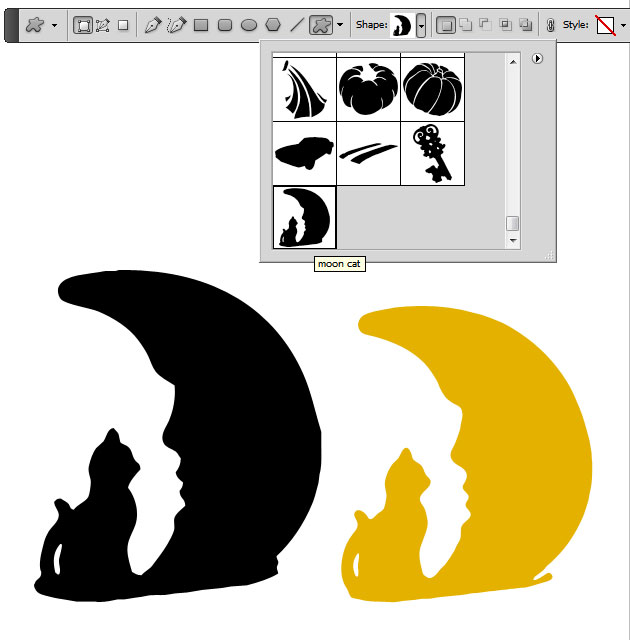
If you open the Custom Shape Picker you can see the shape that we have just created. Right click on the shape and choose rename if you want to change its name.
If you want to create more detailed custom shapes you can draw them using the Pen Tool. So you might want to check out these Pen Tool Photoshop tutorials.
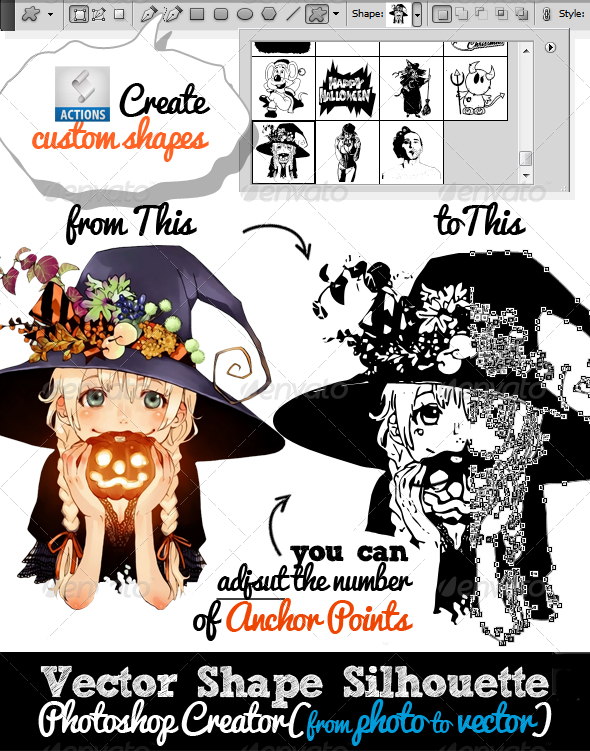
Custom Shape Photoshop Creator
This set contains 1 layerd PSD file that will allow you to create a vector shape silhouette out of any photo/graphics/image. The pack also contains a Photoshop action that you can use to create custom shapes.
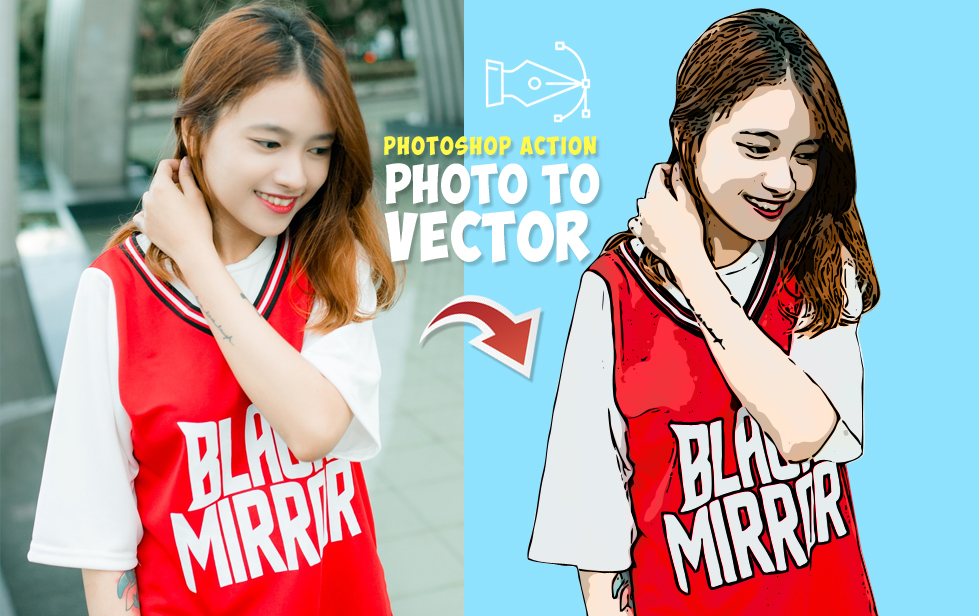
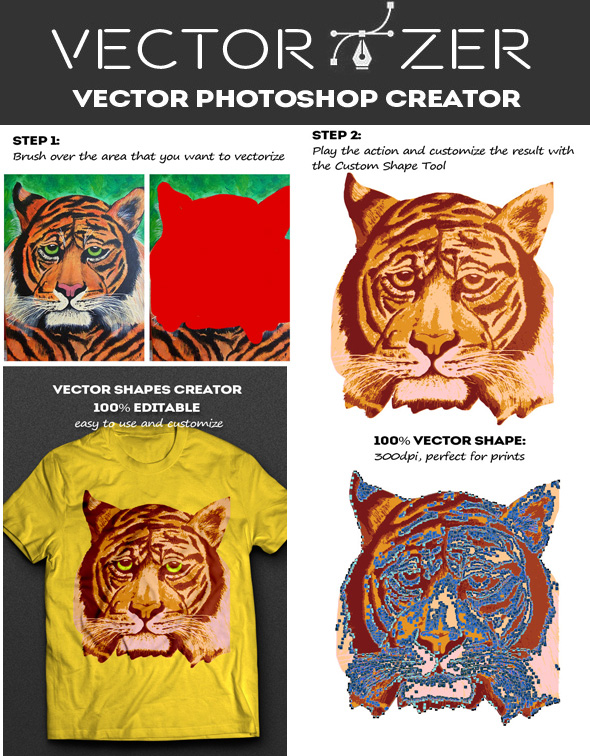
You can also try this Photoshop action that turns any JPG image into vector using Photoshop. The results is a complex vector image with colors and not just a vector shape silhouette.
Vectorizer - Convert JPG to Vector Photoshop Action
- unique Photoshop action to create vector art with 1-click
- create vector shapes, vector silhouettes, vector images, vector art from any image
- 300 dpi great for print (T-shirts, coffee cups, magazines, books, flyers, etc)
- Tested and working with Photoshop CS and CC, all language versions
- Requirements: RGB color, 8 bit, 72-300 DPI
- Easy to Edit and Customize
- Fully customizable
- Little Photoshop Skills Required
10 comment(s) for "Create Custom Shapes from Image Selection in Photoshop"
reply
When you make a selection or remove a background using the Magic Wand Tool or the Quick Selection Tool you always obtain a jagged selection. That is why is necessary to use the Feather Selection option(see the image attached).
But remember that you have to use hi res images when creating shapes using Feather otherwise you will loose all the object details.
If you have other questions about Photoshop don't hesitate to ask us and we'll do our best to give you a good answer :) reply
Thank you so much!
Su reply
Thank you so very much!
Su