


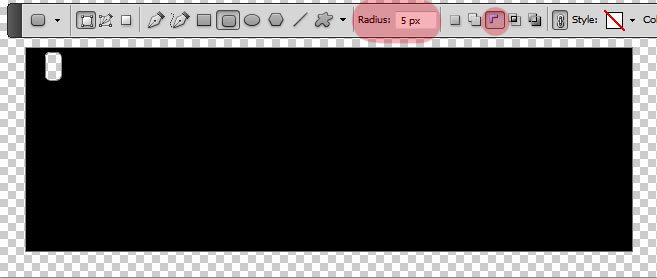
Learn how to add a film strip frame to your photos using some simple steps. We will create a vector shape film strip, so you can easily resize it without loosing the quality according to your photo size. Create a simple black rectangle using the Rectangle Tool. Call this layer Film Strip.

Click on the Vector Mask Thumbnail of the Film Strip layer just to make sure you select it. Pick the Rectangle Tool again and set the Radius to around 5px to obtain round corners. Click the Subtract from shape area button like shown in the image and draw a small rectangle.
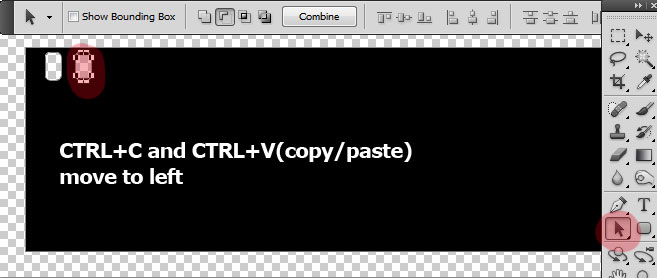
Pick the Path Selection Tool and click on the small rectangle. Press CTRL+C and CTRL+V to copy paste it; use the right arrow on your keyboard to move the copy to the right.
Repeat the process until you cover the top area and the bottom area. If you want to make the process quicker when you created more small rectangles, you can copy and paste them all.
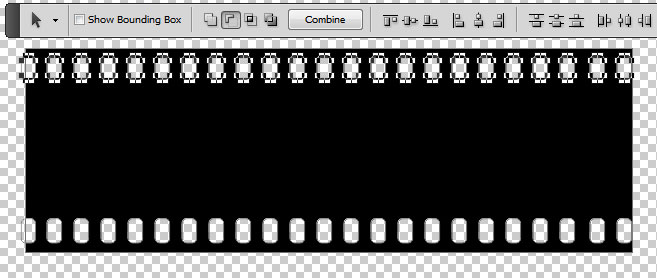
When the film strip looks ok, press the Combine button to combine all the shapes into one single shape. You can now Save as Custom Shape if you want to use it some other time. The film strip it should now look like this:

Use again the Rectangle Tool and draw a white rectangle like shown in the image below; this will be our first photo. Call this layer Photo 1 Shape.
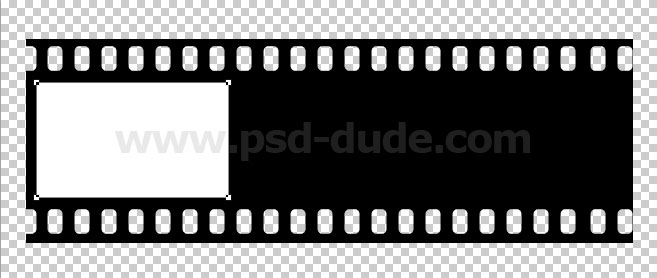
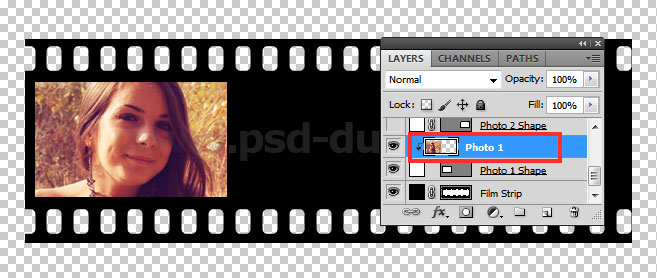
Time to add the first photo from our photo collage. So copy your image and place it above the Photo 1 Shape. Call this layer Photo 1.

Right click on the Photo 1 and choose Create Clipping Mask. You will see small arrow attached to the layer thumbnail. The image is not croped, it is masked by the rectangle shape placed behind. You can still resize the image or move it using the Move Tool.
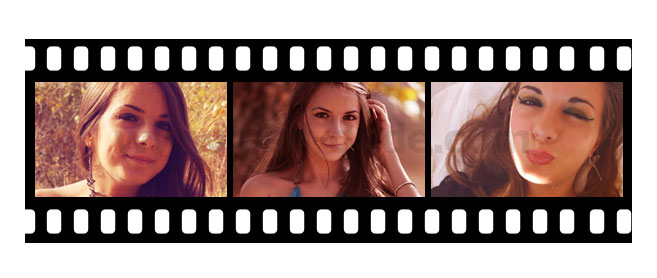
Make other two rectangle shapes in two differen layers.

Place other two images as clipping mask for the two rectangles created in the previous step. For this tutorial I have used photos from franceskaf-stock.
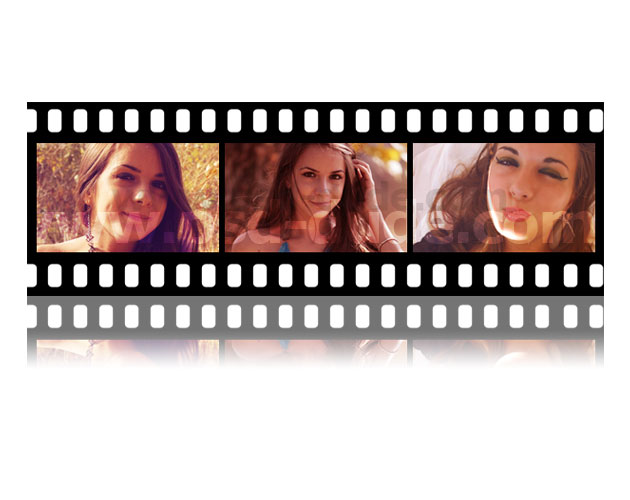
Select all the layers, right click and Convert to Smart Object. I will now add a reflection to the film strip. Duplicate the smart object and Flip Vertical; add a layer mask and use the Gradient Tool to hide half of the duplicated smart object. If you are not sure how to make a reflection, read the Photoshop Reflection Guide for Beginners.
If you want to add some extra effects you can bend the frame using the Edit>Transform>Warp Tool. Choose Arch from the list, with a bend of aroound 17px. Also resize the entire image to around 90% but only on the horizontal scale.
5 comment(s) for "Create a Film Strip in Photoshop"