


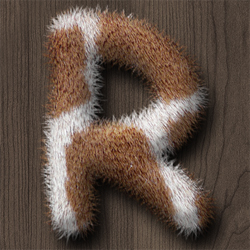
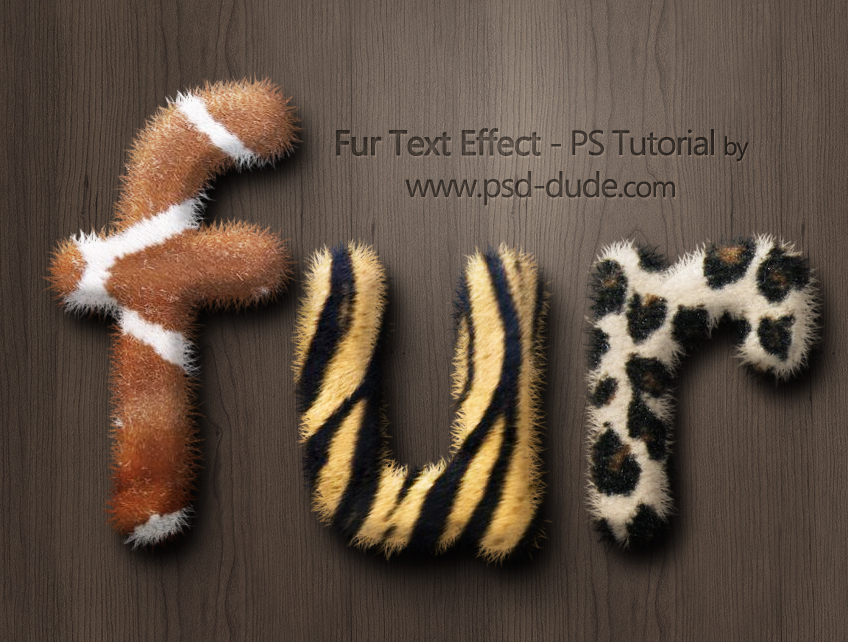
In this tutorial I am going to show you how to create a furry text effect in Photoshop using my fur creator. You can obtain very good results using this 1-click action. You can add any fur texture that you want with the help of smart objects.
First you have to download the fur action from our blog. It is a free Photoshop action for all our registered users. Open the ZIP file and inside you will find an ABR file, a PAT file and an ATN file.
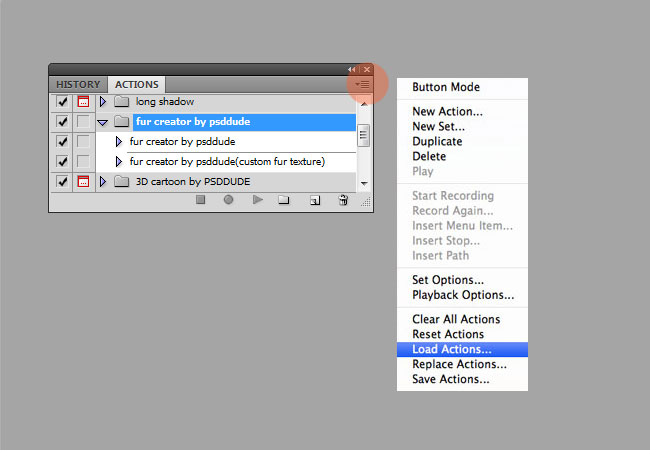
Go to Edit>Preset manager and load the brush file and the pattern file in Photoshop, otherwise the action will not work properly. Go to Window>Actions and choose Load Actions; these steps are made only one time, when you first download the action pack.
Open a new PSD file and add a text layer with any font type that you like. I will use the Intro Font which is a free font that you can use in your designs. Learn how to install font in Photoshop . For the action to look good you have to use a big size font. Also make sure that the Set the tracking for the selected characters option is set to 50 or 100 so that the letters to have a space between them.

Before playng the action make sure you have the Brush Tool opacity set to 100% ; this is very important thing to check!
Instead of the text layer you can use a custom shape, or a raster layer that contains both text and shape. Make sure you have only one layer, so if you have a background layer please delete it. Select one of the fur actions and click the Play action button. I will choose the fur creator by psddude(custom fur texture) action which is more versatile and easy to customize.

After the action has ended you have a raw result that you can easily edit and customize using any fur texture that you want.

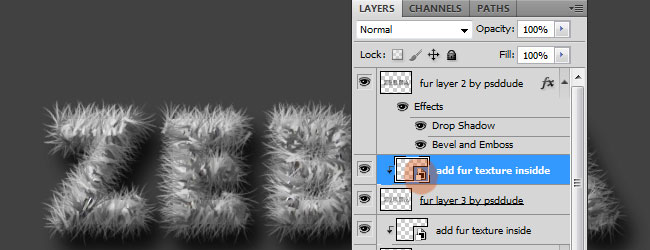
Make sure you have the Fill option set to 0% for the fur layer 2 by psddude.

Time to add the texture. Double click on the add fur texture insidde layer thumbnail to open the smart object
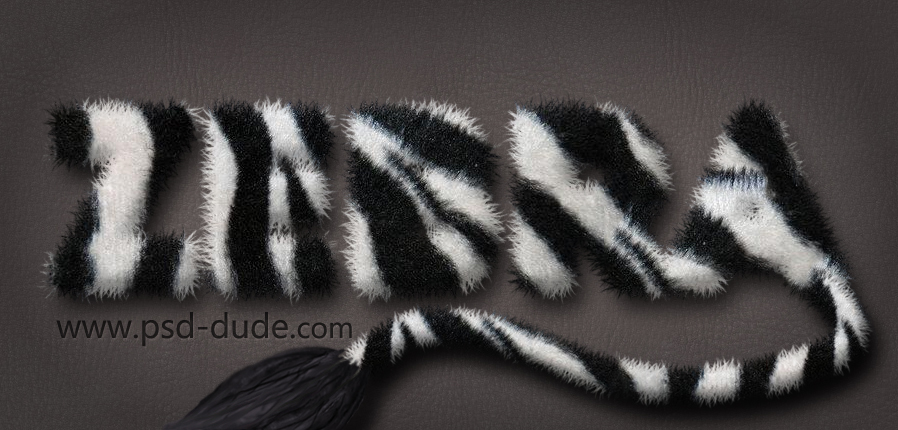
Inside the smart object you can Copy/Paste the fur texture ; I used the zebra texture from this collection, but you can use any furry texture that you want.

You have to make sure the texture image is large enough to cover the text. If it is not, you can duplicate the image and make it larger. Save the smart object and close it to see the result.
If you want to change the texture position you have to select the two layers named add fur texture insidde(keep the CTRL key pressed and click on the layers to select them).
 To select multiple noncontiguous layers, press CTRL and click (Windows) or COMMAND and click (Mac OS) in the Layers panel.
Now simply use the Move Tool to drag and drop the texture in the position that you like best.

You can add a nice looking background; for this example I used a simple leather texture
If you want to switch to other animal fur texture you can simply edit the smart object and replace the texture inside. You can not edit the text/shape after the action is ended. If you want to edit the text you have to replay the action. So here is another result for furry effect in Photoshop; hope you all enjoyed this new Photoshop lesson, see you soon!

3 comment(s) for "Create a Fur Text Style in Photoshop"
which is why i sent you a donation for your morning coffee.
Enjoy..
and if you can contact me so i can ask a question i would greatly appreciate it reply
You can contact us here:
http://www.psd-dude.com/tutorials/contact.aspx reply