Stitch Text in Photoshop
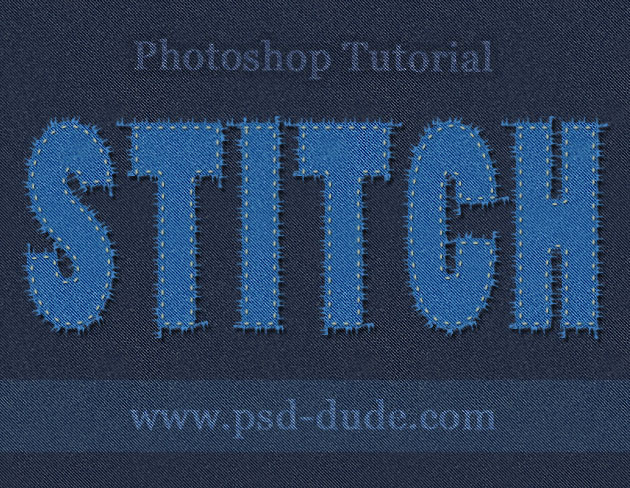
Befor we begin let's take a quick look at this Stitch Text in Photoshop tutorial we are about to create. It is a simple jeans text with threads and stitch effects applied. I really hope you will enjoy this new Photoshop text tutorial and like always I am curious to see your results!
Jeans Background
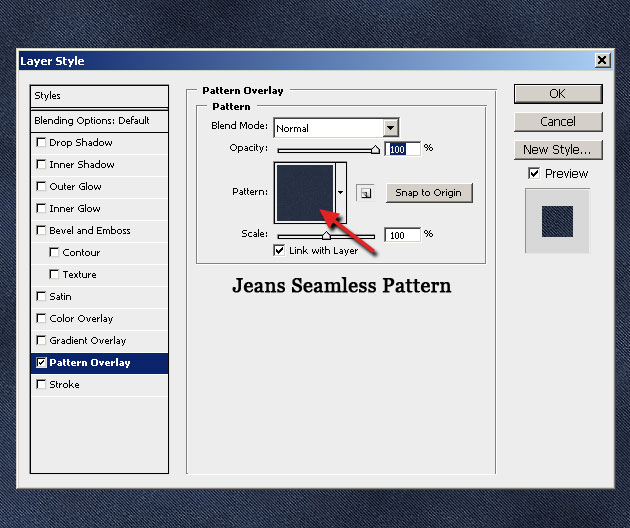
For this stitch text ffect you can use any fabric you want, but I decided to use a denim/jeans texture which is one of my favorite fabric textures. I will use a denim seamless pattern. If you don't like this pattern you can use one of the many Jeans Texture available for free on the internet.
Open a new document and call the first layer, Jeans Background and fill it with any color you want. I will make a denim background using these Jeans Patterns so load them into your Photoshop. Open the layer style window and add Pattern Overlay using the Jeans Dark Wash pattern.
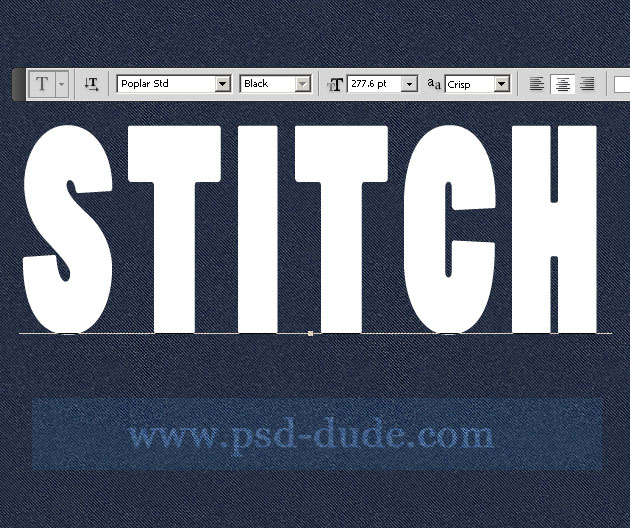
Use the Type Tool to write your text. I wrote "STITCH" using a free font that comes with CS4, called Poplar Std. Use a big size of around 300 pt and choose any choose the color white for the text.
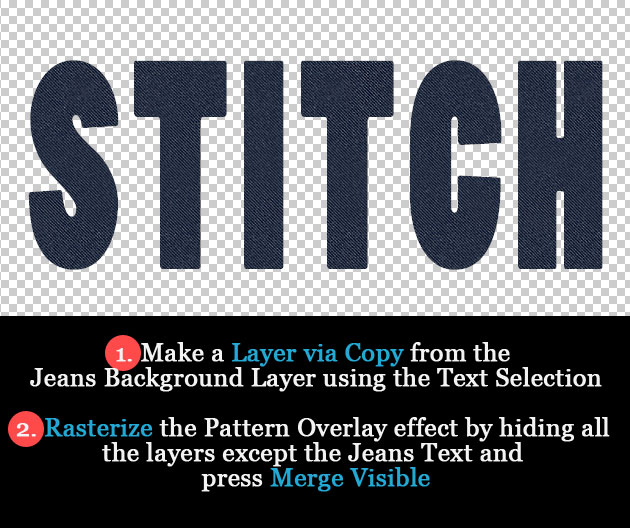
Press CTRL and click the layer thumbnail to select the Text Layer and make a Layer via Copy from the Jeans Background layer. Simply press CTRL+J to make the layer copy. Call this layer Jeans Text. you can now hide the Text Layer because we don't need it anymore.
As you can see the new created Jeans Text has a Pattern Overlay layer applied. I want to rasterize or merge that style into the layer. There are several ways in which you can do that. One is to hide all the other layers, right click on the layer and choose Merge Visible.
You can see that the Jeans Text is completly camouflaged by the background layer. So to make a difference between the two layers I will add two adjustment layers only to the Jeans Text. First I will apply a Color Balance adjustment layer and than a Brightness and Contrast adjustment.
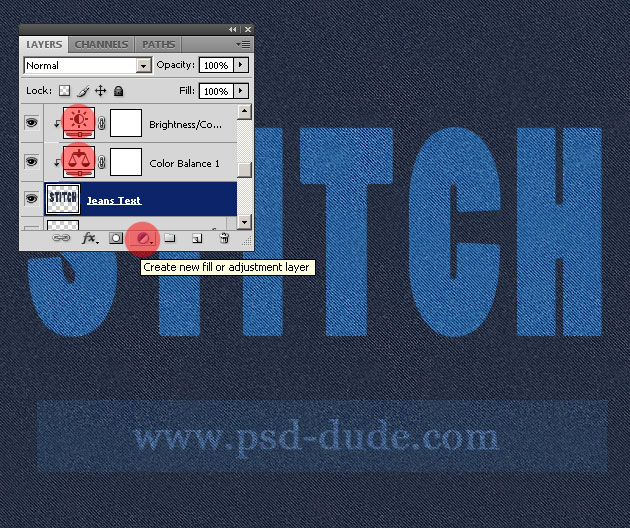
To apply the adjustments only to the Jeans Text layer you have to press the button shown in the image below. Make sure you set the color, contrast and brightness correctly but even if you don't they can easily be adjusted at any time.

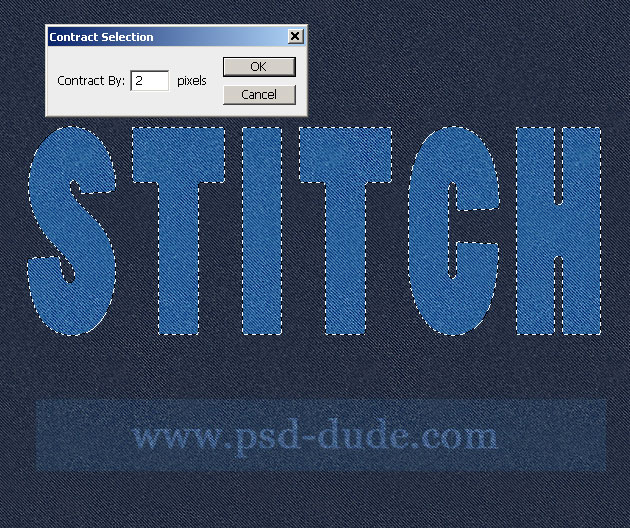
Press CTRL and click the layer thumbnail to select the Text Layer. Press Select, Modify, Contract by 2px. Select Inverse and press delete to obtain a thiner text effect.
Create a new layer below the Jeans Text layer and call it Threads layer. Press CTRL and click the layer
thumbnail to select the Text Layer. Press Select, Modify, Expand by 2px.
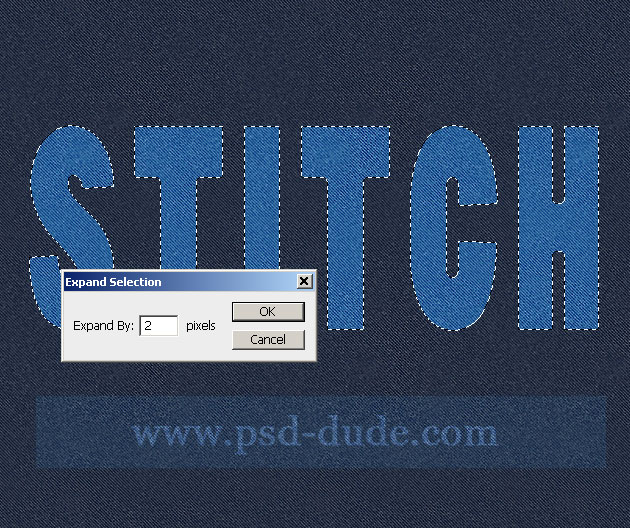
Right click on the selection and choose Make Work Path. Now I will use one of my custom made brushes that you will find in the ZIP pack to create fabric threads.
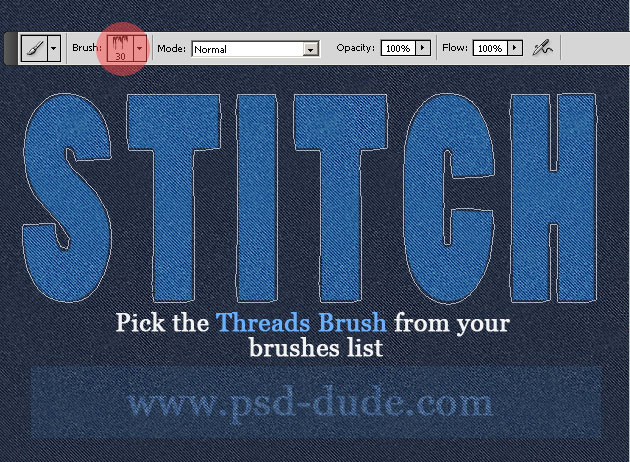
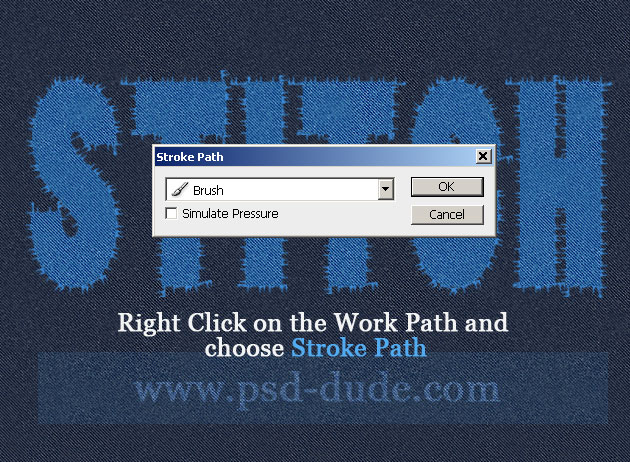
Make sure you have the Threads Brush selected and that your Foreground color is #3a8cdb. Select the Path Selection Tool and right click on the Work Path and choose Stroke Path. You should obtain a similar result.
Use the Eraser Tool to remove the areas that you don't like from the Threads layer and also add a Drop Shadow effect using these settings.

Now it is time for the final effect, the stitch text effect. Create a new layer above all the others and call it Stitch layer.
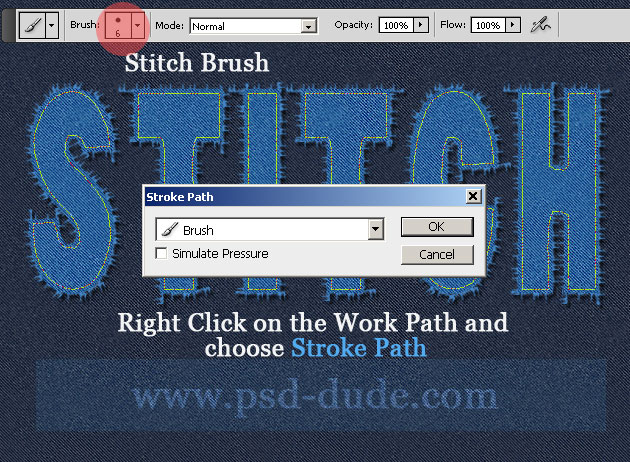
Press CTRL and click the layer thumbnail to select the Text Layer. Press Select, Modify, Contract by 4px. Make again a work path from this selection and use the Stitch Brush to Stroke the Path in the new created Stitch layer.
Make sure you have the Stitch Brush selected and that your Foreground color is #f7f2bc. Select the Path Selection Tool and right click on the Work Path and choose Stroke Path.
The stitching text effect is almost complete. I just love this text effect especially because you can use it to create various effects, even making embroidered text works in a similar way. Make sure to check out this incredible stitch photoshop actions collection which you can use to create one-click stitch and emroidery text effects.
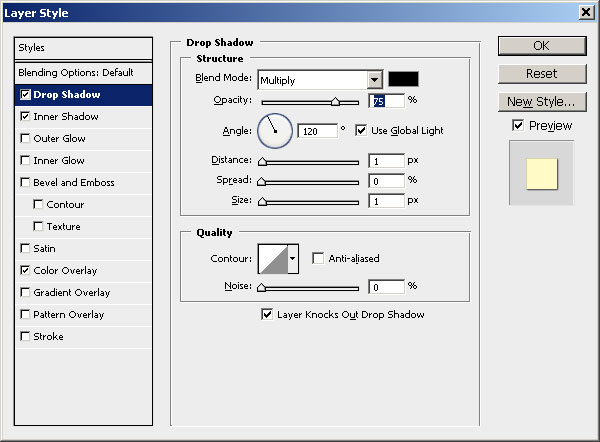
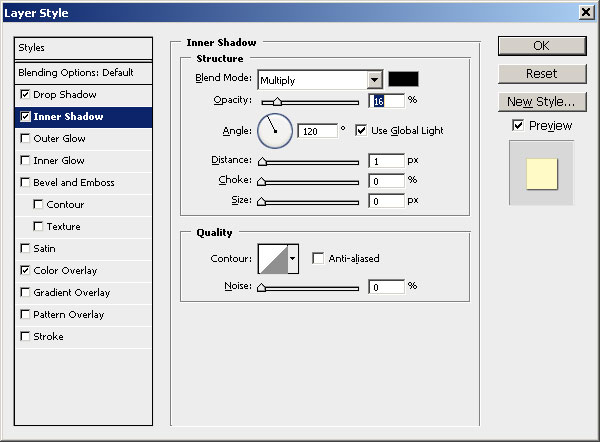
Open the layer style window for the Stitch layer and add Drop Shadow and Inner Shadow to obtain a more realistic result.
Here is the final result for this Photoshop stitch text effect. As I told you in the beginning of this tutorial you can try it with different fabric textures for more interesting results. You can of course play with other, more complicated stitch brushes. Hope you like it! And don't forget to download the ZIP file that contains the two brushes used in this tutorial.
If you enjoyed reading this tutorial you might want to take a look at this Jeans Heart in Photoshop tutorial also. It is one of my favorite and you can explore even more the Photoshop stitch effect.
6 comment(s) for "Photoshop Stitch Text"