
In this tutorial, we'll be creating a texture that looks like a mud wall.
Create The Base For The Wet Mud Texture
Start a new document anysize you want
(im using 500x200) and fill the background with black.
Press "D" to reset your foreground
and background colors to black and white
Now go to Filter » Render » Difference Clouds.
Press CTRL+F 3 times to reapply.
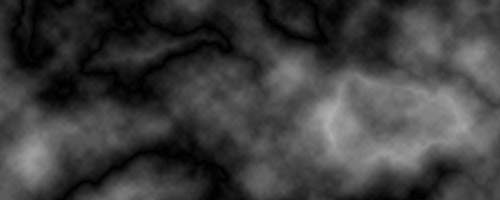
Now go to Filter » Sharpen » Unsharp
Mask.
Amount: 500%. Radius:
4.3. Threshold: 25
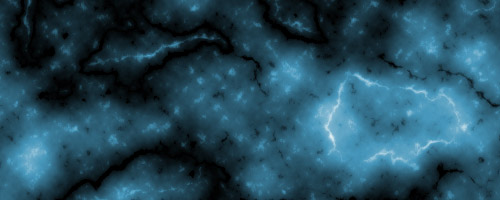
Now go to Image » Adjustments » Hue
& Saturation.
Check the colorize box. set Hue
200. Saturation: 46. Lightness:
0
How To Create The Cracked Mud Texture
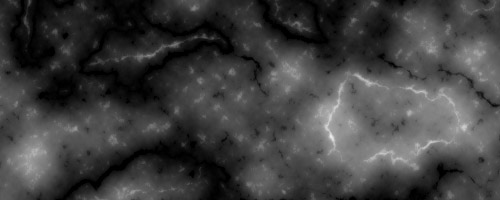
Go to Filter » Stylize » Wind. and use Method: Wind. Direction: From the Right. This will add some streaks from right to left. We will use these streaks to build up the cracks in the mud texture.

Then Filter » Stylize » Wind. Method: Wind. Direction: From the Left. This will extend the streaks from horizontally to increase the cracks effect on the mud texture.

Add Mud Texture Cracks On The Vertical Now
We will just repeat the same steps for creating the mud texture cracks, but this time on the vertical. The most convenient way is to simply rotate the whole texture and redo the same steps as above.
Go to Image » Rotate Canvas » 90CCW. Then Filter » Stylize » Wind. Method: Wind. Direction: From the Left
Then Filter » Stylize » Wind. Method: Wind. Direction: From the Right
Let's rotate our mud texture back to normal: Image » Rotate
Canvas » 90CW

Mud Texture Result
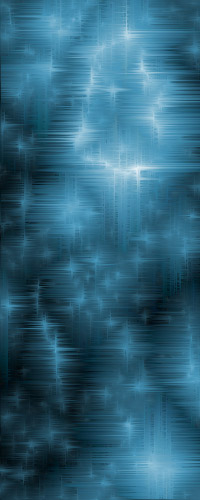
To finish up our wet mud texture image simply go to Filter » Stylize » Emboss. Use the following settings: Angle: 135. Height: 1. Amount: 500%
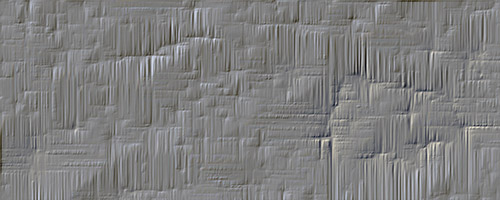
There you have it, our wet mud texture is complete.
For more awesome tutorials for creating textures please see our Photoshop Texture Tutorials Collection
2 comment(s) for "Mud Texture"
Many thanks for sharing this things. reply