
Open a new PSD file. Create a layer called Water Texture.
Set the Foreground Color to #000000 and the Background Color to #ffffff .
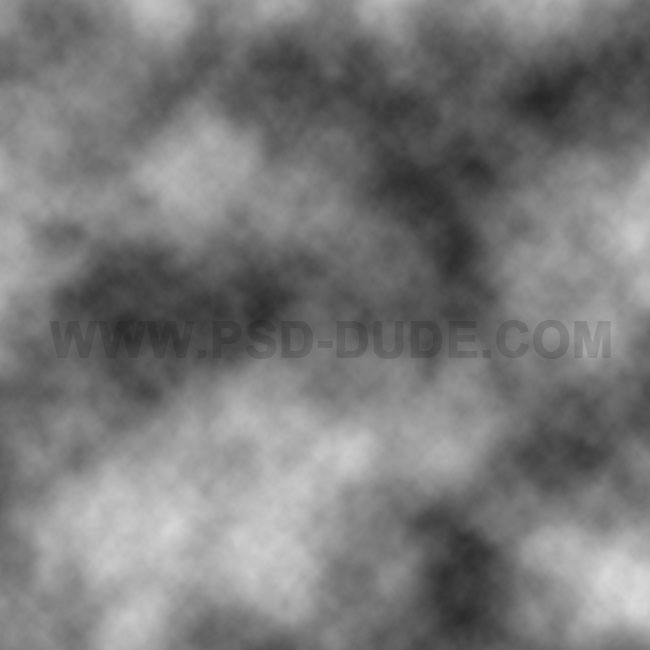
Go to Filter > Render > Clouds.
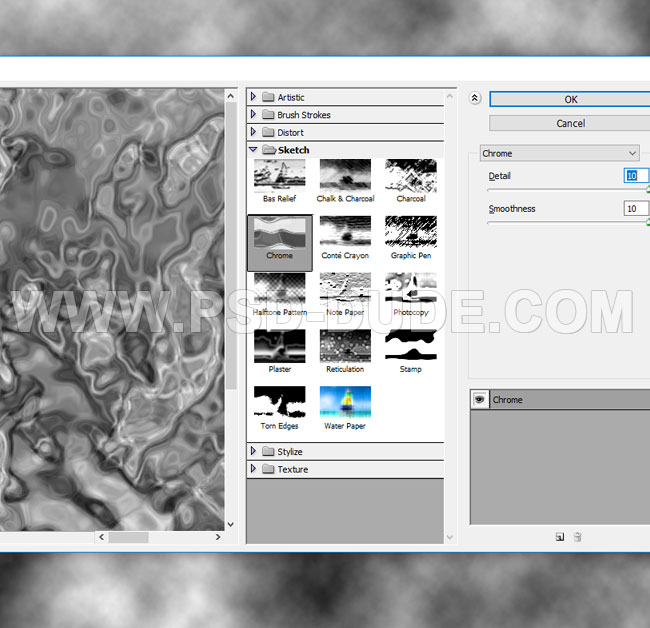
Go to Filter > Sketch > Chrome.
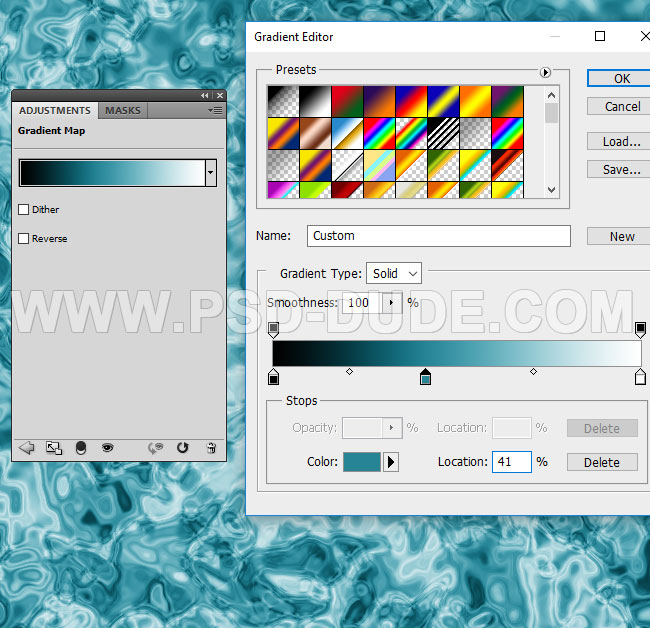
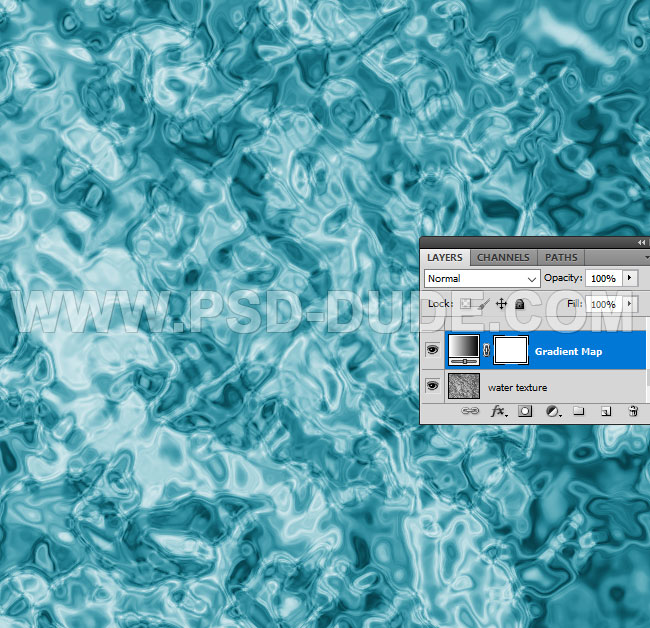
Add a Gradient Map adjustment layer. The colors for the water gradient are: #000000 (location 0%), #268495 (location 41%) and #ffffff (location 100%)
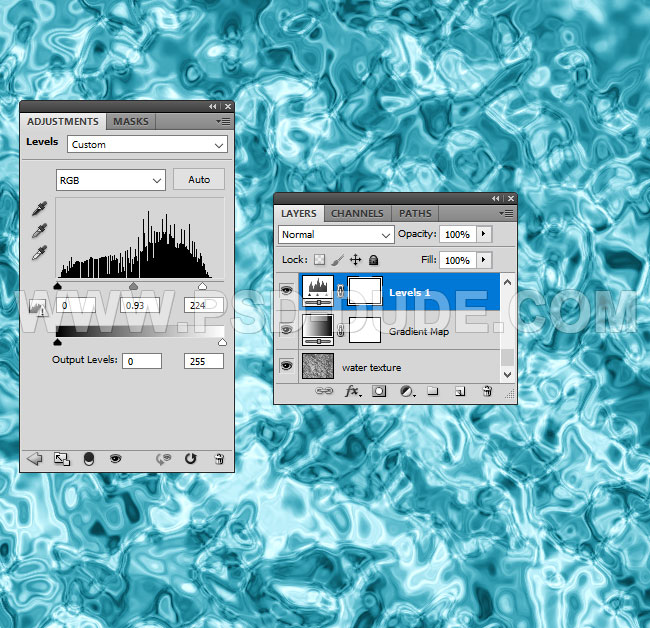
If you want to adjust the contrast and the lightness, you can add a Levels adjustment.
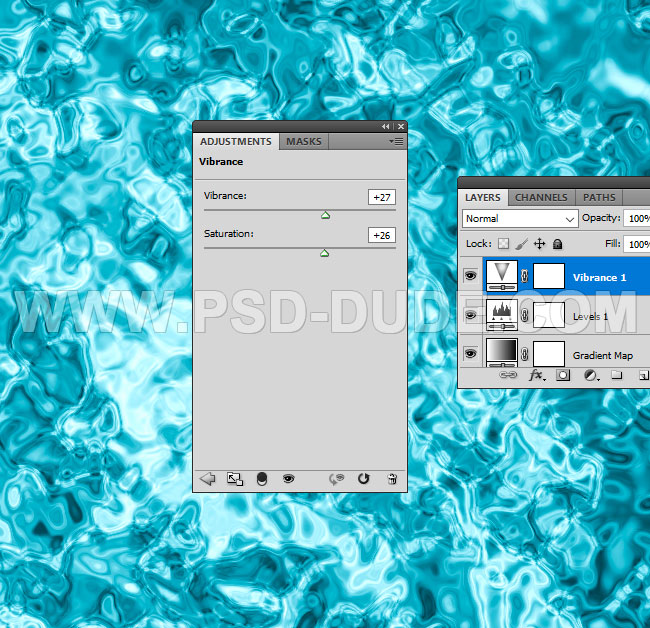
If you want to adjust the color saturation, you can add a Vibrance adjustment.
Press Shift-Control-Alt-E to make a copy of the layers merged. Go to Filter > Other > High Pass.
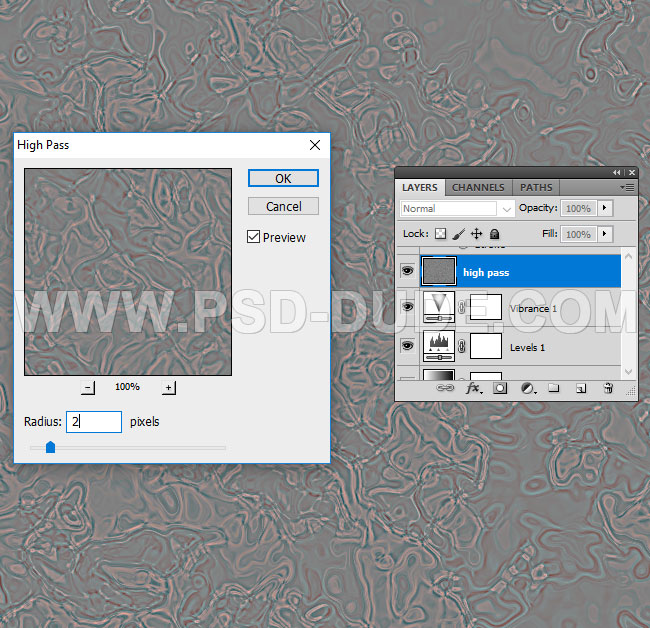
Set the blend mode to Overlay.
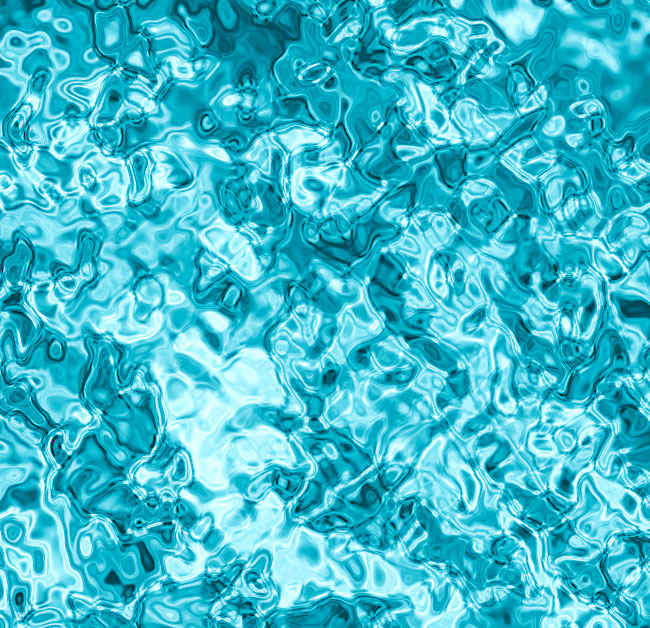
Here is the pool water texture made in Photoshop from scratch.

2 comment(s) for "Make a Pool Water Texture in Photoshop"