
While working on a simpler edit text in image Photoshop tutorial, I got inspired to create this tutorial.
By the way, you should also check out some online alternative tools to Photoshop (for example MockoFun) as sometimes things like writing your name on image can be done so much faster like that.
Tutorial Assets
For this tutorial you will need these stock images, textures and other resources.
Create a Background layer and fill it with color #000014.

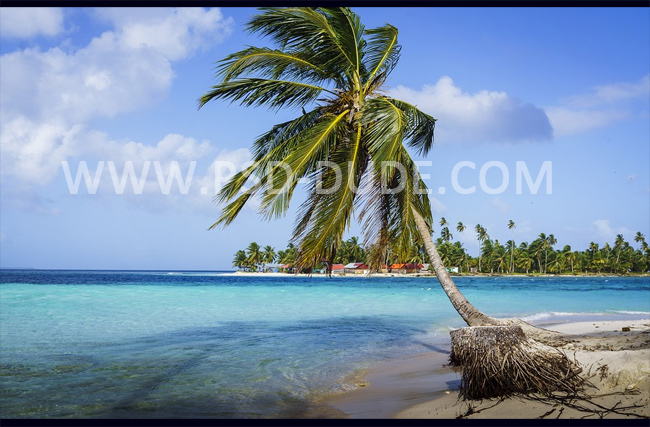
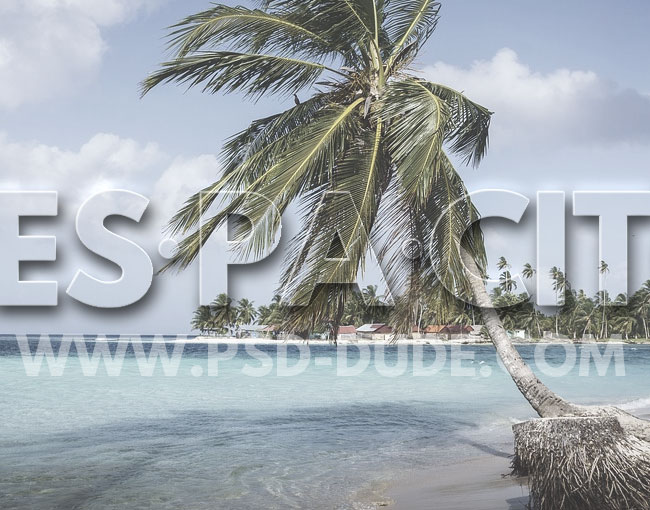
Add this Sand Beach Tropical Island image in an new layer.
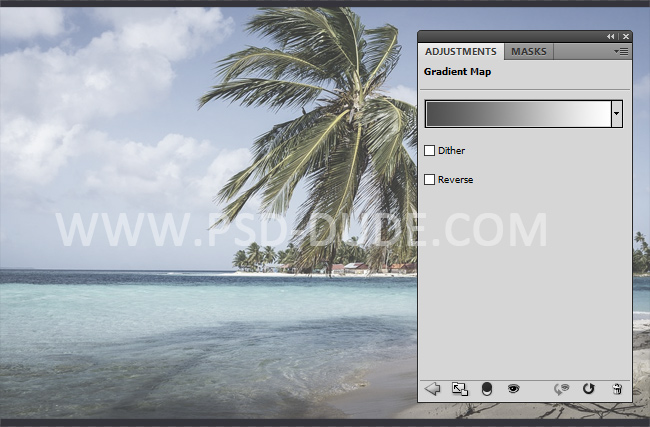
Add a Gradient Map adjustment layer. The colors for the gradient are #4e4e4e and #ffffff. Set the opacity of this layer to 66%.
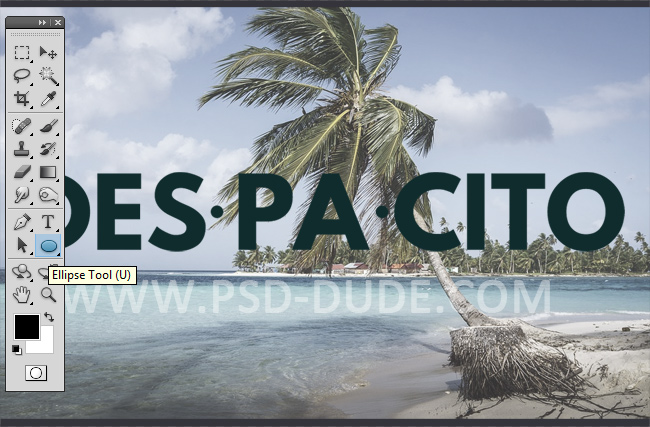
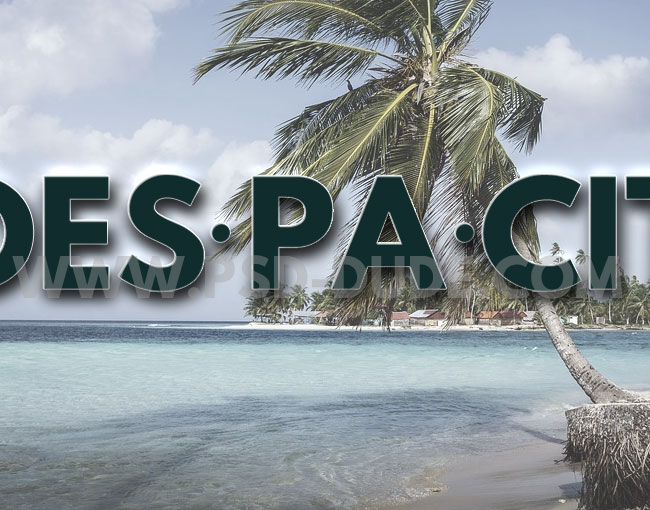
Add a Text layer and write something using the League Spartan Font type. My text layer is "Despacito" which is the title of a famous song that I love. "Despacito" is a Spanish diminutive word ("Slowly" in English) that inspired me to create this text effect.
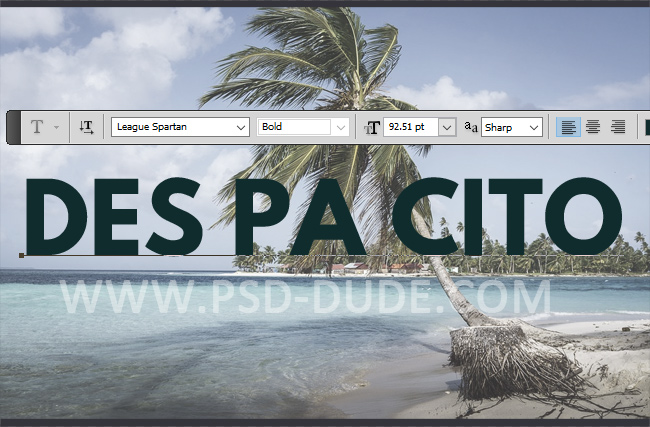
Divide the words into syllables by leaving a blank space ("DES PA CITO") and use capital lettters.
Use the Ellipse Tool and add a circle between the syllables.
Select the two layers (the Text layer and the Circle shapes layer) and right click on the layers and choose convert to smart object. You can use only the Text layer if you find it easier.
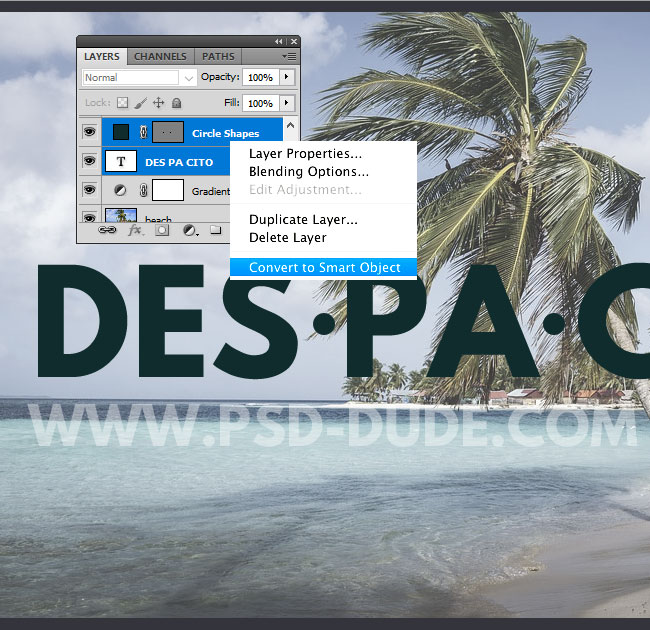
Rename the smart object, Text 1. Press Control-J to make a copy of the smart object layer. Name it Text 2.
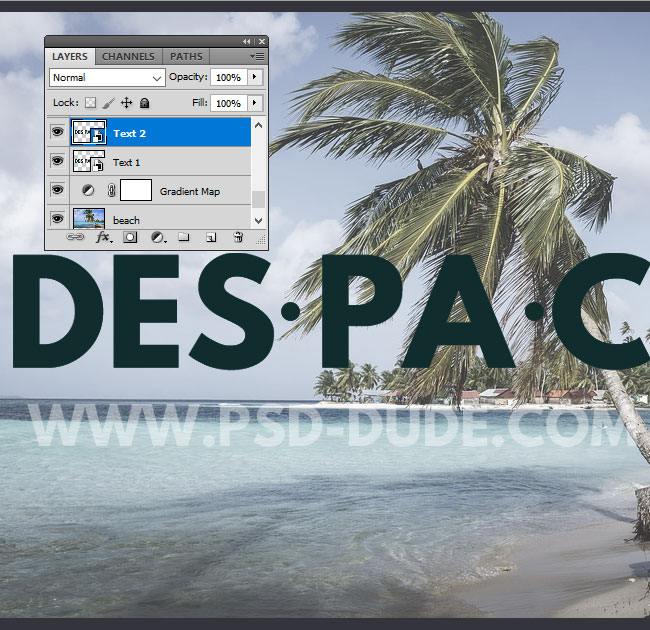
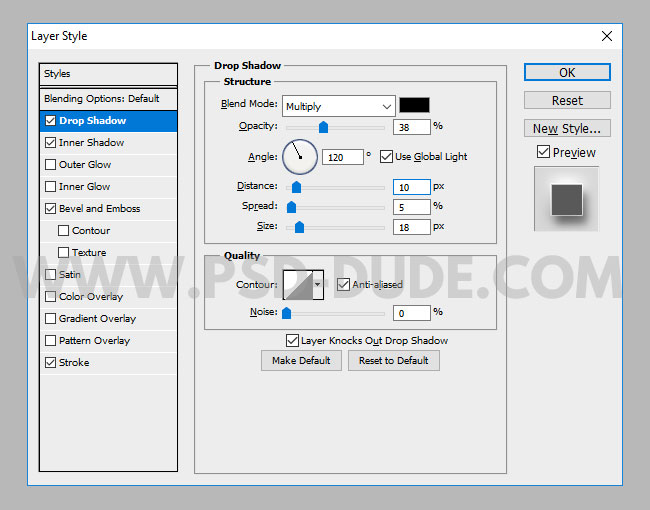
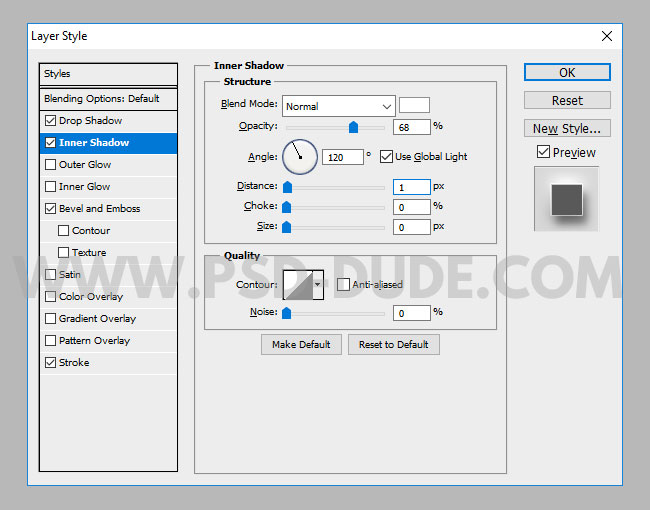
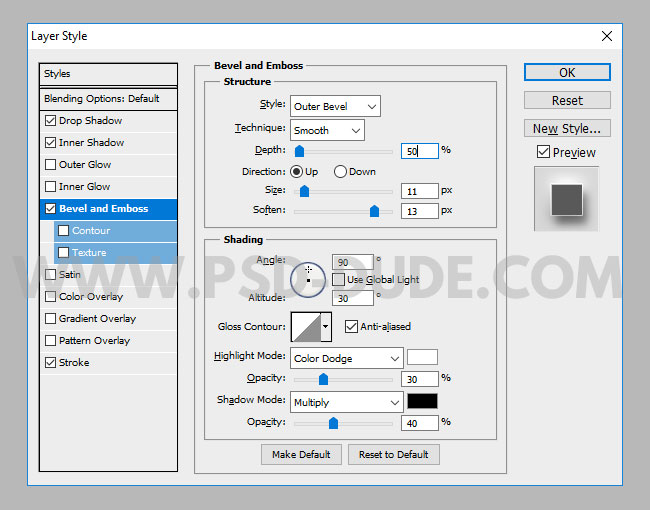
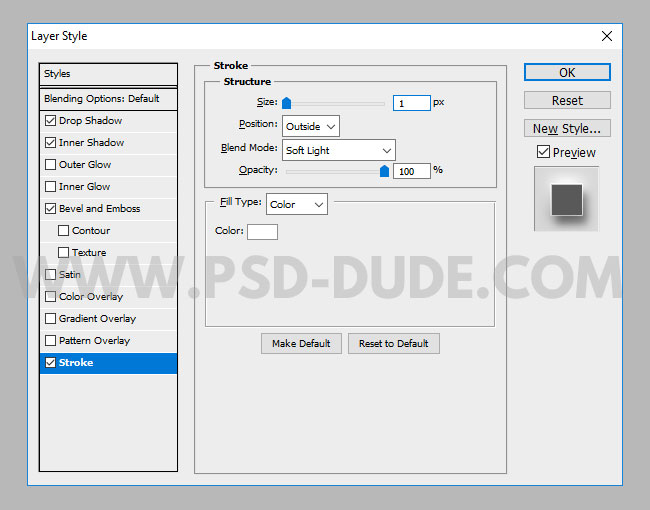
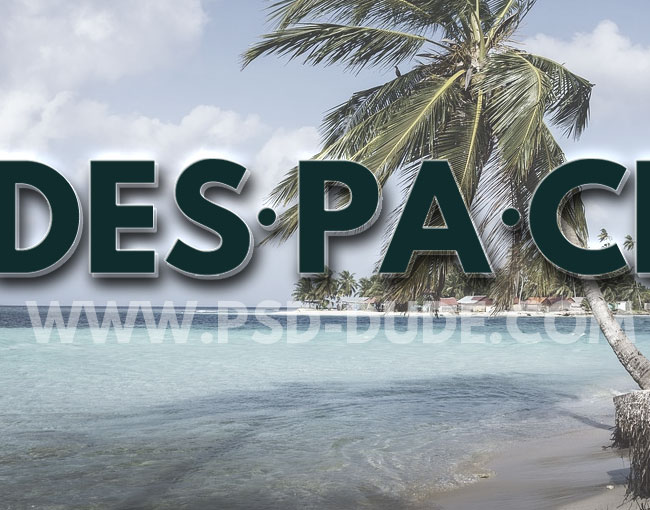
Add this layer style to the Text 1 layer.
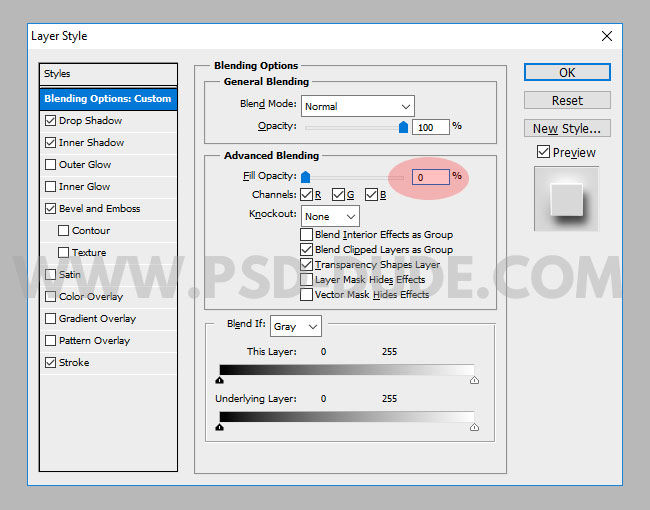

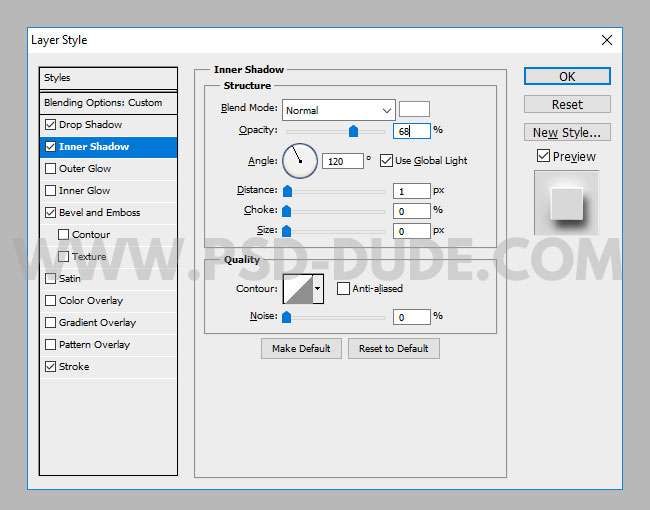
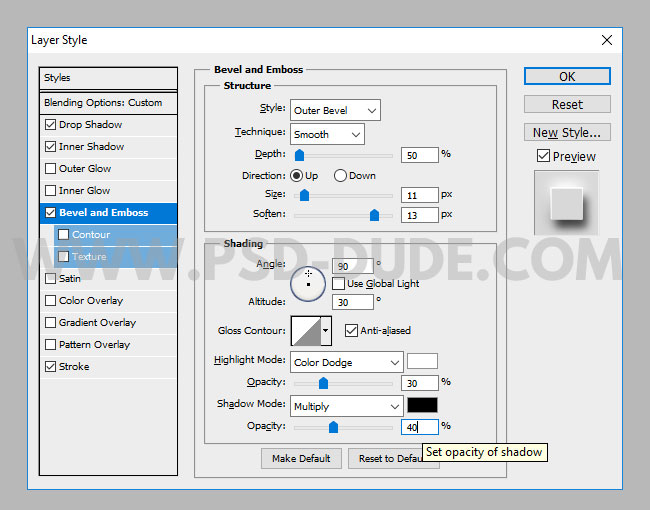
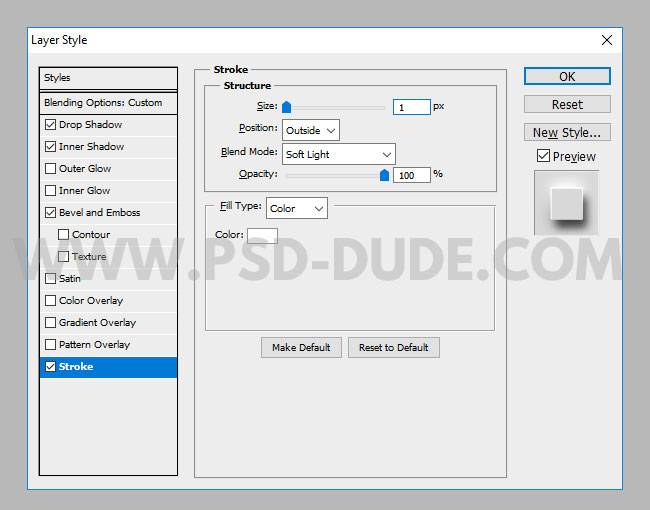
Add this layer style to the Text 2 layer.
Move the Text 2 layer a few pixels up and left.
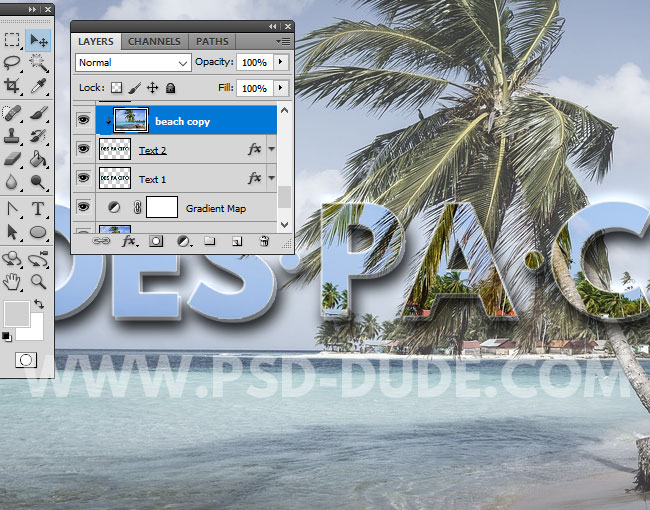
Duplicate the Beach layer and place it above the Text 2 layer. Right click and choose Create Clipping Mask. Move the Beach image; that way you have another image inside the text.
In a new layer add this Grunge Texture and set the blend mode to Lighten.
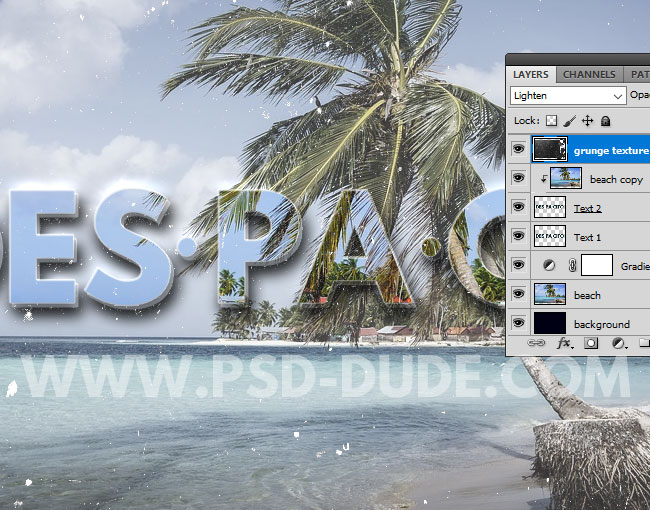
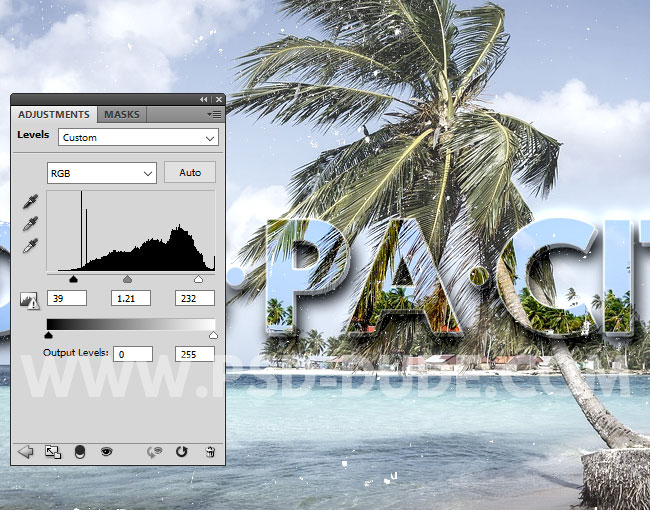
Add a Levels adjustment.
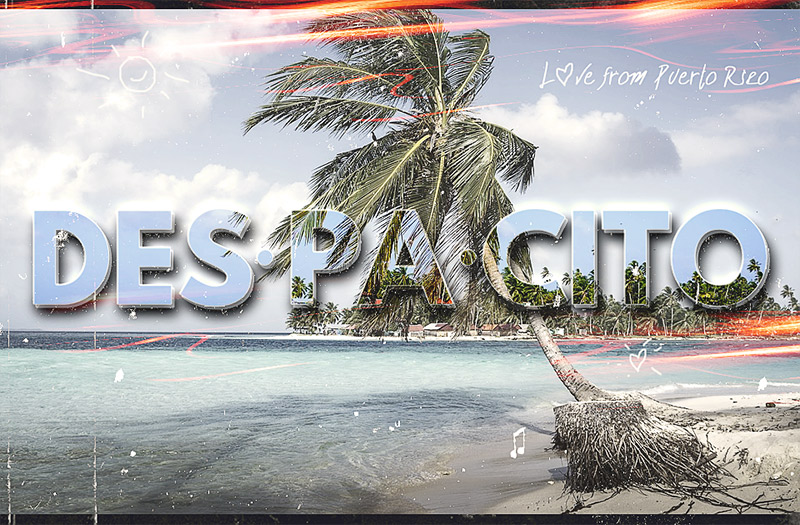
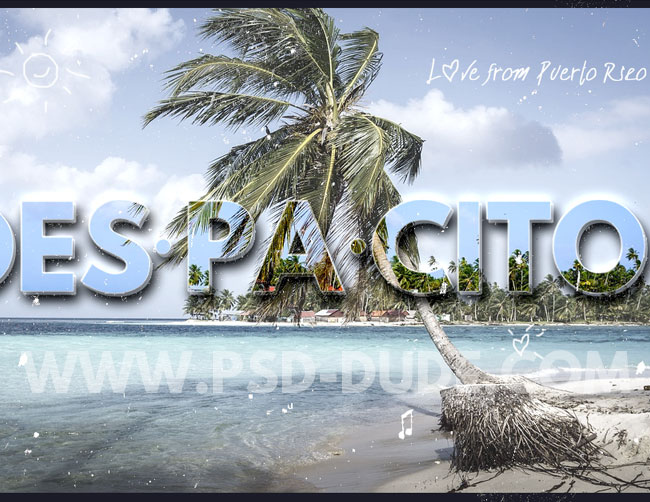
I added the text "Love from Puerto Rico" using the Biffes Calligraphy font. Use the doodles brushes to add cute details.
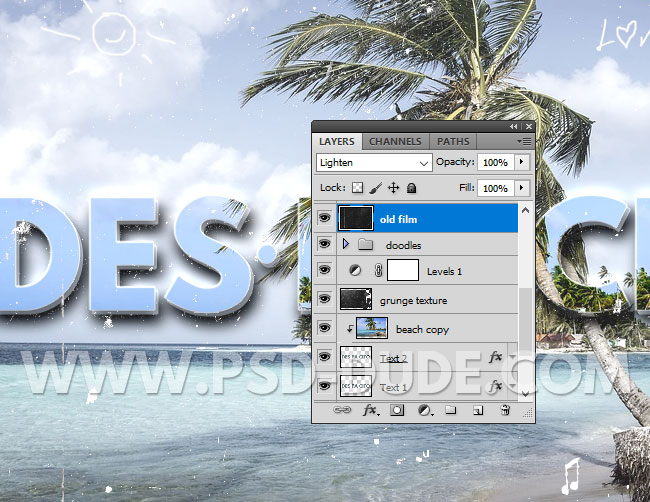
To add more scratches and make the image look like an old movie, use this Old Film Texture. Press Control-I to invert the colors and set the blend mode to Lighten.
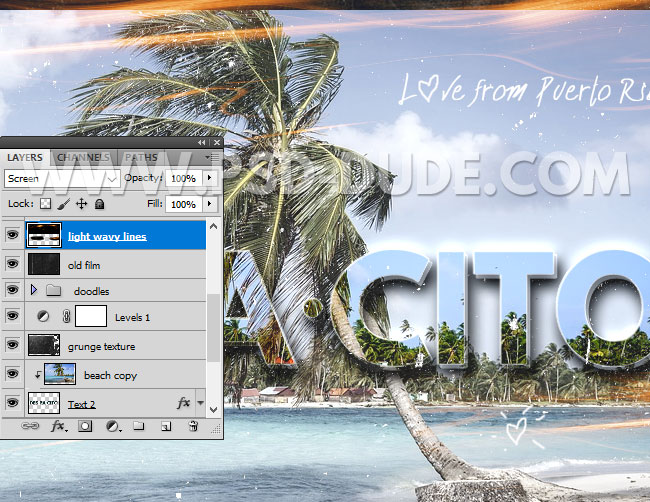
To create that party fiest vibe, use this Light Wavy Lines texture overlay. Set the blend mode to Screen.
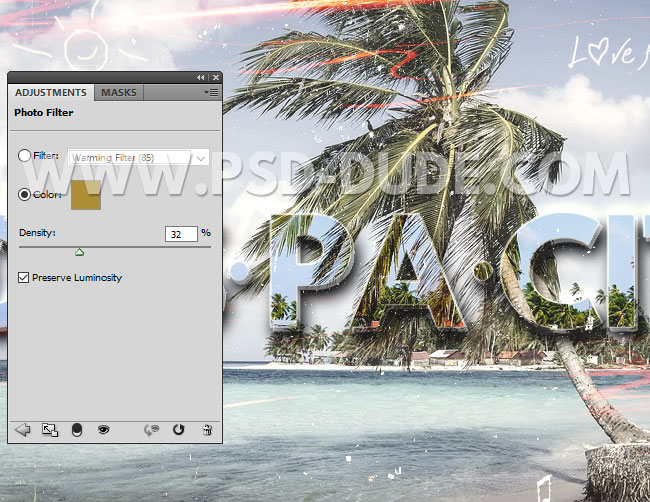
To create a sepia effect, apply a Photo Filter adjustment layer using the color #ab8e35.
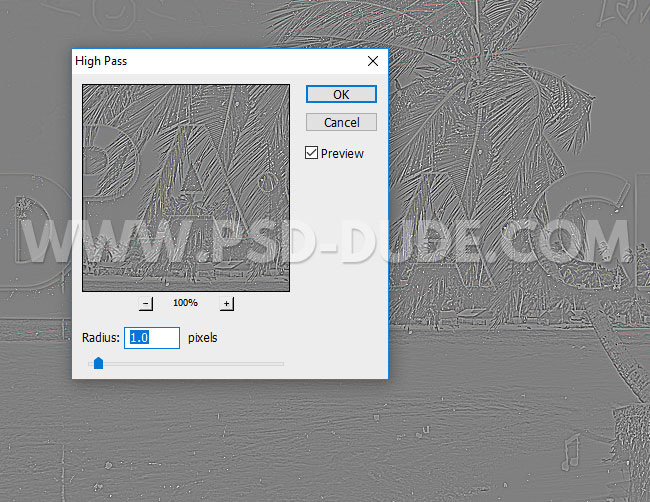
Press Shift-Control-Alt-E to make a copy of the layers. Go to Filter > Other > HighPass. Set the blend mode of this layer to Overlay to obtian a sharpen photo effect.
Now you know how to fill text with image in Photoshop. You learned how to create a transparent text or a see-throught text (Text 1 layer style) and also how to create a text mask in Photoshop (Text 2 layer style).
For this tutorial I made a cover image for my favorite song "Despacito" using stock images, layer styles and textures.
8 comment(s) for "How to Fill Text with Image in Photoshop"
Can you please tell me an easier way to fill text with image, thanks reply
It only seams complicated because I used more than one text layer and some textures, effects, etc .
Here are the 3 easy steps:
1. Add you Text layer
2. Add the Image layer above the text
3. Right click on the Image layer and choose Create Clipping Mask
I hope it helps :)