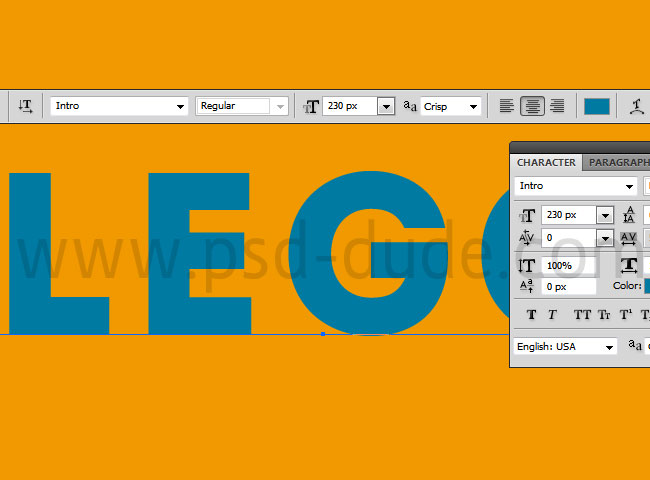
Learn how to create a LEGO text effect in Photoshop using the Pixelate>Mosaic filter. Create a new layer and fill it with a bright orange color #f19900 . Add a text layer and type something. I will use the Intro font type for my text, but you can use any font you like. Learn how to install font in Photoshop if you want to use a new font type. Use color #007aa2 for the text.
Make sure you have some shape between the letters so you have to set the tracking for the selected characters to 50.
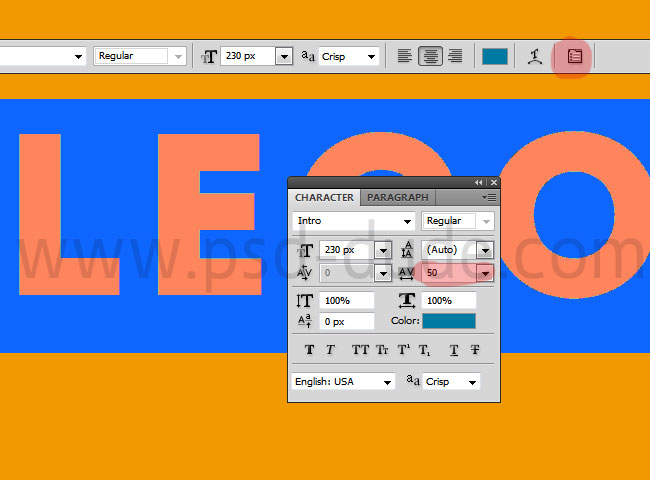
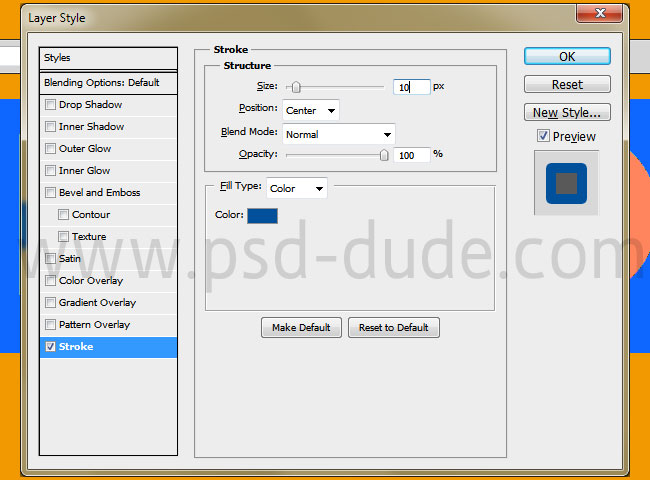
I will add a Stroke layer style, using a darker blue color #00509b
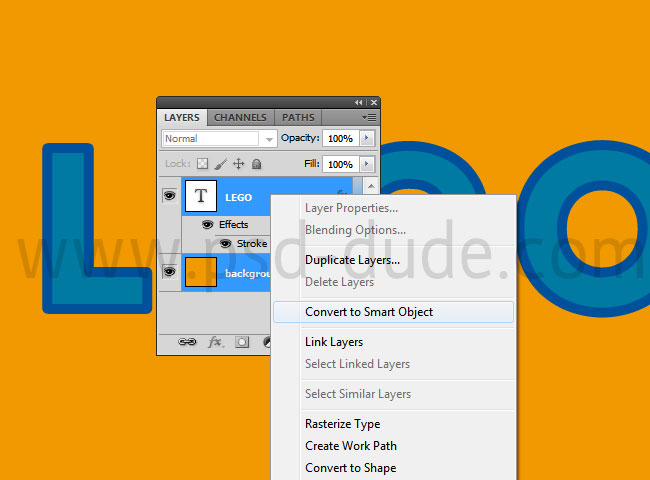
Select the two layers, the background and the text, and convert them into a smart object
Now we'll add a smart filter to create a pixelate effect. Go to Filter>Pixelate menu and choose Mosaic. Set the cell size so that the text to be still readable. I will set the mosaic to 20 pixels.
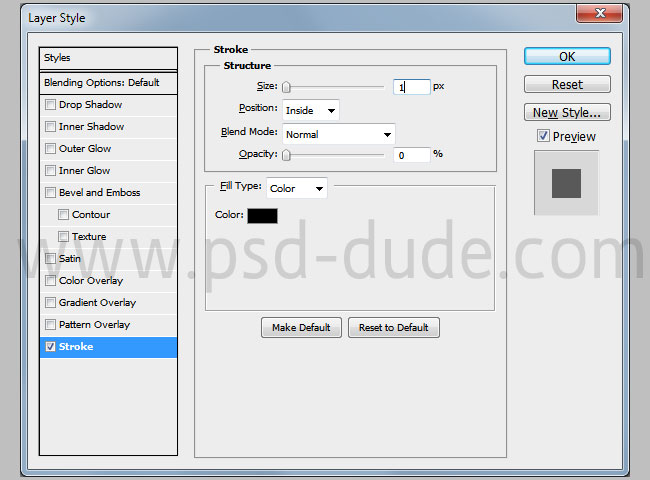
Now we have to create the toybricks patterns that we are going to use for the text effect. Create a new PSD file, with canvas 20x20 pixels. I will zoom in the image for the preview. Fill the background layer with #949494 color.
Add a Stroke layer style like shown in the image.
Add a circle in the middle of the canvas. Use the #afafaf color
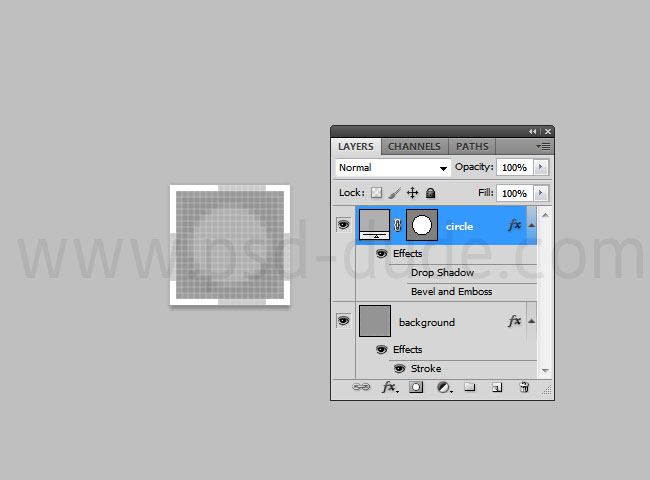
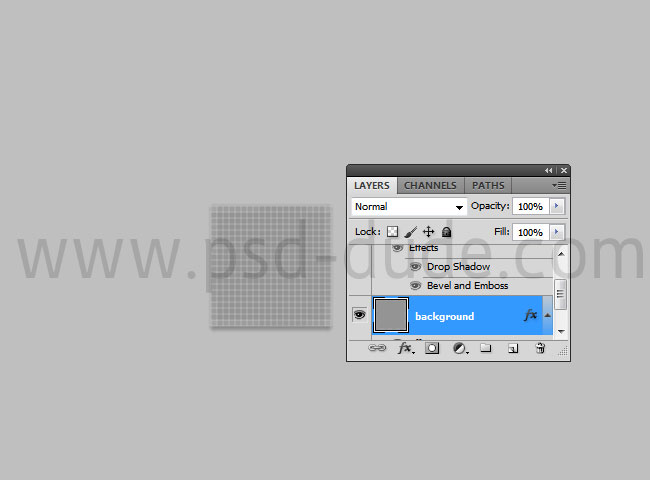
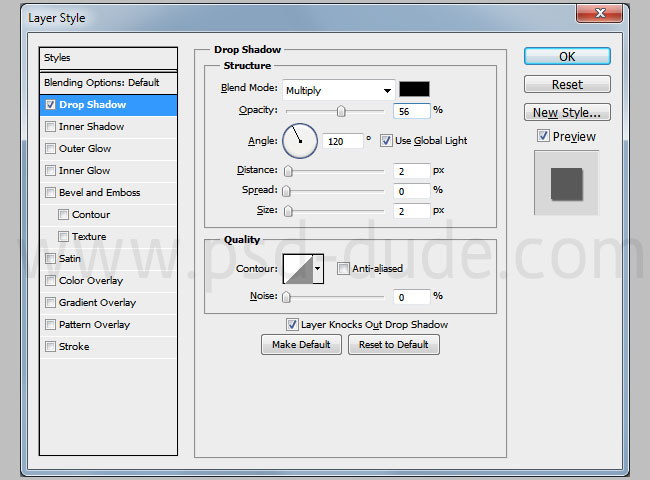
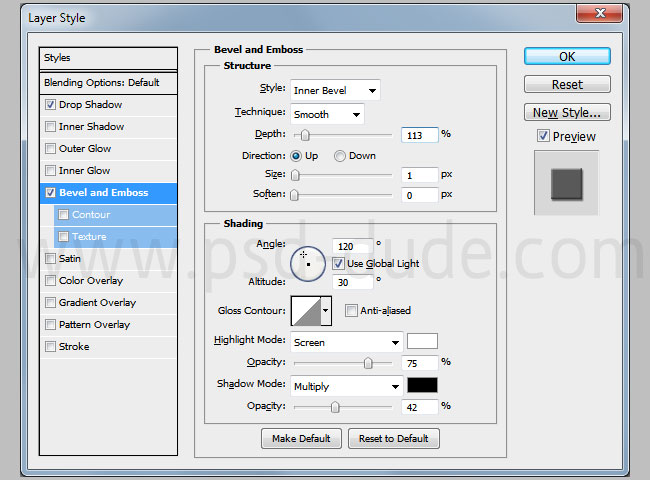
Add these layer styles to the Circle Layer to create the lego toy block.
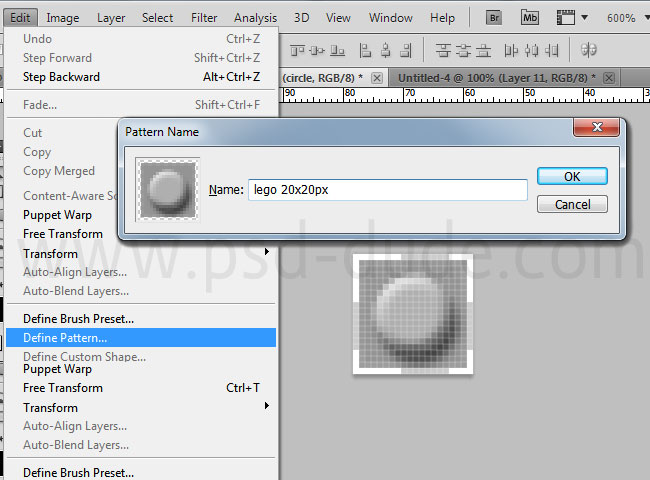
Now all we have to do is to create the pattern. Go to Edit menu and choose Define Pattern.
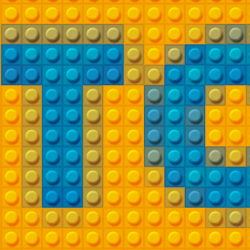
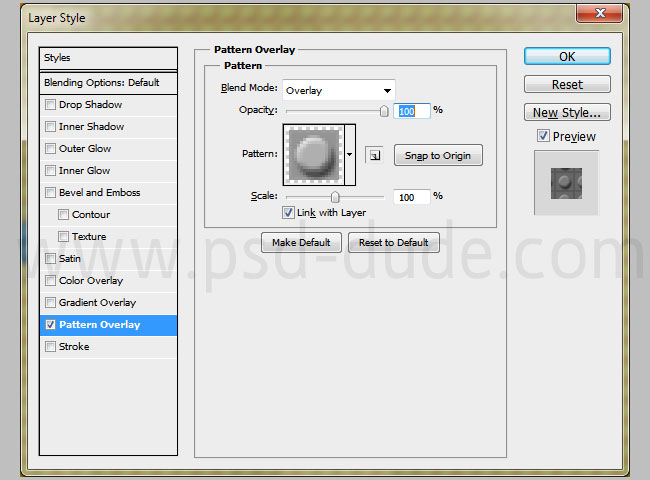
Go back to your initial PSD file and add a Pattern Overlay layer style to the smart object using the new created LEGO pattern. If you want you can download and use my toybricks patterns available in two sizes(20px and 30px).
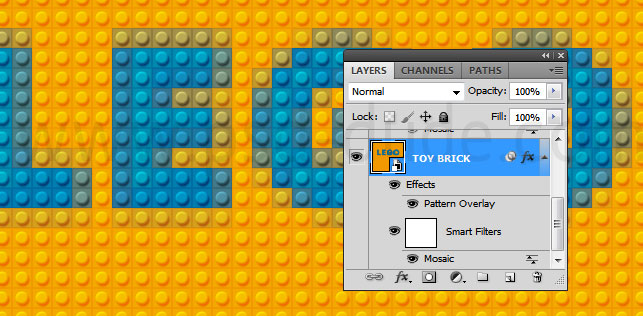
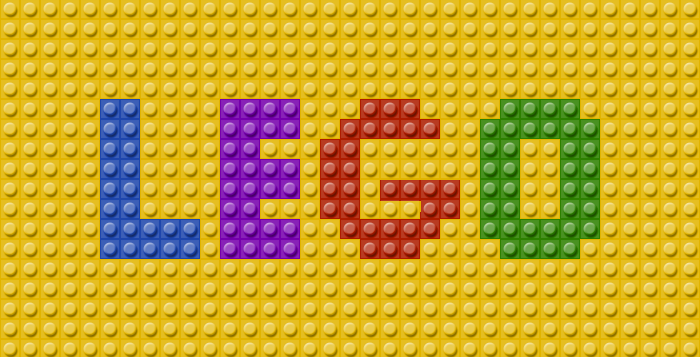
So here is the final result for the LEGO toybricks text effect made from scratch in Photoshop. Instead of thext layers you can use vector shapes or any other graphics, even photos.
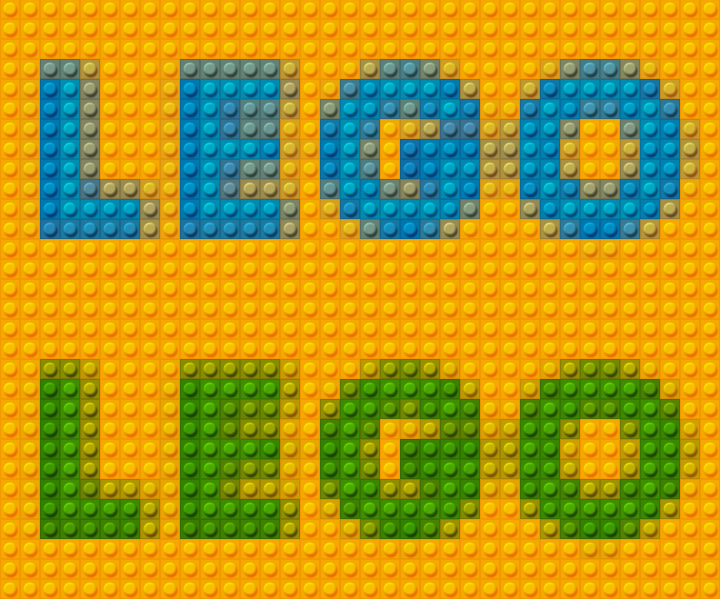
As you can see the pixel effect added to the text layer made the text look diffuse, almost illegible. That is happening because the Mosaic Filter returns semi transparent pixels. To increase the opacity of a pixel you can use the Eyedropper Tool to select a color, then use Paint Bucket Tool with fully magnified zoom, to change the color/opacity of each pixel.
In order to make these manual adjustments, first you have to rasterize the smart object otherwise you can not use the Paint Bucket Tool nor the Brush Tool.
If you want to create more interesting LEGO Photoshop effects with just one single click you can try some of our premium actions.
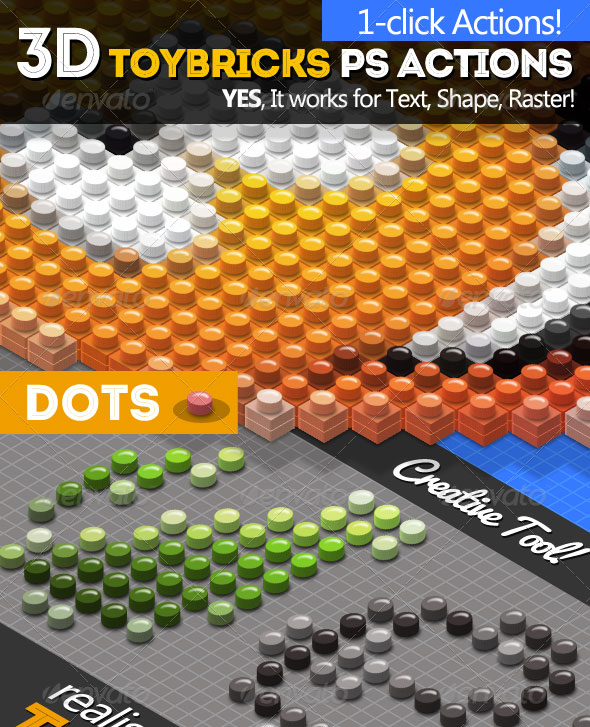
This action pack will allow you to create realistic toy bricks effects out of any text, vector shape or raster image cutout. You can pick from 2 brick sizes; available also in 3D perspective.
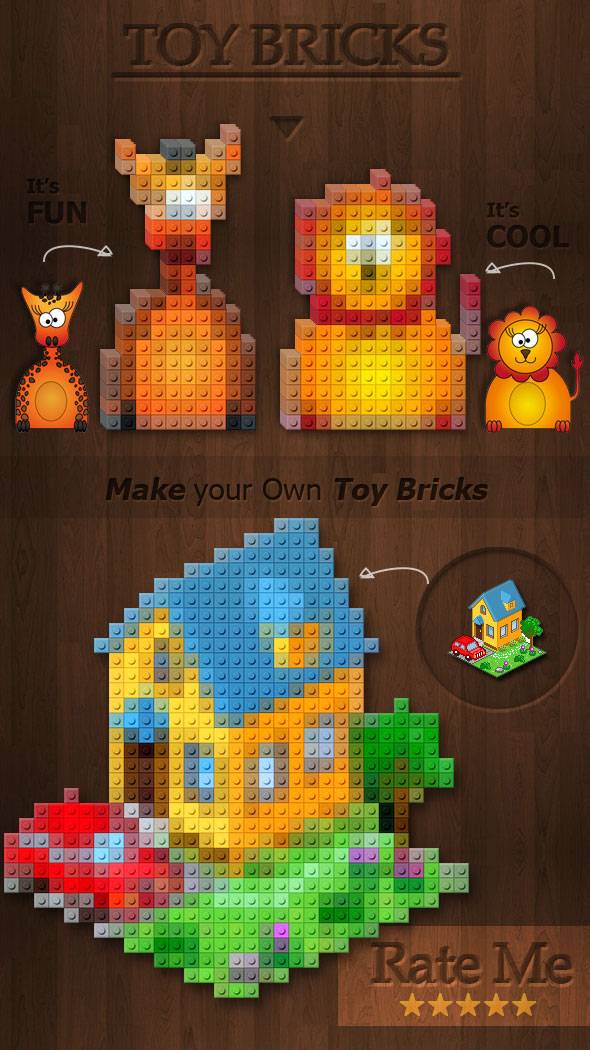
This set contains 5 Photoshop actions that will allow you to create realistic pixel perfect toy bricks and toy blocks effects out of any text, shape or raster. The toybricks are created in isometric perspective with customizable isometric background.
11 comment(s) for "Toybricks Lego Text Effect Photoshop Tutorial"
reply
dmk-design.tumblr.com
so fun to learn this.
artwork made by dali-333