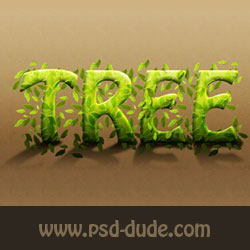
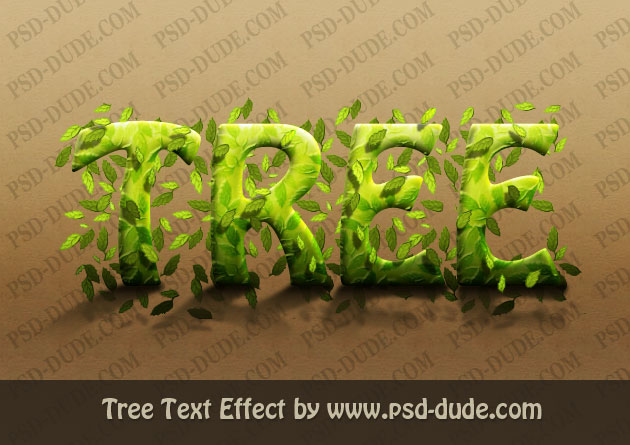
Phtoshop Tree Text Effect Final Image
Before we begin let's take a quick look at the text effect we are about to create. Nothing to complicated, you will only need some basic Photoshop knowledge. And the fun part is, that you can use any other nature element, like flowers for example, to create your own nature inspired text effect.
Add the Background Layer
Let's start with the Background Layer. Add a soft gray gradient to this first layer using the Gradient Tool. Use the Linear Gradient with two tones of light gray : #dad8d8 and #cecccc.
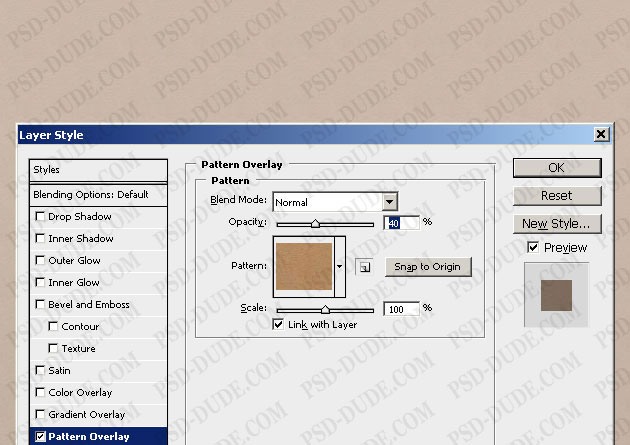
Open the layer Style Window and add Pattern Overlay using the Cardoard Pattern no.7 from this set of free Cardboard Patterns. You can of course use another texture, for example a Paper Texture will look just as beautiful.
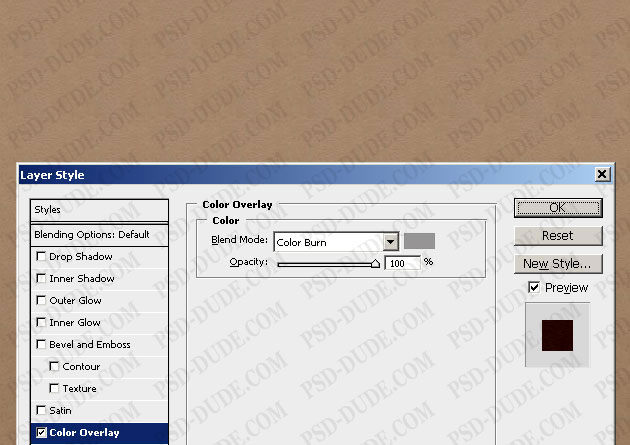
Add a Color Overlay from the same window, using this color #969595. Make sure you set the Blend Mode to Color Burn.
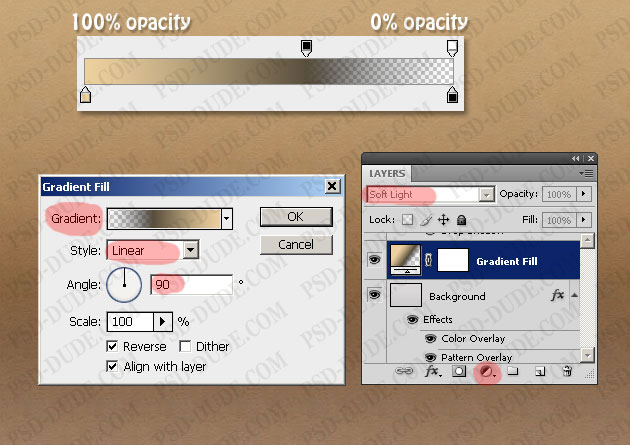
Add a Gradient Fill layer using these gradient colors. Set the Gradient Blend Mode to Soft Light 100%. As you can see the gradient has some transparent areas where the opacity is 0%.
Text Layer
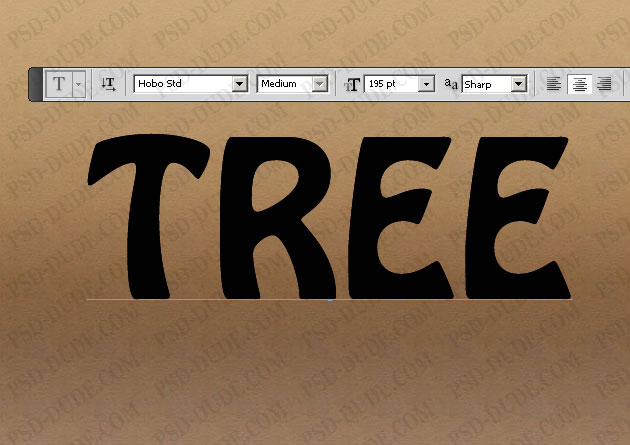
Time to add a simple text "TREE" with upper case letters. I will use a default font that Photoshop CS4 has, Hobo Std. The settings are as follows:
Convert Text into Shape
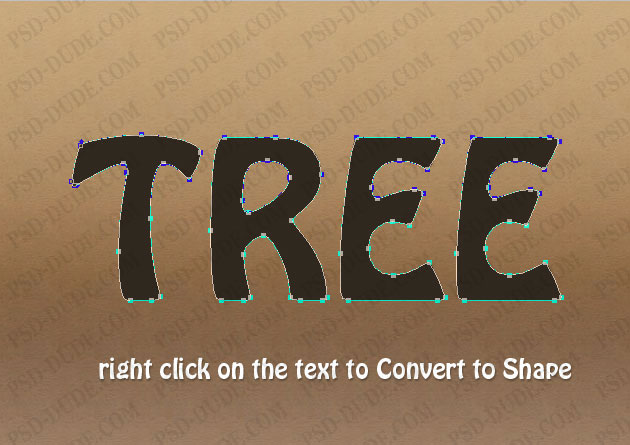
If we want to change the text shape without affecting the quality of the image, we have to transform it into vector. In Photoshop we can do that by using the Convert Text to Shapeoption. Now we can use the Covert Point Tool to make small changes but you can leave it as is.
Add Layer Styles
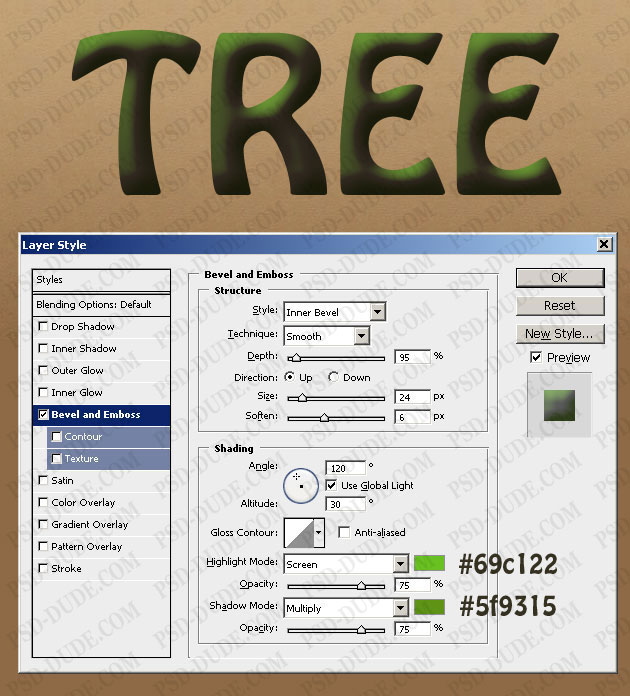
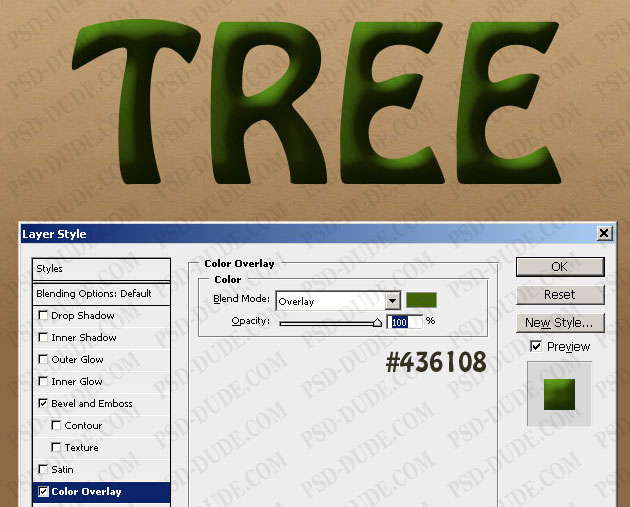
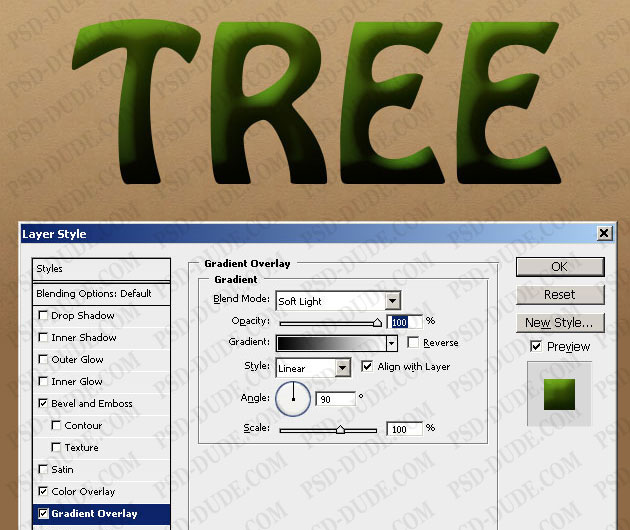
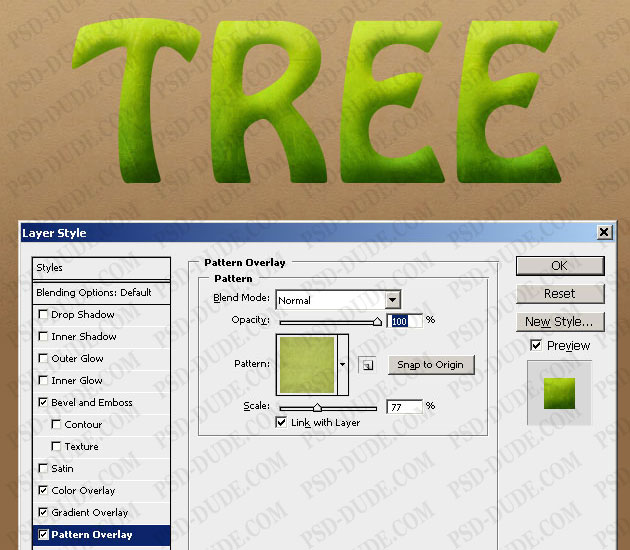
Duplicate the Tree Text Shape layer 3 times. Start with the Tree Text Shape 1 and add the following layer styles: Bevel and Emboss, Color Overlay, Gradient Overlay and Pattern Overlay.
For the Pattern Overlay use this beautiful Paper Pattern. I have picked the third pattern from this beautiful set, which has a nice green color.
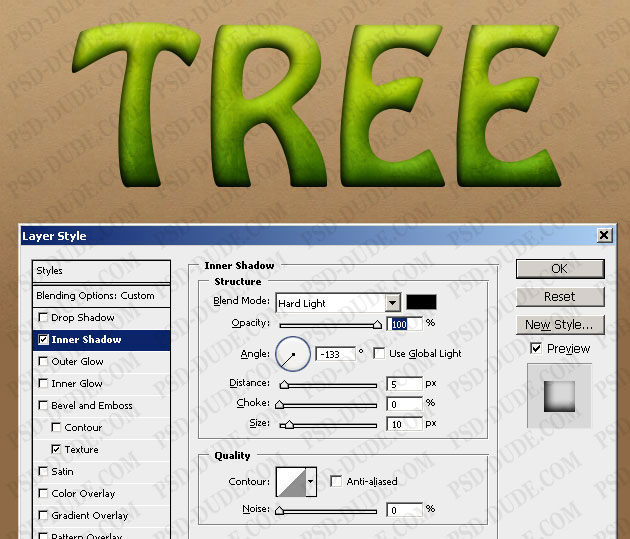
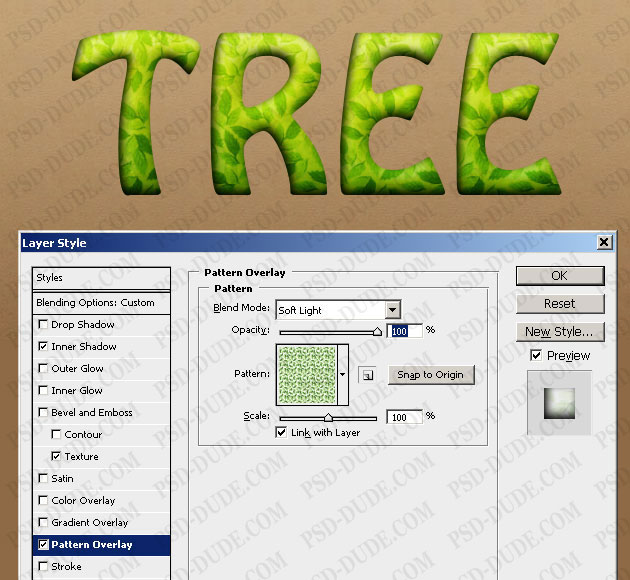
Now let's work with the second layer, the Tree Text Shape 2. Reduce the Fill to 0% and add the following layer styles: Inner Shadow, Pattern Overlay and Bevel and Emboss.
For the Pattern Overlay I will use this Leaf Texture as pattern. Copy the image in Photoshop, resize it to about 200px and Define Pattern (Edit Menu).
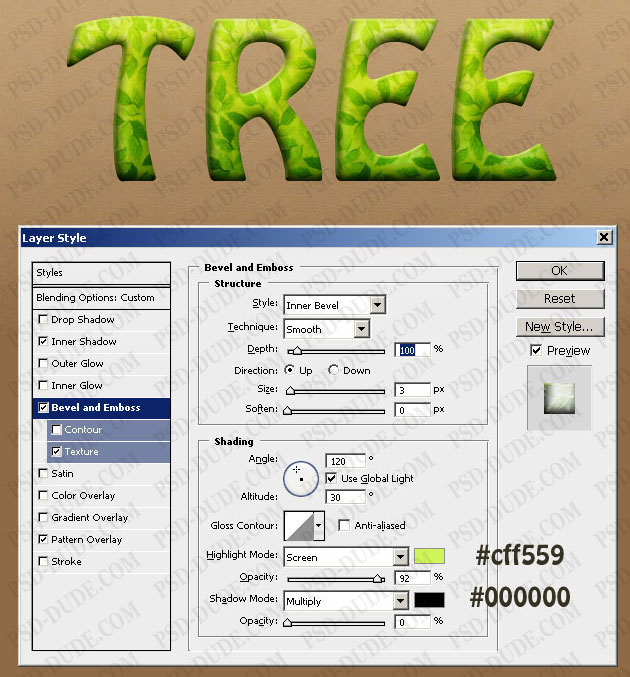
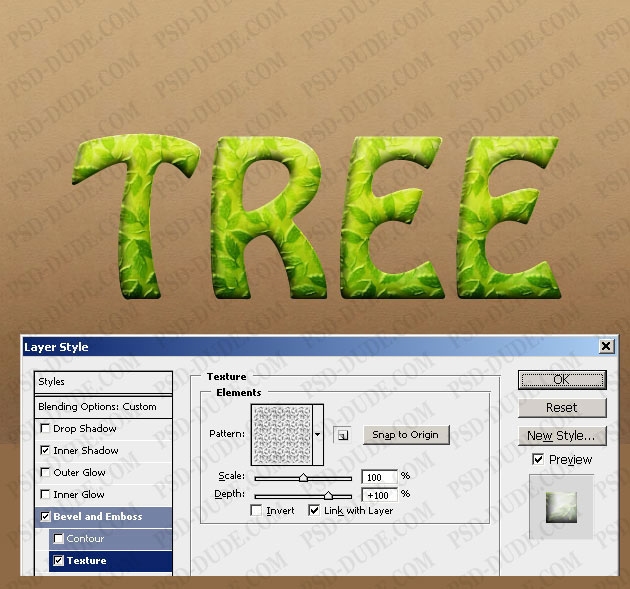
For the Bevel and Emboss make the settings presented below and don't forget to add Texture using the Leaf Pattern made in the previous step.
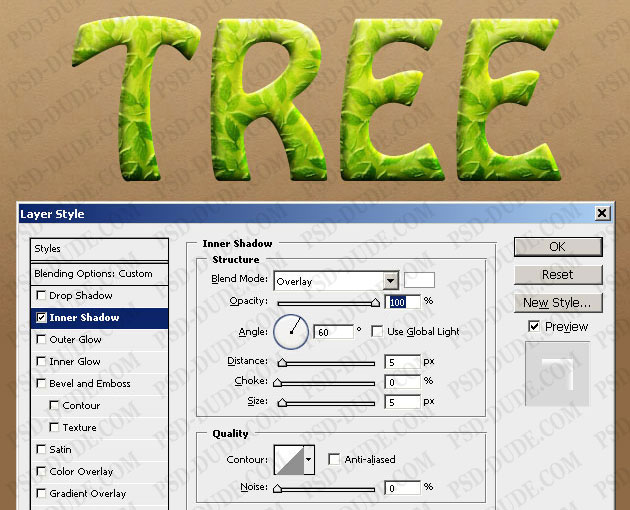
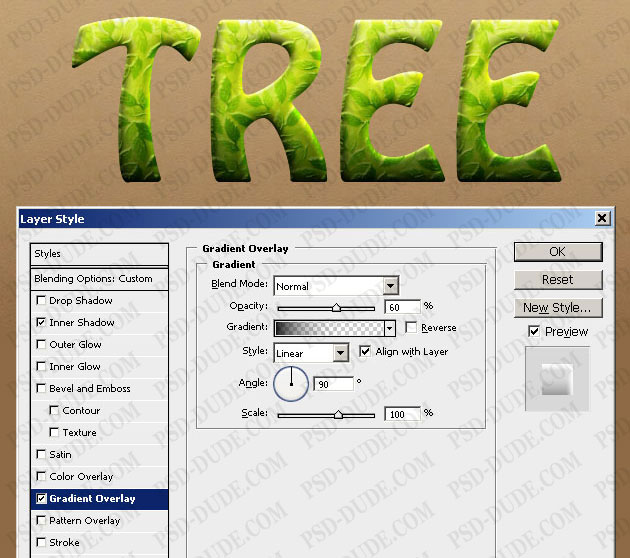
Now for the last Tree Text Shape 3 layer, first of all reduce the Fill to 0% and add a Gradient Overlay and an Inner Shadow.
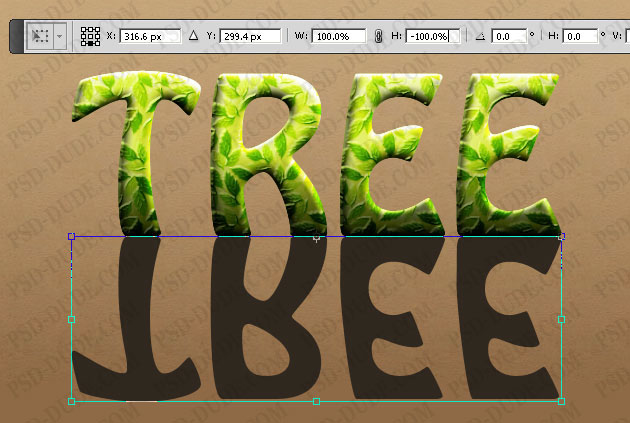
Add a Shadow
To connect the text with the Background we have to add a Shadow. For that duplicate the Tree Text Shape 1, Clear Layer Style and Flip Vertical.
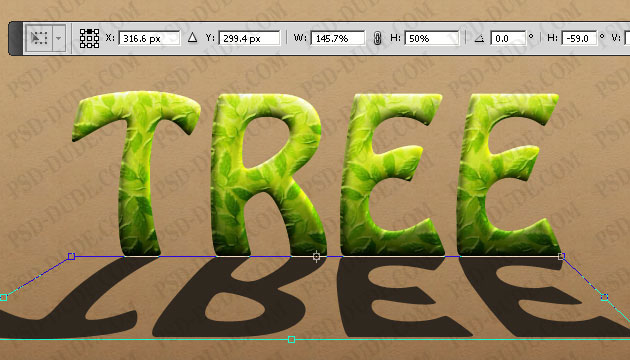
Add perspective to the shadow, using the Perspective Tool.
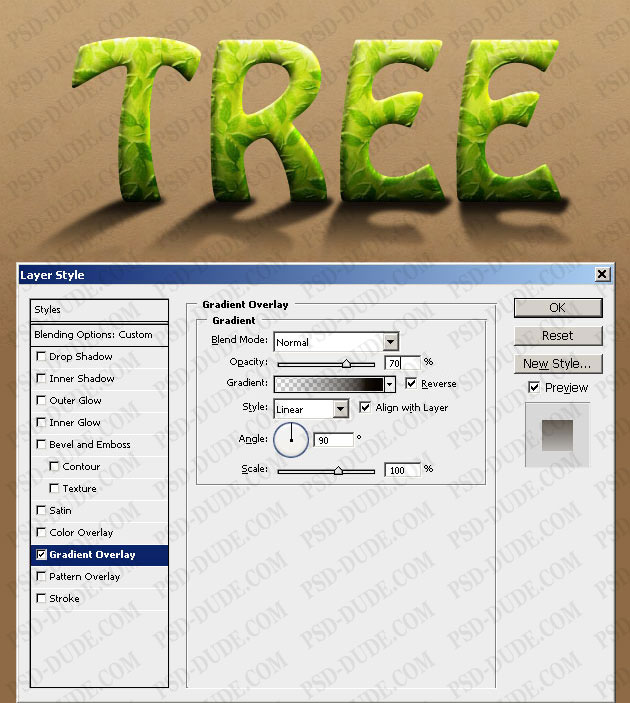
Use the Gaussian Blur to soften the shadow. Reduce the Fill to 0% and add a Gradient Overlay with transparency. You can use another shadow layer with a different color locations for the gradient; try to make the shadow look more realistic.
This is how the Tree Text Effect looks like so far:

Add Leafs
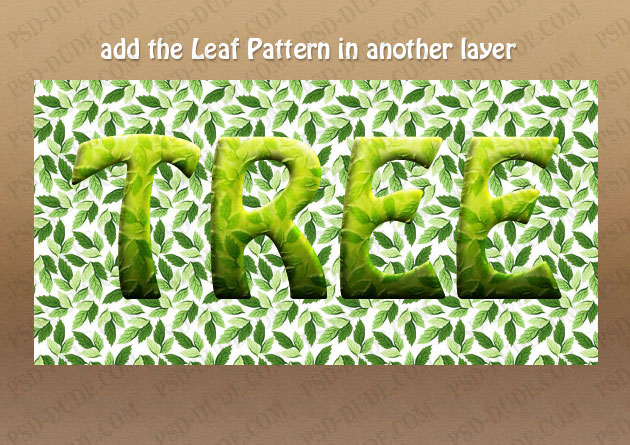
Now I want to add more leafs around the text effect. To do that I will use the same Leaf Pattern we used in the previous step. Create another layer called Background Leafs and place it below the Text Shape Layers.
Create another blank layer and merge it with the Background Leafs, that way we will obtain a rasterized leaf texture.
Use the Magic Wand Tool to select the white areas and remove them. You may have to adjust the Brightness/Contrastbalance to obtain good results.
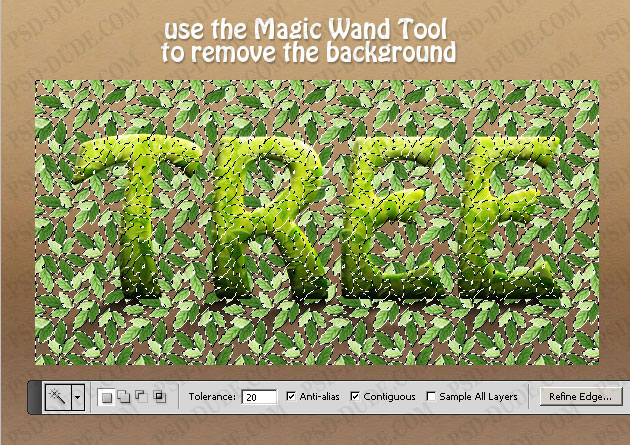
Use the Eraser Tool to adjust the number of the leafs and the leafs that look weird.
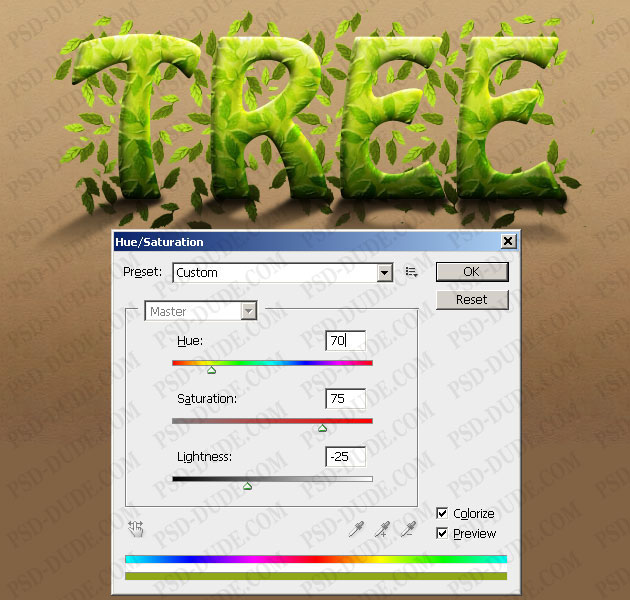
Adjust the Hue/Saturation balance with the following settings and also darken the leafs from the lower part of the image using the Brightness/Contrast balance.
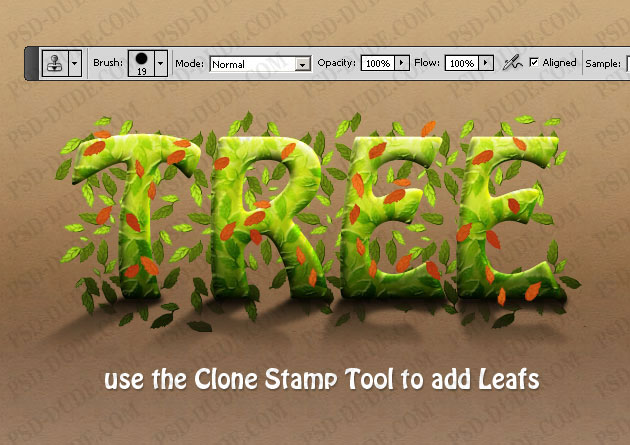
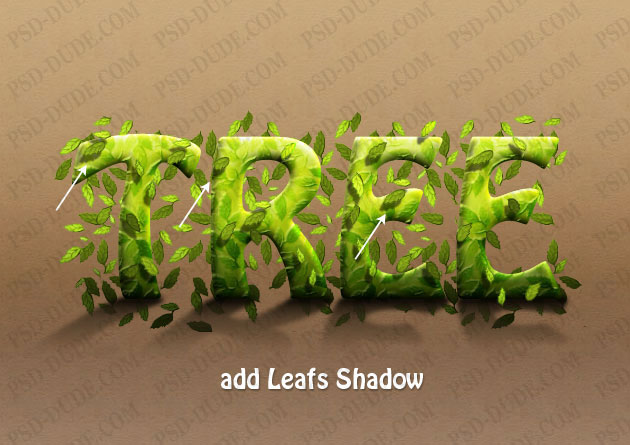
Create another layer above all the Text Shape Layers and call it Leafs Layer. Copy some leafs from the Background Leafs layer and use the Clone Stamp Tool to add leafs above all the letters randomly.
I have used a Color Overlay so that you can clearly see where the leafs are added.
Duplicate the Leafs Layer and move it to the right and down like in the image. Reduce the Fill to 0% and add a Color Overlay black with 55% opacity. Select the Text Shape Layer and press SHIFT+CTRL+I to Select Inverse. Press delete while being in the Leafs Layer. Add also a soft Gaussian Blur.
Adjustment Layers
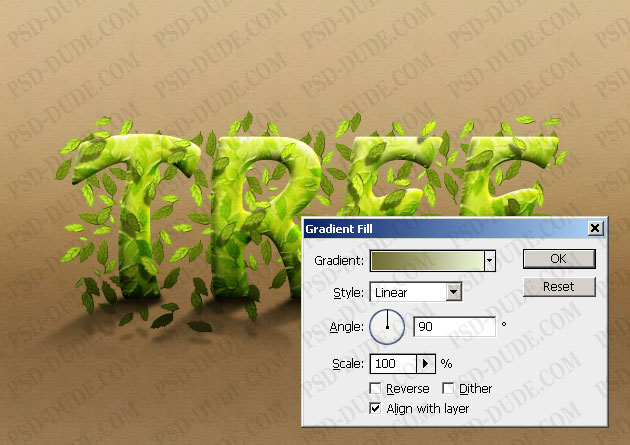
For the final touches you can add a Gradient Fill Layer and set the Blend Mode to Soft Light, 50% opacity.
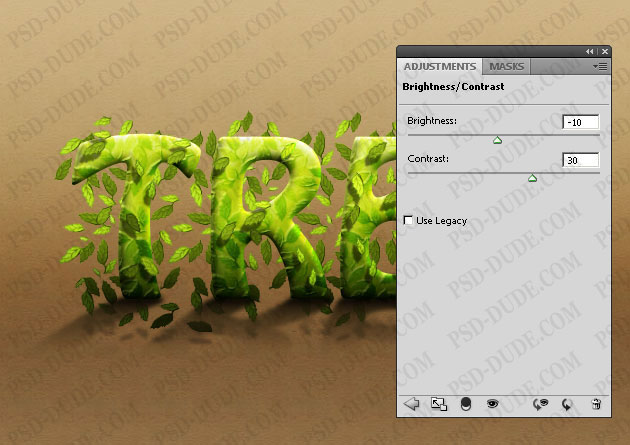
Add a Brightness/Contrast adjustment layer with the following settings so that we obtain a better contrast for the text effect.
I really hope you've enjoyed reading this text effect Photoshop tutorial and I can not wait to see your results. So feel free to upload your tree text effect on our comments section!
17 comment(s) for "Photoshop Tree Text Effect"
I don't know at which step are you reffering, please give me more details reply
Flower and Leafs Typography made by L?dyWinter http://www.photoshop-master.ru/users.php?id=124911
kolobok555 http://www.photoshop-master.ru/users.php?id=289680
i would like you to explain the part which you were creating the background leaf.
i couldn't obtain the option rasterized i thought maybe i didn't do it as you have done it i tried alot of ways but i still didn't get it. reply
Create a blank layer below the one you want to rasterize. Then, on the layer that you want to rasterize go to Layer > Merge down. That gets rid of the layer styles and the effects.
That is one easy way to flatten all the effects of a layer in Photoshop. reply
I've attached what I did based on this tutorial.