Before we begin it is better to gather all the stock images, to resize and crop them. So here are the stock images needed for this Ghost Photo Manipulation Tutorial:
Many of the Stock Images used in my Photoshop tutorials are taken from the deviantArt community, meaning they are not our personal resources. So if a link is no longer available because the author removed the image, you can either contact us or the author for support.
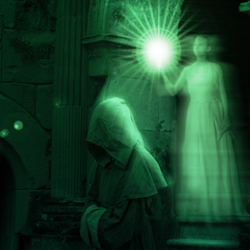
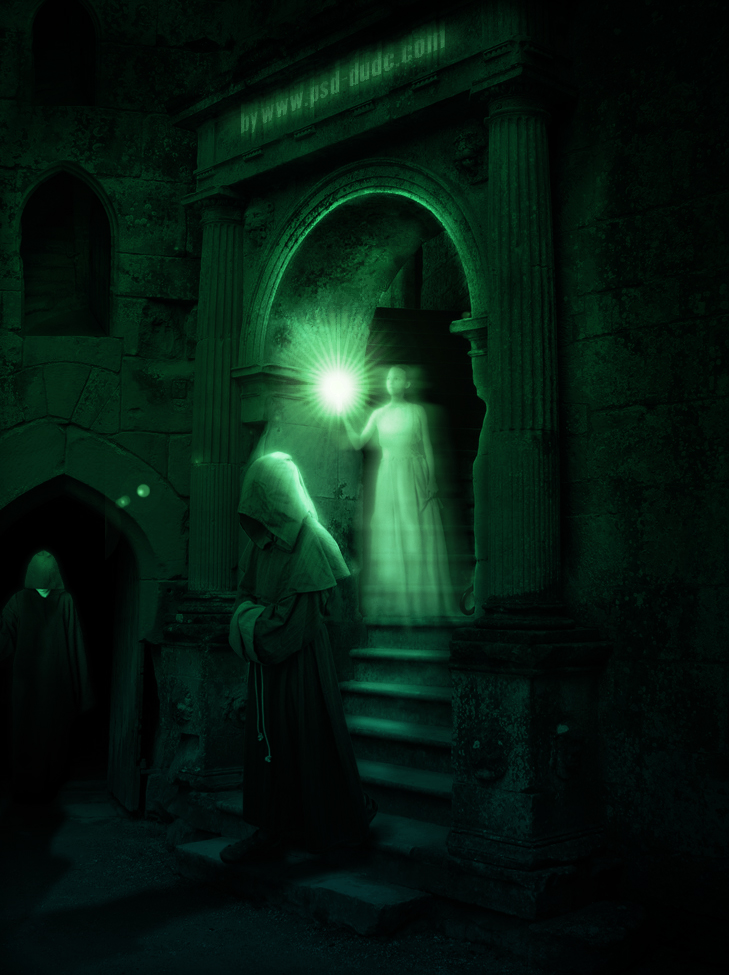
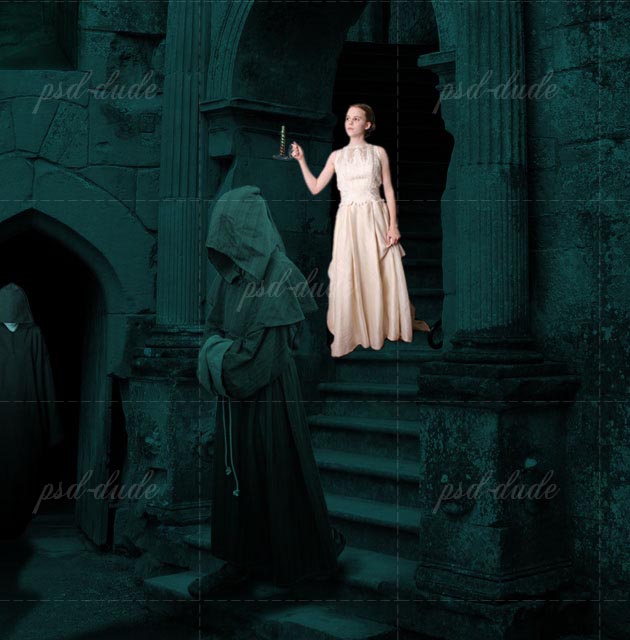
Ghost Photoshop Tutorial Preview
Let's take a quick look at the final image for the Ghost Photoshop tutorial that we are about to create, and hopefuly you decide not only to read it but olso to practise it. As always we will be more than happy if you leave us a comment(even if it is a constructive critique) and if you upload you work result.
Old Castle
The first step is to gather all the stock images, crop and resize them to fit one with another in terms of proportion. The first image that is going to act as background image is the Old Castle. Call this first layer Old Castle.
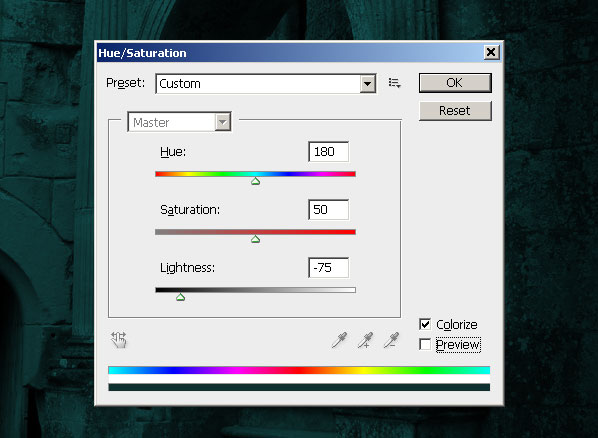
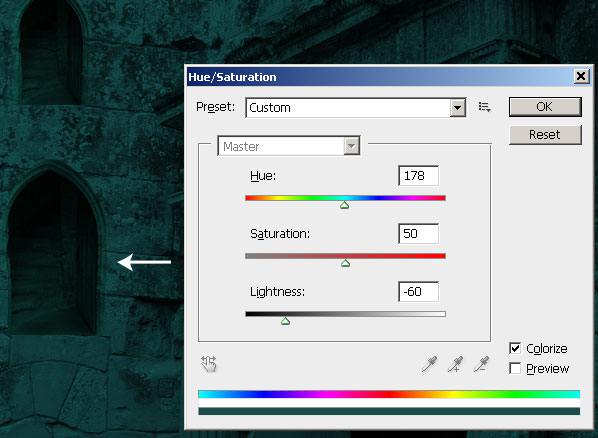
As you can probably see the photo was taken at a day time and we need the opposite. So to turn day into night in Photoshop it is clear that we have to decrease the brightness. Because I want to change the color tone also I will use the Hue/Saturation balance. Make sure you check the Colorize option and follow all of the settings presented below.
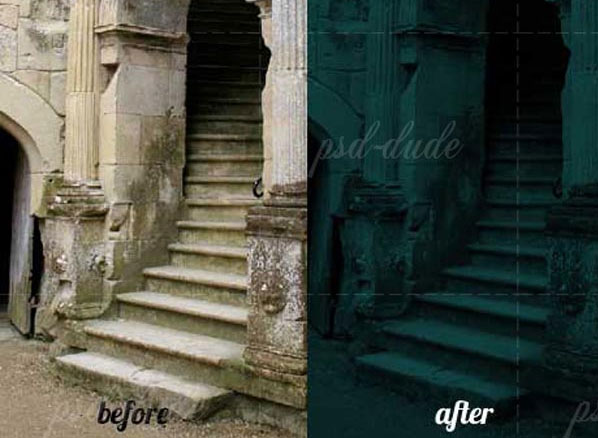
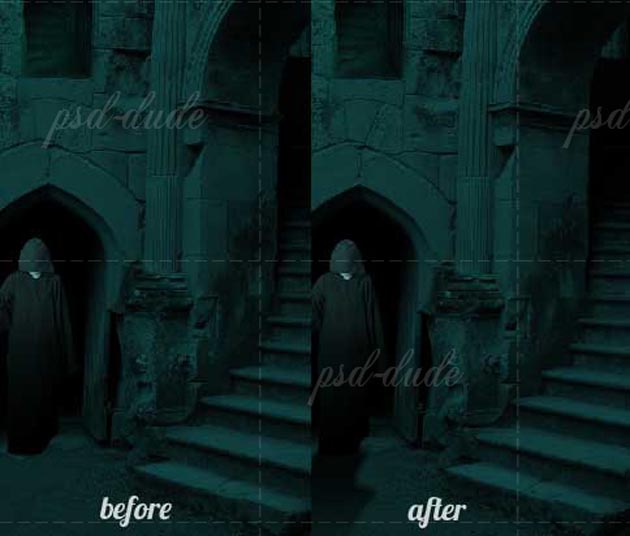
Open the Brightness/Contrast balance and set the Contrast to around 65. This is how you before and after images should look like:
Castle Window
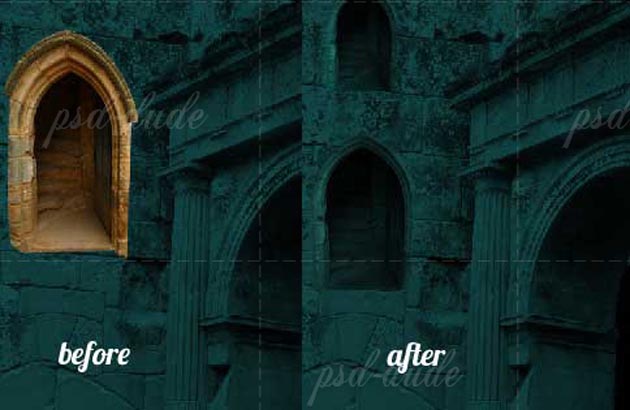
Now I will add another window on the left side wall, so crop the Dorway Castle and use the Perspective Tool (Transform Menu) to adjust it like in the image. Use as reference the door that is already in the image. Our new window must be parallel with the door.
Resize the image use the Hue/Saturation and the Brightness/Contrast balance to obtain similar tone colors and contrast as the background image.
Pick the Eraser Tool and with a soft round brush gently erase the unwanted areas to blend the two images better. You can even use the Burn Tool and the Dodge Tool to adjust certain areas. When your window looks good enough duplicate it, resize the second one a little bit and place them like in the following image:
The Two Monk Characters
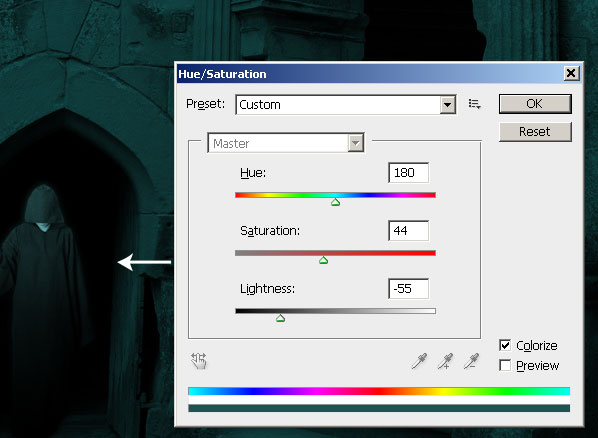
In this step I will add the two monks so of course we need to crop them and put them in place. Start with the Monk with Candle and place it on the left side of the image. Use again Hue/Saturation balance with Colorize option to give it the same tone color. Resize it to fit with the rest of the image.
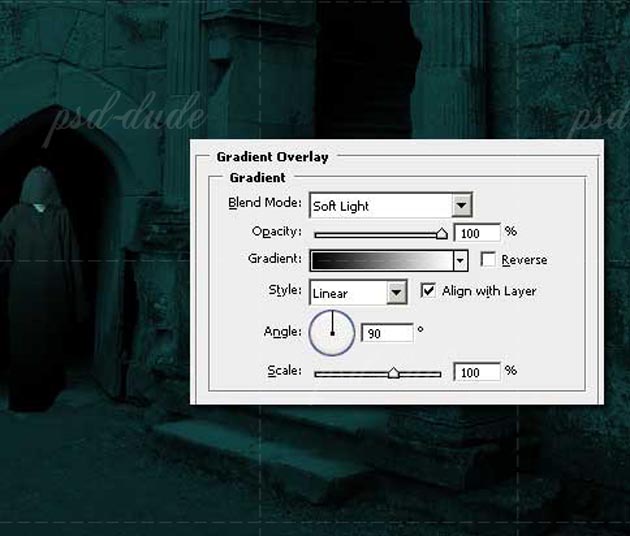
Open the Layer Style Window and add a Gradient Overlay using a linear gradient with black and white colors. That way the upper part of the monk becomes brighter.
Because any object needs a shadow, let's add one for the monk. Select the monk shape, create another layer behind the Monk Layer and Fill it with black color. Flip the shadow vertical and use Perspective to adjust it.
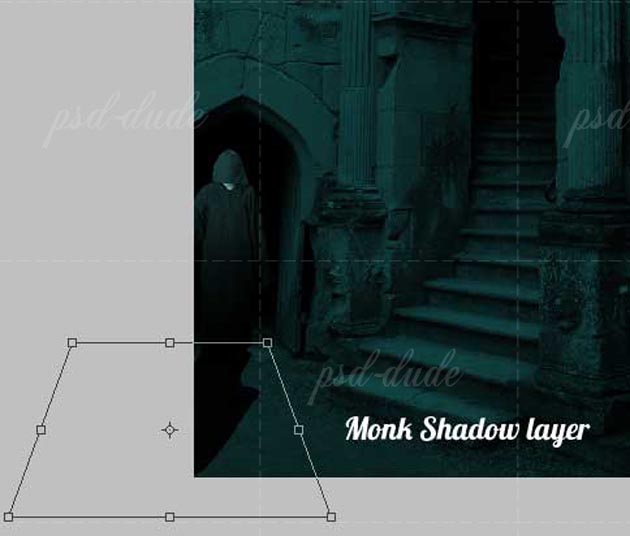
Add a Gaussian Blur with a 3 pixels radius setting. Change the opacity of the layer to 80%.
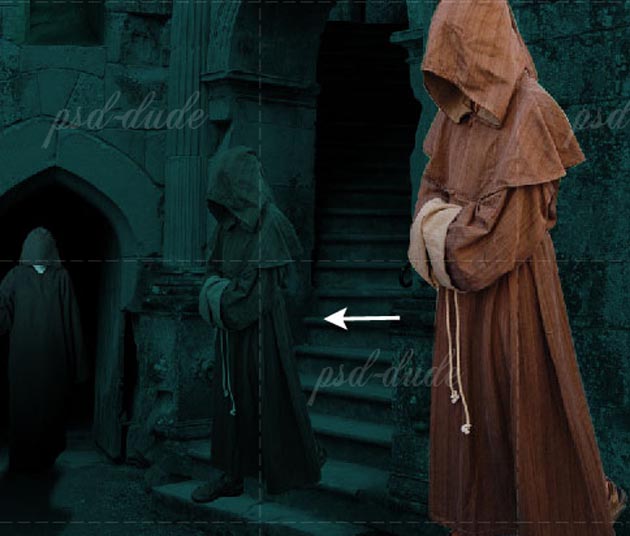
Time to add the second monk; again resize, adjust the Hue/Saturation and the Brightness/Contrast; you should obtain a similar result. Don't forget to add the same Gradient Overlay effect.
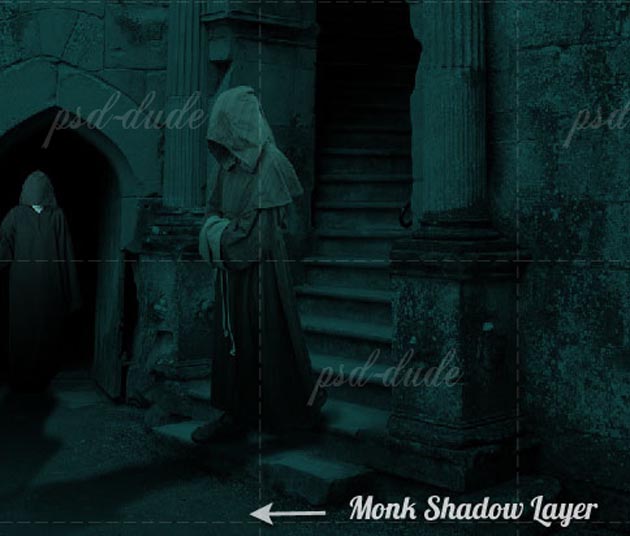
Add a shadow for this second monk like we did in the previous step. There are a few changes: the direction of the shadow is different and also you will have to make some adjustments using the Brush Tool.
Girl Ghost
Time to add the third and last character, a girl ghost that will be our focus point, right in the center of the image.
Crop and resize the Girl stock image and place it on the stairs. Move the Girl Ghost Layer below the Monks Layers.
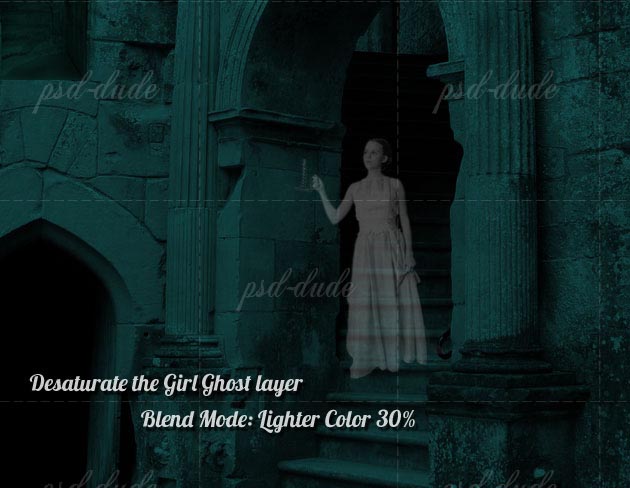
I will now hide the Monks layers to work only with the Girl Ghost layer. Tu turn this girl into a ghost first we have to Desaturate the colors and to change the Blending Mode of this layer to Lighter Color, opacity 30%. If it will be necessary we'll have to adjust the opacity but for the moment let's leave it to 30%.
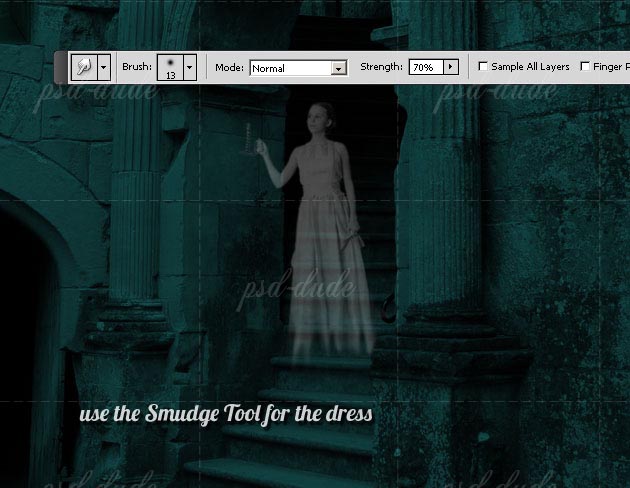
Use the Smudge Tool to change the bottom area of the Girl dress; that way she seems to be floating in the air.
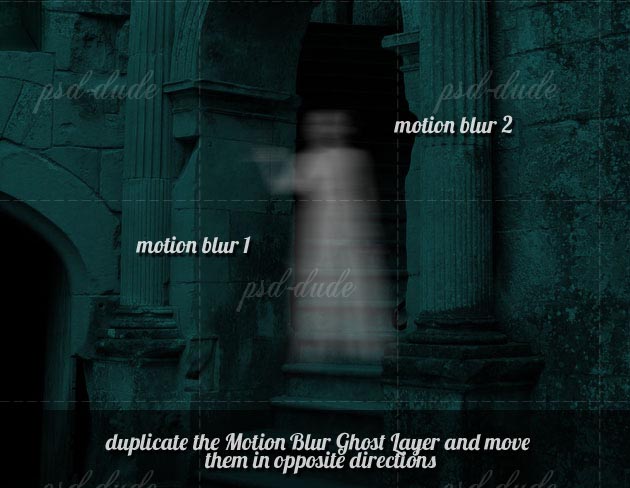
Duplicate the Girl Ghost layer and apply to the first one a blur effect using Motion Blur. A ghost is always transparent and the image is in motion, never clear.

Duplicate the Motion Blur Ghoast layer and move them in opposite directions, so move the first one to the right and the second one to the left.
In the image below you will see the opacity levels for all the three Ghost layers. I have to say that these levels may have little adjustments further on because the most important thing is the final result.

Gradient Layer
So far so good, but as you can probably see there are some color tone differences between the Ghost Girl and the rest of the image. To equalize all the color I will apply a Gradient Layer. So press the Create a New Fill or Adjustment Layer button and choose Gradient.
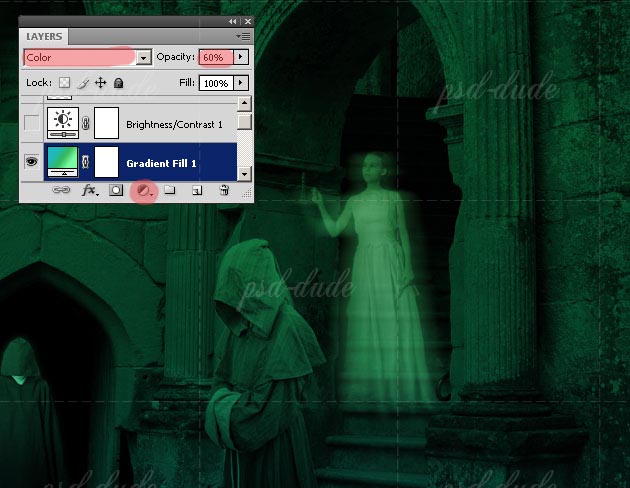
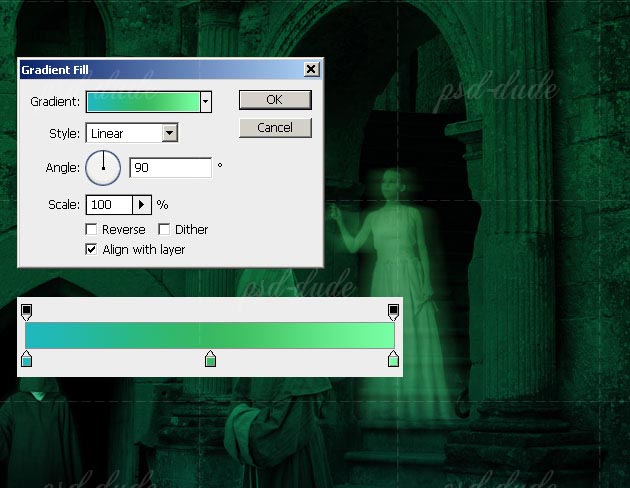
Choose a Linear Gradient made out of three colors #1fb8be , #39b963, #76ffa3. The good news is that you can change the colors at any time without affecting the layers below. Set the Blend Mode of this Gradient Layer to Color, 60% opacity.
Brightness and Contrast Layer
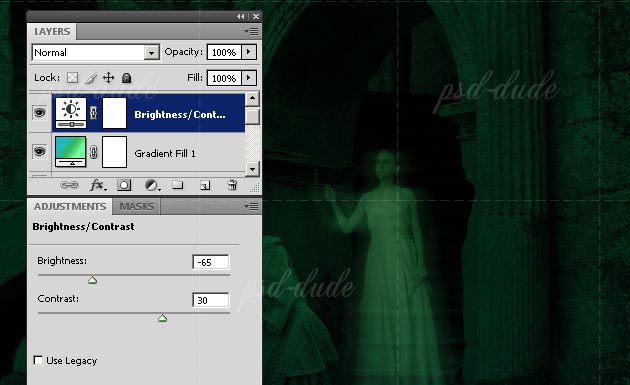
In a similar way add also a Brightness and Contrast adjustment layer. Make the following setting that may not be the final ones. Again these settings can be changed without affecting the layers below.
It is really important to know that almost all the layers that we are going to add will be placed below the two adjustment layers (Brightness/Contrast and Gradient).
Candle Sparkle Glow Effect
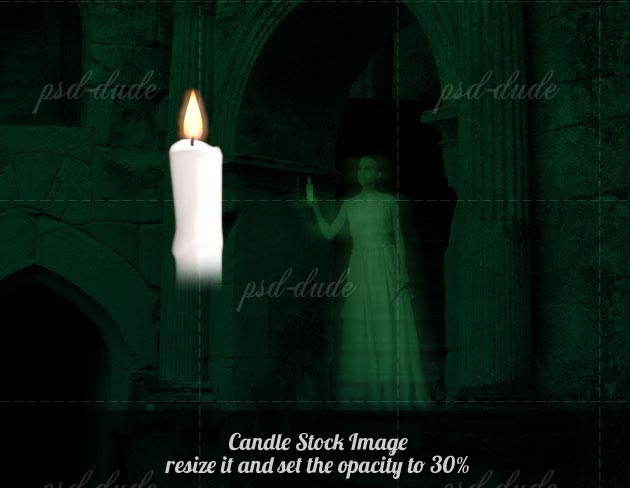
Because I don't like the candle from the original image I will add another one, so crop and resize the Candle Stock Image and place it in the Girl's hand. Reduce the opacity to 30%. Make sure you place the layer below the two adjustment layers (Brightness/Contrast and Gradient).
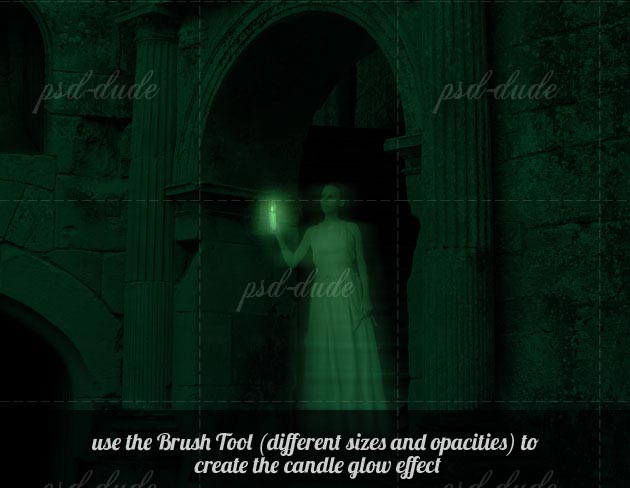
To make the candle glow, create a new layer and call it Glow Effect Layer. Place this layer behind the Candle Layer, and with the Brush Tool, color #d1d1d1> paint arround and on the candle to make the glow effect.
You have to change the size of the brush several times and to use different opacities. Just make sure you use a Soft Round Brush. To work with the Brush Tool rapidly and in a more effective way, you have to know some tricks. So check out this tutorial Brush Shortcut in Photoshop
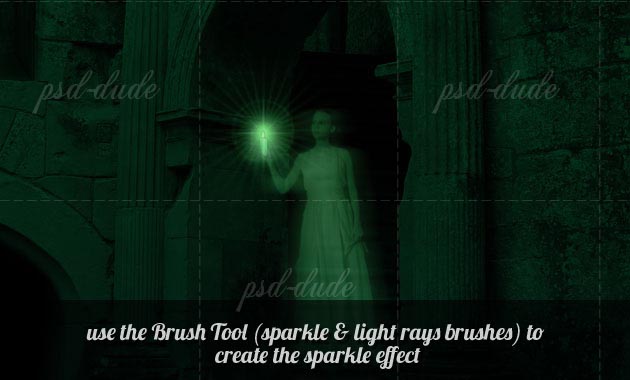
Next I've added a simple Sparkle Brush in a new layer. Place this layer below the Candle and the Glow Effect Layers. Use a soft gray color #d1d1d1 for the brush. You can create the brush yourself using the Sparkle Brush in Photoshop tutorial or you can download the pack with the brushes that I've used. I have also added some light rays in another layer, using a rays brush that you will find in the same pack.
Light Effect
Now that we have our light source(the candle light) we have to create the effect that the light has on all the surrounding objects/characters. So we have to lighten some areas from the Old Castle Walls, the Monks and the Girl Gost.
Using the Brush Tool and with the help of a graphic tablet I will draw over some areas to lighten them. Use a Soft Round brush, and color from light gray #e5e5e5 to white. Use different layers to add different lighten areas.
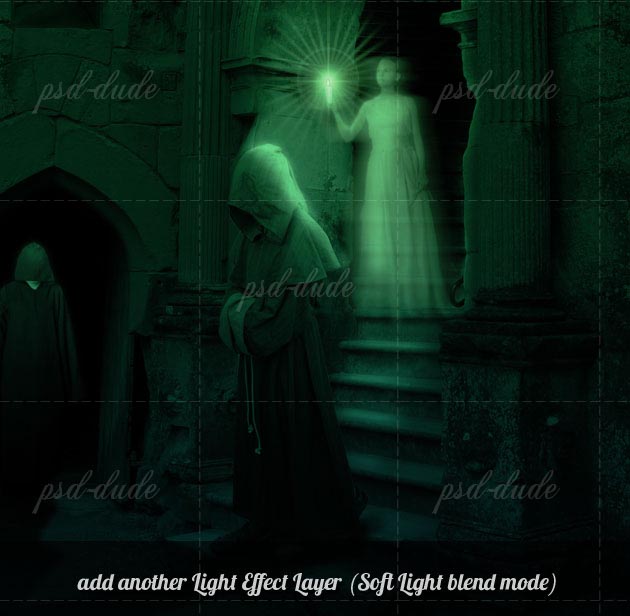
I will start with the Ghost Layer. Create another layer called Light Effect. Change the Blending Mode of this new layer to Soft Light 100% and start painting. Whenever is necessary use the Gaussian Blur to soften the edges.

Create another layer and repeat the process, adding other details on Monks, stair surface, etc. Don't forget about the Gaussian Blur.
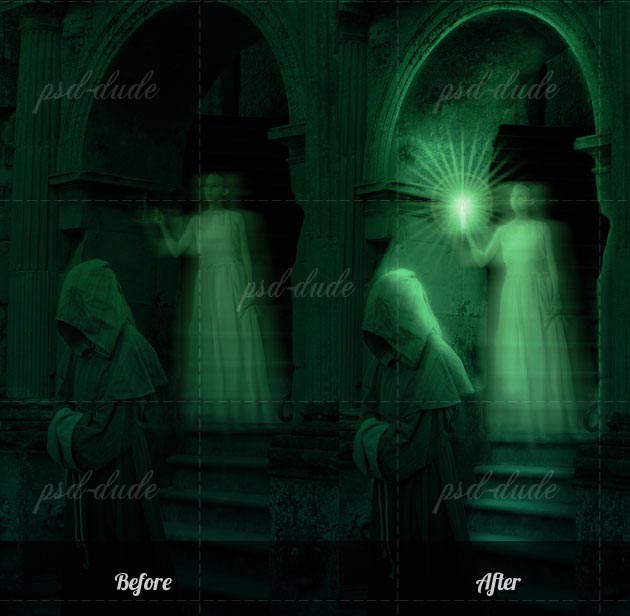
So here is the before and after adding the light effects image, as you can see it is quite a big difference.
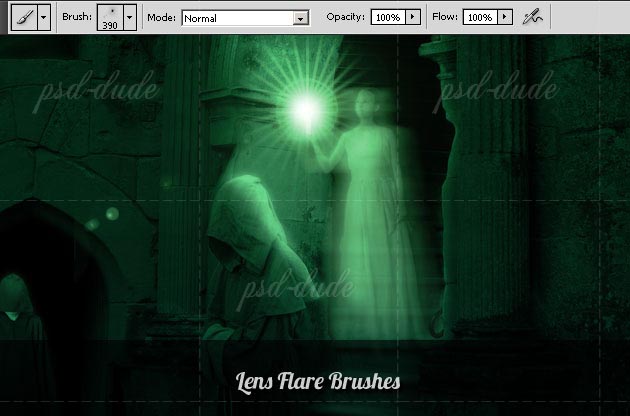
Lens Flare Brushes
To add another cool effect you can use Lens Flare Brushes. I have used the brush no. 7, color white, size 390px. You can of course try other lens flare brush to see which looks best.
High Pass Filter
Photoshop CS's High Pass Filter is a great sharpening tool. So I will use it to sharpen the details and to add more contrast to our Ghost Photo Manipulation. For that you have to create another layer above all the others and to Apply Image (Image Menu). Than go to Filter Menu, Other and choose High Pass with the settings below:
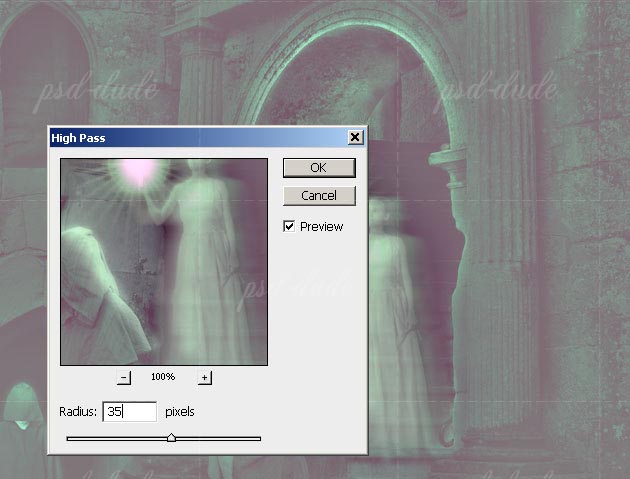
Change the Blending Mode of the High Pass Layer to Overlay with 60% opacity. This tutorial has come to an end and here is the final result for our Photoshop Ghost in Gothic Setup. And here is the ZIP file(30.7KB) with some of the brushes used in the tutorial.
9 comment(s) for "Photoshop Ghost Tutorial in Gothic Setup"
just to let you know the girl and the monk with candle are no longer available. Will try with other figures.
Nice tutorial. reply
I like your tutorial ! I replaced the missing people, this is good. But I can not be a shadow of Monk (the second). Can you explain me with more full details please ?
Sorry for mistakes I do not speak English well. reply
nice work reply
to cast shadow for the second monk you have to:
- duplicate the monk layer and make it black color
- use the Gaussian Blur filter to make the shadow more soft
- use the Transform Scale tool (CTRL+T) to resize the monk to about 40% on the vertical scale only (H: 50%)
- use the Transform Skew Tool  to distort the monk like shown in the following image.
- and use a Gradient Overlay like in this text cast shadow in Photoshop tutorial to make the shadow more realistic