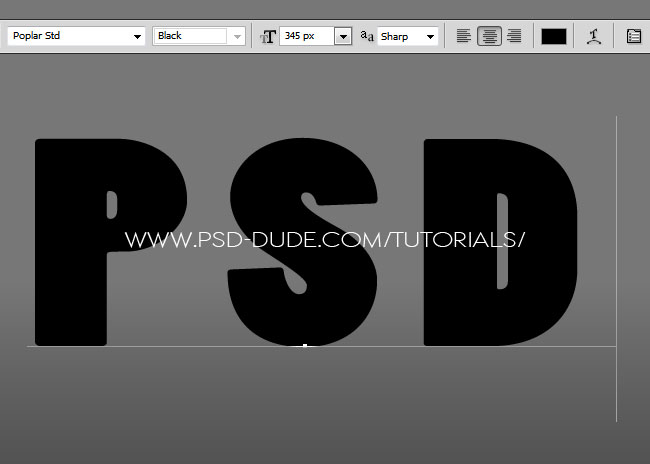
Start with a simple text, choose a font that you like. I will use "Polar Std" font type. Learn how to install font in Photoshop from this quick tutorial. Call this first layer, Shelf Text 1.
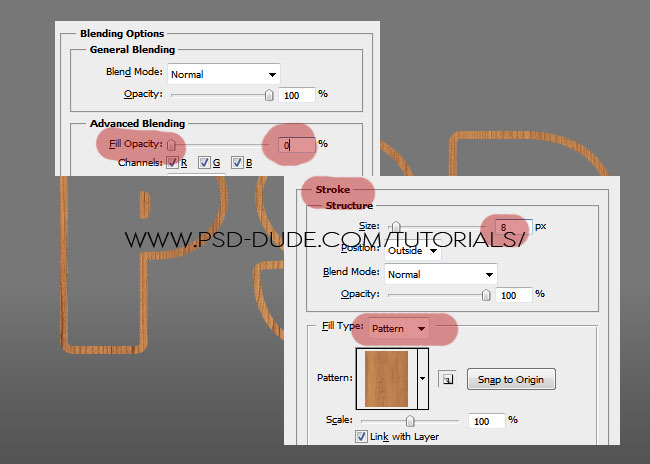
Duplicate the Shelf Text 1 layer and call it Shelf Text 2. Open the layer style window and add a Stroke like shown in the image. Also reduce the Fill to 0%. For the stroke border you can use one of these wood patterns or you can pick a patterns that you like. You can even use wood textures.
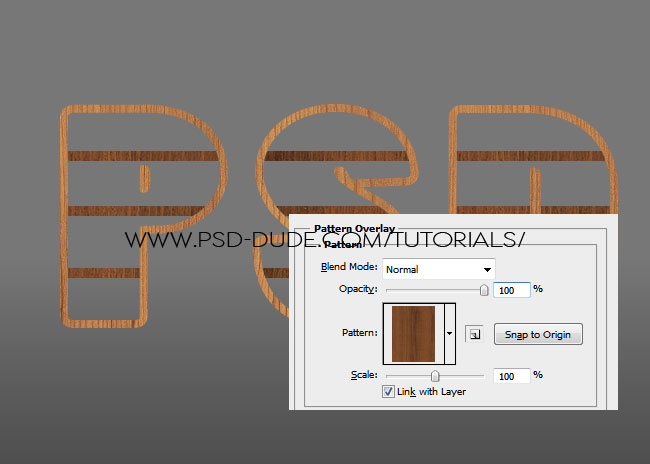
In a new layer use the Rectangle Tool to draw some shelves. Add a Pattern Overlay for the shelves using a darker wood tone.
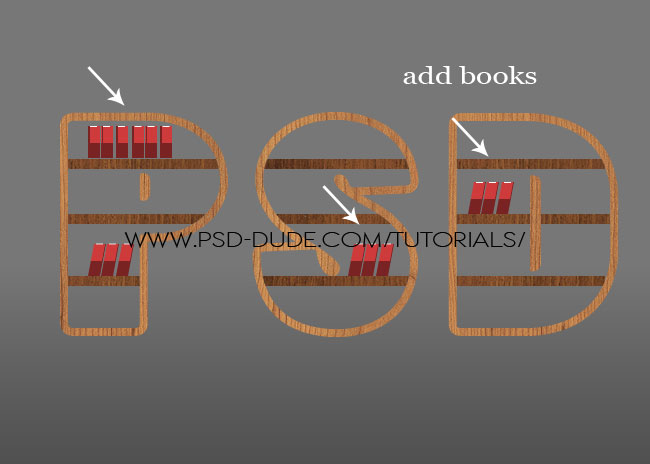
In a new layer use the Pen Tool or again use the Rectangle Tool to add some books. Add them any color you want.
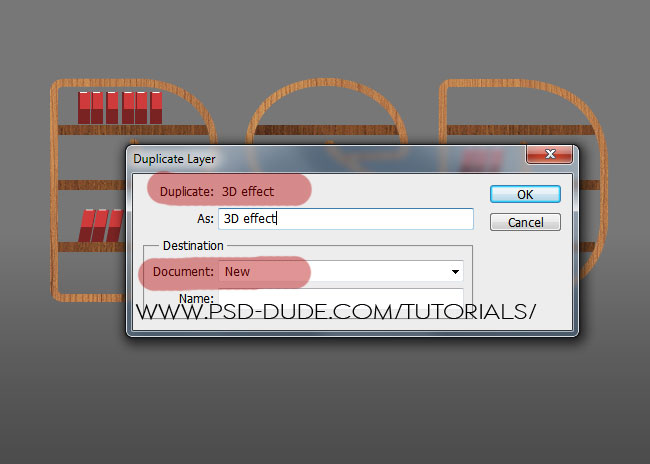
Now comes the part where you have to pay a little bit of attention to get it right. Select all the layers, except the Shelf Text 1 layer and the Background Layer and convert them into a smart object ; call this smart object 3D effect.
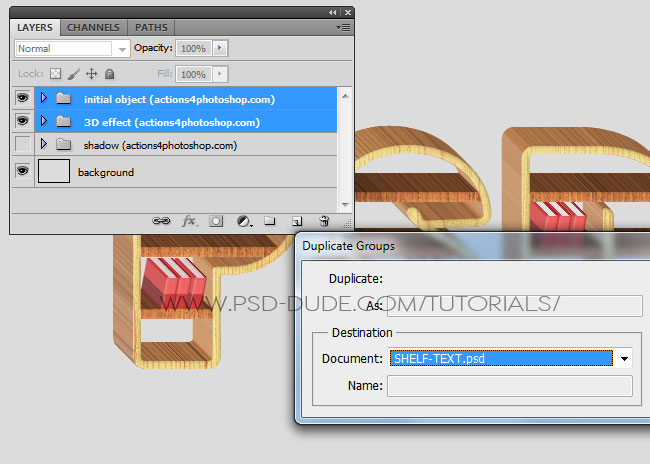
Now you have to duplicate this smart object into a NEW PSD file like shown in the image. You can either keep the smart object from the current layer making it invisible, or you can delete it.
To create the 3D effect we'll use this 3D Photoshop action that you can download for free.
Install the action in Photoshop; play the action in the new created PSD file for the 3D effect smart object, and wait for the result.
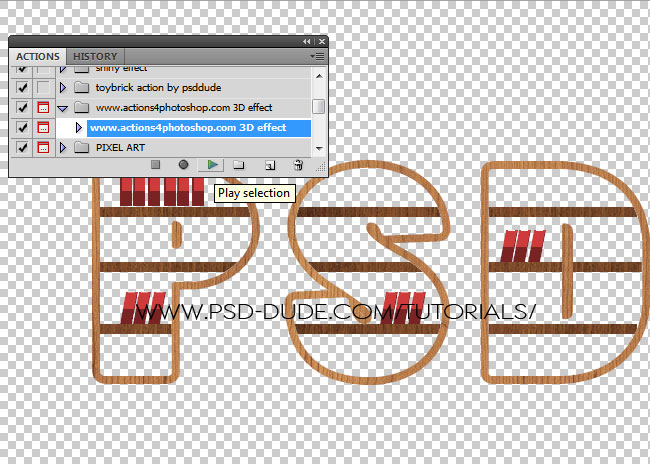
As you can see you have three groups of layers that you can edit and customize. You can dowble click on the "www.actions4photoshop.com top" layer thumbnail to open the smart object and to edit the patterns, colors, books and other details that are inside.
Select the initial object (actions4photoshop.com) group and the 3D effect (actions4photoshop.com) group and move them back into our initial PSD file.
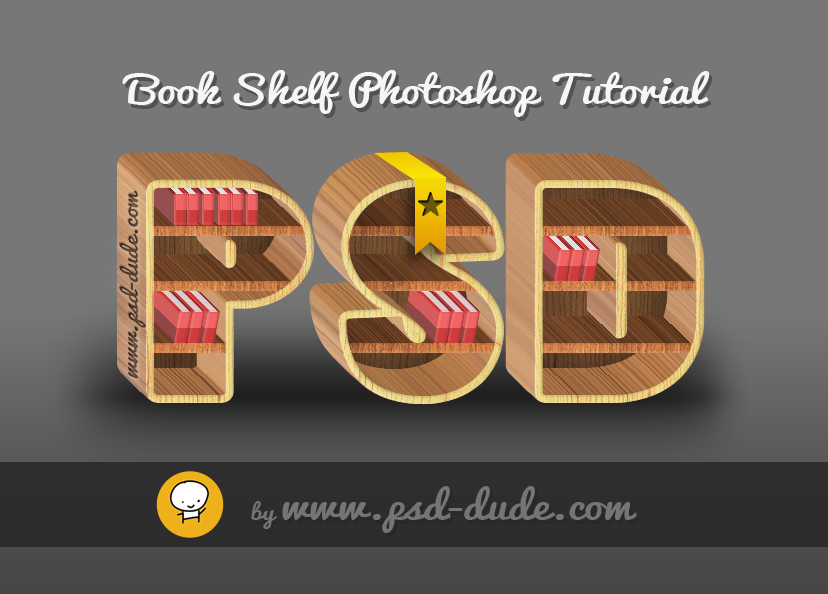
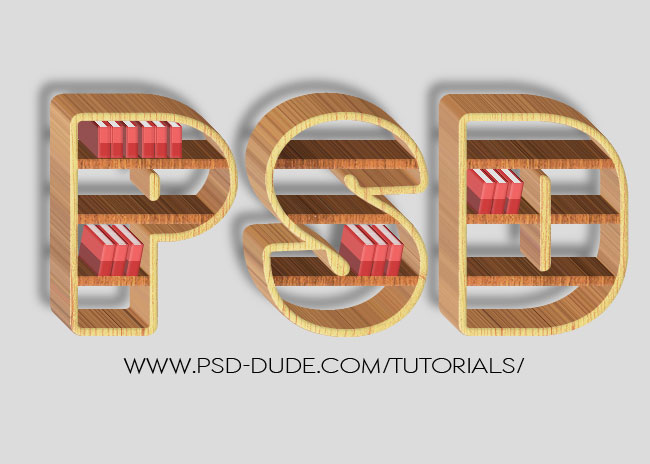
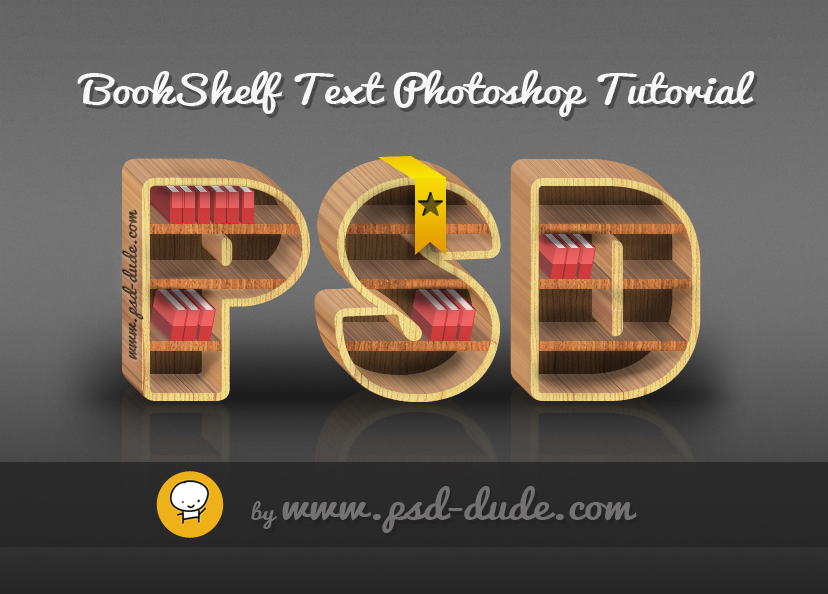
Your wooden 3D shelf text effect should now look something like this.
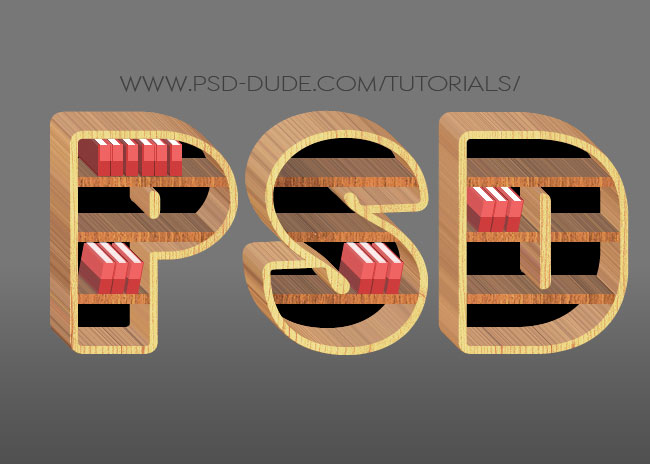
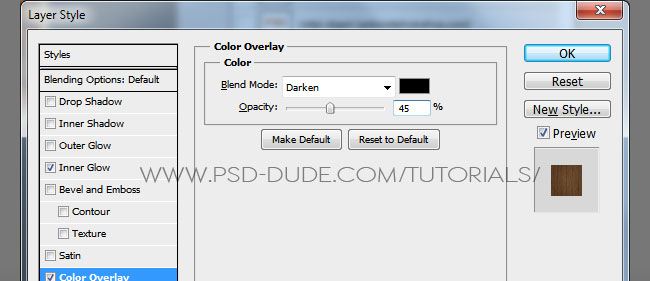
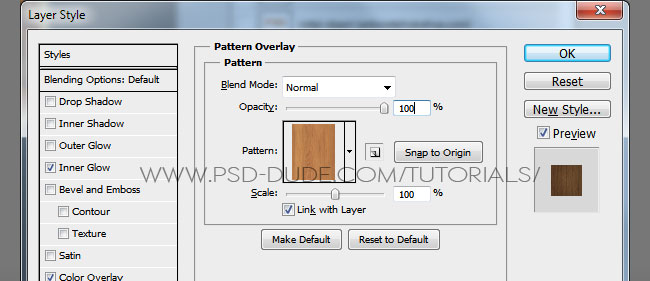
Return to the Shelf Text 1 layer and add these layer styles to create the bookshelf back.
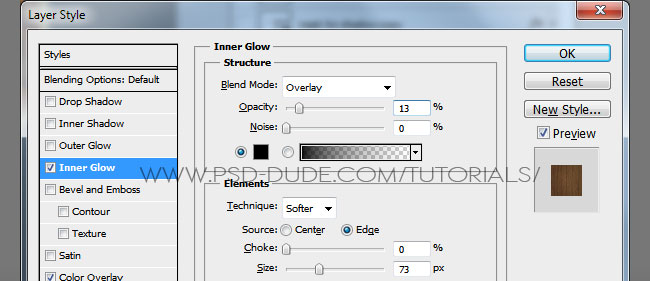
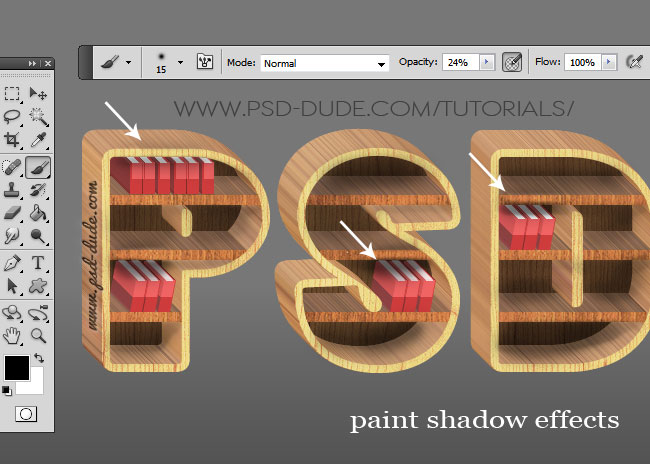
To make the bookshelf more realistic, to add depth, you can add some light and shade effects using the Brush Tool. Pick a soft round brush, opacity 25%, color black and paint over certain areas that you want to darken.
Use the same tool to create a shadow under the shelf text to make it look like it is standing on a solid surface. You can even add a reflection for your object if you want to create a glossy surface effect.
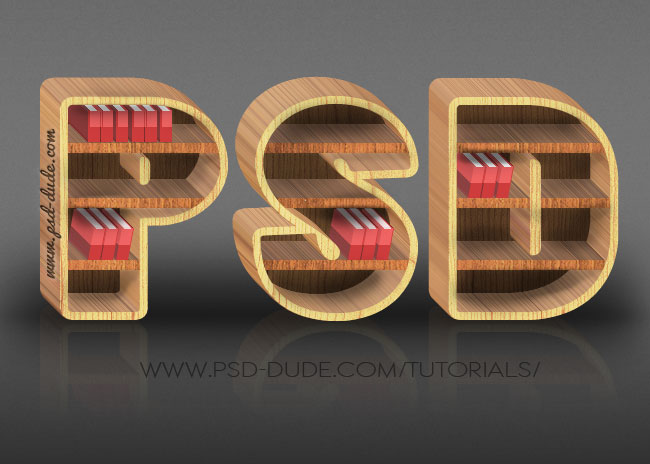
For the final touches I have also added a ribbon as a bookmark for the text effect. You can draw the bookmark yourself using the Pen Tool or you can use one of these ribbon collections: ribbon elements and ribbon vectors that are available for free.
Premium Wood Photoshop Effects
If you want to try different wood Photoshop effects like painted wood or carved wood you can try these actions. You will obtain quick results, easy to edit and customize.
Painted Wood Photoshop Style Actions
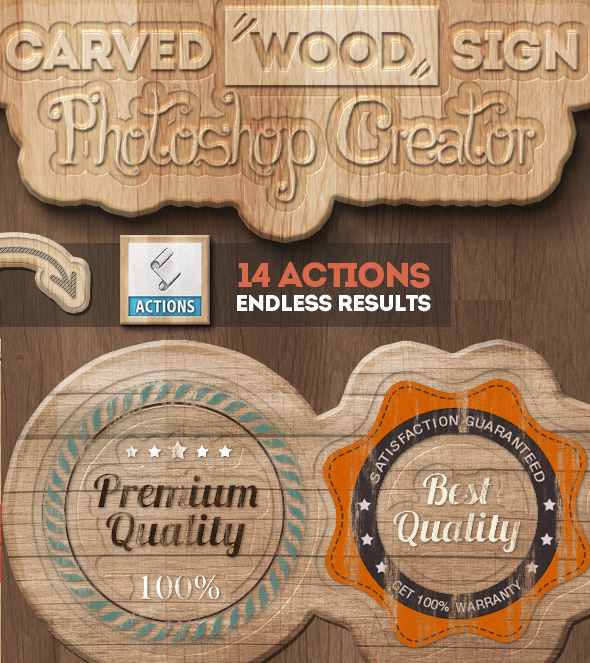
Carved Wood Sign Photoshop Creator
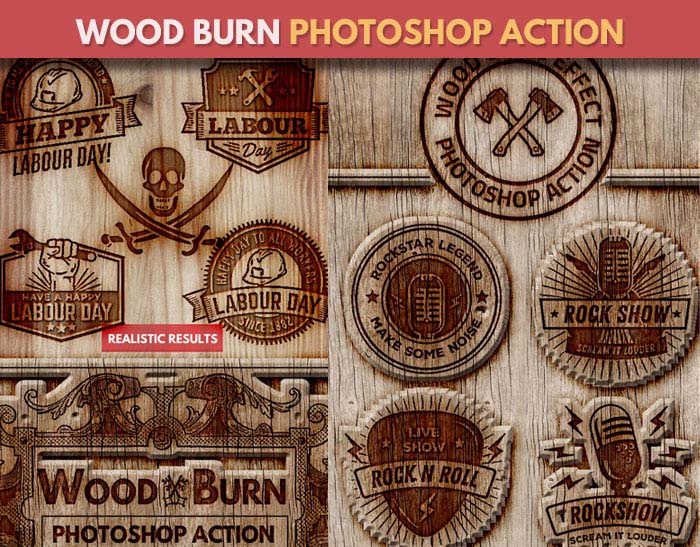
Wood Burn Effect Photoshop Action
11 comment(s) for "Make a Wood Book Shelf Text in Photoshop"
I think I will be using this a lot. :o)
Thanks again!
The 3D action won't play for me. Is it because I am in CS4? I get the 'circle with the line through it' symbol when i mouse of the play button. reply
About the back of the shelf, use the Shelf Text 1 layer, the one without the Stroke and Fill 0% style. reply