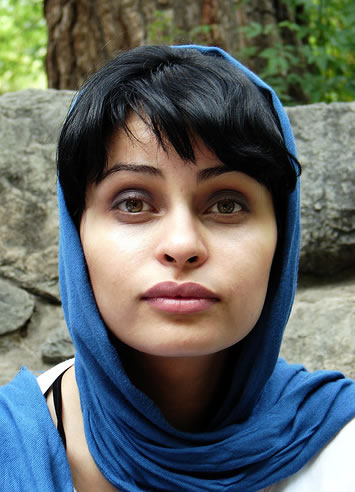
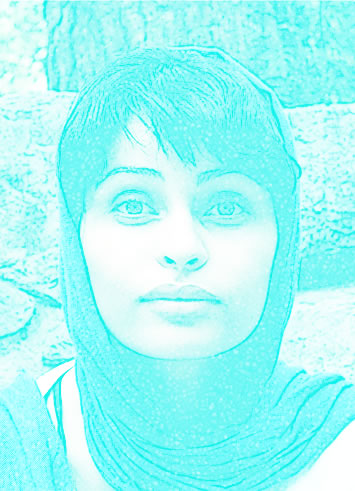
Step 1 - Download the Photo
Open in a new psd file this photo http://www.flickr.com/photos/hamed/590034637/.
Duplicate this layer abd call it Base. Hide the initial layer.
Step 2 - Create a Blue Rectangle
Draw a new Rectangle with Rectangle Tool, color # 94f7f5. Go to Filter - Sketch - Reticulation, Density 4, Foreground Level 22, Background Level 11. Call this layer Blue.

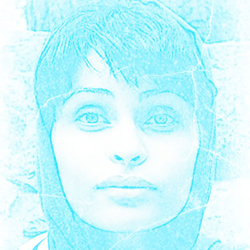
Step 3 - Change to Overlay
Place the Base Layer on top of Blue Layer. Set the Blending Mode of Base Layer to Overlay 100%. Now you should have a result like this:
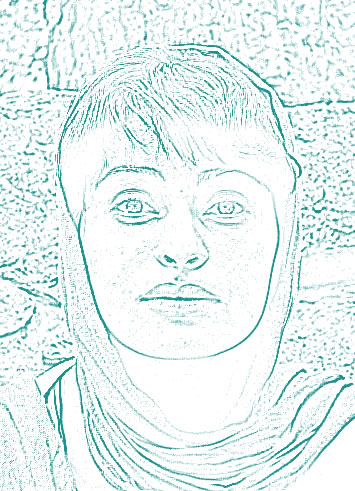
Step 4 - Apply Photocopy Filter
Duplicate Base Layer and call it Sketch. Set the Foreground Color to #1b928f , Background Color white. For this layer apply a new filter; Filter - Sketch - Photocopy(Detail 1, Darkness 50).
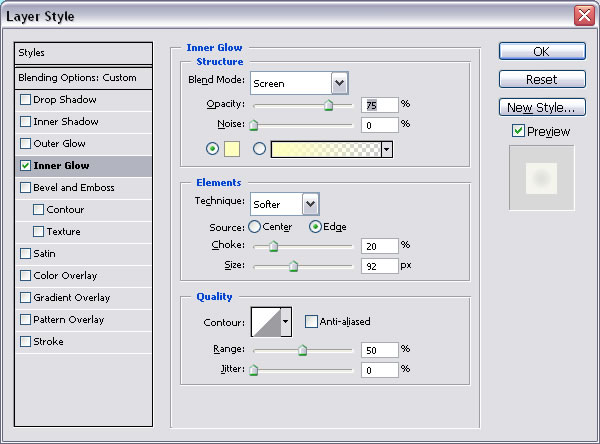
Step 5 - Add a Frame
Draw a new Rectangle this time the color is #138090 ; call this layer Frame. Set the Blending Mode of this layer to Hue 100%. Go to blending Options and check Inner Glow to make a nice frame.
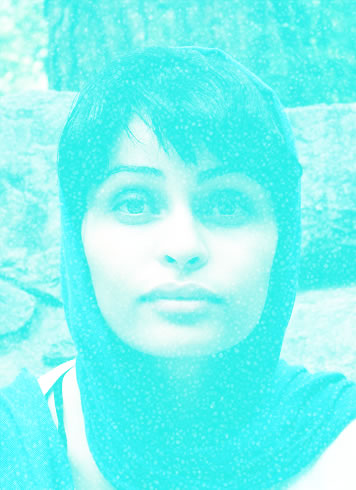
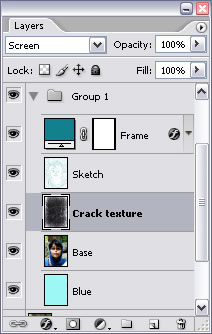
Step 6 - Crack texture
I found a very nice crack texture so I will add it to this image. You can find it here http://www.flickr.com/photos/loxleyimages/2440555345/in/set-72157605663056066/ .
First rotate this layer Edit - Transform - Rotate (angle 90). The question now is where to put this new layer.
I put this layer between Base Layer and Sketch Layer ; I changed the Blending Mode from Normal to Screen 100%.
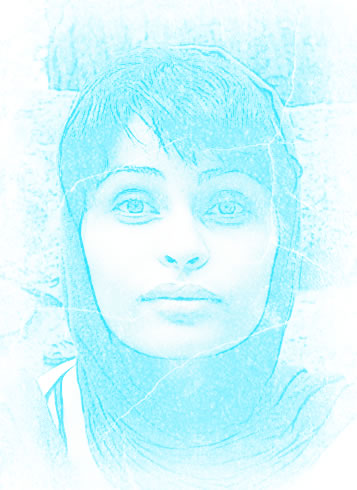
Final Result!
6 comment(s) for "Another frozen woman ice effect"