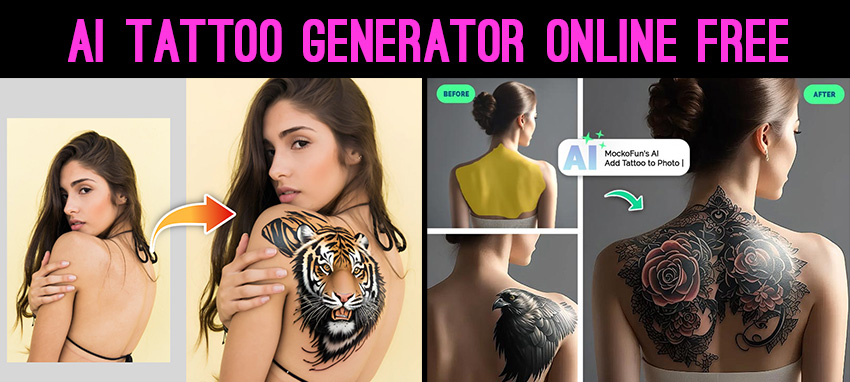
AI Tattoo Generator
Just a few years ago, creating a tattoo Photoshop brush required using an image of an actual tattoo. Now, with AI, you can quickly and easily generate tattoo designs from scratch and turn them into Photoshop brushes.
Use the AI tattoo generator from MockoFun to create designs with different themes and styles like traditional, Japanese, nautical, celtic and so on. Create personalized traditional tattoos in just a few seconds with your name.
How to Create a Tattoo in Photoshop
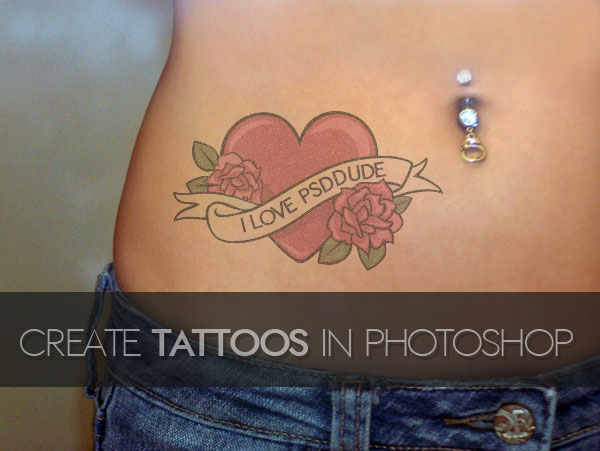
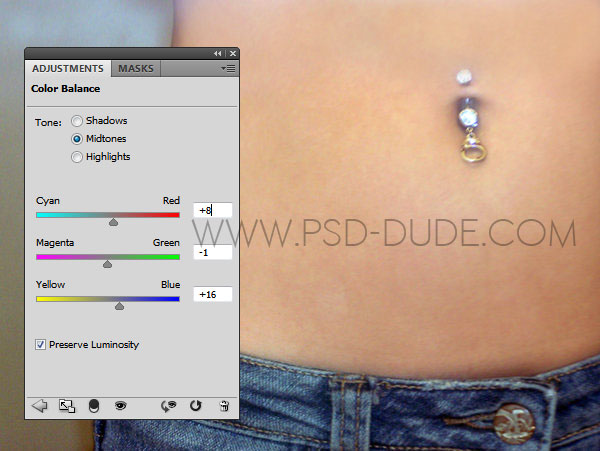
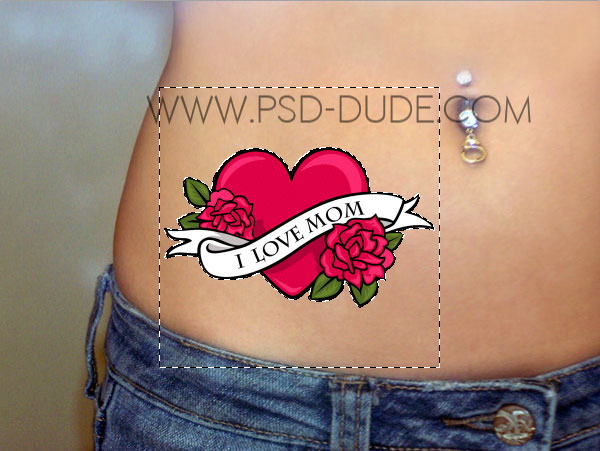
In this tutorial we'll create a realistic tattoo in Photoshop using a free vector clipart. I will start with this stock image, a girl with bellyring , jeans and a lot of exposed skin to add the tattoo. You might want to add adjustment layers to make small changes for Color Balance.
Add the Tattoo Image
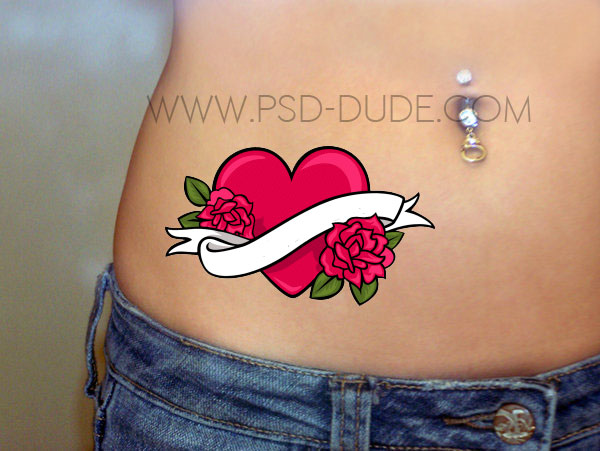
Add this heart tattoo vector graphics and place it over the skin. Also remove the white background.
You can use a JPG image, PNG image or better still, you can use a tattoo brush from this tattoo brushes set available for free. Here you have an extended list of Photoshop tattoo brushes that you can try.
Tattoo Brushes for Photoshop

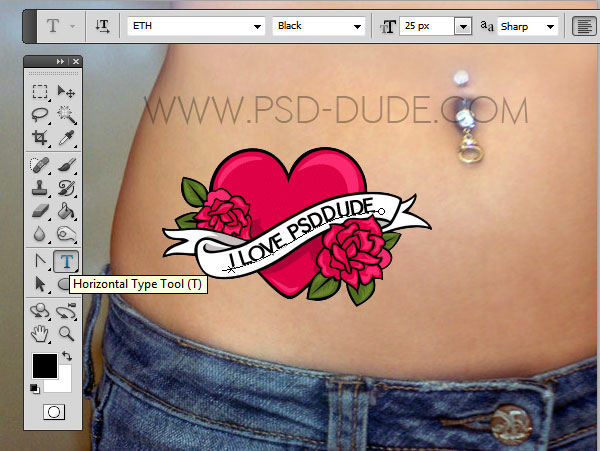
Use the Brush Tool and color white to paint over the text to hide it.
Create a open path following the ribbon shape. Use the type Tool to add your text. I used Ethon Font which is a free font type. Learn how you can install font in Photoshop
You can now select the Heart Tattoo Layer and the Text Layer and convert into smart object and set the blend mode to Darken, opacity 60% .
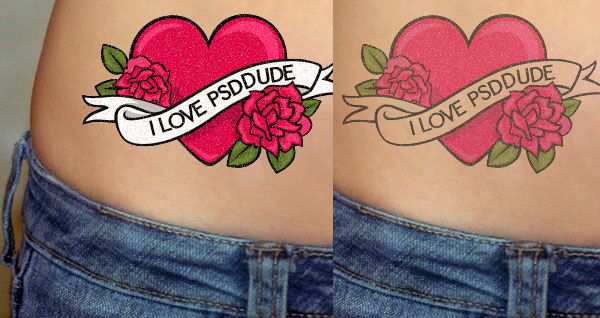
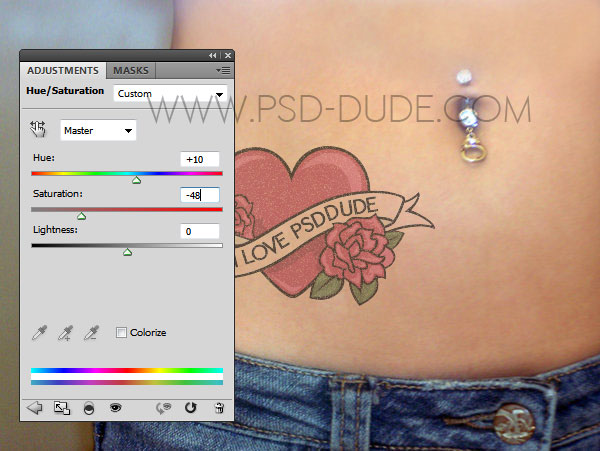
Add a Hue/Saturation adjustment layer for the tattoo with these settings.
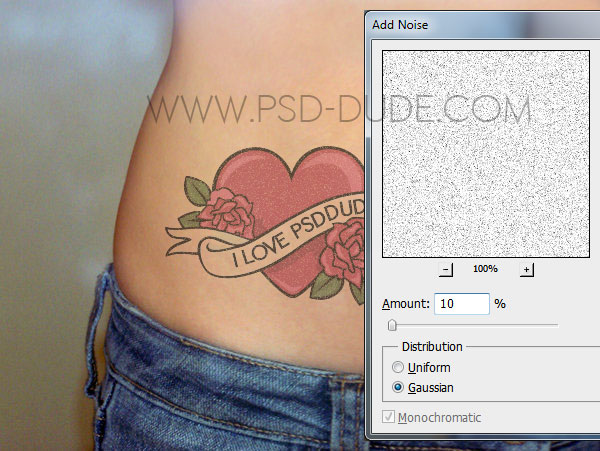
For the final touches you can add a layer mask for the Tattoo Object and inside you can use the Filter>Noise>Add Noise filter with
So here is the final result for the tattoo Photoshop effect; you can place the tattoo in any place you want but you might have to use the Transform Tools like Rotate, Distort, Warp to modify the shape of the tattoo. If the tattoo exceeds the skin area all you have to do is to hide or mask that area.
You can also use one of these tattoo brushes or any other custom shape that you like.
Tattoo Photoshop Creator Mock-up
You can also check out our easy tattoo creator that will help you create tattoos from text, shapes, vector graphics and even photos. You can buy the mockup for only 4$ from creativemarket.

5 comment(s) for "Create a Tattoo in Photoshop"
http://www.slrlounge.com/add-realistic-tattoo-person-photoshop/