

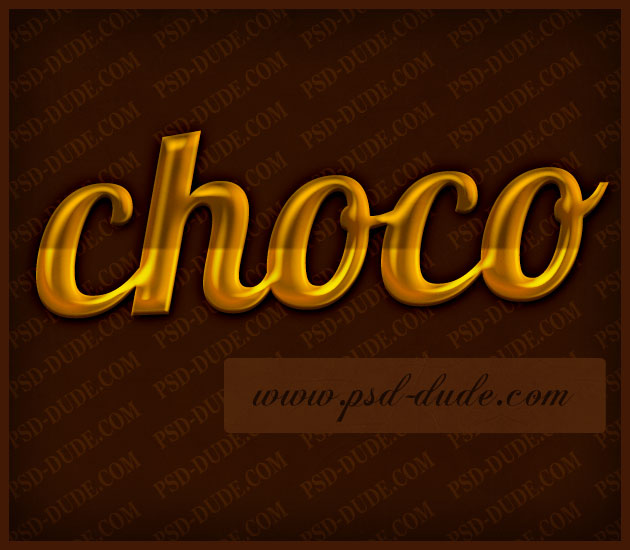
This chocolate Photoshop tutorial is really simple, all we have to do is create four text layers, each with its individual and of course different layer style. Put together these layers will create this chocolate text effect.
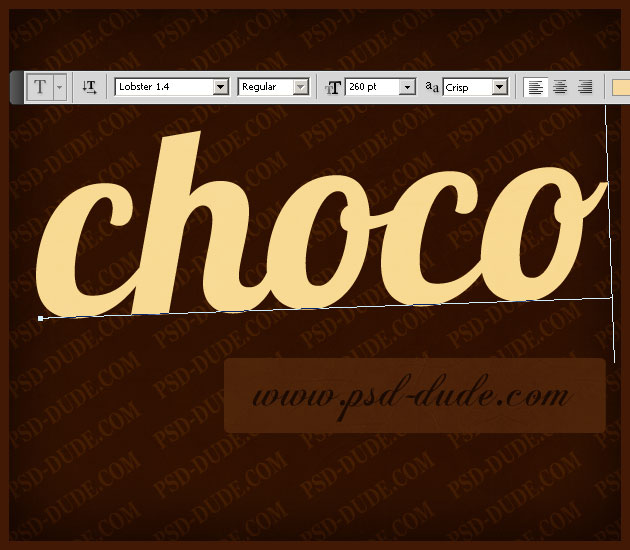
Let's start with a simple text layer called Chocolate Layer 1. Write the text "choco" or whatever message you want and duplicate the layer three times. I am using a dark brown background that will go well with the text effct we are about to create.
As you see in the image attached I've used the free Lobster Font, that you can download, instal and use it in Photoshop. If don't know ho to do that you can check out my Install Font in Photoshop tutorial.
Open the layer style window and add the following layer styles for the Chocolate Layer 1: Drop Shadow, Inner Shadow, Outer Glow and Color Overlay.
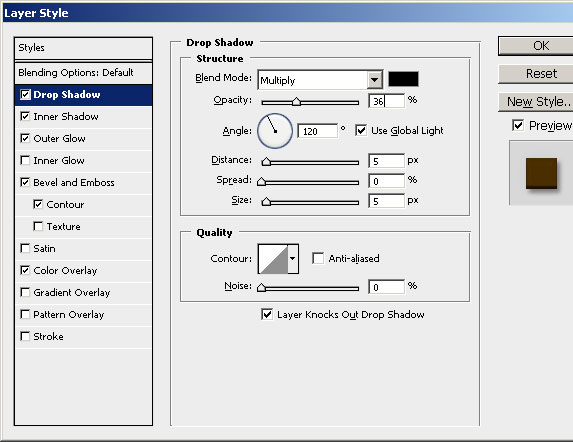
The color used is #5a3b05.
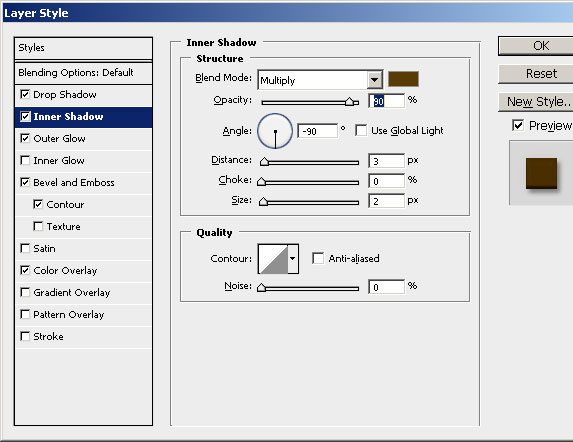
The color used is #353535.
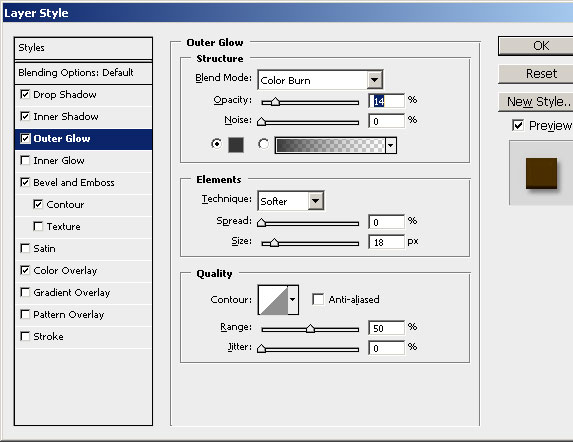
The color used is #4d2f00.

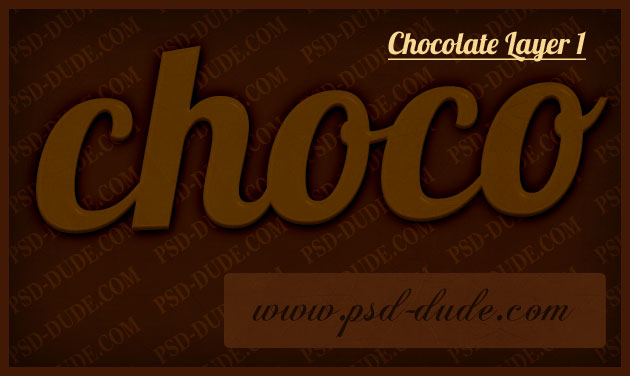
Our chocolate text should now look like this, with a dark brown color, #4c3000.
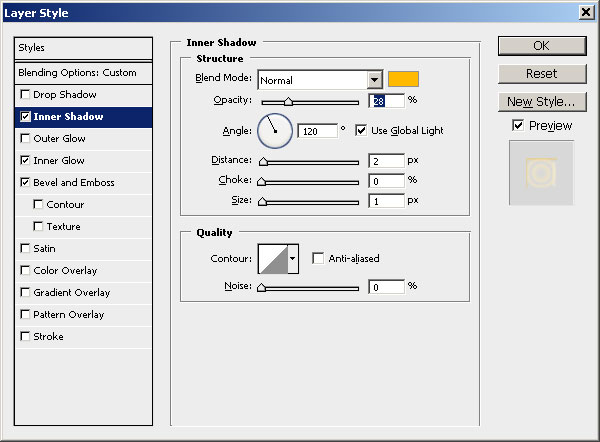
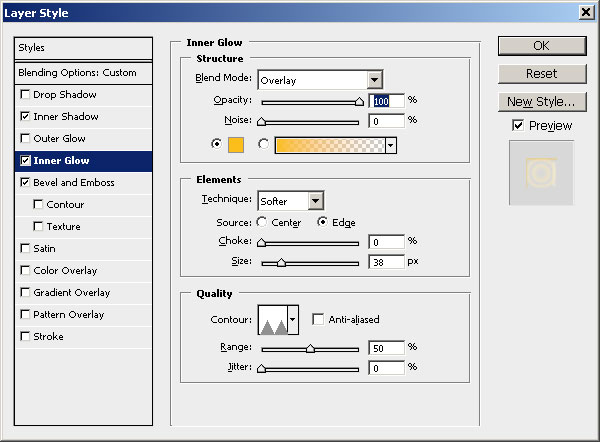
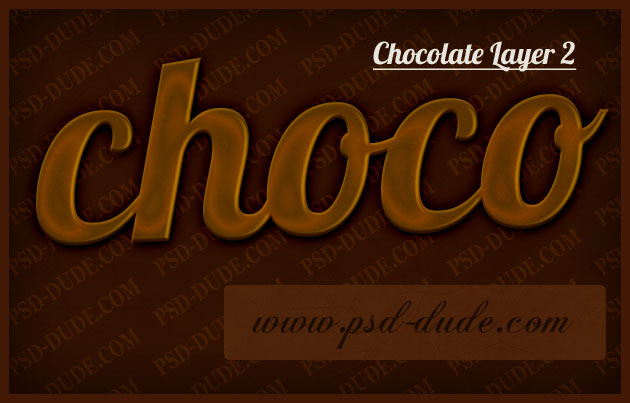
Open the layer style window and add the following layer styles for the Chocolate Layer 2: Inner Shadow, Inner Glow and Bevel and Emboss.
The color used is #ffba00.
The color used is #fcbb1f.
The colors used are #9a6b01 and black.

After adding thes layer styles, our chocolate text should now look like this.
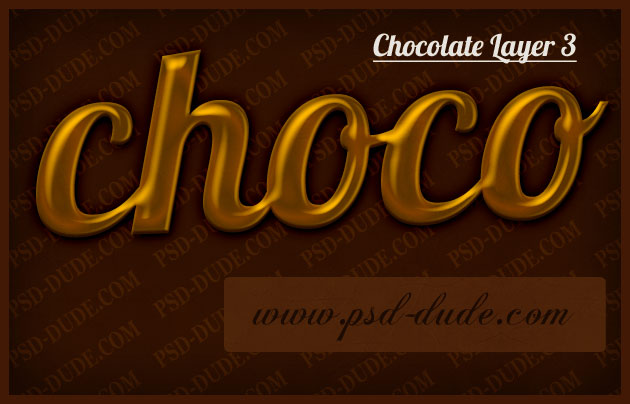
Open the layer style window and add Bevel and Emboss for the Chocolate Layer 3. The colors used are #f89e00 and black.

After adding thes layer styles, our chocolate text should now look like this.
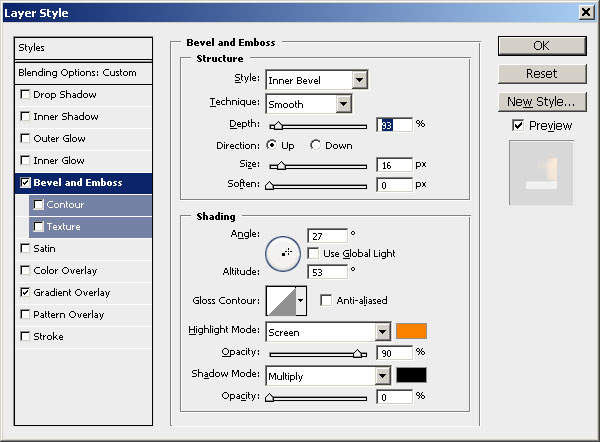
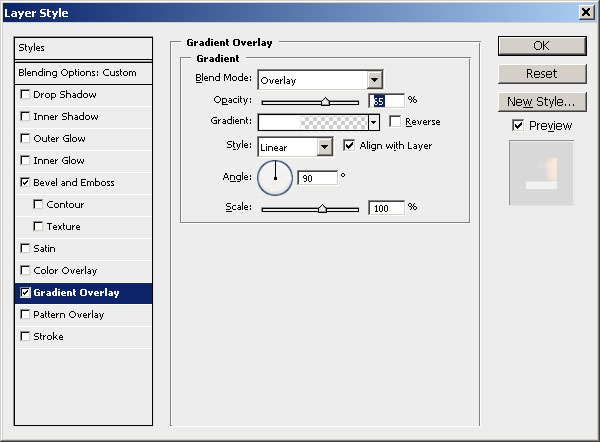
Open the layer style window and add Bevel and Emboss and Gradient Overlay for the Chocolate Layer 4. The colors used are #fb8200 and black.
After adding thes layer styles, our chocolate text should now look like this.
If you want to change the chocolate color tones, add a Color Overlay, blend mode Multiply, color #915948 and opacity around 70% .
Chocolate Text with Aluminium Foil Wrap
If you want to obtain a more interesting realistic chocolate text effect you can wrap the text with aluminium foil. Copy this aluminium foil texture in your PSD file. Use the Polygonal Lasso Tool to make a rough selection around the text. Press SHIFT + CTRL + I to invert the selection and delete from the aluminium foil. Add a Drop Shadow layer style to the Aluminium Foil layer and this is the result.
This chocolate effect can be applied not only to text layers but also to any shape. I really hope you have enjoyed reading this tut and maybe you want to ckech out our previous tutorial about making Chocolate Effect in Photoshop.
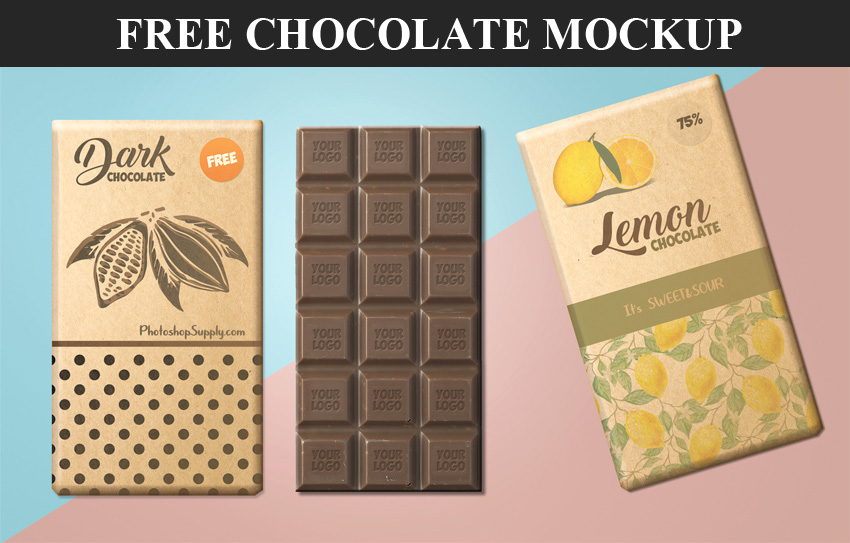
Chocolate Mockup
Design custom chocolates & personalized chocolate gifts that will wow your clients. Personalized chocolate bars for birthdays are a great way to impress your friends.
4 comment(s) for "Chocolate Text Effect Tutorial"