
Download Free Cardboard and Rough Paper Textures
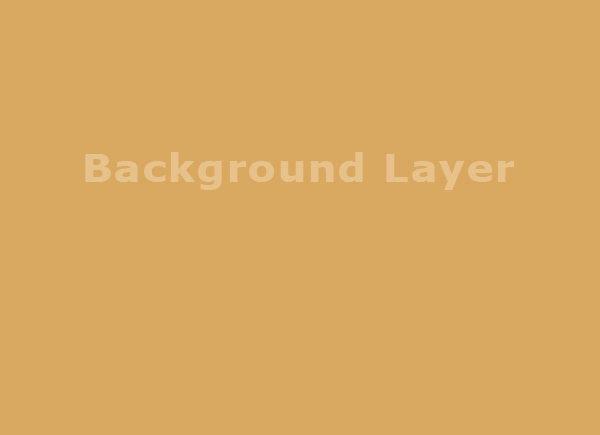
Ok, let's start! Create a new document with whatever size you want for your texture. I choose 600x450 pixels so that it feets on my blog. Create a new layer called Background and fill it with a cardoard related color. I picked #d9a861, but there are so many beautiful tone colors to pick from.
Duplicate this layer and call it Pattern Layer. Obvious I will add a pattern to this layer but first I have to create this pattern. I will make a simple pattern with vertical lines. Open a new PSD file 20x20 pixels size. Add a rectangular shape on half of the image, color #b68728. At the center of the image add a vertical line of 1px, color #9c7b21. Delete the Background layer to obtain a transparent background.
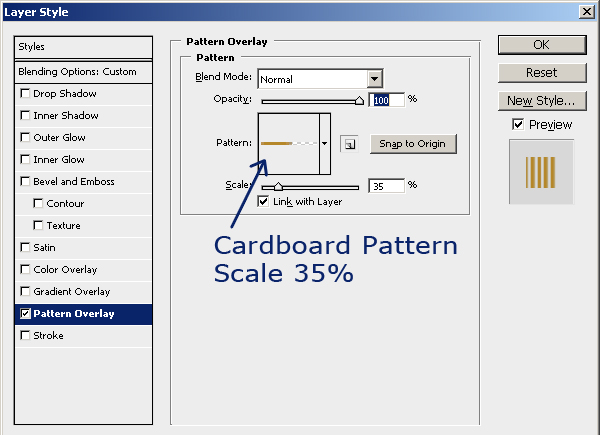
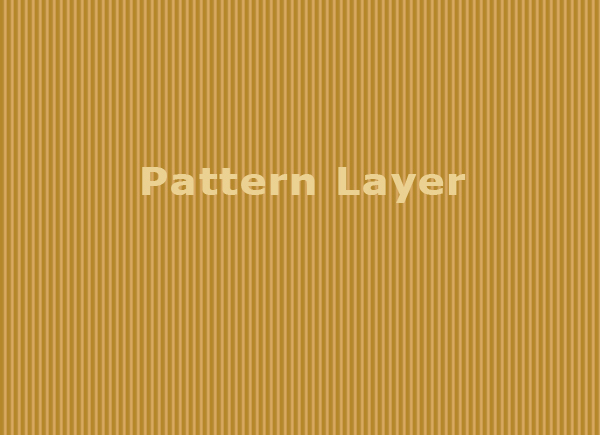
Go to Edit > Define Pattern menu and name it Cardboard. Close this file without saving it because was already saved in our Patterns List. Return to the previous file and open the Layer Style of the Pattern Layer and add Pattern Overlay. Choose the Cardboard Pattern and scale it to 35%.
Set the Fill of the Pattern Layer to 0%. This is how the texture looks so far:
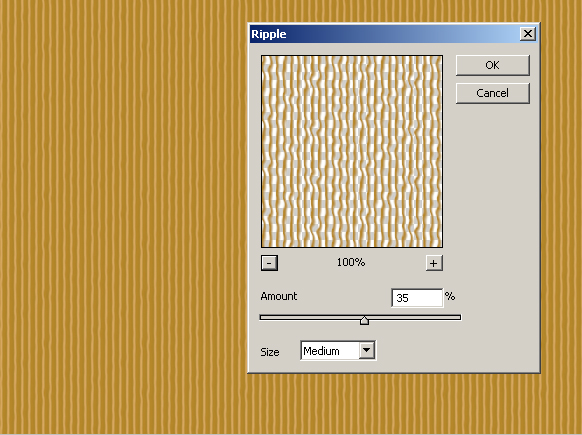
Right click on the Pattern Layer and choose Convert to Smart Object. I want to distort a little the straight lines so that the texture to look more real. Go to Filter > Distort > Ripple and make the following settings:
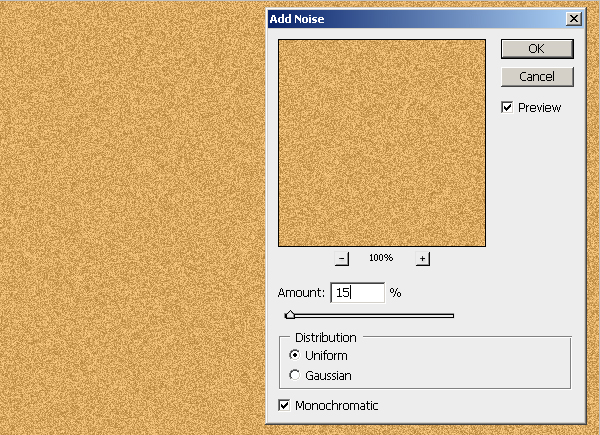
Duplicate the Background layer and place it above all the other layers. Add Filter > Noise > Add Noise like in the image:
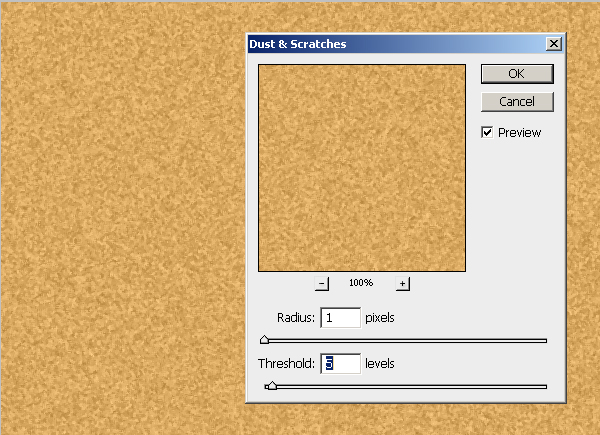
Finally add Dust and Scratches from the Noise menu. Set the opacity of this layer to 40%.
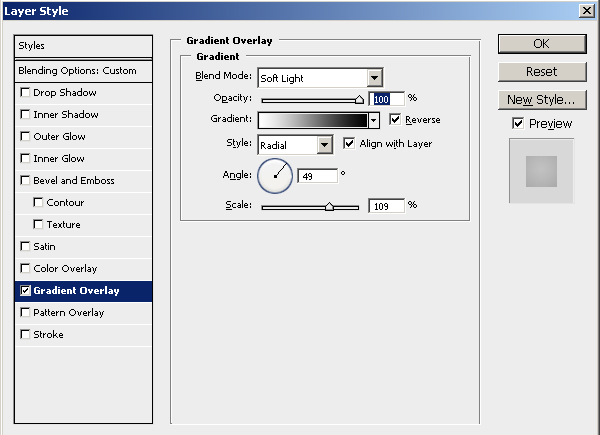
To obtain an even better result add a Gradient Overlay, style Radial to obtain a beautiful image vignette.
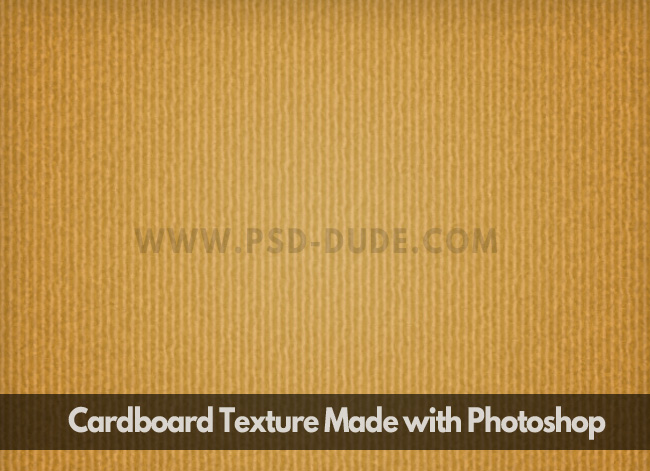
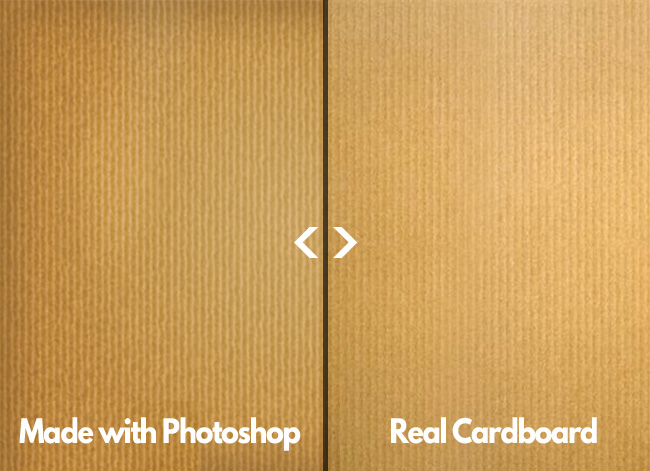
Here is the result for the cardboard texture made from scratch in Photoshop.
You can see in the image below that the real texture and the hand made texture are pretty similar.
Dowload the PSD FILE (2.54 MB)
You can download the PSD file if you want. The file was made using Photoshop CS4 and it contains different layers for every step of this tutorial. The PSD has 2.54 MB size.
6 comment(s) for "Cardboard Texture Photoshop Tutorial"
thank you for sharing reply