Download the stock images that you need for this photo manipulation:
- Sea Stock Image - link Alternative Stock - link
- Sky Stock Image - link Alternative Stock - link
- Rock 1 Stock Image - link Alternative Stock - link
- Rock 2 Stock Image - link
- Dead Tree Stock Image - link Alternative Stock - link
- Old House Stock Image - link
- Asteroid Stock Image - link
- Moon Stock Image - link
- Girl Stock Image - link
- Other Stock Images are no longer available
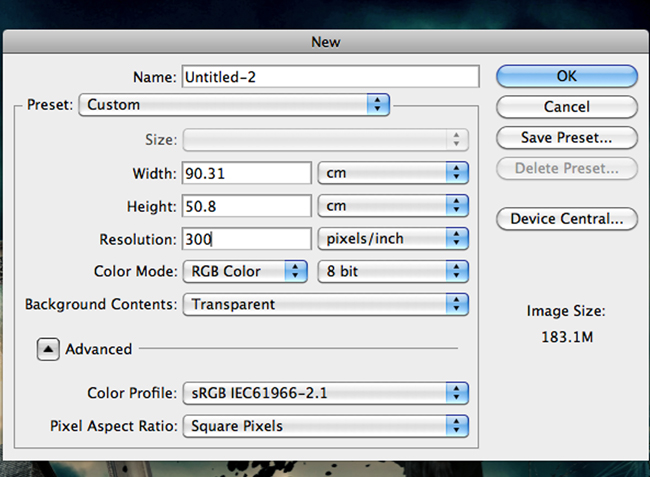
Make a new PSD document.
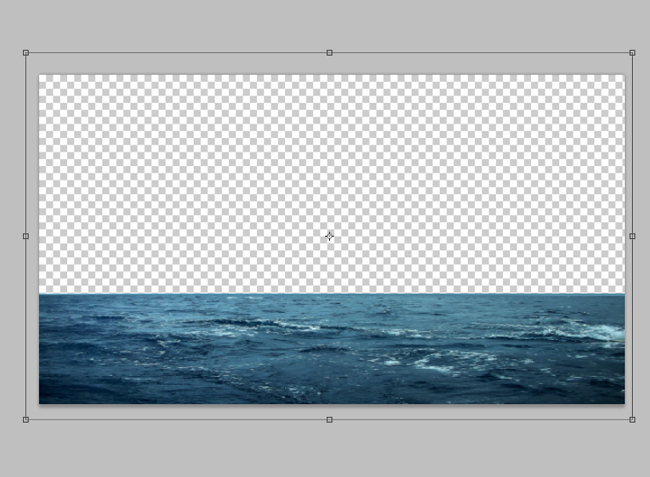
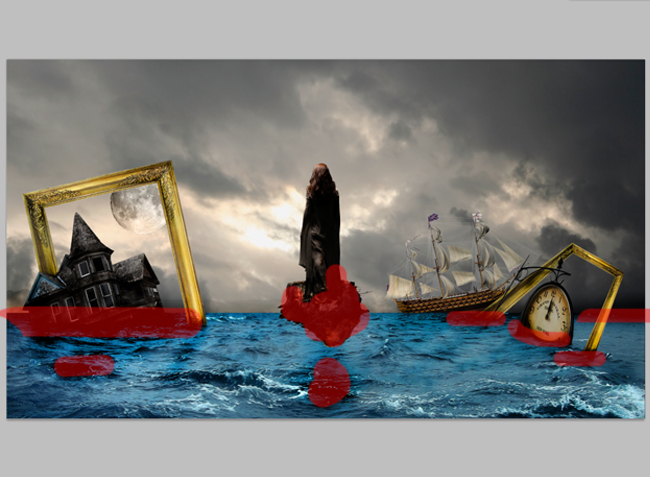
Start with the sea stock image and use the Rectangular Marquee Tool to make a selection. Remove the red selection area.
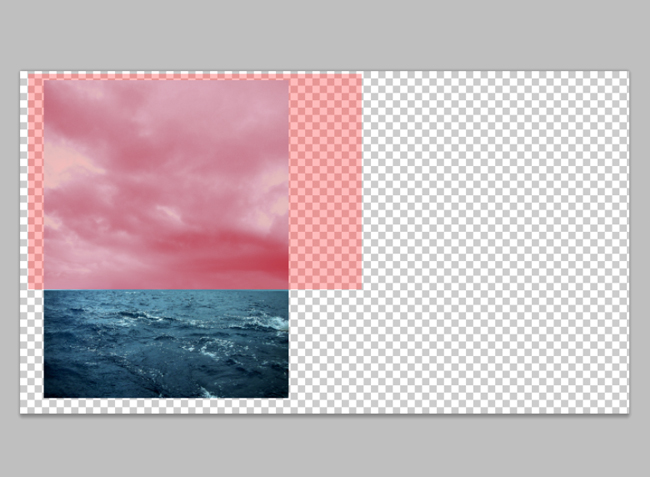
Use the sea image to cover the entire canvas. Duplicate the image, flip it horizontal(Edit>Transform>Flip Horizontal) and use the Clone Stamp Tool to make the water seamless.
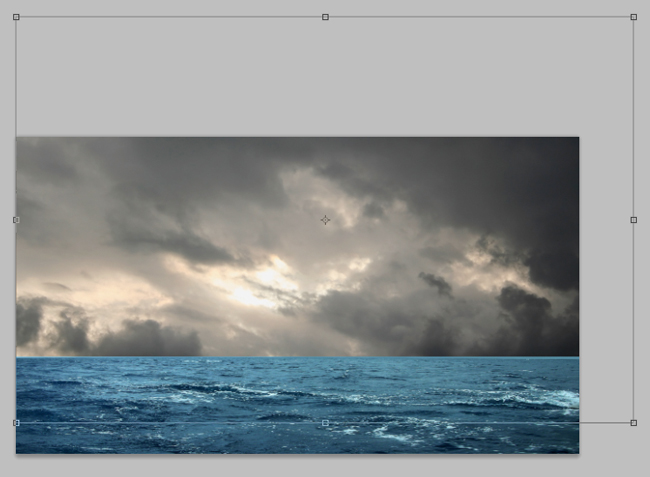
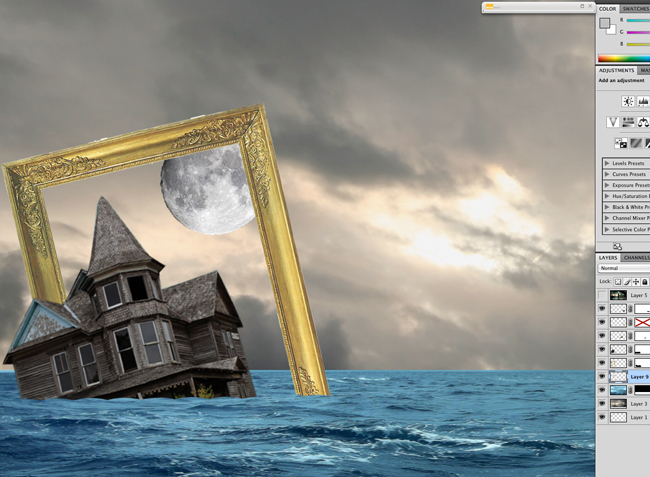
Add the sky stock image behind the sea like shown in the preview.
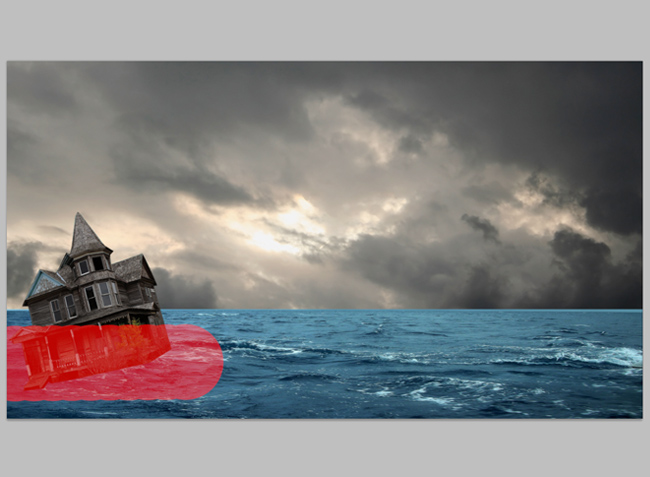
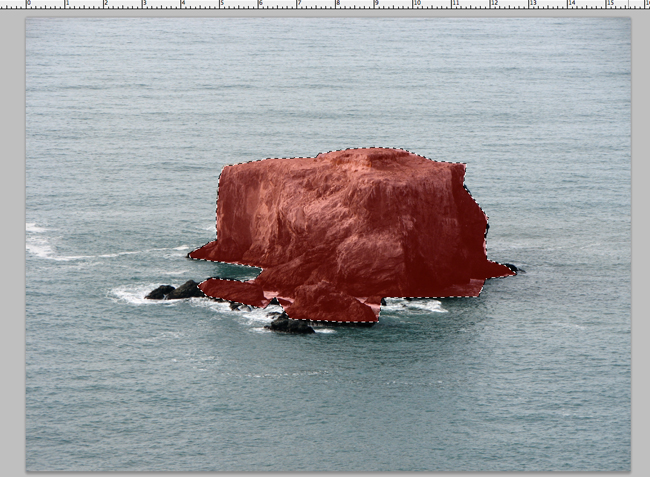
Open the old house stock image. Make a selection of the red area with lasso tool or pen tool. Learn more about the best Photoshop selection tools for removing background and cutout images.
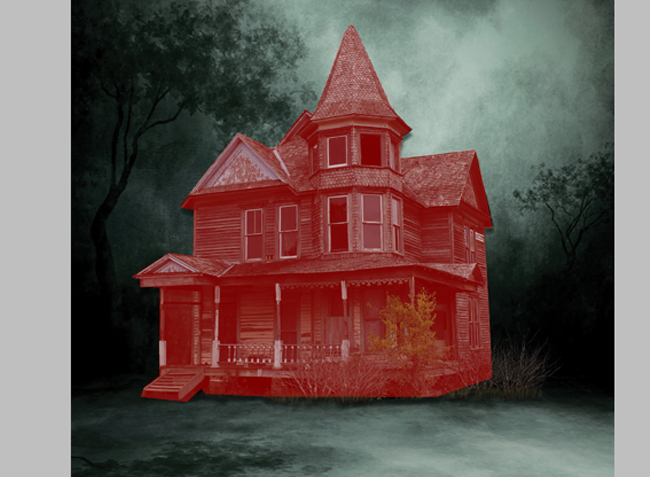
Place the old house like the image below using the transform>Rotate Tool.
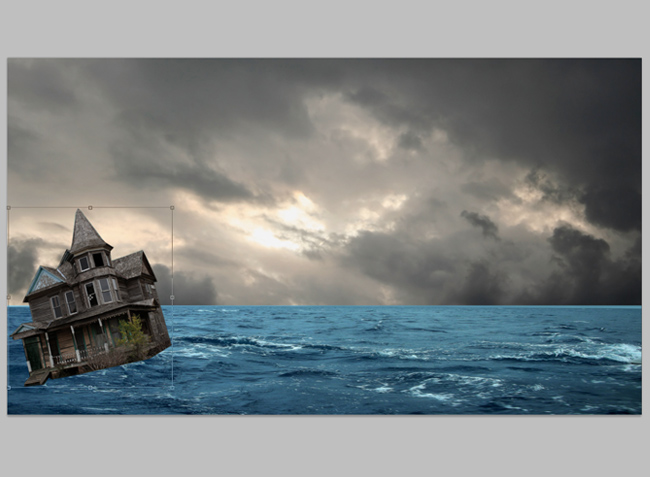
Remove the red area like the image below to create the sunken effect.
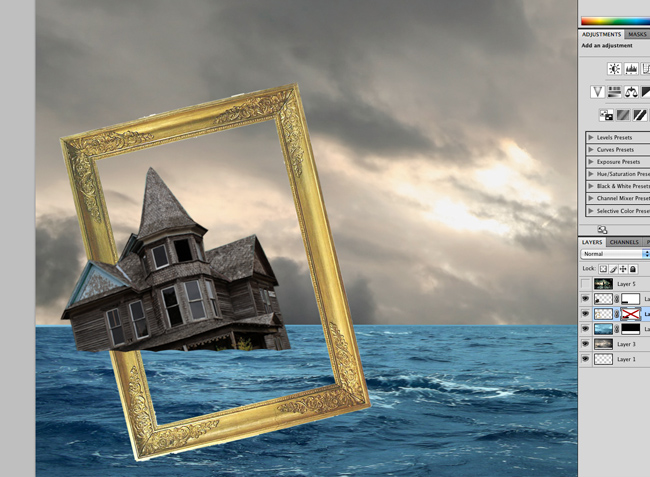
Open the antique frame stock image and make a selection with the Lasso tool or Pen tool to cutout the frame.

Place and rotate the frame like the image below.
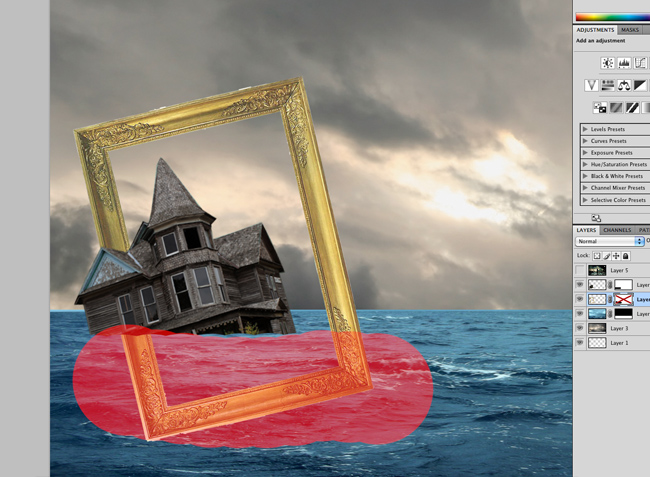
Remove the red area of the frame that is suposed to be underwater, like shown in the image below.
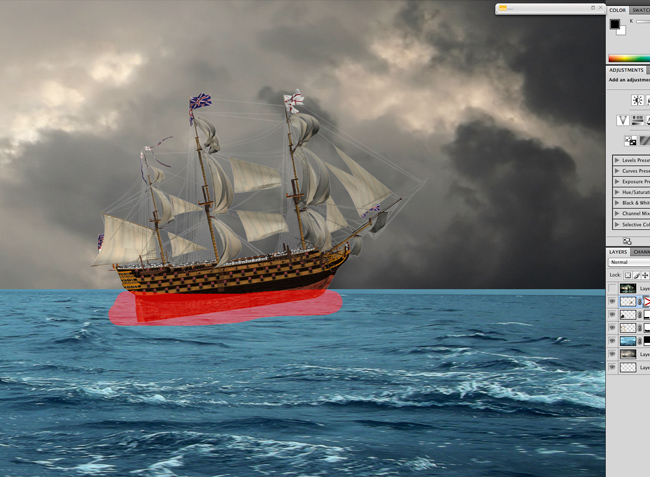
Open the boat stock image and remove the background.
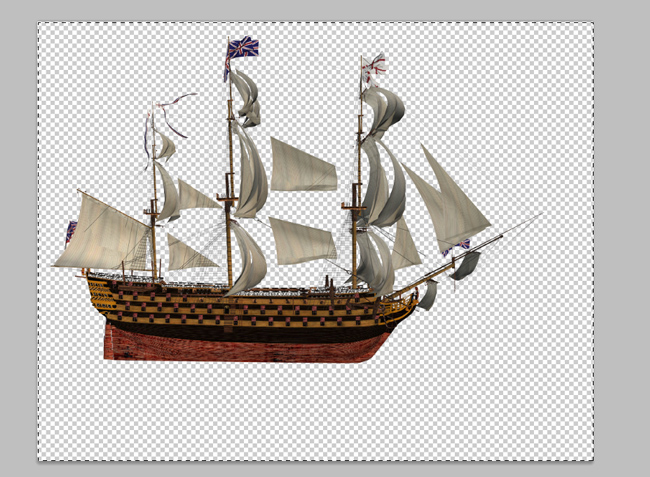
Place and compose the manipulation by placing the boat on the right side like the image below.

Again remove the red area that coresponds to the part of the boat that is undet the sea, like in the image below.
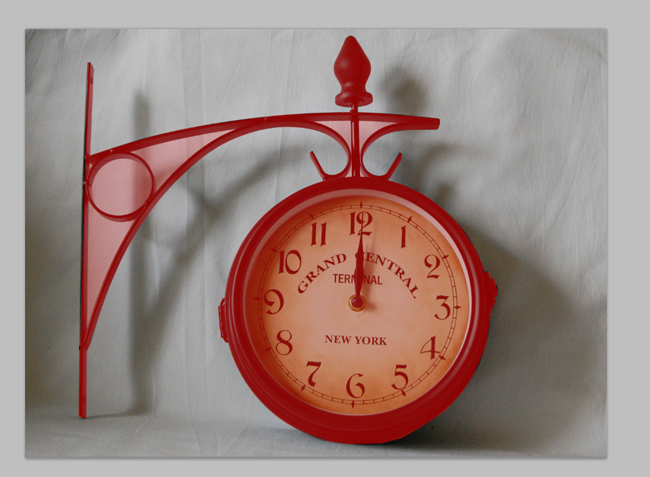
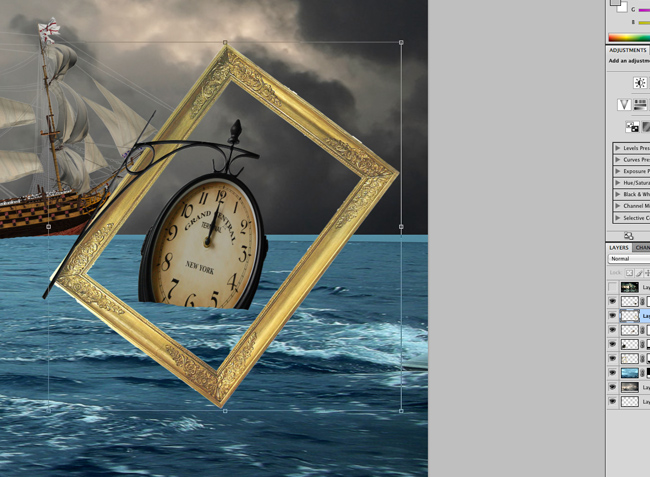
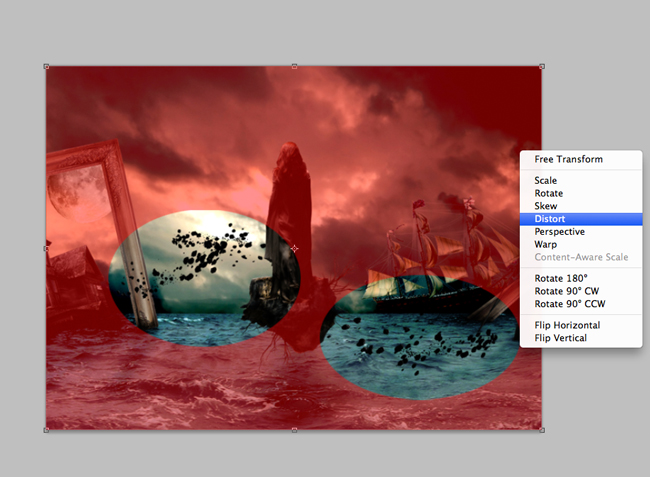
Open the clock image and remove the background.
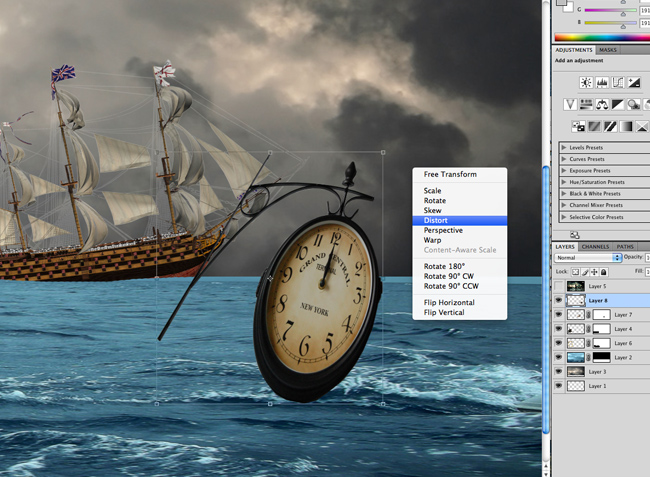
Place the clock near the boat like the image below.

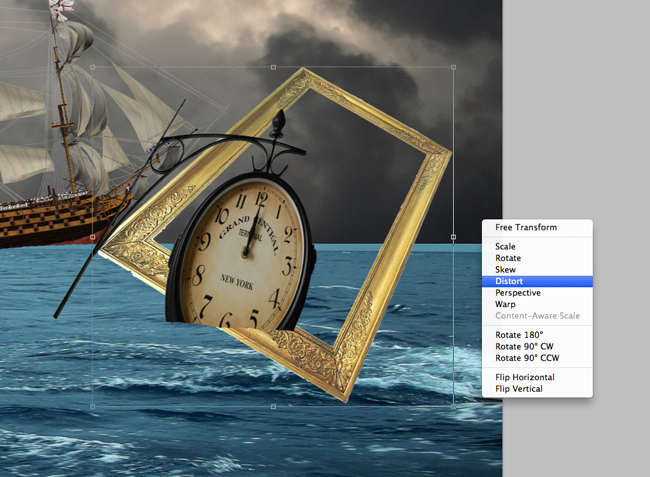
Go to the Edit>Transform menu and play with the Distort Tool, Perspective Tool and Skew Tool to get the right composition.
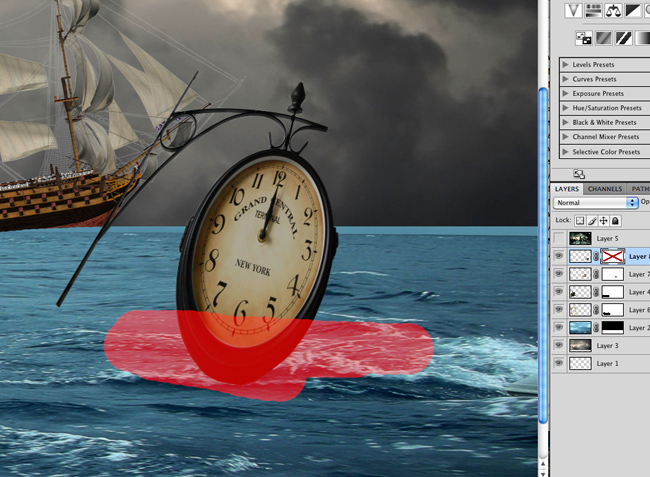
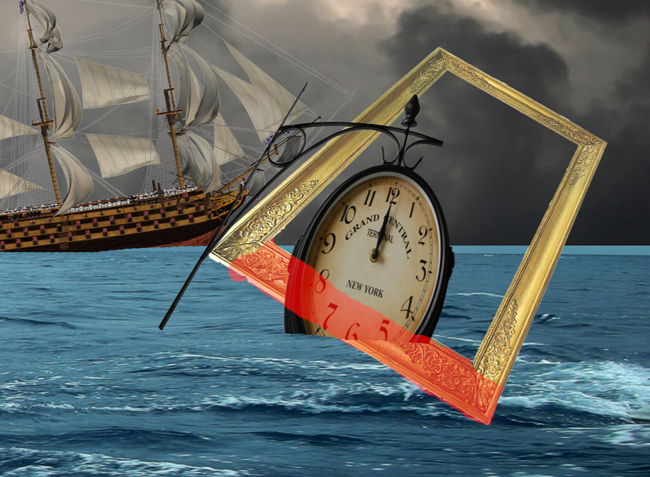
Remove the red area like the image below using the Eraser Tool. If you want a nondestructive effect you can use a Layer Mask and simply hide the area.
Add the antique frame again, and place it behind the clock.
Play again with distort, perspective and skew tools to get the composition that you want.
Use the Eraser Tool to remove the red area.
Open the moon image and make a quick selection with the Magic Wand Tool to remove the background area. Set the Tolerance of the tool to around 50.
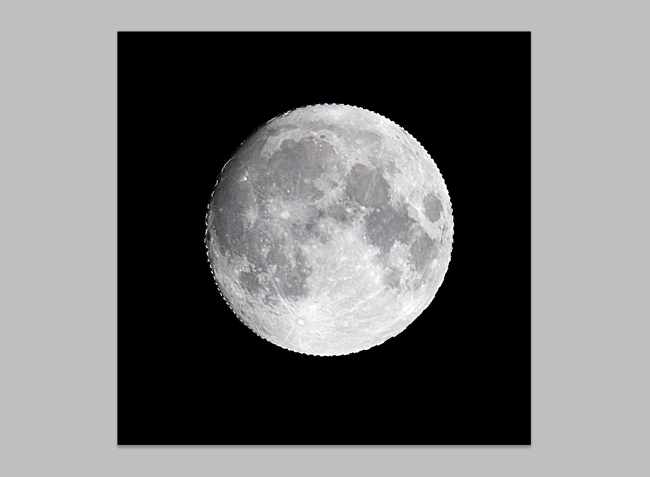
Place the moon behind the antique frame like the preview.
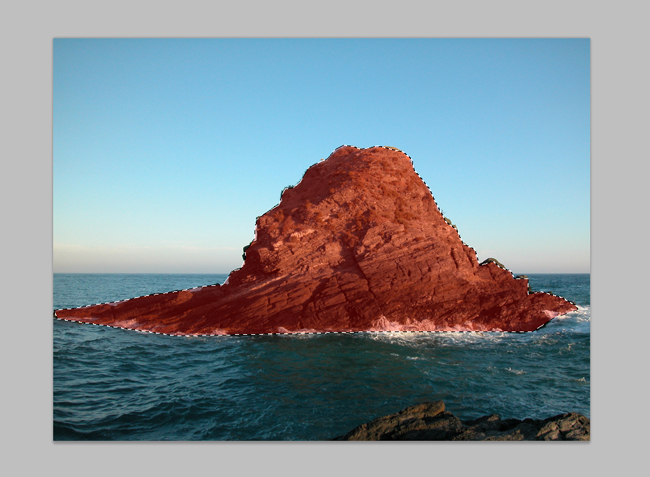
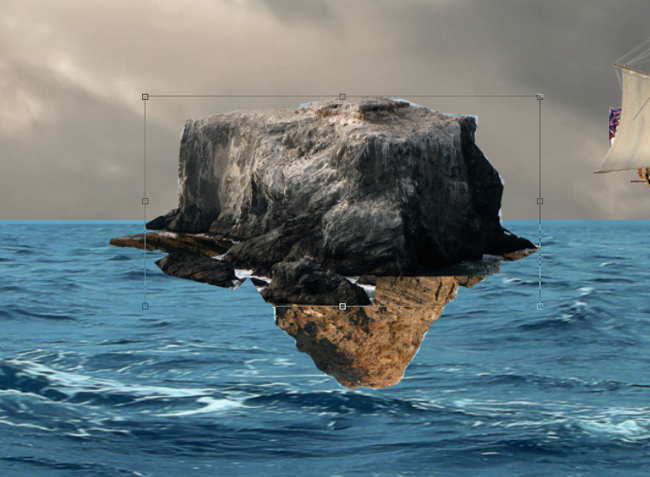
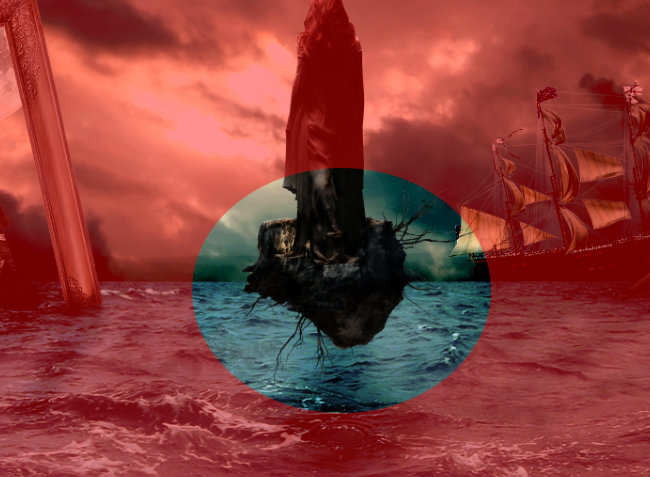
Open the first rock image 1 and make a selection with lasso tool or pen tool to cutout the rock.
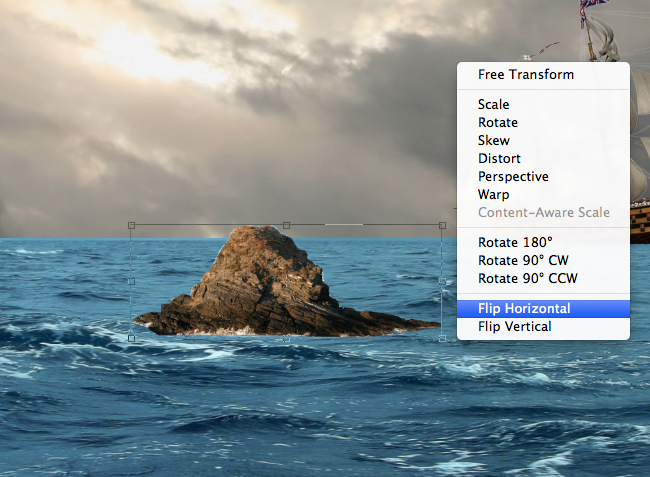
Flip horizontal the rock image.
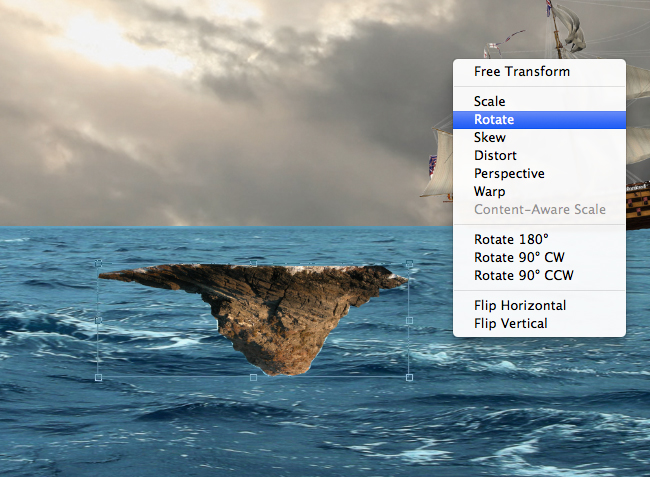
Then rotate it like the image below.
Open the second rock image 2 and make a selection with Lasso Tool or Pen Tool
Place the second rock on the top on the first rock to create a rocky island.
Open the woman image and remove the background.
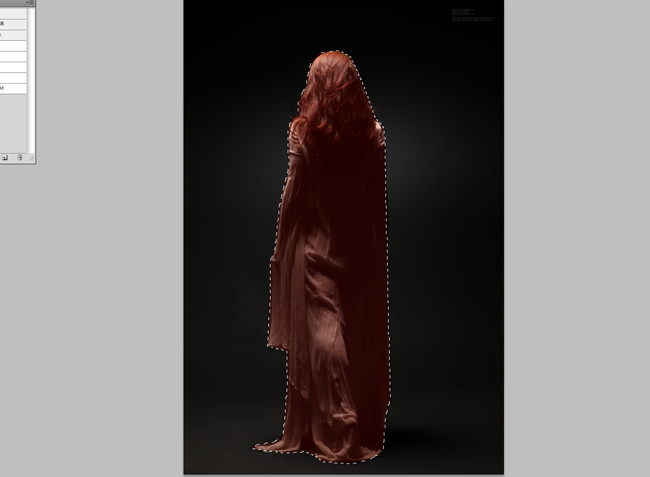
Place the woman on the floating rock island, like the image below.
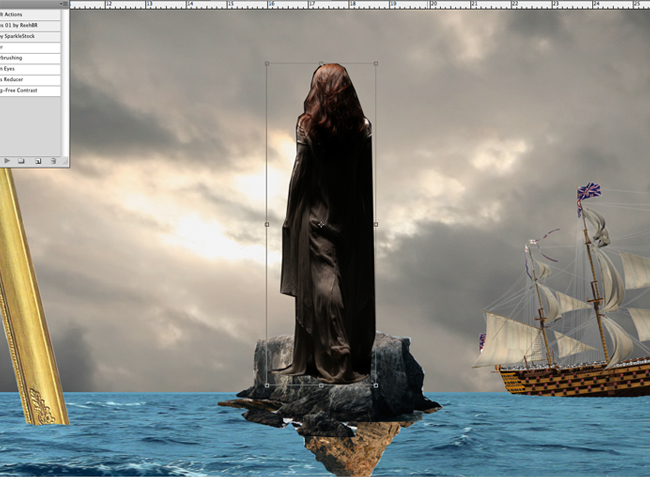
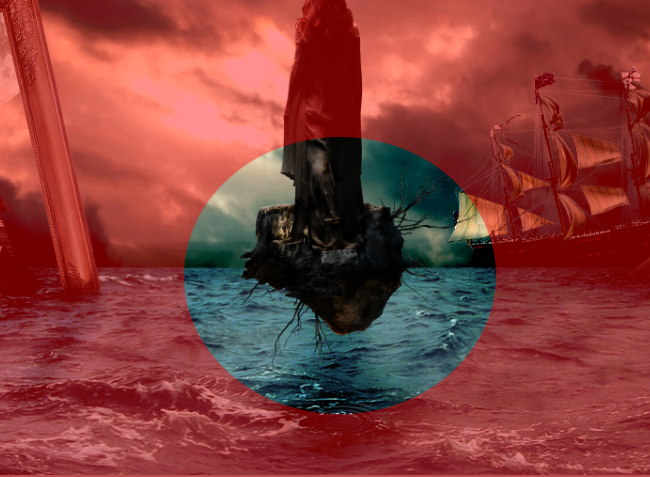
Use the Burn Tool on the red area like the image below. You can set your exposure between 15% to 25%
Create a new adjustment layer for levels and set the points like the image below.
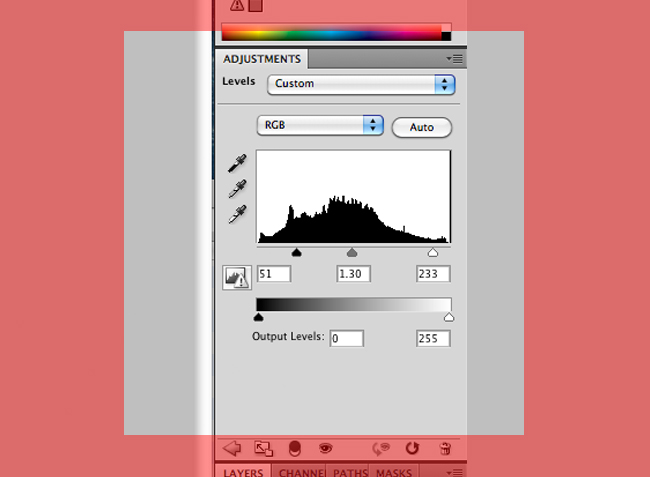
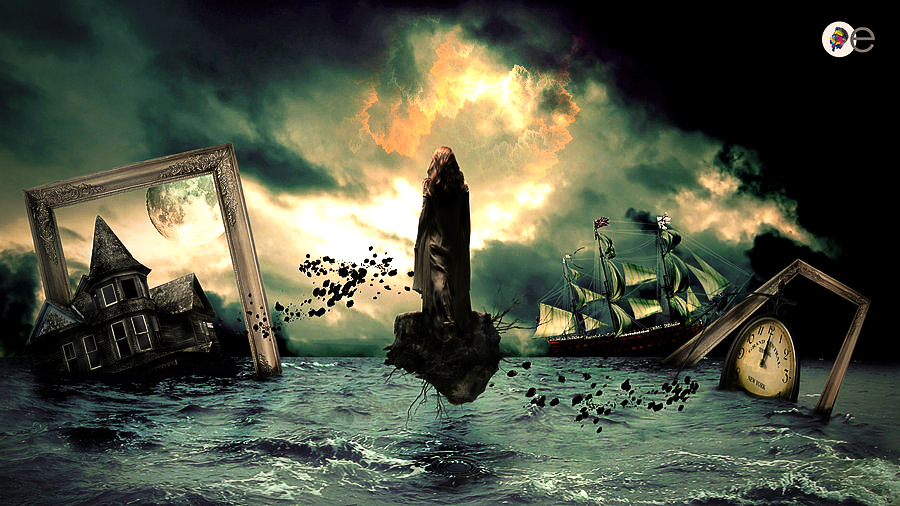
You should get a similar color tone for your photo manipulation.
Add a Gradient Map using these colors: #69a2b5 and #b3baaa
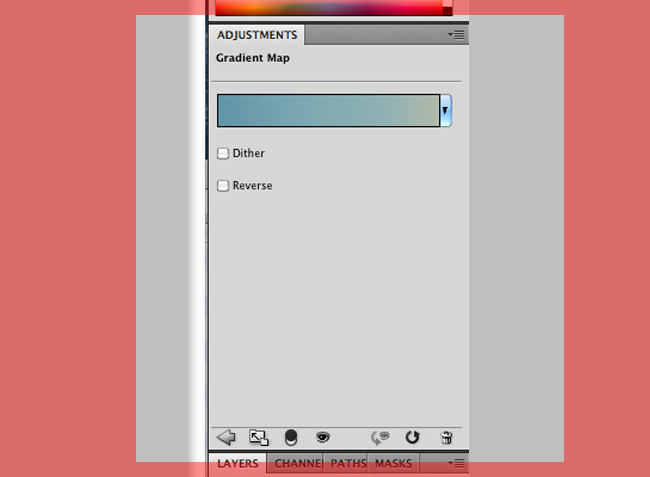
Set the gradiend map blend mode to Color Burn, opacity 84% . Use the Gradient Tool, with black and white linear gradient and use it inside the Gradient Map Mask like in the image.

Create a new adjustment layer for Selective Color and make these settings:
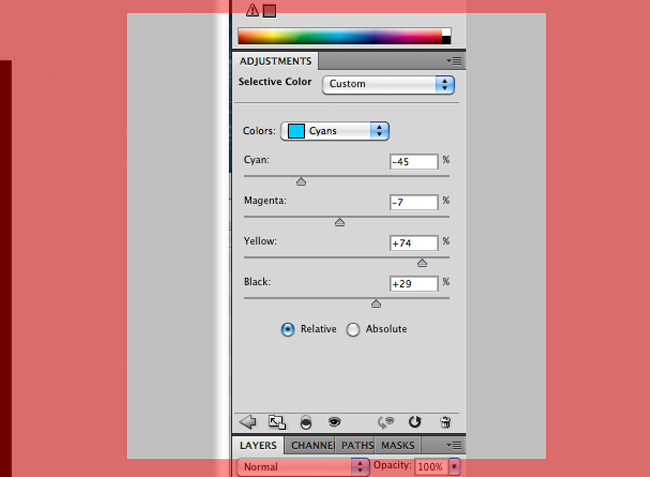
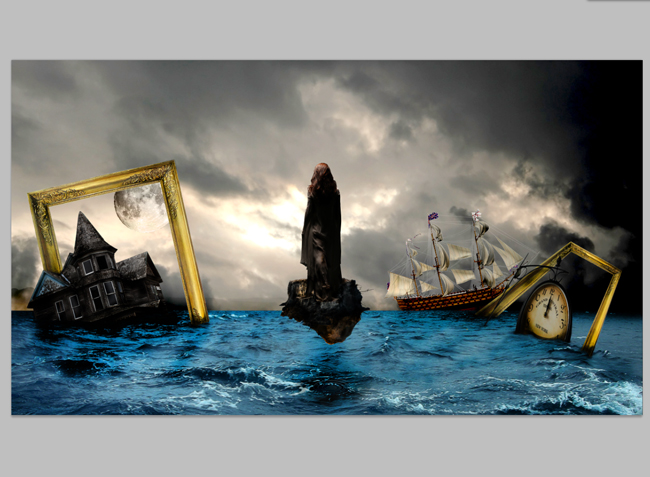
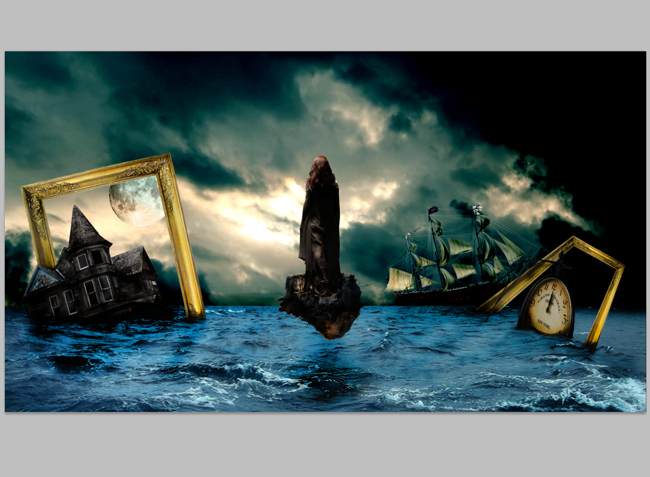
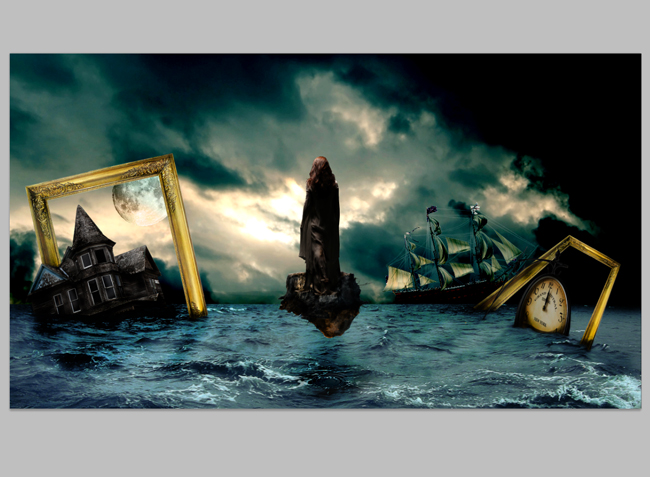
Your photo manipulation should now look similar to this:
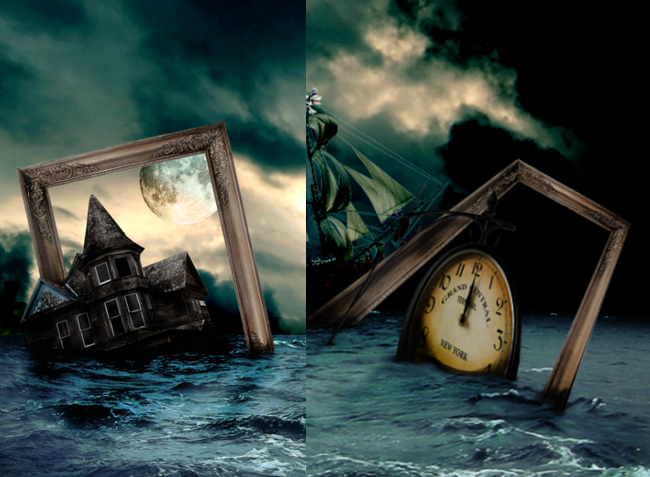
Create a Hue/Saturation adjustment layer only for the antique frame layers using a clipping mask. Make these settings to desaturate the color of the frames..

Open the dead tree image and make a selection to delete the background.
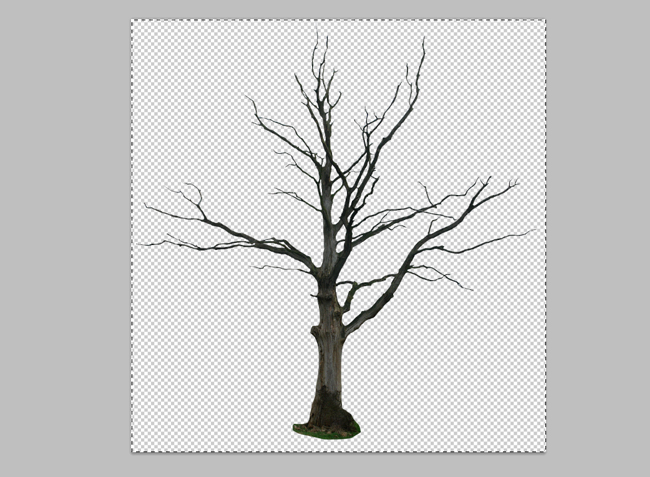
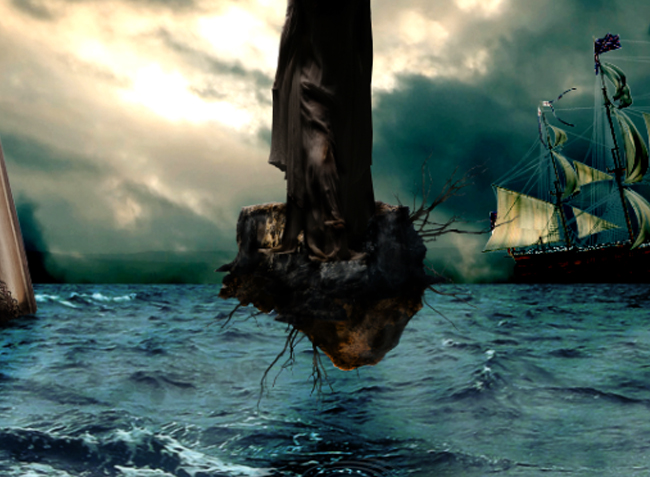
Duplicate the tree several times and place them behind the float rock to create interesting tree roots.
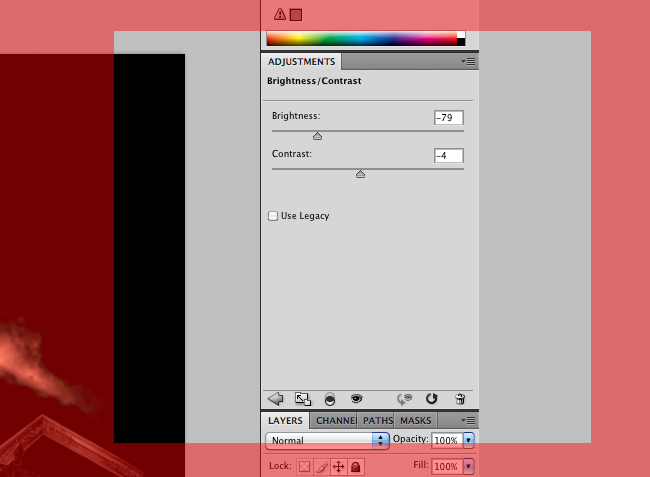
Create a Brightness and Contrast new adjustment layer only for the first rock layer
Create new adjustment layer for hue and saturation only for the first rock layer.

Open the asteroid image and remove the background using a selection tool.
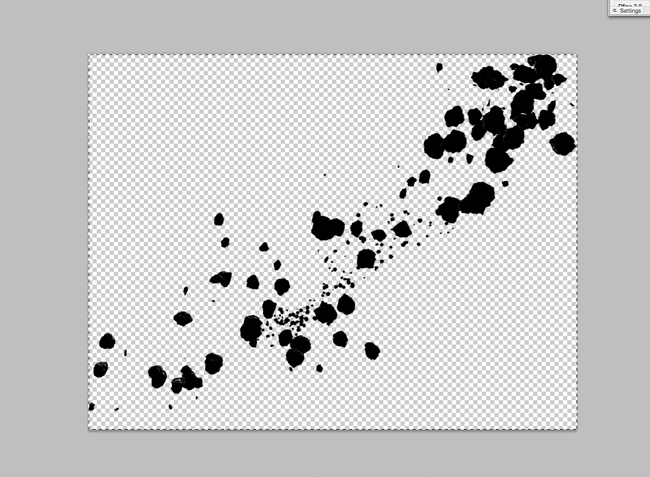
Place on the left and right side of the floating rock. Free to play with skew, distort, and perspective effect to get the perfect composition like the image below.
Set the color balance to get the perfect composition color that you like. You can add a Photo Filter and/or a Gradient map to get what color that you want.
2 comment(s) for "Lost in Time Surreal Photoshop Tutorial"