


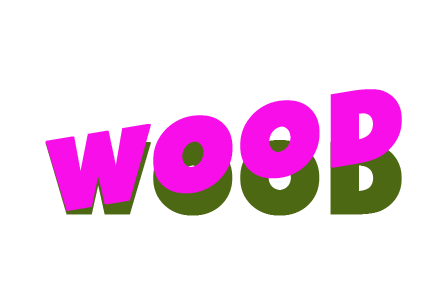
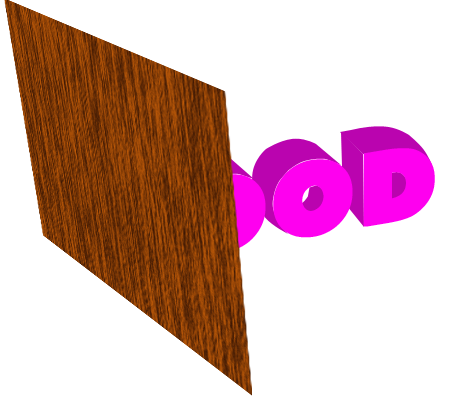
Duplicate the Wood Layer, change the text color to #f70ee9 and call it Wood1 Layer. Hide the Wood Layer. Go to Edit - Transform - Skew and move the text like in the picture:
 Step 2 3D Effect
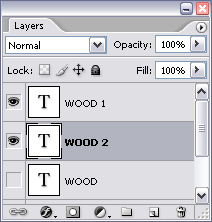
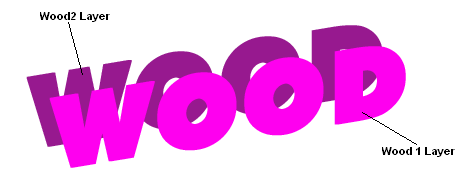
Duplicate Wood1
Layer. Change the new layer color to #97198f and place the layer
under Wood1
Layer. Move the Wood2 Layer like in the picture below.
Call this layer
Wood2 Layer.
Step 2 3D Effect
Duplicate Wood1
Layer. Change the new layer color to #97198f and place the layer
under Wood1
Layer. Move the Wood2 Layer like in the picture below.
Call this layer
Wood2 Layer.
 Set the foreground
color to #ba04af. With Pen Tool connect the two wood text to give a 3D look.
It should lookk
something like this:
Set the foreground
color to #ba04af. With Pen Tool connect the two wood text to give a 3D look.
It should lookk
something like this:

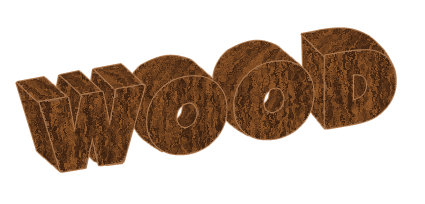
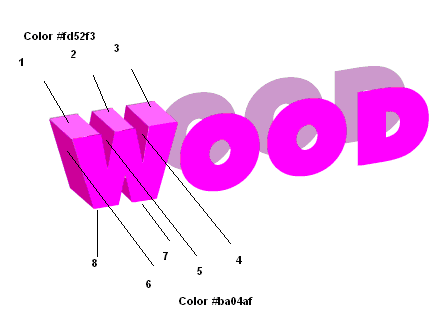 As you can
see we have at leas 8 surfaces; in fact the corect number of surface is 14 but there
are not all visible. The ones from top have a lighter color, the other a darker
color. The ones below are the surfaces without the Wood1 Layer.
As you can
see we have at leas 8 surfaces; in fact the corect number of surface is 14 but there
are not all visible. The ones from top have a lighter color, the other a darker
color. The ones below are the surfaces without the Wood1 Layer.
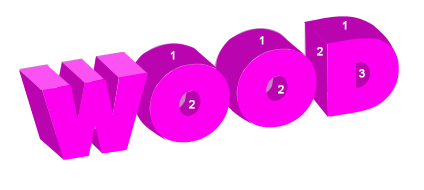
 Now do the
same for the other letters. "O" has only two surface ; duplicate it and move it
to the other O.
"D" has three
surfaces. I advise you to put W surfaces into a group called "W", O surfaces into
a group called "O" and D surfaces into a group called "D"( Select the layers, go
to Layer - New - Group from layers...) And put all 3 groups in one group called 3D.
Now do the
same for the other letters. "O" has only two surface ; duplicate it and move it
to the other O.
"D" has three
surfaces. I advise you to put W surfaces into a group called "W", O surfaces into
a group called "O" and D surfaces into a group called "D"( Select the layers, go
to Layer - New - Group from layers...) And put all 3 groups in one group called 3D.
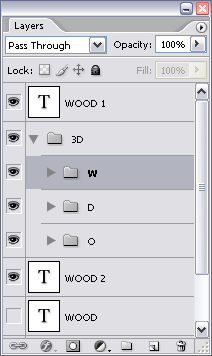 You can now
hide Wood2 Layer.
You can now
hide Wood2 Layer.
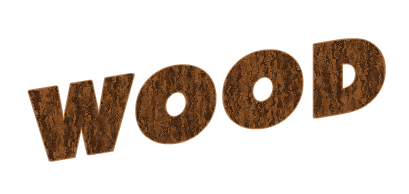
 Step 3 - WOOD Texture
Now it is time
to texture our text. Set the foreground color to #af5207 and the background color #
4b1f04. Draw
a rectangle with the Rectangle Tool big enough to cover the entire text. Go to Filter
0 Render - Fibers and do the following settings. Call this layer Texture Layer.
Step 3 - WOOD Texture
Now it is time
to texture our text. Set the foreground color to #af5207 and the background color #
4b1f04. Draw
a rectangle with the Rectangle Tool big enough to cover the entire text. Go to Filter
0 Render - Fibers and do the following settings. Call this layer Texture Layer.
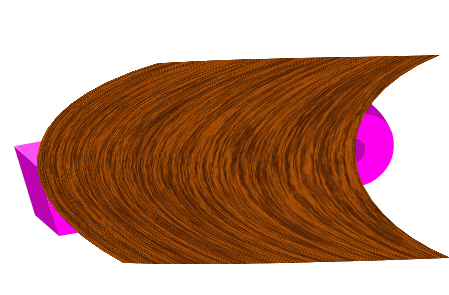
 We need to
duplicate Texture Layer 5 times, one for each plan and direction we have. Call the
layers Direction 1, Direction 2, .... You can of course skip the direction phase but
the result will not be realistic. Group all 5 layers into a group called Directions.
We need to
duplicate Texture Layer 5 times, one for each plan and direction we have. Call the
layers Direction 1, Direction 2, .... You can of course skip the direction phase but
the result will not be realistic. Group all 5 layers into a group called Directions.
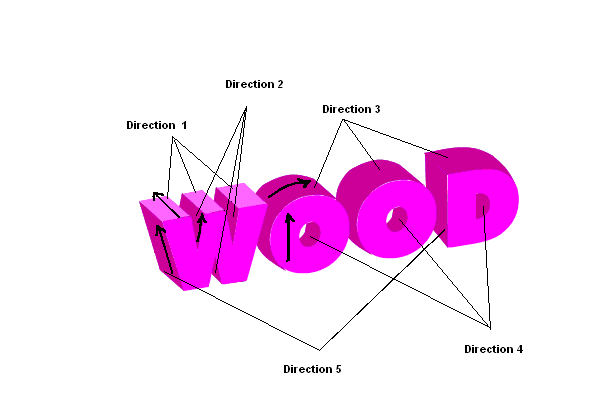 Use Skew to
obtain from Texture Layer the direction5 number 1, 2, 5 presented in the image above.
Direction number
5
Use Skew to
obtain from Texture Layer the direction5 number 1, 2, 5 presented in the image above.
Direction number
5
 Use Warp Tool
to obtain from Texture Layer the directions number 3 and 4.
Direction number
3
Use Warp Tool
to obtain from Texture Layer the directions number 3 and 4.
Direction number
3
 Step 4 - WOOD Texture applied to the text
Now duplicate
the 3D Group and call it Selection Areas.
You have to
merge all the areas that corespond to a direction and call the new layers Area 1,
Area 2,...
Now we have
2 Groups: 5 areas that corespond to 5 directions. The 6th layers coresponds to the initial text Wood 1
Layer.(I have copied the Wood 1 Layer and rasterized it)
Step 4 - WOOD Texture applied to the text
Now duplicate
the 3D Group and call it Selection Areas.
You have to
merge all the areas that corespond to a direction and call the new layers Area 1,
Area 2,...
Now we have
2 Groups: 5 areas that corespond to 5 directions. The 6th layers coresponds to the initial text Wood 1
Layer.(I have copied the Wood 1 Layer and rasterized it)
Press CTRL and Thumbnail of the layer Area for each of the 5 areas ; than go to the corespondent Direction layer and press CTRL+C and CTRL +V. The result is that after a direction layer a new layer appears that represent the areas with the texture. Move Layer 10 in front of all the others and hide the directions layers. The result so far is this:
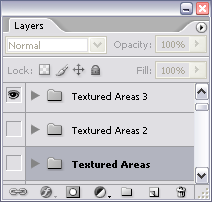
 Step 5 -Textured areas
Move the textured
areas into a new group called Textured Areas. Duplicate this group 2 times and hide
2 of them. We will work only with group Textured Areas 3.
Step 5 -Textured areas
Move the textured
areas into a new group called Textured Areas. Duplicate this group 2 times and hide
2 of them. We will work only with group Textured Areas 3.
 For every layer
from the group Textured Areas 3 do the following settings:
1. Filter -
Brush Strokes - Spatter ( spray radius 5, smoothness 5)
For every layer
from the group Textured Areas 3 do the following settings:
1. Filter -
Brush Strokes - Spatter ( spray radius 5, smoothness 5)
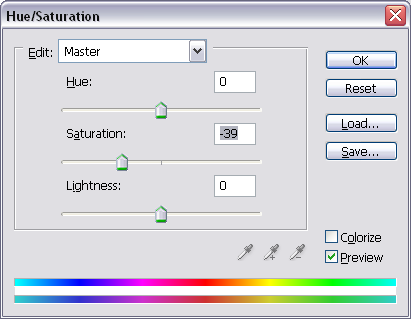
 2. Image -
Adjustments - Hue/Saturation and set
2. Image -
Adjustments - Hue/Saturation and set
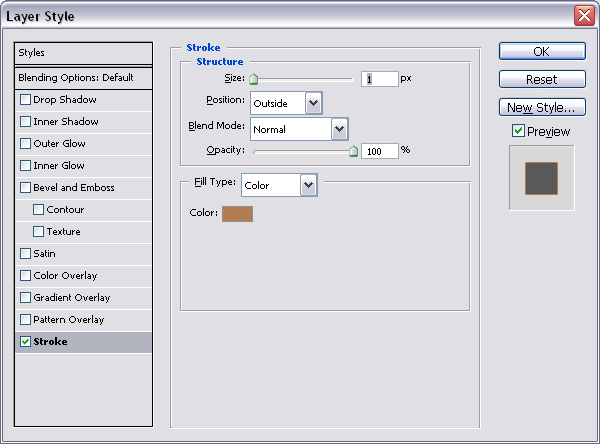
 3. Blending
Options - Stroke , color #b17c51
3. Blending
Options - Stroke , color #b17c51
 The result
for front area is :
The result
for front area is :
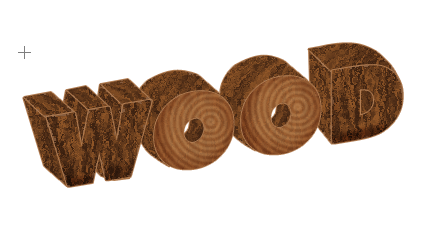
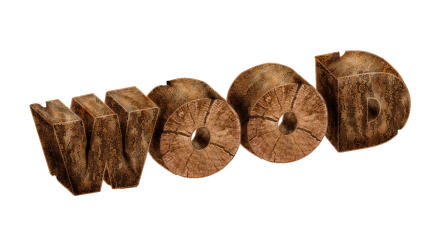
 After doing
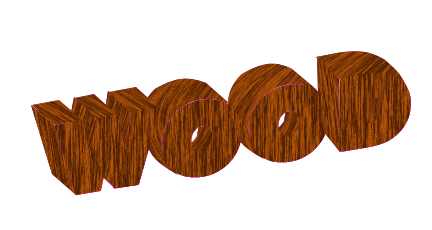
all the steps mentioned you should have this result:
After doing
all the steps mentioned you should have this result:
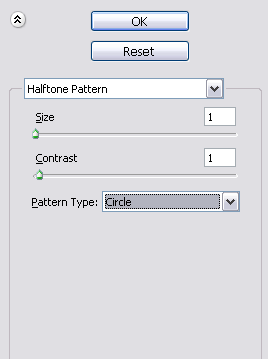
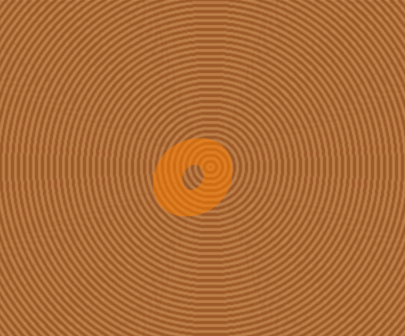
 Step 6 - More
details;Wood section
Set foreground color #d3985f and background color #9c5928.
Create a new layer and fill it with color #d3985f.
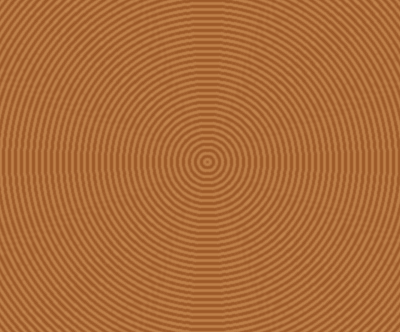
Go to Filter - Sketch - Halftone Pattern
Step 6 - More
details;Wood section
Set foreground color #d3985f and background color #9c5928.
Create a new layer and fill it with color #d3985f.
Go to Filter - Sketch - Halftone Pattern
 Create a new layer with the letter O. Set the opacity
of the layer to 70 % and place the letter near the center of the rectangle. Press
CTRL + Thumbnail of the layer with the letter O and go to rectangle layer; press
CTRL+C and CTRL+V. You will have a new O layer. Duplicated and set the opacity to
75%.
Create a new layer with the letter O. Set the opacity
of the layer to 70 % and place the letter near the center of the rectangle. Press
CTRL + Thumbnail of the layer with the letter O and go to rectangle layer; press
CTRL+C and CTRL+V. You will have a new O layer. Duplicated and set the opacity to
75%.

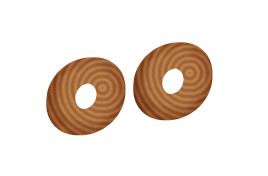
 The new text will look like this:
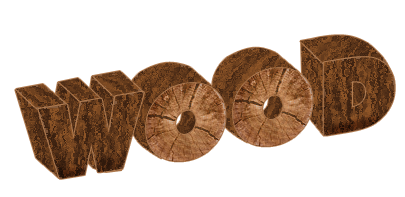
 Step 7 - Add Wood cracks
To make this wood text more real I will add cracks. So I
found some interesting wood cracks section that I will use for the two letters O.
Copy the image and paste it into your document. Resize
it Edit - Transform - Scale until it has the same size as O letter.
Press CTRL + Thumbnail of the layer with the letter
O and go to layer Crack Wood Section; press CTRL+C and CTRL+V. You will have a new
O layer. Set the Blending Mode of the layer to Luminosity 45% .
Go to Image - Adjustments - Brightness/Contrast and
set the contrast to +40.
Step 7 - Add Wood cracks
To make this wood text more real I will add cracks. So I
found some interesting wood cracks section that I will use for the two letters O.
Copy the image and paste it into your document. Resize
it Edit - Transform - Scale until it has the same size as O letter.
Press CTRL + Thumbnail of the layer with the letter
O and go to layer Crack Wood Section; press CTRL+C and CTRL+V. You will have a new
O layer. Set the Blending Mode of the layer to Luminosity 45% .
Go to Image - Adjustments - Brightness/Contrast and
set the contrast to +40.
 Duplicated the layer and place it in place of the other
O letter.
Duplicated the layer and place it in place of the other
O letter.
 Select all the layers that involves O shape and place
it into a new group called O.
Merge all the other layers from this group
Textured Areas
3 except group O.
Call this merged
layer Final Wood.
Step 7 -Add
some extra crack
The red circles that you see in the picture below are
areas where we are going to add extra cracks.
Select all the layers that involves O shape and place
it into a new group called O.
Merge all the other layers from this group
Textured Areas
3 except group O.
Call this merged
layer Final Wood.
Step 7 -Add
some extra crack
The red circles that you see in the picture below are
areas where we are going to add extra cracks.
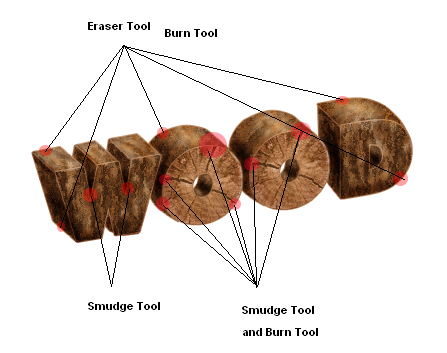
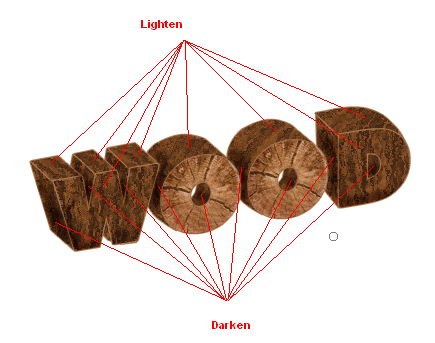
 Step 8 -Final
Wood Text
Lets add light from the right top corner . So with
the Burn Tool and Dodge Tool I will darken/lighten parts of the text.
Use a small brush 4 - 9 and low exposure 10 %.
Step 8 -Final
Wood Text
Lets add light from the right top corner . So with
the Burn Tool and Dodge Tool I will darken/lighten parts of the text.
Use a small brush 4 - 9 and low exposure 10 %.
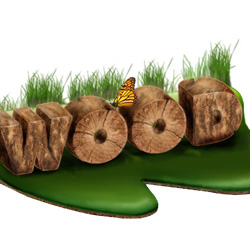
 You can integrate this text effect in any of your rustic
design. I have drawn a simple shape with Pen Tool, give it depth with Bevel/Emboss;
I used Burn and Dodge Tool to simulate light and shadow. I used color green to look
like a melting grass. I have added some earth ground under the grass.
Use these grass PNG images to add text behind the wood text.
In the end I have added a butterfly to make the image look more cute.
You can integrate this text effect in any of your rustic
design. I have drawn a simple shape with Pen Tool, give it depth with Bevel/Emboss;
I used Burn and Dodge Tool to simulate light and shadow. I used color green to look
like a melting grass. I have added some earth ground under the grass.
Use these grass PNG images to add text behind the wood text.
In the end I have added a butterfly to make the image look more cute.
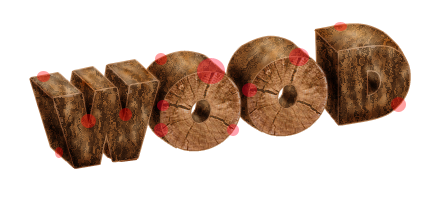
Here is the final result for the wooden text effect made in Photoshop.

Check out our newest wood tutorials and resources that you will enjoy for sure.

10 comment(s) for "Rustic wooden text"
I hope it works ok! reply
So to texturize the text with wood you have to move each Direction Layer right above its corresponding Area Layer and right click and choose Create Clipping Mask. reply
I m using Photoshop CS as well as CS3 reply