


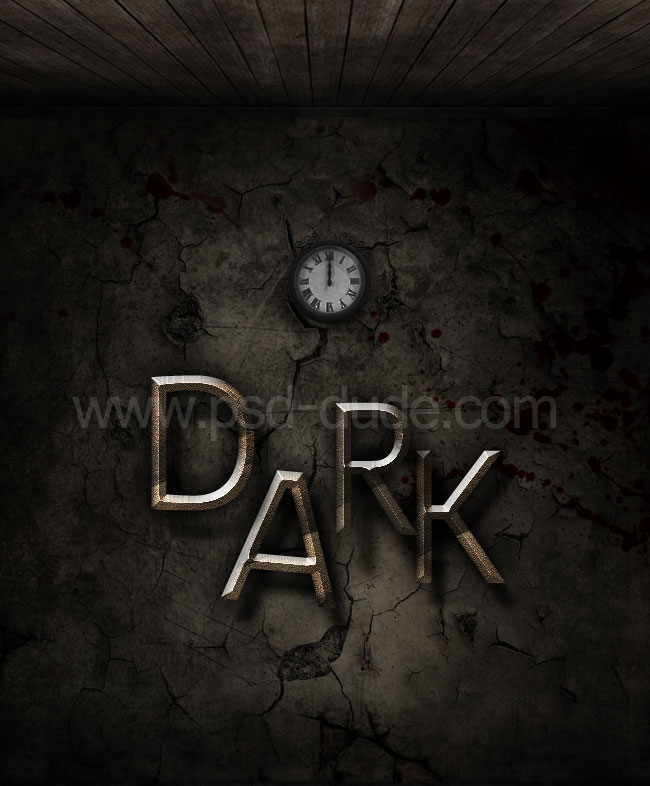
In this new tutorial I will show you how to create a dark gothic text effect in Photoshop using some grunge textures and fire effects. The focus point is of course the dark metal text that you can customize as you wish, by using other font types for example. Here are some gothic horror fonts that you might want to check out.
So let's start with a simple dark room background; this is actually a premade background. Add two images and use the Clone Stamp Tool to make the room higher and to blend the two images. I will keep only the ceiling and remove the floor.
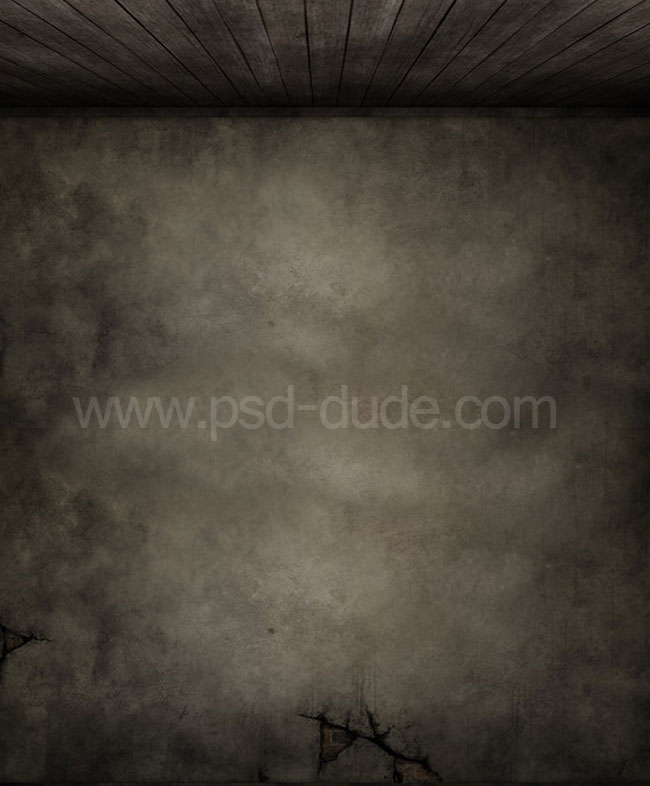
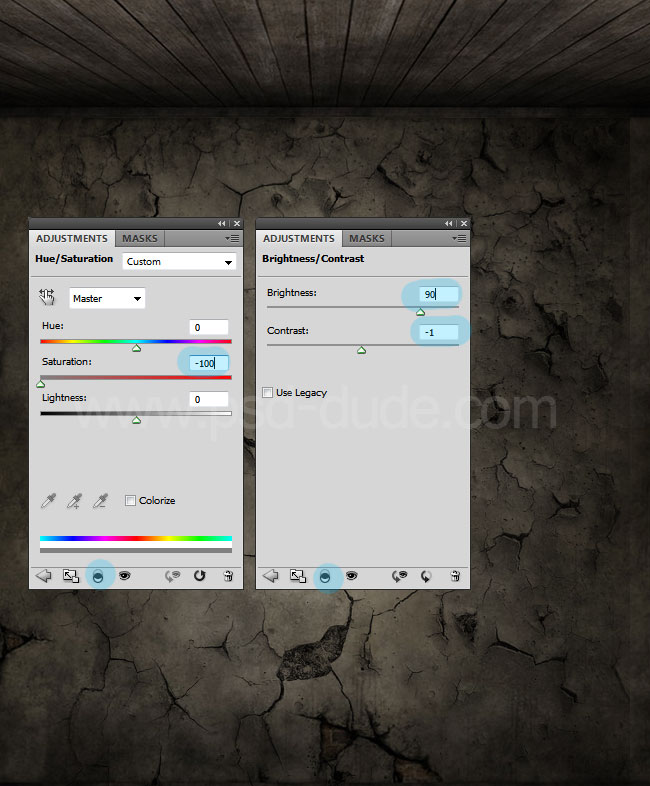
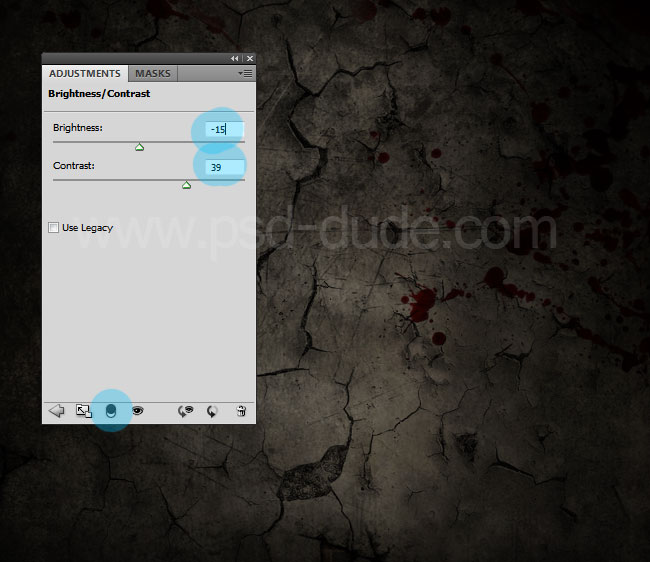
Use this grunge crack texture for the wall and set the blend mode to Multiply 100%. I have also used two adjustment layers, a Hue/Saturation and a Brightness/Contrast as shown in the image. Make sure you add the two adjustments as clipping mask for the Grunge Cracks Texture layer.
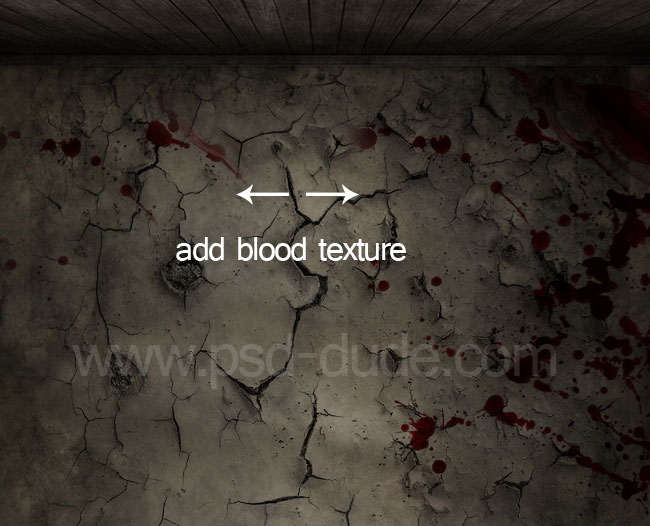
You can also add a blood texture with the same Multiply blend mode.
You can add a new grunge texture with Multiple 75% opacity only for the wall not the ceiling. I have used this desaturated texture for my old wall effect. For all the layers add a Brightness/Contrast adjustment layer with these settings.
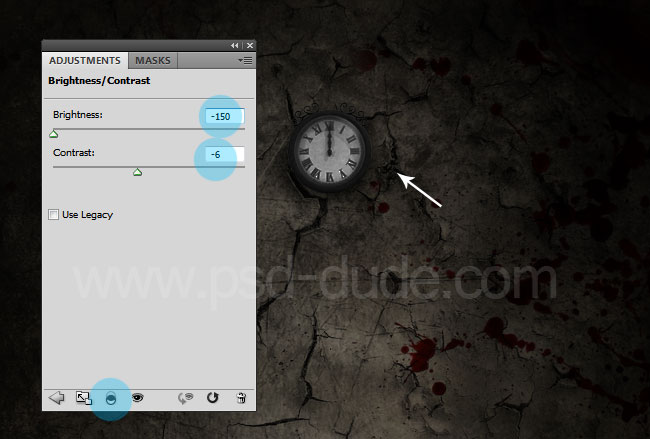
Copy this clock image and use the Elliptical Marquee Tool to make aselection and to extract the clock selection. Use a Brightness/Contrast adjustment for the Clock Layer to make sure it blends with the wall. Also add a Drop Shadow layer style.
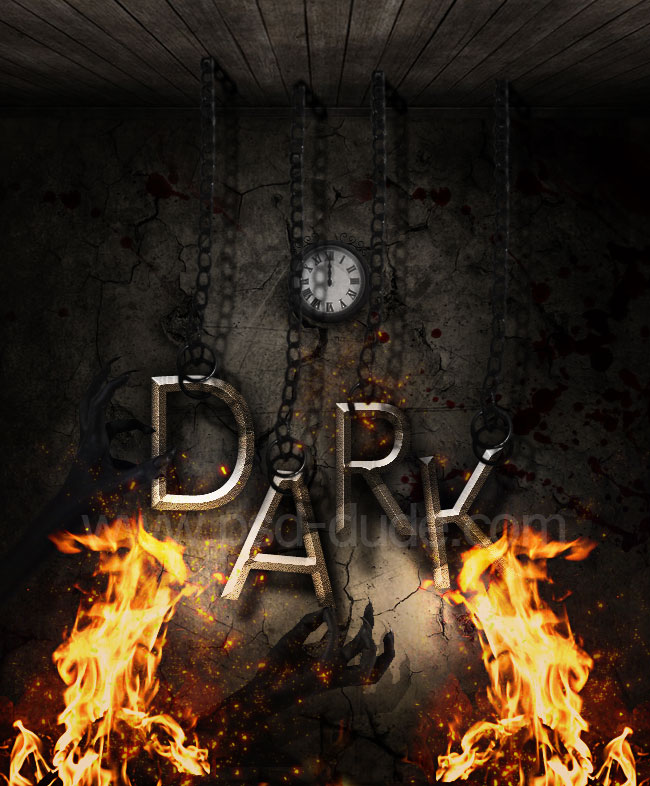
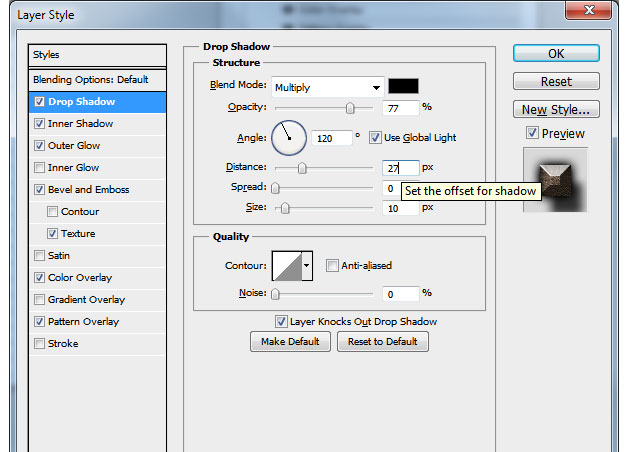
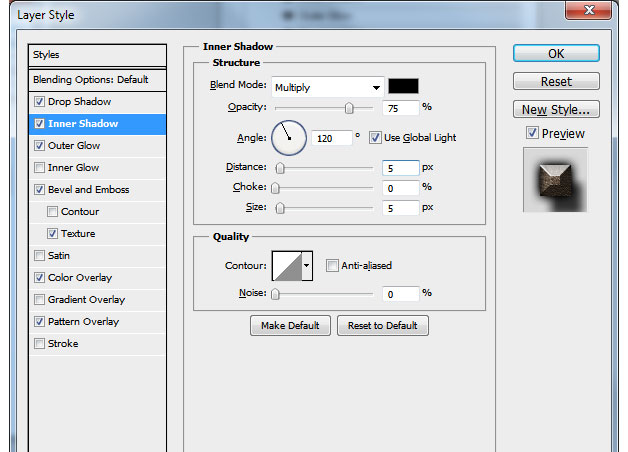
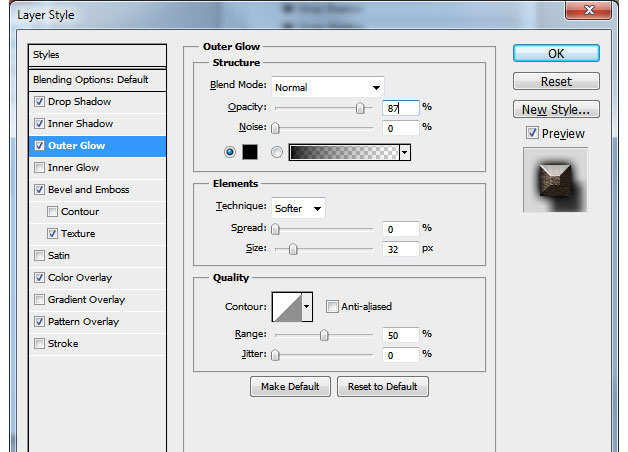
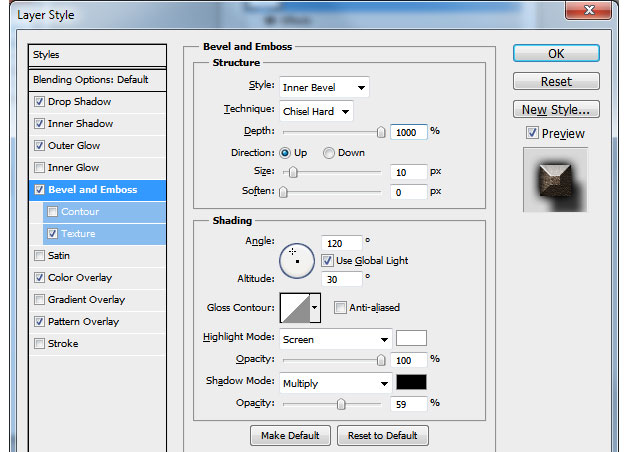
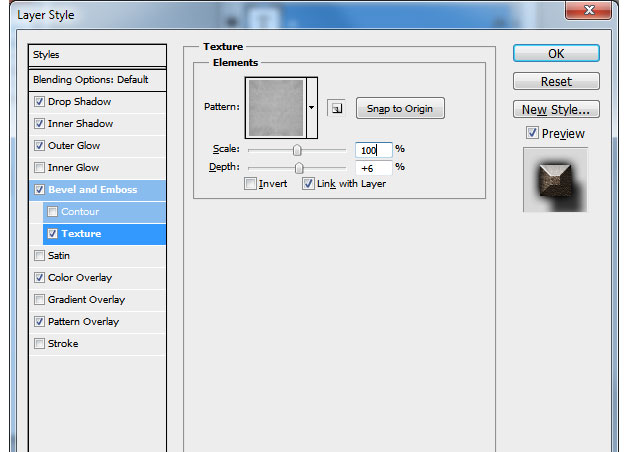
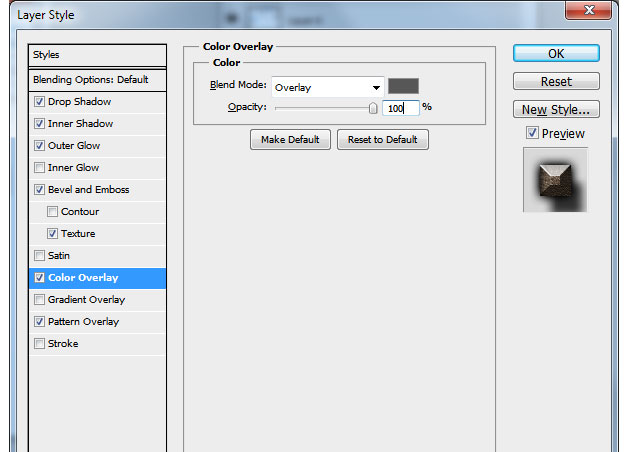
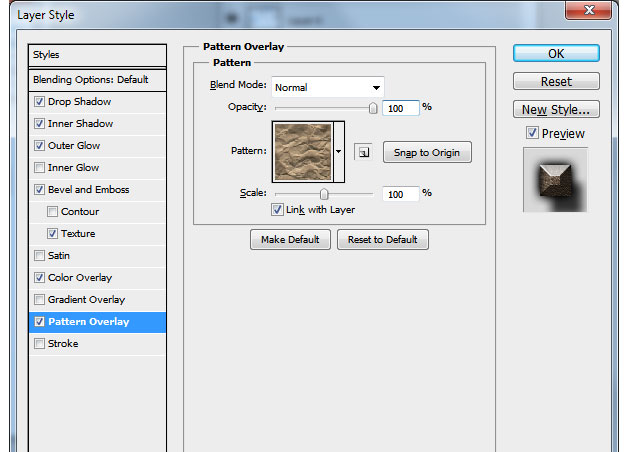
Time to add the gothic metal text; you can choose any font you want, simply download and install font in Photoshop. I am using the Ligurino font. Use different layers for each letter to move and rotate them individually.
For each Text Layer use the following layer styles. The only difference is the distance od the Drop Shadow effect that you might want to set different. You can download the style used.
Your dark horror text effect should now look something like this.
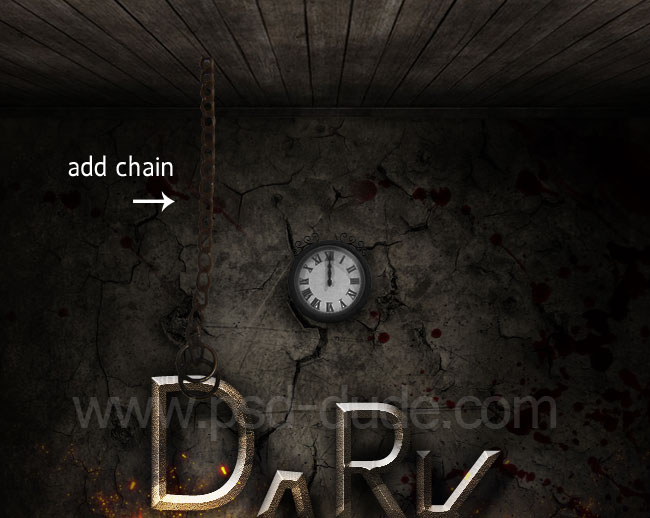
To hang the text I will use this chain image; you have to extract the chain from the background and resize it. Here are some useful tutorials on how to remove background in Photoshop; I used the Rolor Range method.
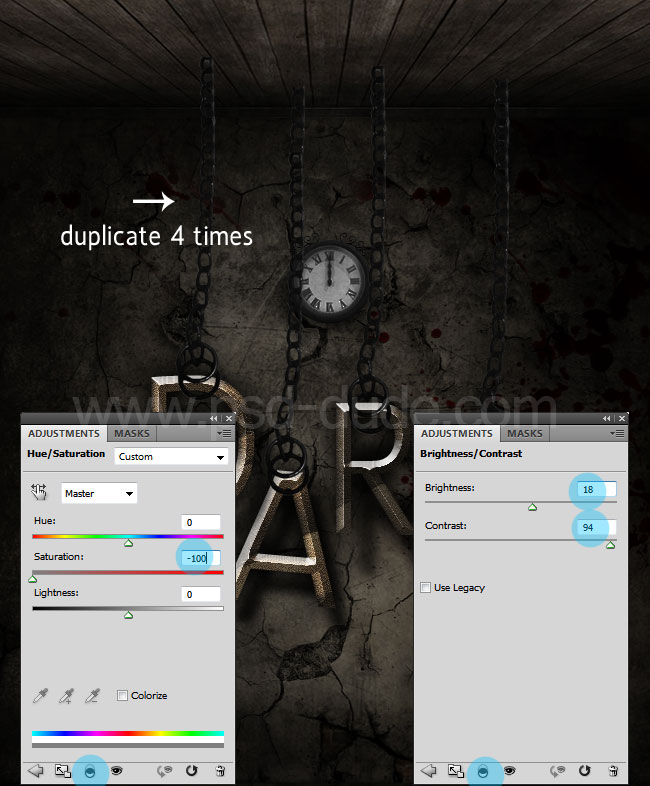
Use two adjustment layers only for the Chain Layer as shown in the image. Duplicate the chain four times; you will have to make some of the chains longer by using the Clone Tool
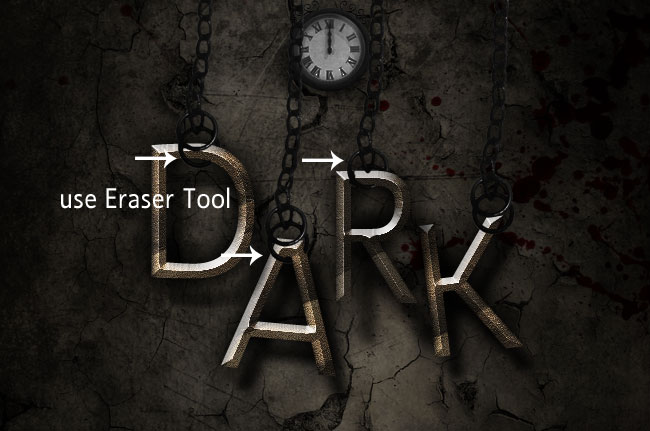
 Use the Eraser Tool to fix the chains where they intersect with the letters.
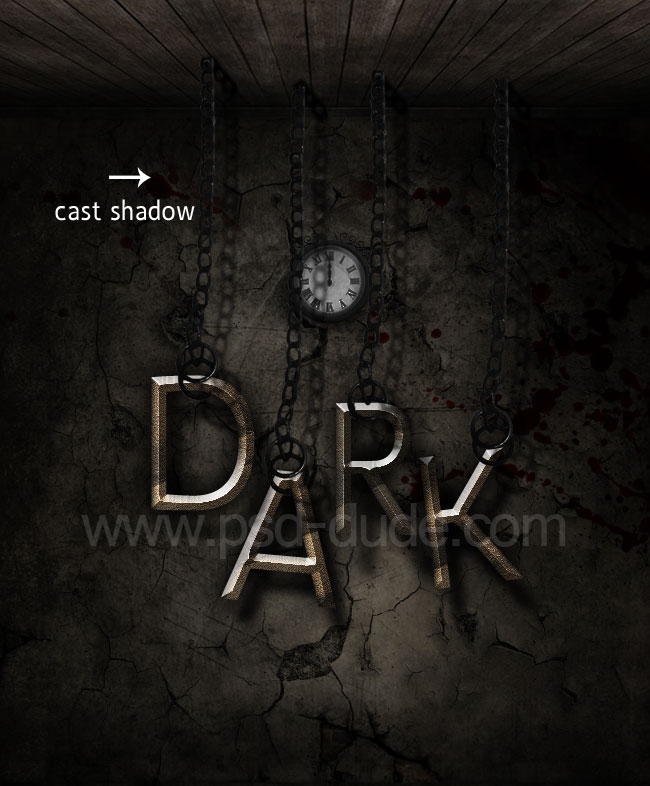
Now you have to add a realistic drop shadow effect using as reference some of these tutorials. This is a shadow in perspective so you have to cast shadow for the chains on the wall but also on the ceiling. Use a copy of the chains to create the shadow.
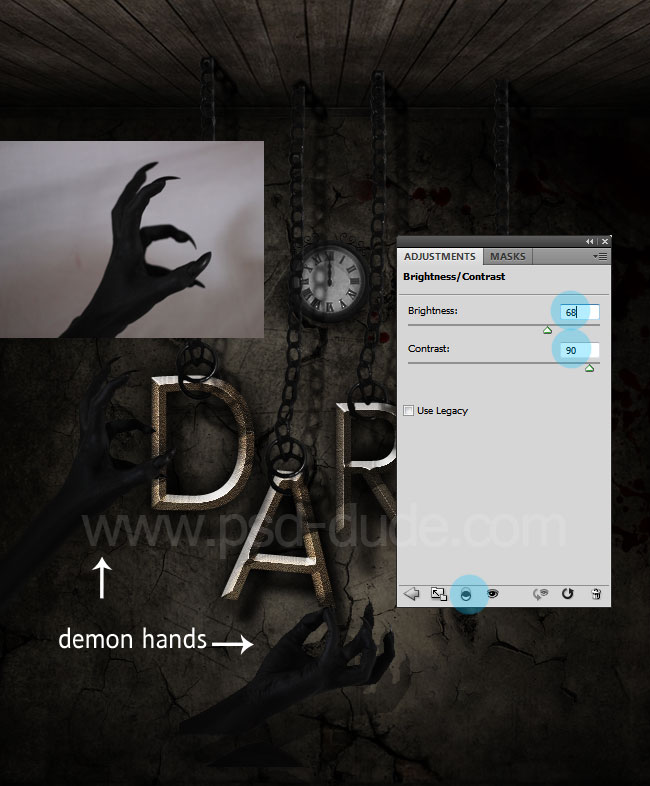
In a new layer add these demon hands and remove the background. Place them so that it seems like the hands are holding the letters. Use a Brightness/Contrast adjustment and also add a Drop Shadow effect.
For the final touches I will add some fire flames effects using this fire stock image. So add the image two times like shown in the preview and merge the images.
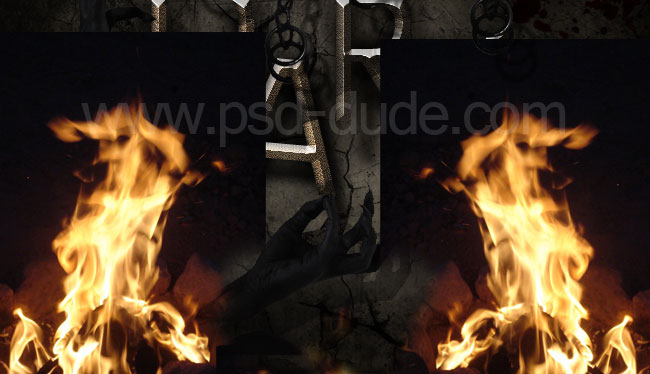
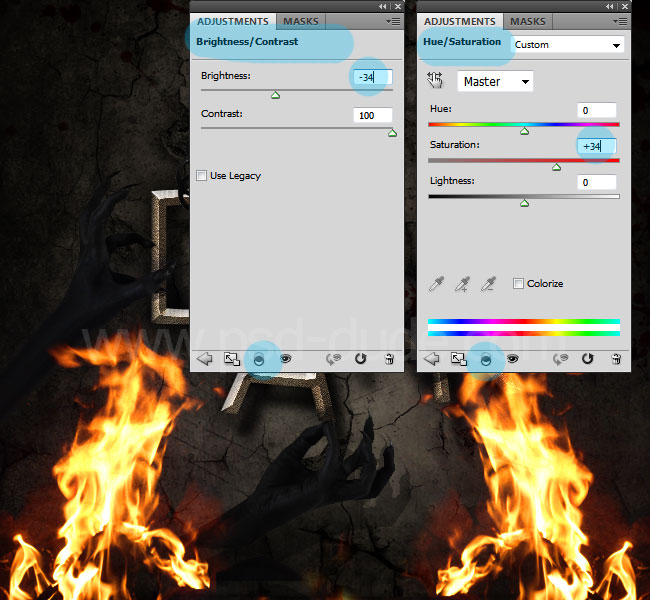
Change the blend mode to Screen and also add these Photoshop adjustments for contrast and saturation.
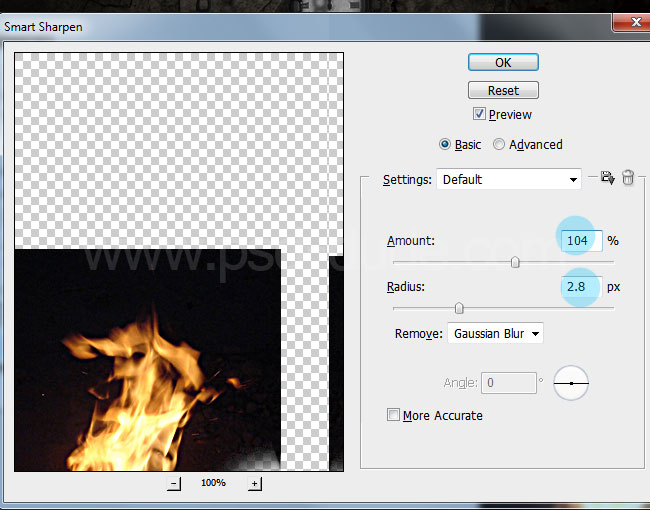
I have also used the Smart Sharpen filter to make the fire flames more vibrant.
You can also use the Brush Tool with color white in a new layer to add some highlights. Set the blend mode of this layer to Overlay. You can also use a Gradient map to add a soft orange color to the image. So here is the final result for the dark gothic Photoshop text effect perfect for Halloween.
If you enjoyed this tutorial, make sure you check out these amazing premium Photoshop addons for Halloween:
Spooky Double Exposure Photoshop Action
Halloween Ghost Animated Photoshop Action
Ghost Creepy Photo Effects Photoshop Actions

2 comment(s) for "Dark Gothic Text with Fire Effects in Photoshop"
As some of the resources are no longer available, you guys should re-write this tut, using textures4photoshop as a source! There are SO MANY good resources there!
Thanks, again! More, please? reply
Thank you very much for your great suggestion :) We'll try to update the tutorials but there are so many to edit and so little time... reply