


In this new text tutorial I will show you how simple it is to create a broken glass text effect using custom shapes and layer styles for making the glass texture.
Broken Glass Text in Photoshop
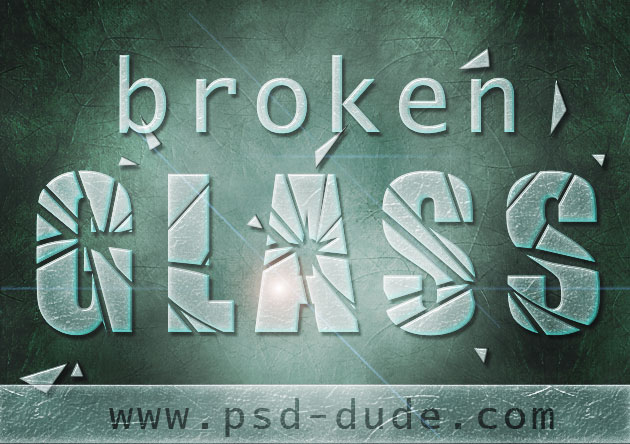
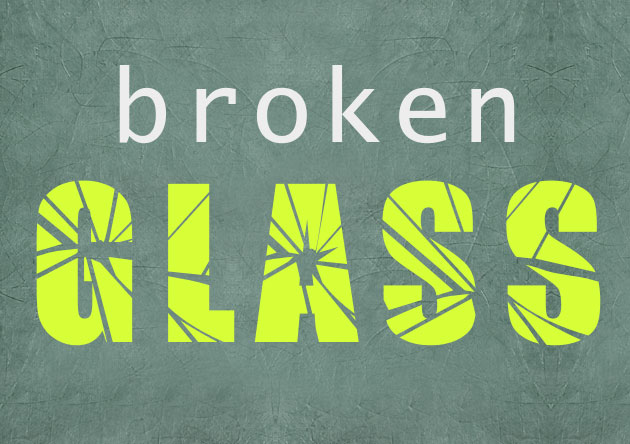
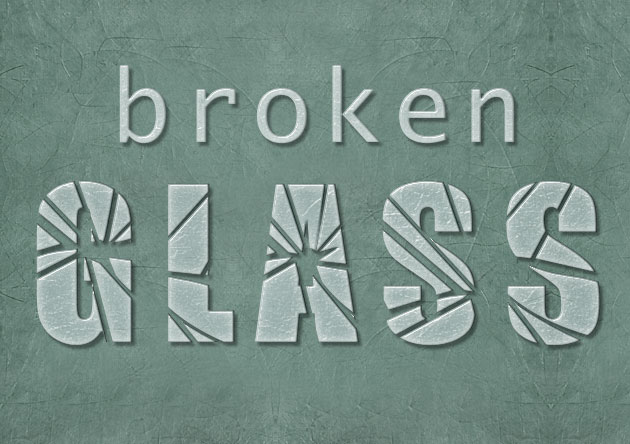
This is the preview of the broken glass text effect that we are going to make in Photoshop. For this tutorial you have to have intermediate level Photoshop skills, you have to know basic things about vector shapes, how to use the Pen Tool, the Path Selection Tool and so on.
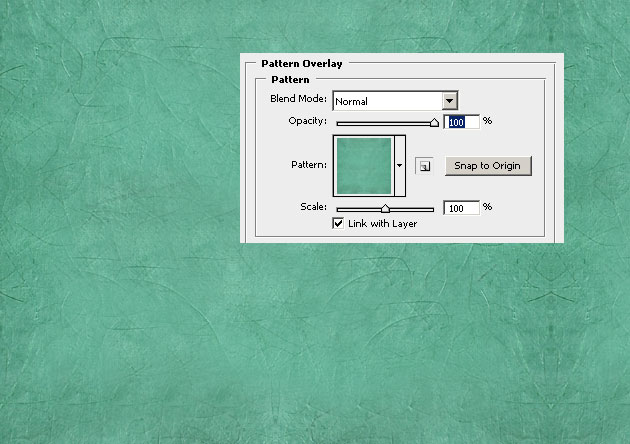
Let's start with a nice background; remember that the background is very important for a text effect so you have to blend the two items together. Download these beautiful paper patterns and add it as Pattern Overlay to the Background Layer.
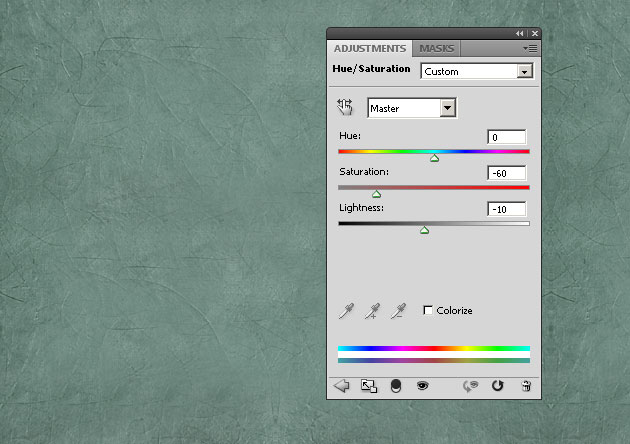
Add a Hue/Saturation adjustment layer with the following settings to darken the background and at the same time to decrease the saturation level.
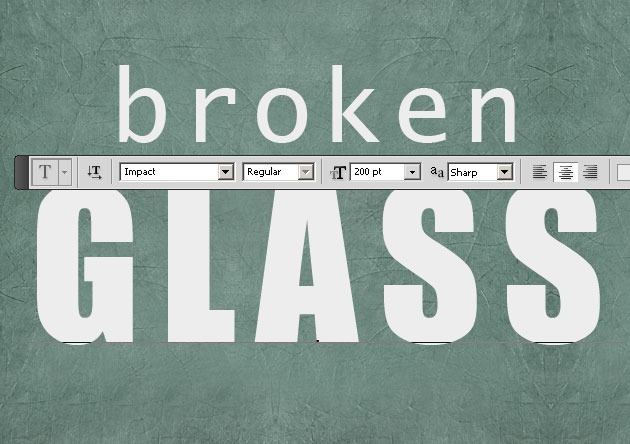
Write a simple "broken glass" text using a font that you like. I picked "Impact" font that I consider will work ok with this text effect. You can generate text images with the Impact font using this free online Impact font generator The color is not important because we will change it later on.
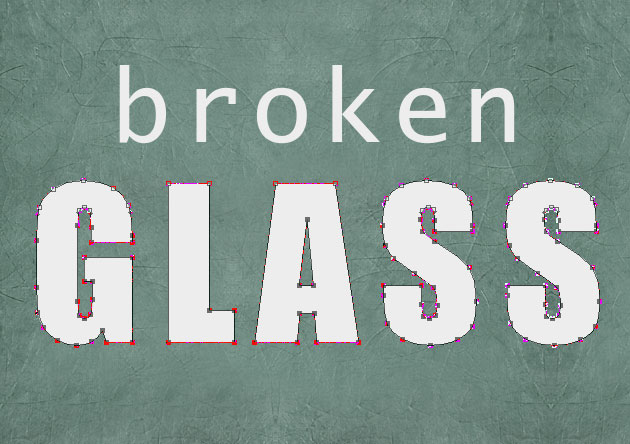
Convert the text to shape, because we are going to substract a custom shape from the text and it is the only way to do it. If you are not sure how to do it, you can read this quick tutorial on how to convert text into shape.
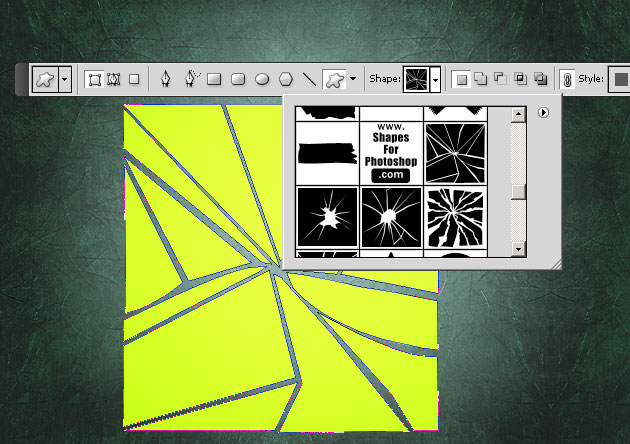
Download the broken glass shapes and load them in Photoshop. Pick one of the 5 custom shapes (I have picked the first one) and add it into a new layer called Broken Glass Shape Layer.
Using the Path Selection Tool select the letters of the converted text to shape one by one. Let's start with the "G" letter.
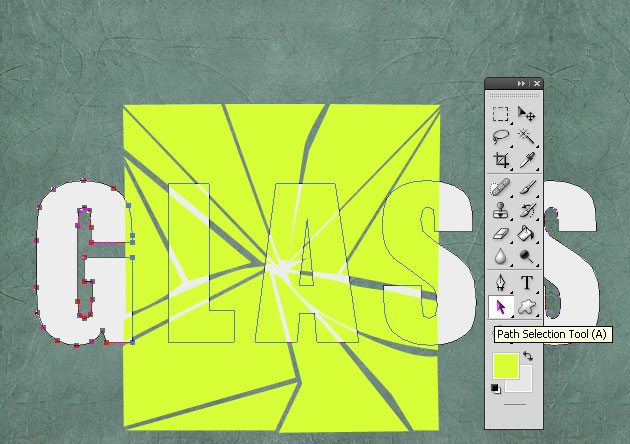
Once you have selected the "G" letter simply press CTRL+C to copy it. Select the Vector Mask Thumbnail of the Broken Glass Shape Layer and press CTRL+V to paste the letter G. Hide the Text Shape Layer to better see the result.
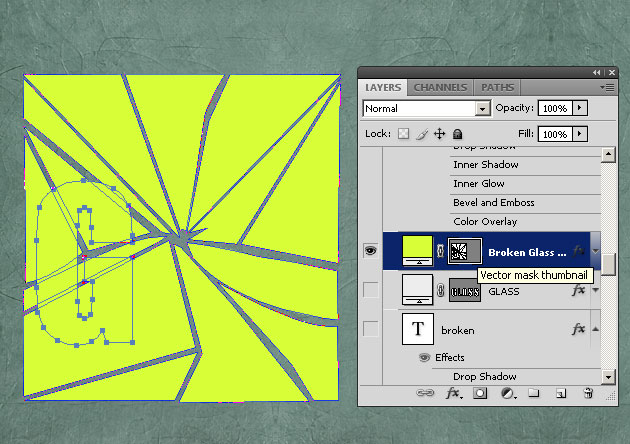
Use the same Path Selection Tool to move the "G" shape in the position that you like and press the Intersect shape areas button. Press Combine only when you are sure about the result.

Do the same thing with all the other letters by repeating all the steps. At the end you will have 5 different layers for each letter from the "GLASS" word. Put all the letters back in their place. Use copy/paste to put all the shape letters in only one vector layer Shape Letters Layer.
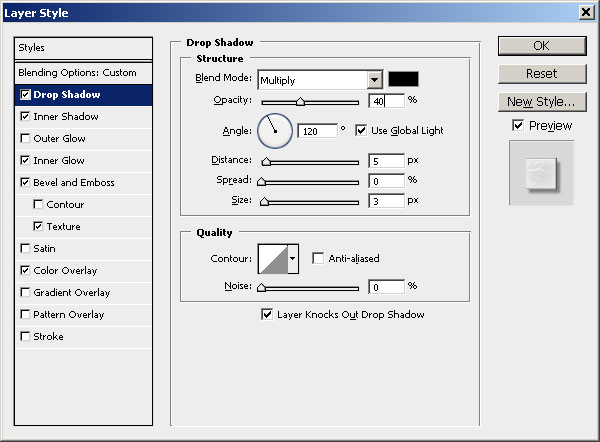
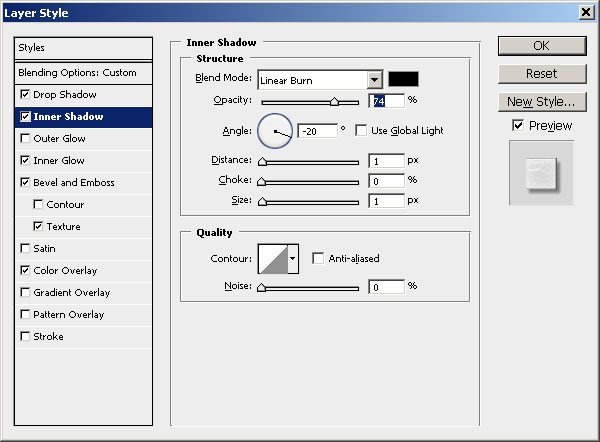
Open the layer style window of the Shape Letters Layer and add the following effects: Drop Shadow, Inner Shadow, Inner Glow, Bevel and Emboss and Color Overlay. And don't forget to reduce the Fill of this layer to 0%.
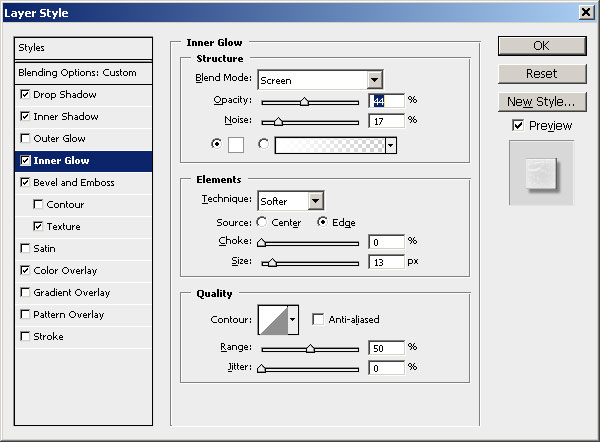
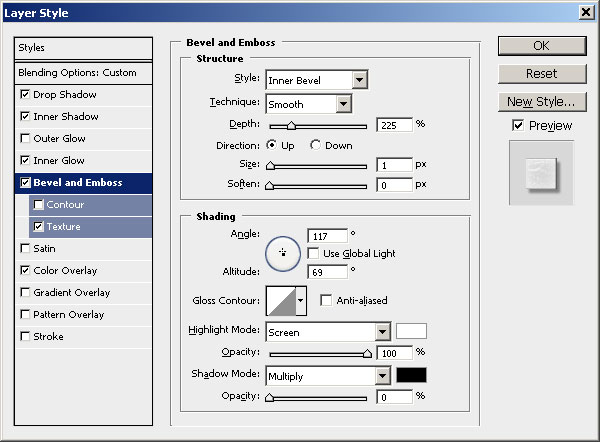
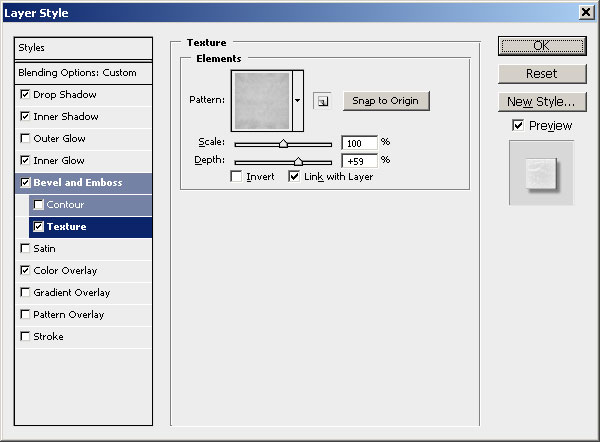
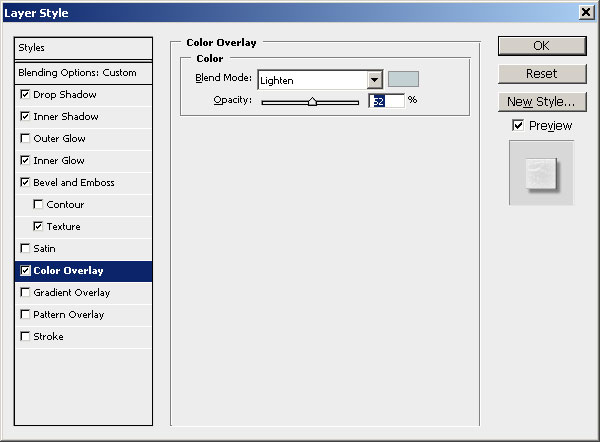
Your broken glass text effect has to look similar to the one from the image below. I have to mention that the pattern used for the Bevel and Emboss texture is the one used for the Background Layer.
Use the Pen Tool to add more pieces of broken glass just to make the image look more interesting. For the final touches I have added a Vignette, a Brightness/Contrast adjustment layer and also a Lens Flare from the Render Filter.

10 comment(s) for "Create a Broken Glass Text in Photoshop"
Thankyou for helping me reply