Painted Wood Photoshop Action Comics Book Photoshop Action Infographic JS Library Textures for Photoshop Online Label Maker

Convert Image to Layer Mask in Photoshop Using Channels

www.psd-dude.com
Tutorials Photoshop Tips 11733 July 22nd, 2018

In this quick tutorial you will learn how to use Photoshop channels to create a layer mask from a grayscale image. You can easily mask an image with another image in Photoshop; you can create interesting effects by combining photos with text for example. Al you have to do is to mask the image layer with a texture containing a handwritten text. You can also check out our Photoshop tutorials for beginners for more basics.

In this tutorial you will learn how to convert an image to layer mask in Photoshop using channels. This is a very useful Photoshop tip that will help you create interesting effects using any grayscale image as mask for text, shapes or other images.

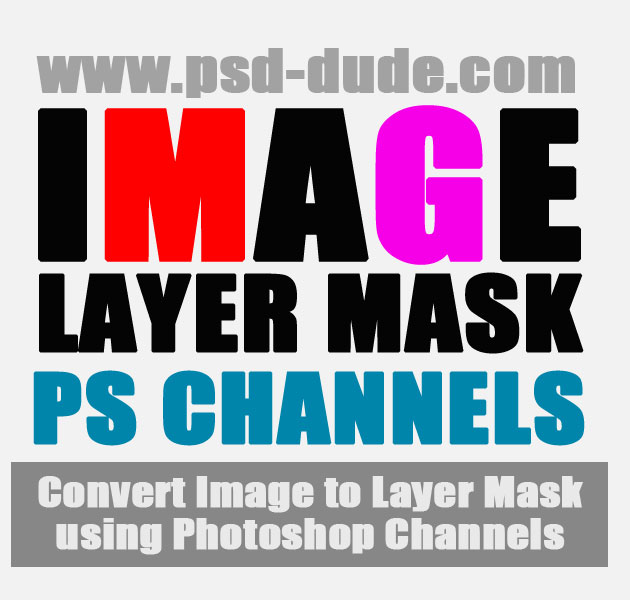
Start with a simple Text Layer; I will use different colors for the letters to see the image mask effect. he opacity of the text layer is 100%

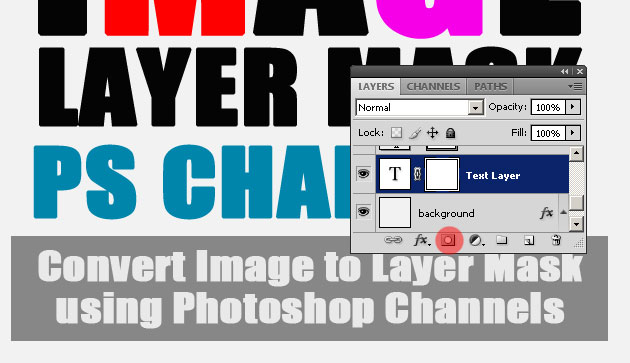
Add an empty layer mask

I will use this angel stock image as mask for the text layer. You can of course use any image you want like grunge textures for example.

Simply copy the image(right click on the image and choose Copy Image) and return to Photoshop. Go to the Channels Tab and make the Text layer Mask visible.

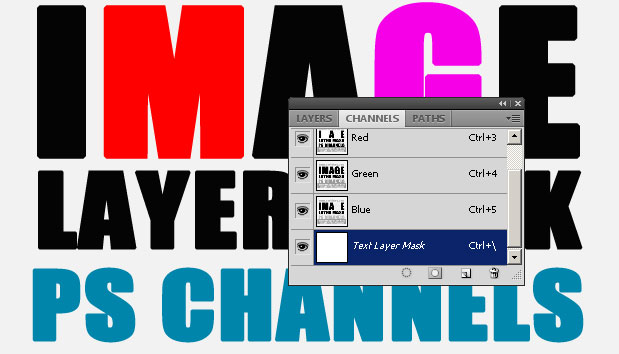
Press CTRL+V to paste the image into the Text layer Mask from the Channels Tab

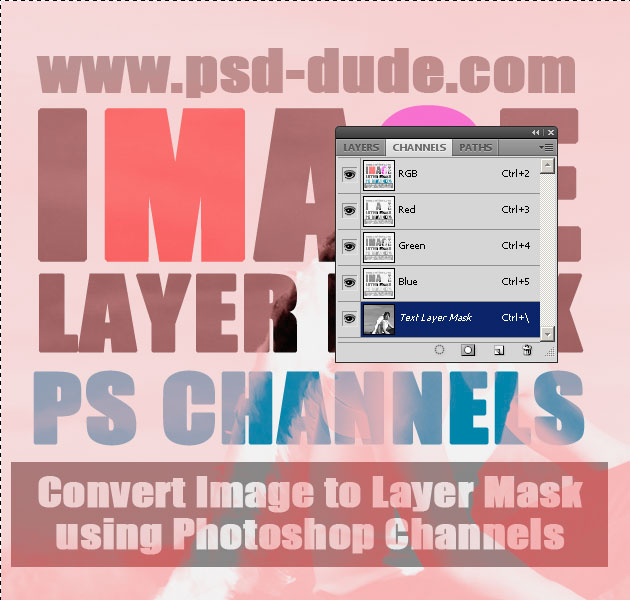
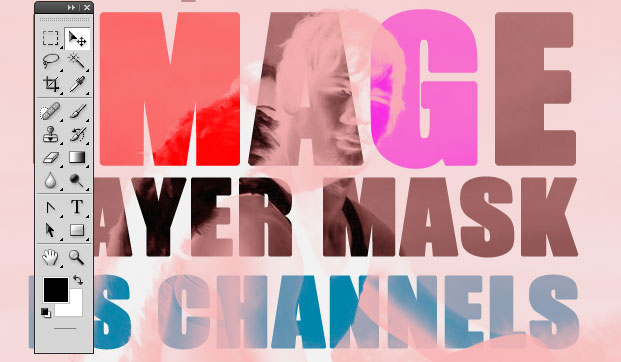
While the image is still selected you can use the Move Tool to place it whee you want it to be. You can also use the Transform Tool to resize image and so on.

Return to the Layers Tab and as you can see in the layer mask of the text layer you have a grayscale image

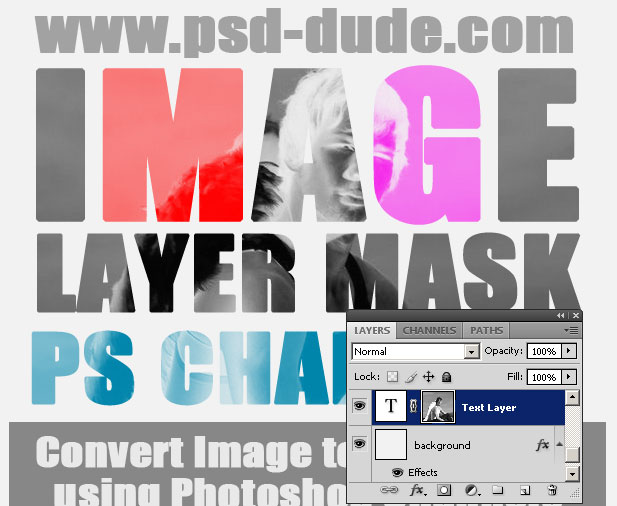
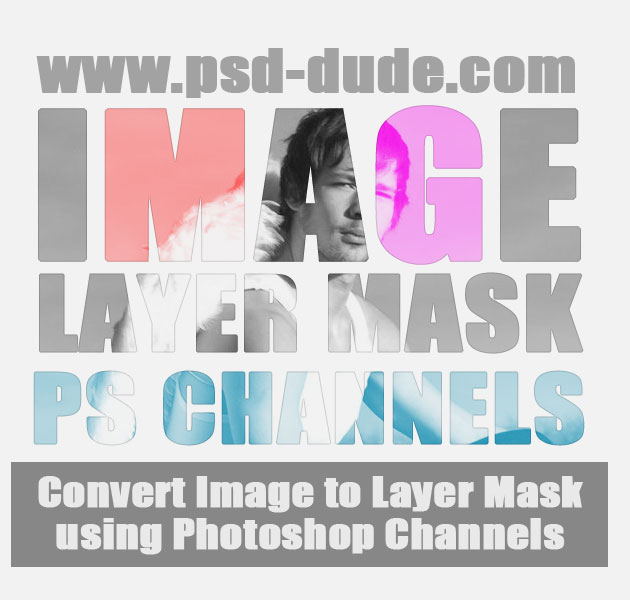
Click on the layer mak thumbnail and press CTRL+I to invert image; you can now see the effect of the image layer mask. You can use adjsutments for the image mask as for example the Brightness/Contrast to adjust the result. As you can see the opacity of the text layer dropped accordingly to the graycale map of the image used.

5 ( 101 votes)

If you're looking for amazing textures and backgrounds for Photoshop, explore Textures4Photoshop where you can find 1000+ unique images. You can download all these textures and backgrounds for free to use in personal or commercial projects!

Be a Cool Dude!

With your donation you can help us maintain this website and keep producing free resources many months to come! Any amount counts

7 comment(s) for "Convert Image to Layer Mask in Photoshop Using Channels"

Finja
Finja
3:56 AM Tuesday, July 23, 2013
wieder so ein geniales Tutorial.
Danke f??rs teilen.
LG Finja reply
Xitrena
Xitrena
1:53 AM Thursday, November 7, 2013
Everything is simple and clear! thanks for the lesson!
:) reply
John
1:58 AM Thursday, November 7, 2013
I am glad to hear that! This tutorial on how to add an image as layer mask is for advanced Photoshopers :) reply
John
1:50 AM Tuesday, November 12, 2013
Image converted into layer mask using channels in Photoshop made by Vita reply
PSDDude
8:03 AM Wednesday, June 3, 2015
All you have to do is to turn the Image Layer into a clipping mask for the Text Layer. That way you get to keep the transparency and the original colors. You might have to align the Image Layer with the mask image.

See Also :

Double Exposure Effect Photoshop Tutorials

reply
Vijay
Vijay
1:06 PM Monday, April 29, 2019
Awesome Tutorial.
Liked it as always.
Thanks reply
Darshan Gajara
Darshan Gajara
1:06 PM Monday, April 29, 2019
Hey John,

Thanks a ton for your short yet essential tutorial. I wonder, does it work if we want the image to not lose its color? reply

Have something to say? Leave us a comment

Click to Upload Fan Art!

Share your Psd Dude inspired works


Get new posts by email:
LIKE US ON FACEBOOK

      Online Photo Editor
top