


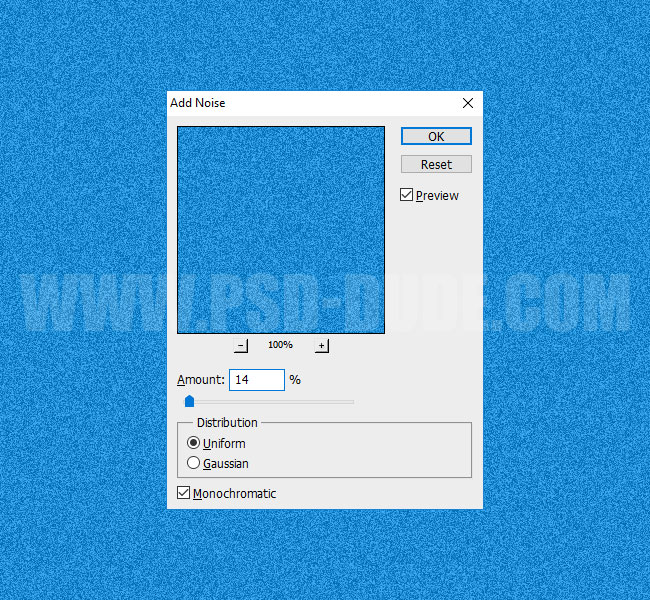
Create a new PSD file and set the size that you want. Create a new layer and call it Jeans Background. Fill this layer with color #1c8bd2 .

Go to Filter > Noise > Add Noise and set the amount to 14% as shown in the preview. The distribution of the noise filter is set to Uniform.
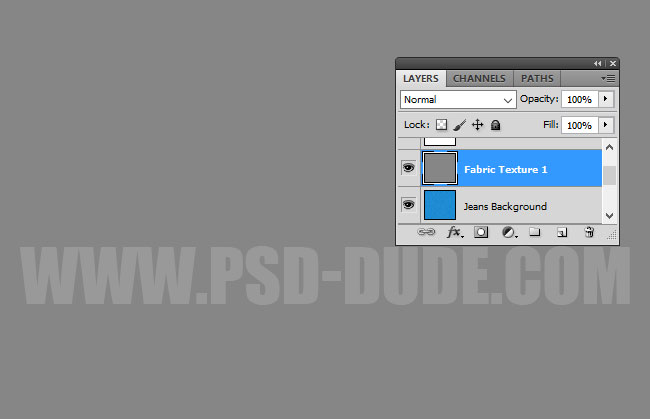
Create a new layer and call it Fabric Texture 1. Fill this layer with color gray #868686.
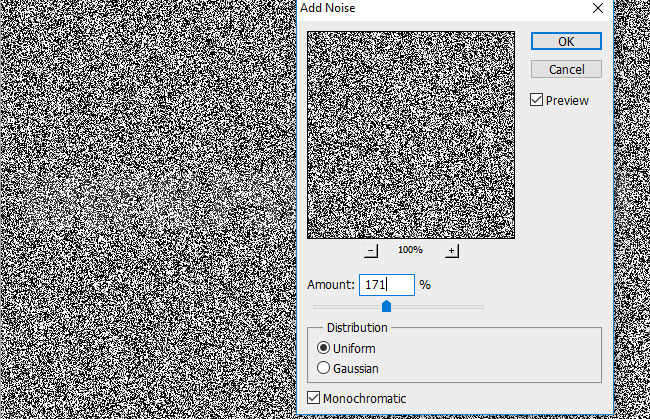
Go to Filter > Noise > Add Noise and set the amount to 172% as shown in the preview. The distribution of the noise filter is set to Uniform. Make sure the Monochromatic option is checked.
Duplicate the Fabric Texture 1 layer and call it Fabric Texture 2.
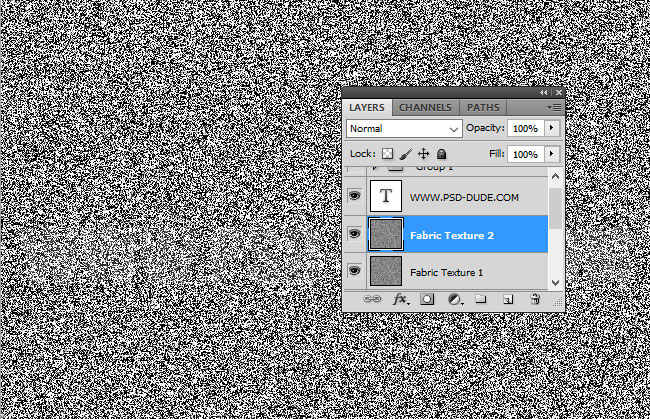
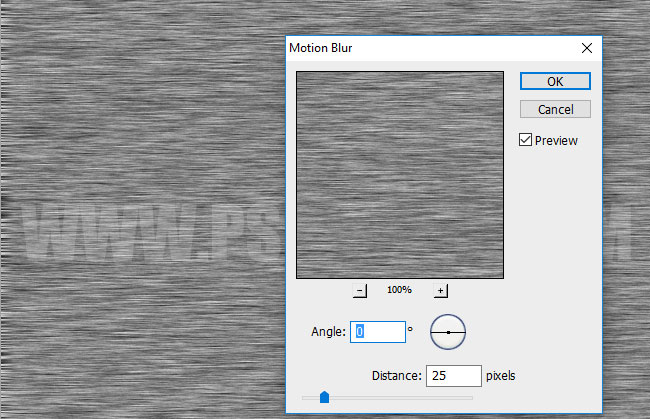
Go to Filter > Blur > Motion Blur. Set the Angle 0 and the Distance 25 pixels. Also set the Blend Mode of this layer to Soft Light.
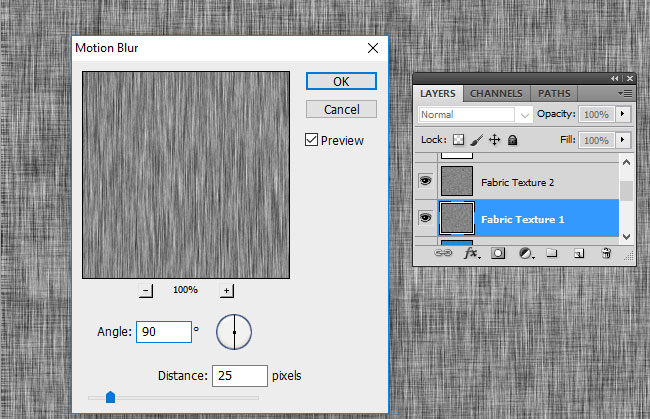
Return to the Fabric Texture 1 layer and go to Filter > Blur > Motion Blur. Set the Angle 90 and the Distance 25 pixels. Also set the Blend Mode of this layer to Soft Light.
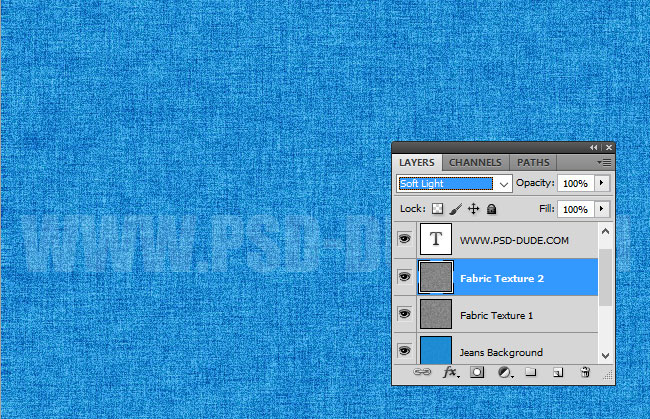
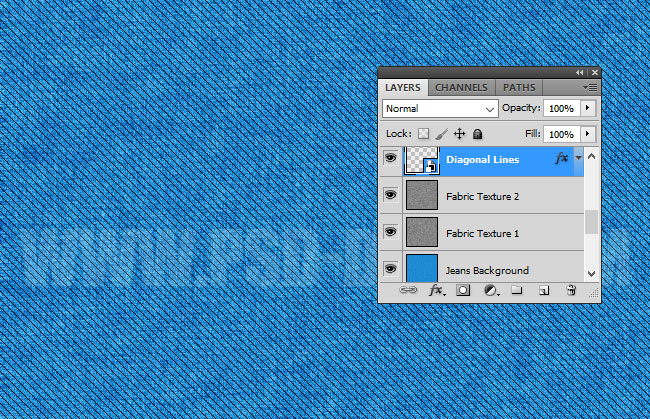
The denim texture should now look like this:
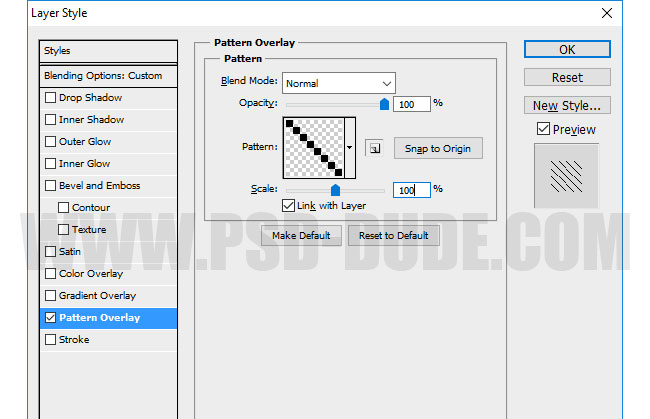
Create a new layer called Diagonal Lines and fill it with white color. Set the Fill layer style to 0% and add a Pattern Overlay using this pixel pattern.
Right click on the Diagonal Lines layer and choose Convert to Smart Object. Right click again and choose Rasterize Layer.
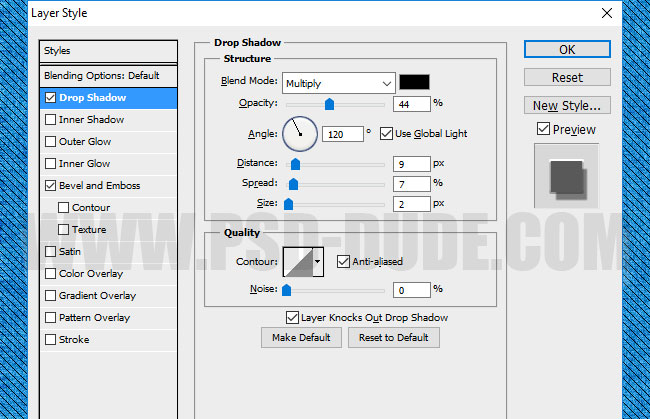
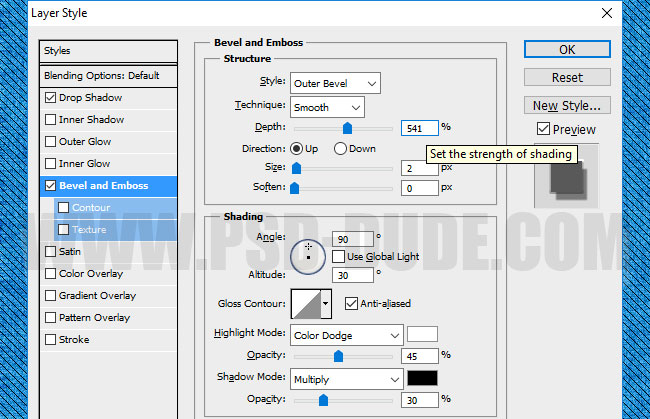
Set the Fill of the Diagonal Lines layer to 0% . Add these layer styles: Drop Shadow and Bevel and Emboss.
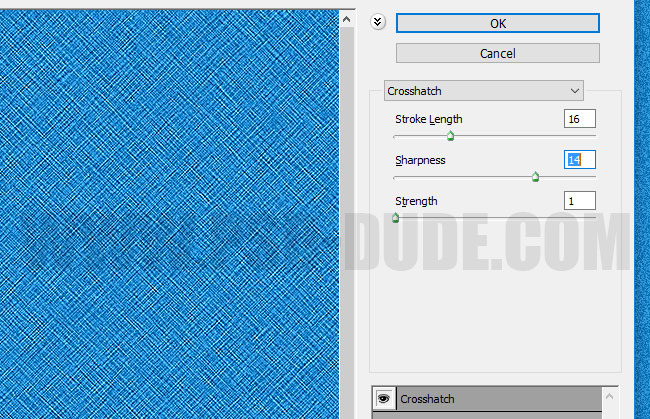
Duplicate the Jeans Background layer, rename it Crosshatch and place it above all the other layers(Layer Menu > Arrange > Bring to Front). Go to Filter Menu > Brush Strokes > Crosshatch and set the stroke length: 16, sharpness: 14 and strength: 1. Also set the blend mode of this layer to Soft Light.
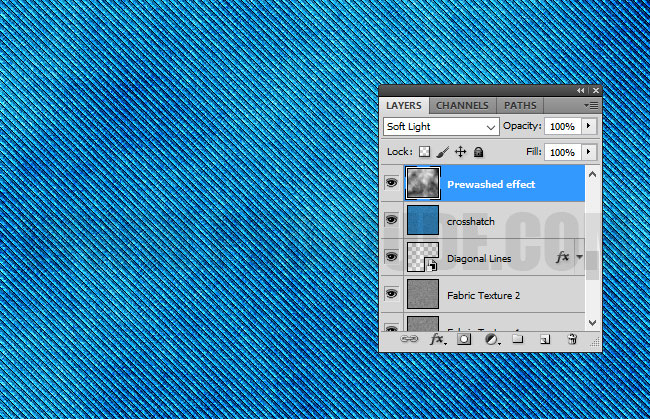
Create a new layer, name it Pre-washed effect and fill it with white color. Make sure the foreground color is set to white and the background color is set to black. Go to Filter > Render > Clouds. Set the blend mode of this layer to Soft Light.
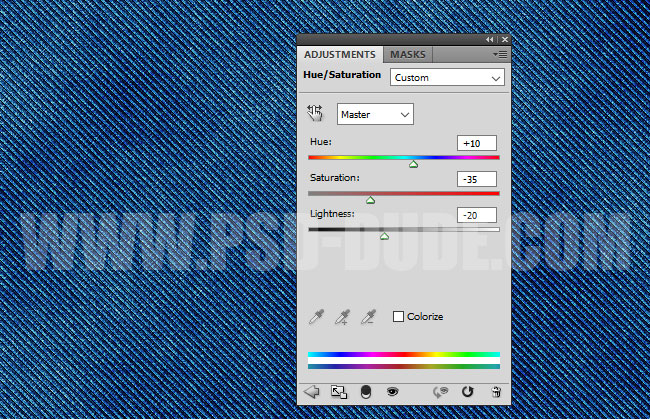
For the final touches add a Hue/Saturation adjustment layer.
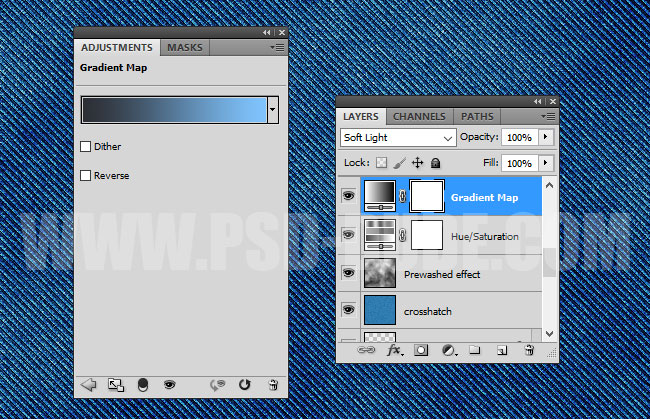
Add a Gradient Map adjustment layer and use these color tones: #2c2f35 and #7fc3fd . If you don't like blue jeans, you can of course use any color tones you want. Set the blend mode to Soft Light or Color if you want different color jeans.
In the last step, use the High Pass Filter to sharpen the image.
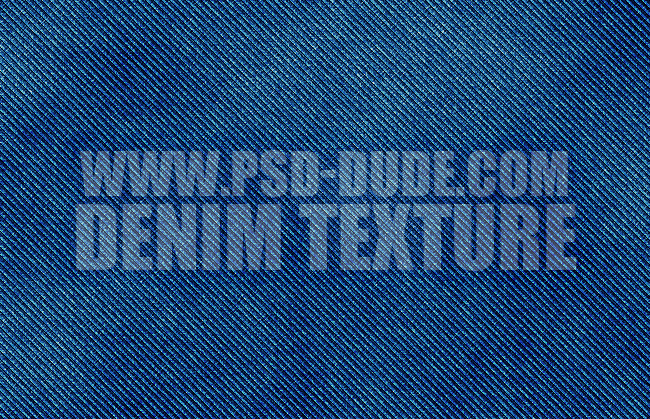
If you want, you can use these stitch Photoshop brushes to create realistic jeans pockets for example. So here is the final result for the denim jeans texture made from scratch in Photoshop.
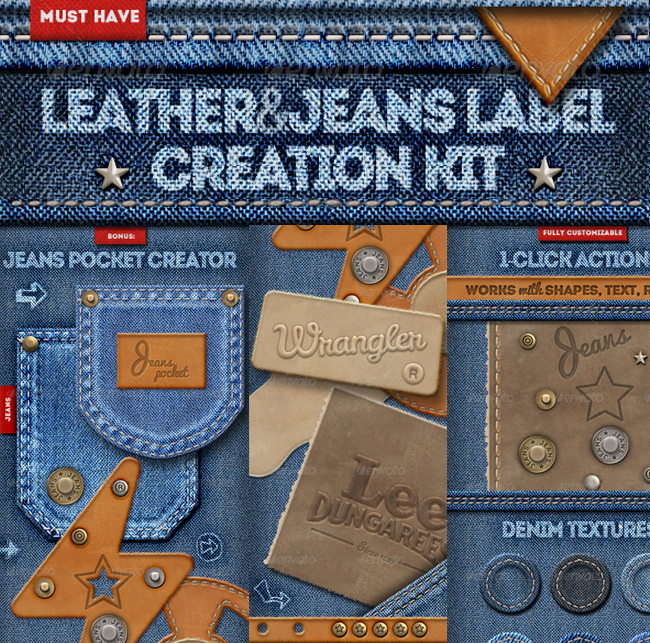
Leather Jeans Label Photoshop Creator

1 comment(s) for "Create Denim Jeans Texture in Photoshop from Scratch"
reply