


Part 3
The difference in color is evident so I changed the Blending mode of the tooth layer to Luminosity 100%....that solution seemed ok to me… When you consider that the mouth is in right place and that it looks ok, merge the 2 layers: tooth layer and face layer.
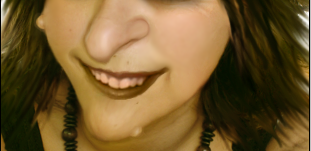
Go to Filter – Liquify zoom in the image and adjust the shape of the mouth and the shape of the tooth.
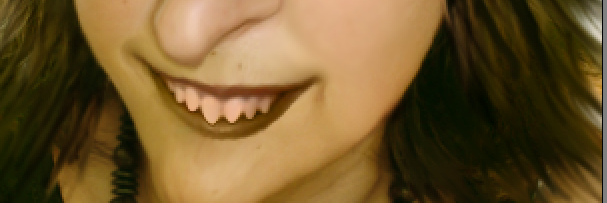
You can go even further and put some blood on the tooth……! Don’t forget after a good step duplicate the layer!
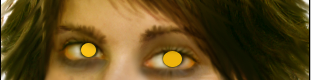
Step 10 – The eyes
Create 2 circles color # fcc316 and place them in the eyes area and change the Blending Mode to Overlay 100 %
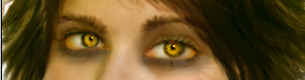
Now, create a new layer and go to Image - Apply Image. This new layer contains now an image with all the visible layers merged. Go to Filter - Sharpen - Smart Sharpen ( Basic; Default; Amount 94%; Radius 10 pixels; Gaussian Blur ; Angle 0)
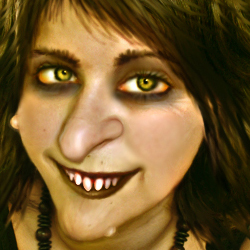
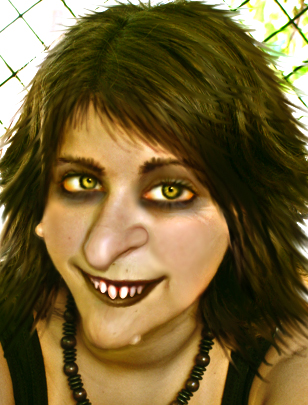
Here is my final result! I used this flickr photo
http://www.flickr.com/photos/76848838@N00/468408963/ to put my witch image into a nice photo frame!

1 comment(s) for "Turn a girl into a witch"