


Stock Images Used in This Tutorial
This tutorial is inspired by my favorite sci fi serial movie called Stargate that is very popular among the SF movies's fans. I have found three images that are perfect for my psd tut. I am usually searching the DeviantArt Gallery because there are a bounch of talented people there, that create quality stock images.
Crop Ori Head and Body
Let's start with the Ori Costume and carefully remove the background. I will use the Eraser Tool but you can also use the Pen Tool, make a selection and then remove the background. Use a Hard Round Brush, size 9 px if you use the Eraser Tool. Be careful at the edges not to erase parts from the costume. I use the graphic tablet for this job, wth a mouse it is much more difficult. Quick Tip! If it is hard to erase on a vertical line or on the bottom of the canvas, you can rotate your image, erase and rotate back. You can also use the Zoom In option to see the image in detail. Do the same with the Ori Head. Resize the image to 95% and crop only the face and the neck.

Retouch the Ori Costume
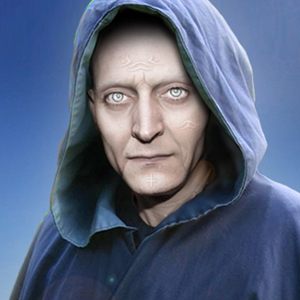
As you can see the Ori Costume contains a man in a costume with a mask on his face. I have to remove the mask and paint over to create the missing parts from the costume. First use the Eraser Tool to remove the mask. Place the Ori Head Layer below like in the following image:

I have to fix the missing parts of the face as realistic as possible. Select a part of the face (left side), copy in a new layer and flip it horzontaly. Place it on the right side and erase to match the two areas. Use Tools like Smudge and Liquify to obtain a perfect blend. Merge the two layers (Ori Head and Left Side Head)

I will use the Smudge Tool to fix the missing neck area. Use a small size brush and try to smudge in the wrinkles, veins direction to obtain a realistic result. Use a round brush and opacity between 90 and 100%.

Hide the Ori's Eyebrows
The next step in turning the young man into an ori is to hide his eyebrows. For that I will also use the Smudge Tool, small size brush. Zoom in to work on every detail, try to make many little smudge lines, from top down and from bottom up.

Retouch the Ori's Costume
As you can see there is a missing part from the costume where the mask was. I will try to remade it using the Smudge Tool first of all. Use the Dodge and the Burn Tools to create the fabric folds. Look at the other fabric to remake the missing part as realistic as possible. My graphic tablet was a real help for this work.

Ori Skin Retouch
In this step I will make some changes regarding the skin color of the Ori. I will change the Hue/Saturation and also the Brightness/Contrast Balance. You can see the settings in the following images:

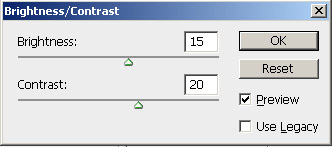
See the Before and After adjusting the skin color process. Now the skin has a whiter colorless look.

Ori Face Shadow
As you probably already know, when you are blending different cropped image you have to be careful at several details like tone color, light, shadow, etc. In this case the one thing that need to be added for a realistic blending is shadow. You can see that we have two layers with the face and the hood. Now the two items looks that they are at the same distance and that give the image a unrealistic look. I want to give the impression that the face is behind the hood. For that I need to add a hood shadow that drops over the face. Do add that shadow I will add Inner Shadow and Inner Glow to the Ori Layer.


You can spot a big difference between the two images one without and one with the added shadow.

Now it looks more realistic but I will add one more shadow on the right side where the hood shadow is not too visible. The easiest way to create it is to make another layer behind the Costume Layer and with a black, soft round, 20px brush, paint the shadow.

Ori Eyes Transformation
For the transformation from a normal man to a Ori Prior to continue, I have to change the eyes, from dark to light blue color. For that I will use the Brush Tool, size 3px, opacity between 30 and 50%. Create a new layer called Painted Ori Eyes. And simply paint over the eyes with the colors presented in the image below. I have used a graphic tablet that made my work so much easier.

As you can see in the before/after image, it is a big transformation with just a few simple touches.

Ori Face Wrinkles
Now our Ori is a young man and we all know that in the transformation process the man becomes old, with lots of face wrinkles. So copy the Old Man Stock image and resize it to 50%. Rotate it a little and try to place it as good as possible over the Ori face. Use the Liquify Tool to move the face features of the Old Man (nose, mouth, etc) so that it matches with the Ori features. Select the shape of the Ori Layer(press CTRL+click on the layer's thumbnail). Return to the Old Man layer, right click on the selection, select invert and press delete. Now change the blending mode of the Old Man Layer to Hard Light, 70% opacity.

Now go to Hue/Saturation and decrease the saturation level of the Old Man Layer. I have also added a little Surface Blur, cause the quality of the skin was not to good. You can also adjust the Brightness/Contrast to obtain a better result.

Use a soft round brush and with the Eraser Tool remove the areas like the forehead, the eyes, etc from the Old Man Layer so that the two layers the Old Man Layer and the Ori Layer blend as good as possible. This is how your image should look like:

Adding Skin Tattoo
An Ori has some symbols marked on the skin. To do that you can use tattoo brushes, custom shapes or you can create your own shapes. I will recommend you one of my list with lots of amazing tattoo brushes http://www.psd-dude.com/tutorials/resources/amazing-tattoo-photoshop-brushes.aspx . So choose the symbols and place them over the skin where you want them to be. Call this layer Tattoo Layer. Select the tattoo shapes(press CTRL+click on the layer's thumbnail), return to the Ori Layer and press CTRL+C and CTRL+V. A new layer was created that contains the tattoo shapes made out of skin. Call this layer Skin Tattoo. Add some depth to these shapes by adding soft Drop Shadow, Outer Glow and Bevel/Emboss styles to the Skin Tattoo Layer. You can Download the PSD file (see below) if you want to see exactly the settings that I have used.

I added also some symbols on the costume. This time I have made the symbol myself similar with the symbol from the Stargate Serial. You can take the vector shape also from the PSD file.
Add Sci Fi Landscape Background Image
Copy the Background Desert Scene. You can see a small diference of color saturation between the background and the ori. So simply adjust the saturation of the Ori Costume Layer leaving the Ori Layer and the other layers as they are. Create a new layer called Ori Prior. Hide the Background Desert Scene Layer and go to Image - Apply Image. You will now have all the component layers of the Ori in one single layer. Simply add a sof Inner Glow and Outer Glow to this layer. You can now unhide the Background Desert Scene Layer.

Go to Apply Image once more and this time you will have in a single layer the hole scene. Add Filter > Render > Lens Flare effect like in the image:

As an alternative you can use this Galaxy Premade Background for this photo manipulation of for other projects.
Add Meteor Comet Shower Stock Image
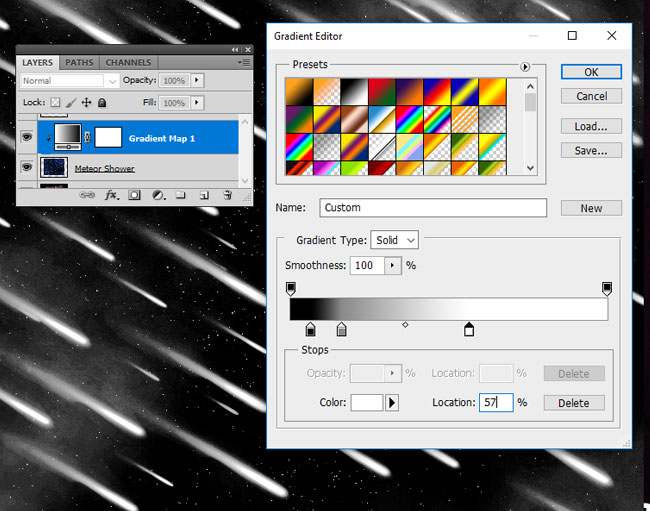
As an alternative, you can use this meteor shower texture in a new layer and set the blend mode to Screen. Use the Eraser Tool to keep only some meteors.
Add a Gradient Map adjustment layer with Clipping Mask. For the gradient use the colors #000000 (location 7%), #8a8a8a (location 16%) and #ffffff (location 57%)
To make the image more like a sci-fi landscape scene you can add some lens flare textures with Screen or Lighten blending mode. Also you can add a big planet in the background. Use one of these planets stock images for a quick realistic result.
Add Color Adjustments in Photoshop
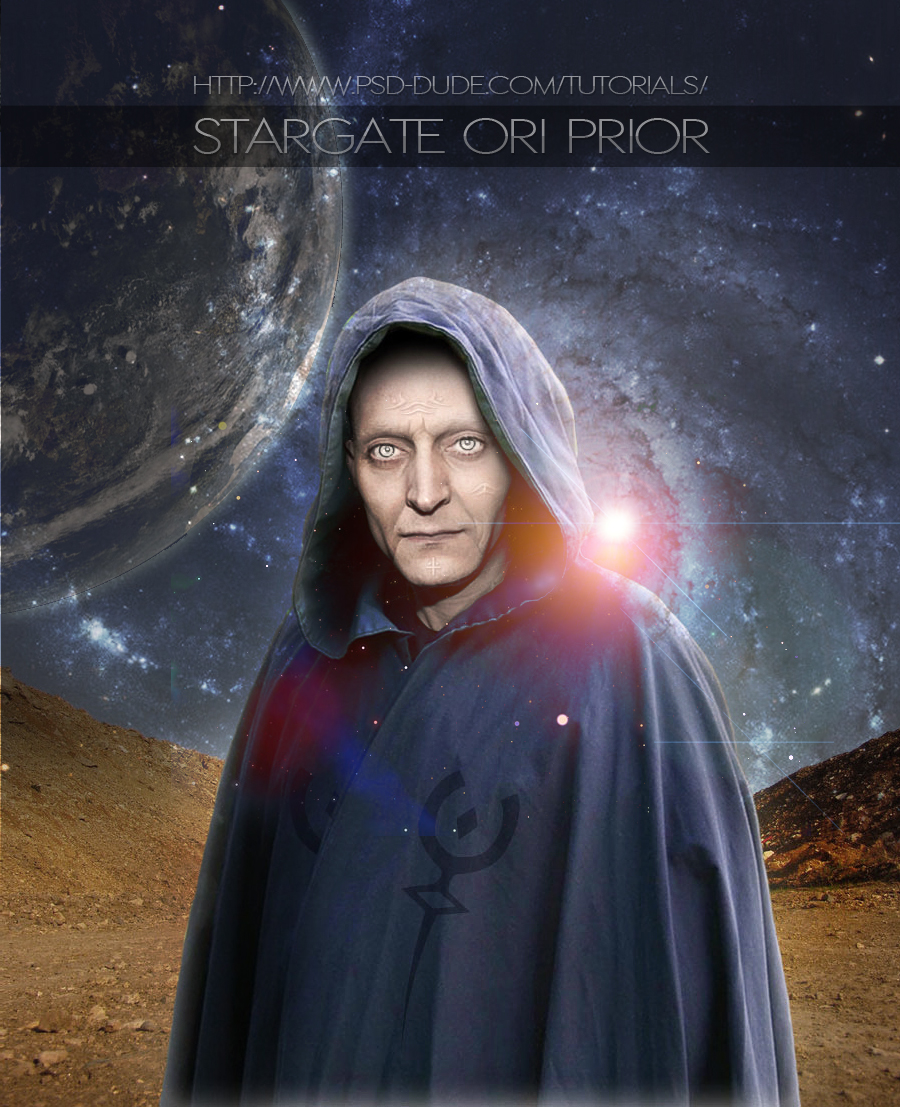
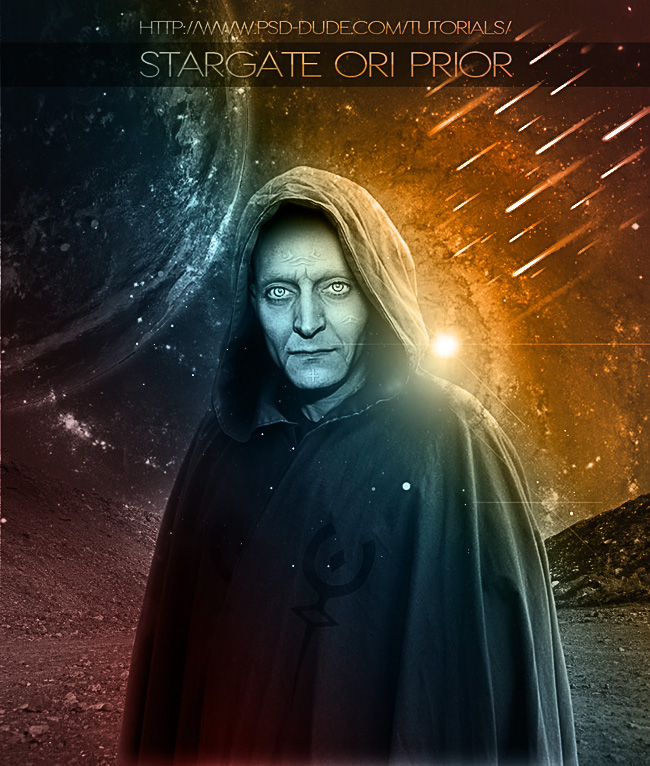
So here is the final result for our sci-fi Photoshop manipulation. Hope you enjoyed this new tutorial in which we turned a man into a Stargate Ori Prior. You can also add some color adjustments if you want a more interesting futuristic photo effect.
If you want to see what adjustments I have used for this color effect you can download the PSD file that contains only the color adjustments. You can copy paste the adjusment layers to your PSD file and adjust the colors using tones that you like.

17 comment(s) for "Stargate Ori Character Brought to Life in Photoshop"
thank you for telling me about the error, I will try to fix it !
:) we are programming this site from scratch. We are not an wordpress template so it is hard for us to keep up ! reply
Thanks anywAY. reply
Thank you, Lynn Burleigh, M.Ed
http://classroom.axtellisd.net/webs/lburleigh/ reply
I am really glad that you like my tutorial and you want to share it with your students. However you must take into account that I don't want my tutorials to be redistributed on the internet on other websites except mine. If it is not an online class than I guess it is ok.
reply